
I liked knitting the little Mouche & Friends bunny so much that I bought the author’s book. I chose the ebook version, so I could print off a paper copy of the pattern I am working on. There are many ways to follow a knitting pattern and keep track of where you are, but I like a paper copy to write notes on and add check marks for completed steps.
After reviewing all the different animals in the book, I decided to knit Agi the Sheep.
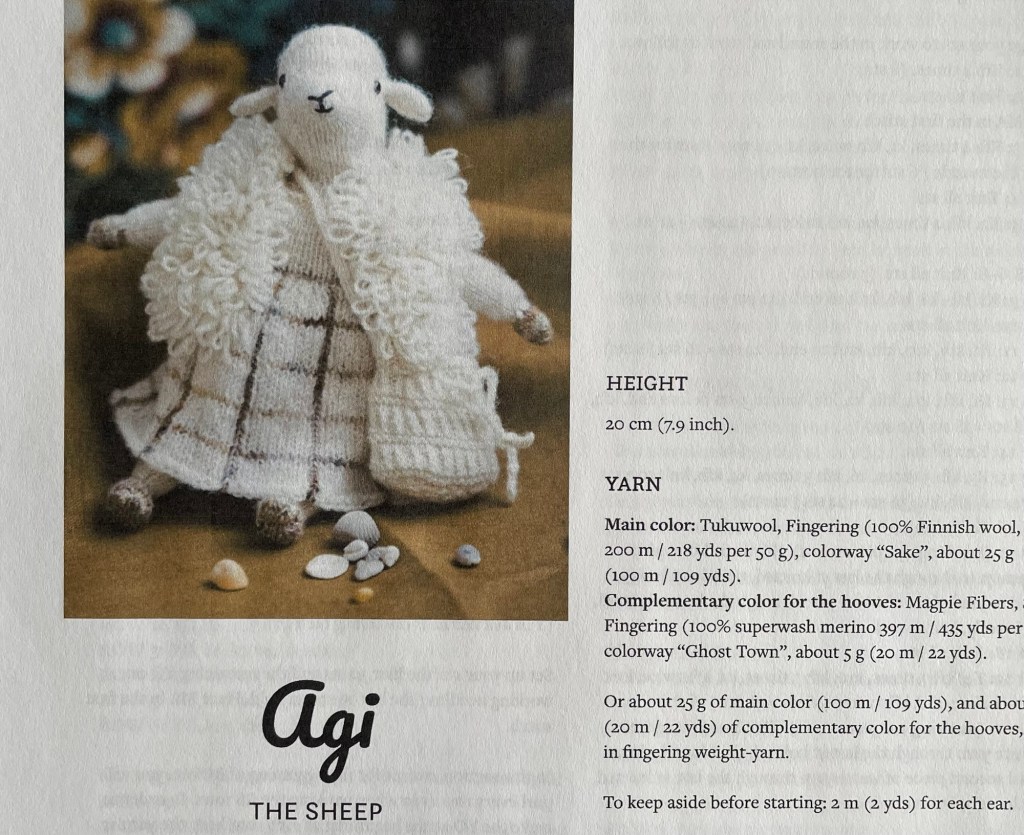
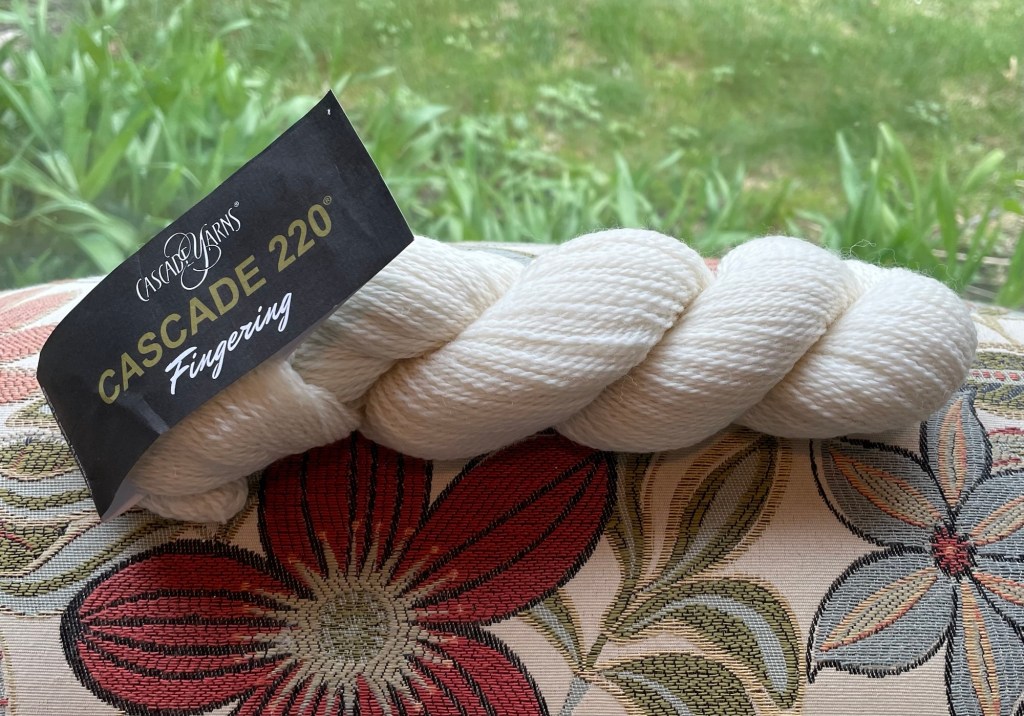
One factor in selecting the sheep pattern is that I had some white fingering weight 100% wool yarn that would be perfect. Also, she is adorable.
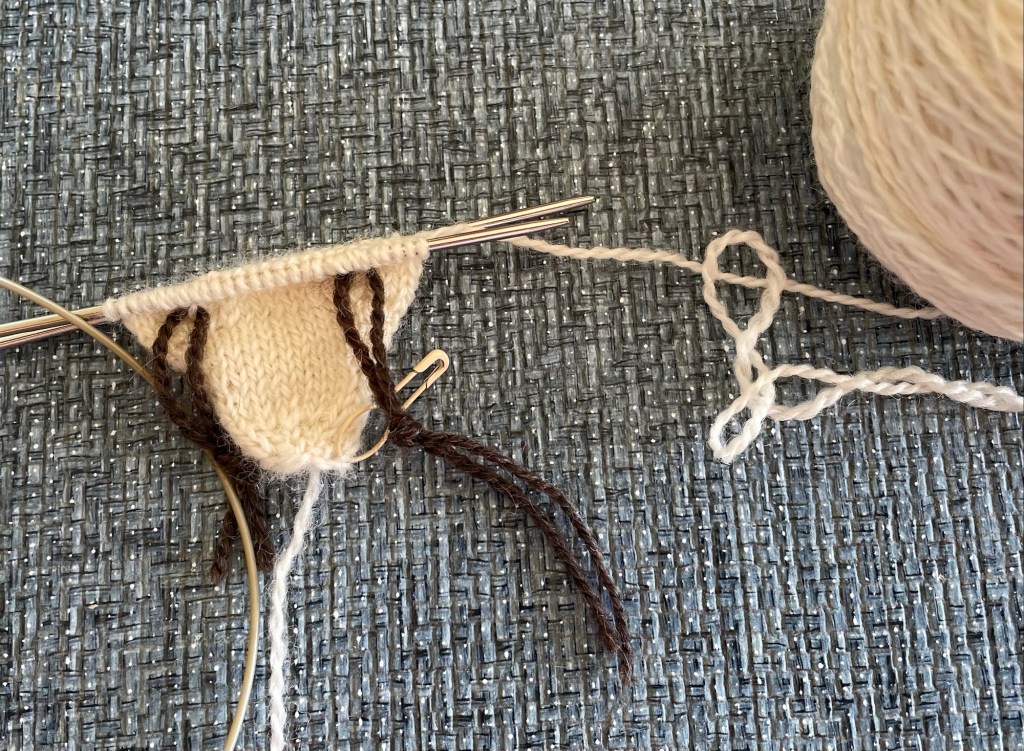
As with all the patterns in the book, knitting starts at the nose and works outward from there. Yarn markers are added in the places where the eyes will be added and ears knitted on.
This is not a beginner pattern, but for me the hardest part of the whole project was embroidering the face on after the head was done. I had to rip out my work three times. I almost decided to leave off the nose and mouth. In the end I was happy with the way they looked after my fourth attempt.
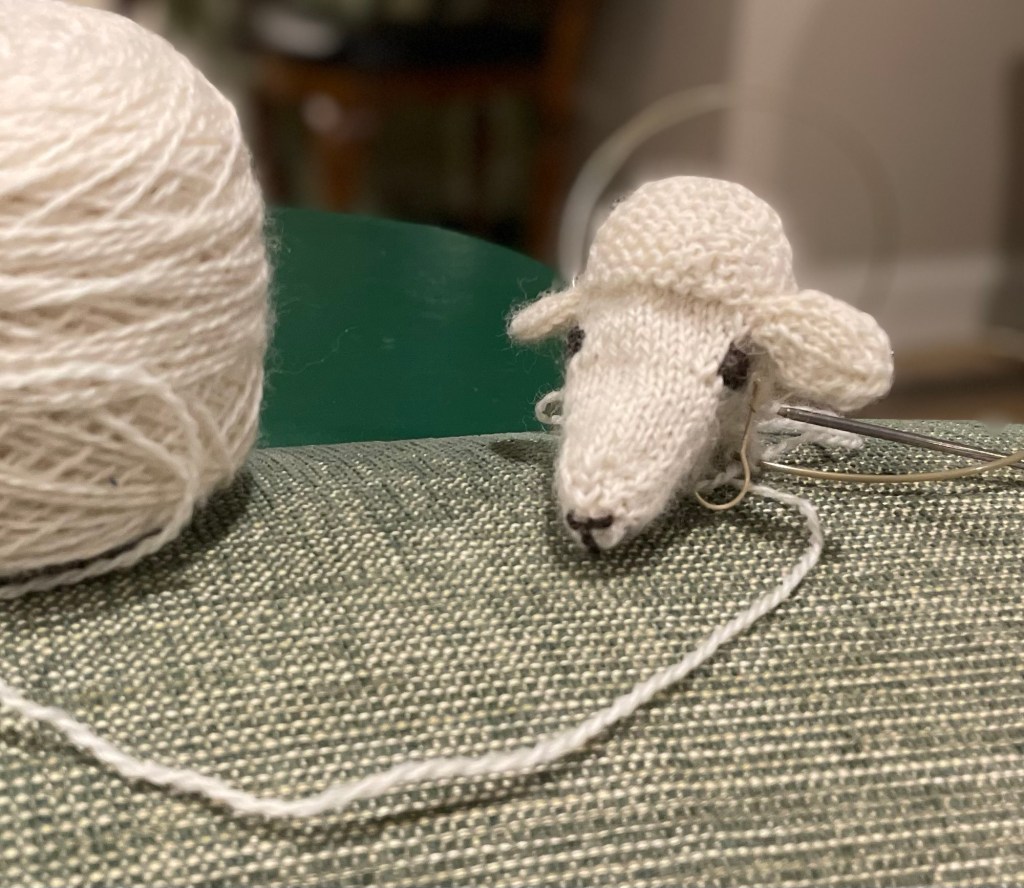
After knitting the neck rows, I washed the head so I could put the stuffing in while the small opening was easily accessible.
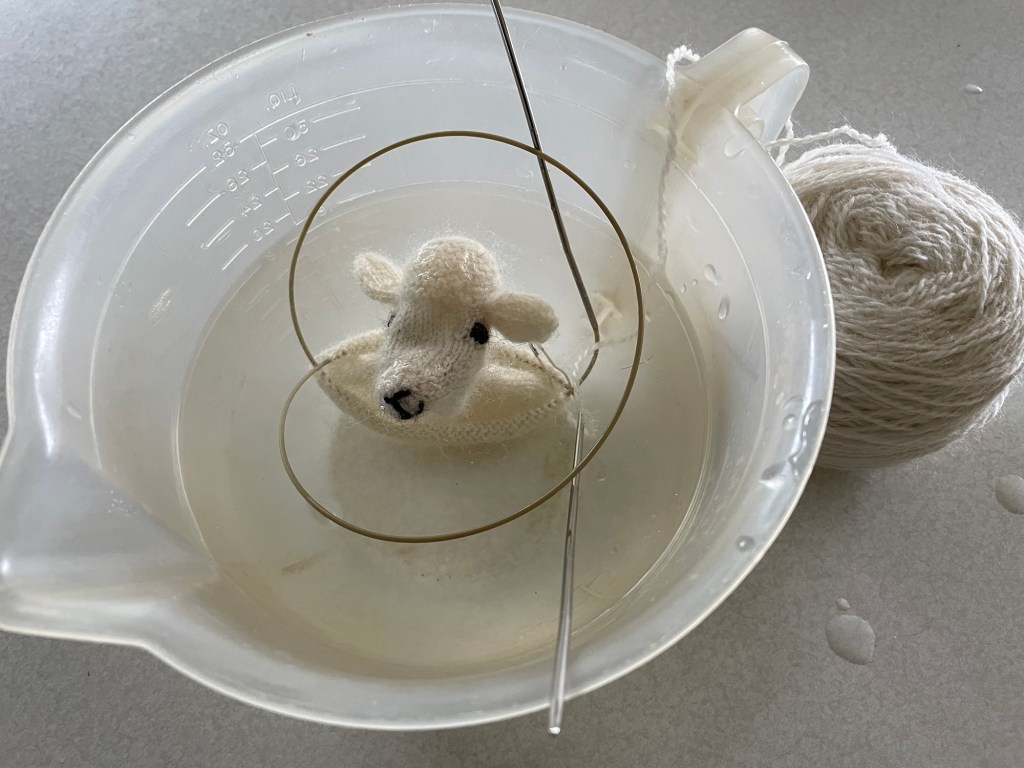
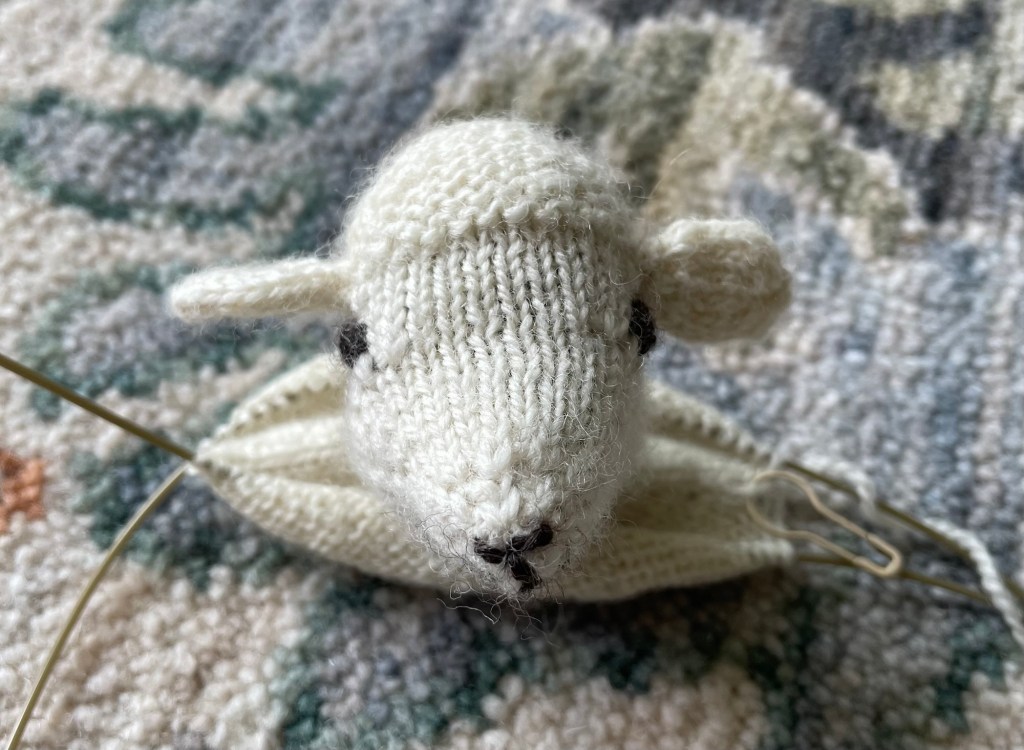
After blocking and stuffing the head, I noticed the ears were facing different directions. I considered removing one ear and reknitting it to match the other one, but everyone I showed it to said to leave it as is. Don’t we all have at least one part of us that does not match?
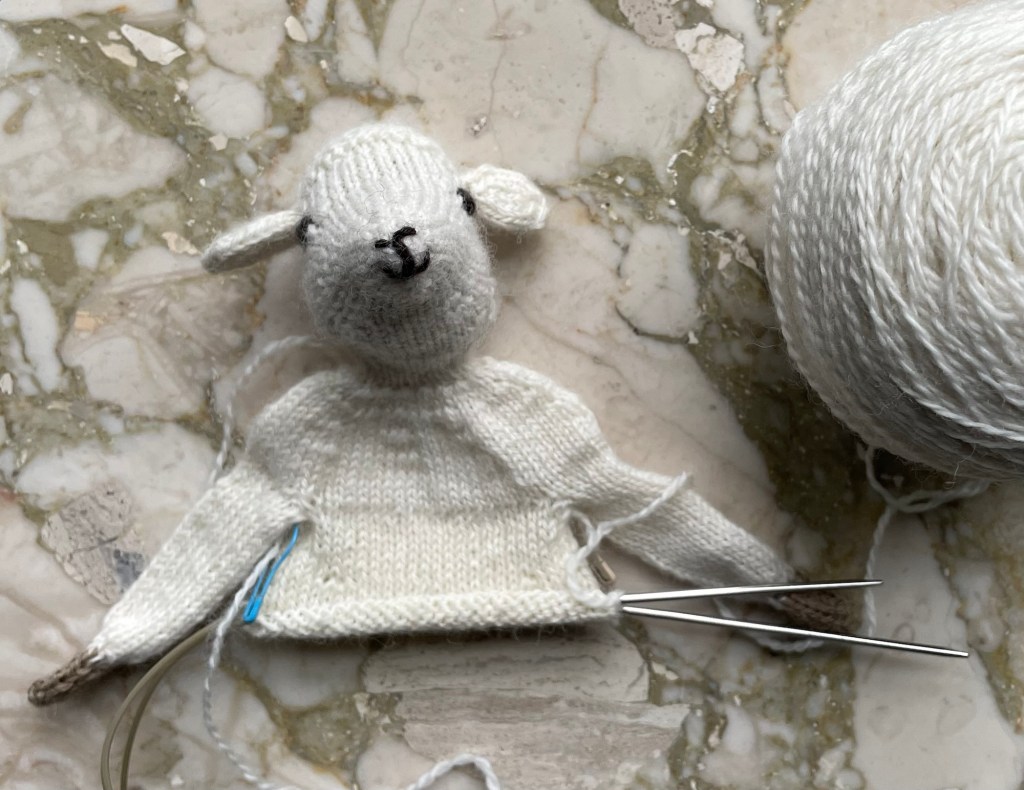
I kept plugging away and got the arms and upper body knitted.
Blocking is suggested so that the wool yarn “blooms”. You could skip blocking altogether, or wait until the knitting is complete. Or stuff as you go but block at the end, in which case the stuffing would get wet and take a long time to dry. I chose to block the knitting in sections as I completed them, and then stuff that part. I Watched a Sweet Georgia podcast interview with Kim Werker while stuffing the arms and body. Kim started Nine Ten Publications, a Canadian publishing house dedicated to “non-fiction books by residents of Canada on topics related to art, craft and creativity” (from their web site).
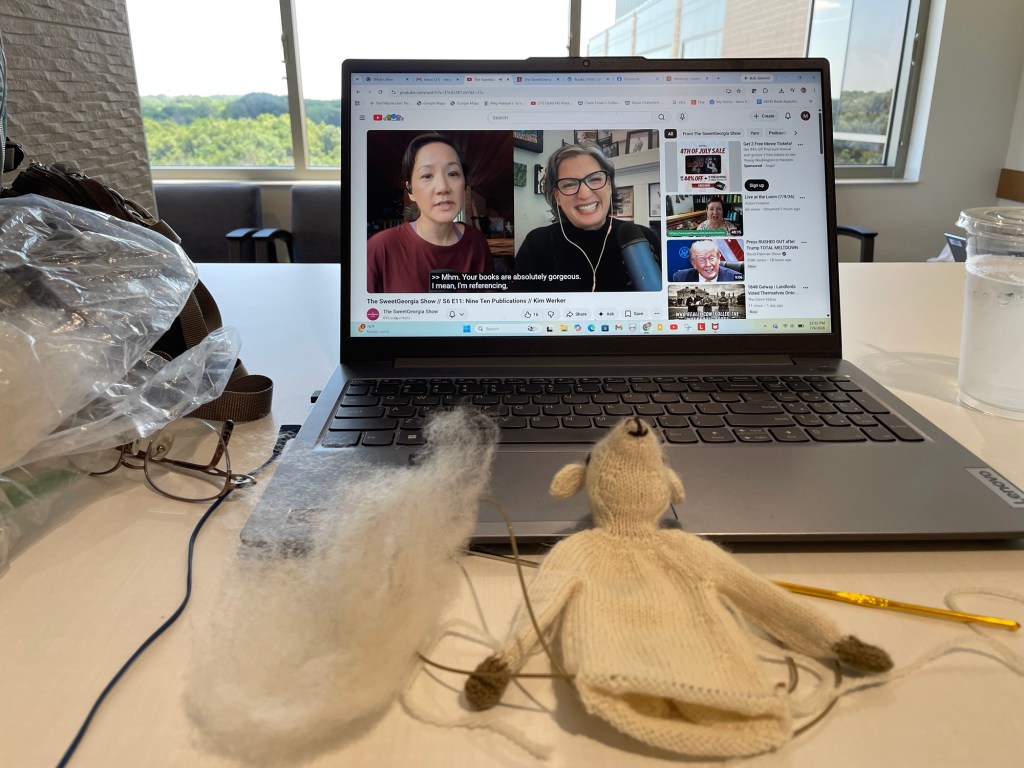
It takes more stuffing than you think it will to fill up the tiny body parts, put in by small bits to avoid lumps.
I had some tan yarn for the feet, leftover from a pair of socks.
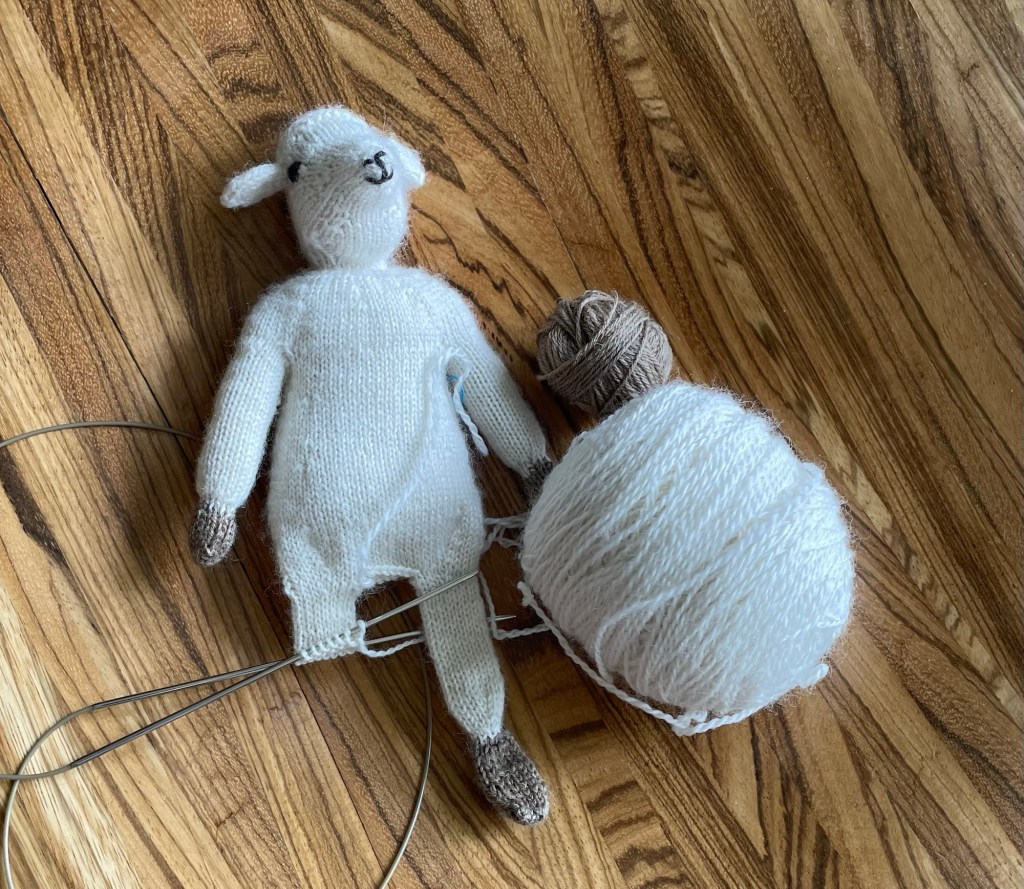
After finishing the legs, Agi got a bath again, from the waist down.
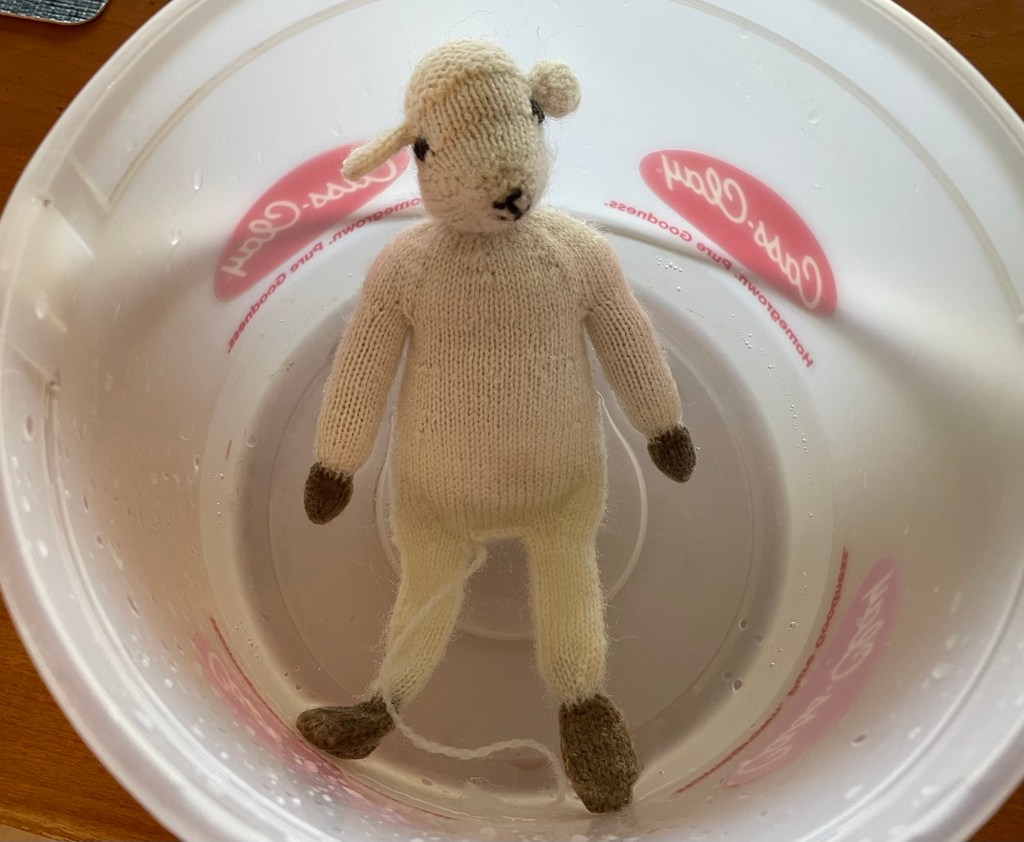
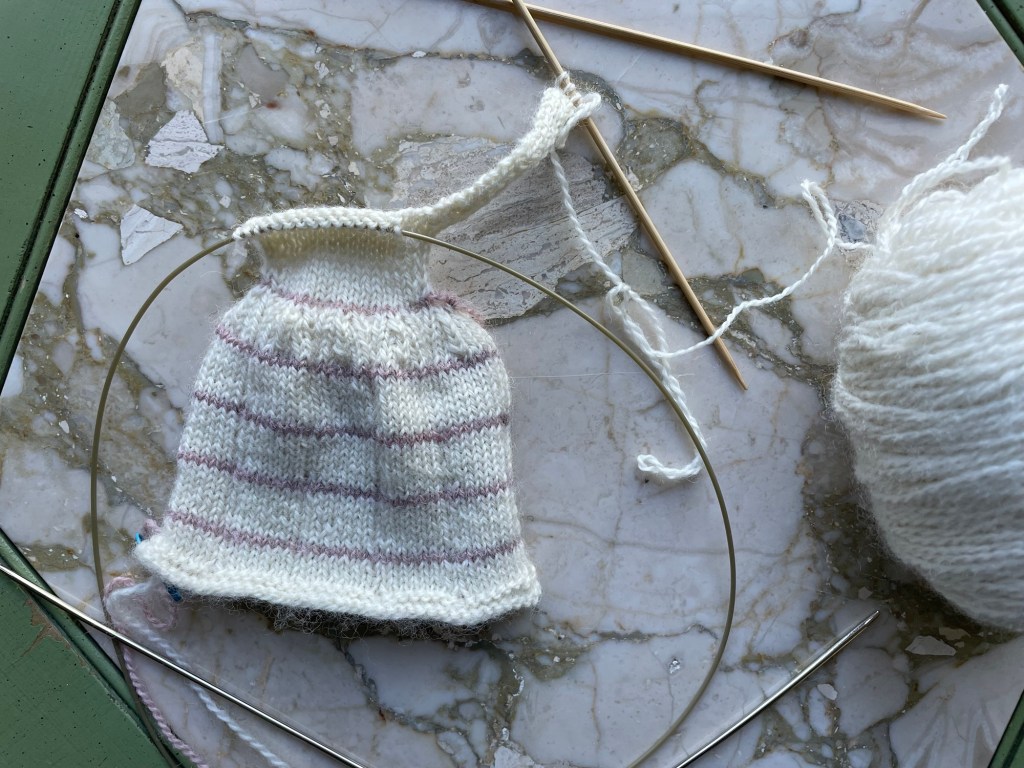
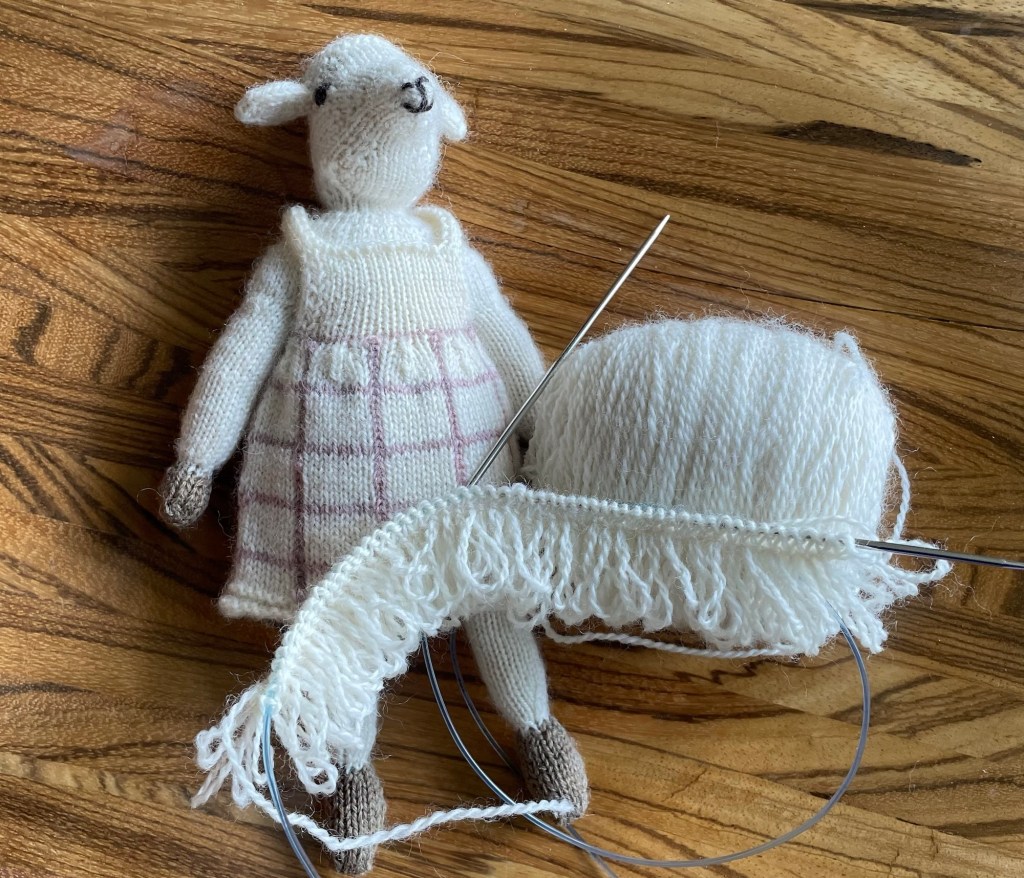
I started knitting Agi’s dress before I finished the rest of the stuffing. The pattern suggests using size two needles, two sizes up from the main body needles. A contrasting color is used to knit horizontal stripes in as you go, and then later chain crochet on vertical stripes. I started out using the same color as the feet for the stripes, as that looked like what they did on the pattern.
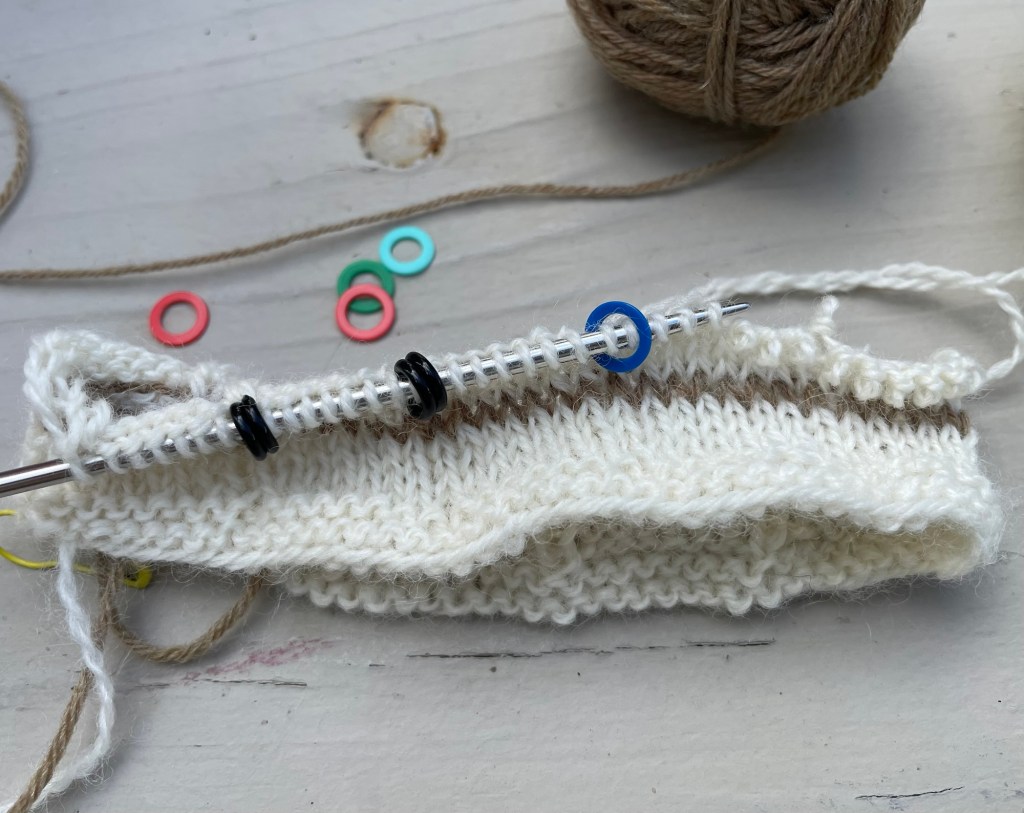
After getting as far as the photo above, I was not liking it. The white yarn is light fingering weight, which is a bit thinner than fingering weight. With the size two needles it was coming out pretty loose and big relative to the size of the sheep. And I was not excited about the color of the stripes. Since I was not far along, I ripped it out and started over with smaller needles for a tighter fabric, and a different color for the stripes.
Meanwhile we hosted Wayne’s sister and her family for a cabin weekend. Our nephew, Erik, had fun staging some photos of Agi. She did not have all her stuffing in yet, or any clothes, but they are still Instagram worthy pictures.
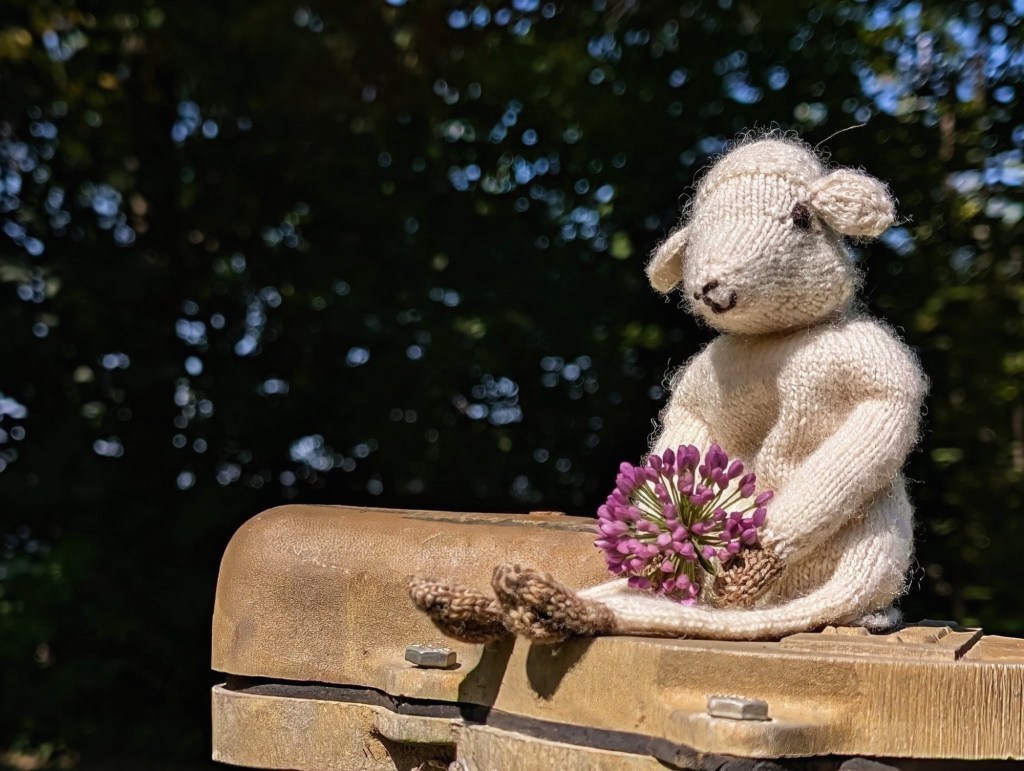
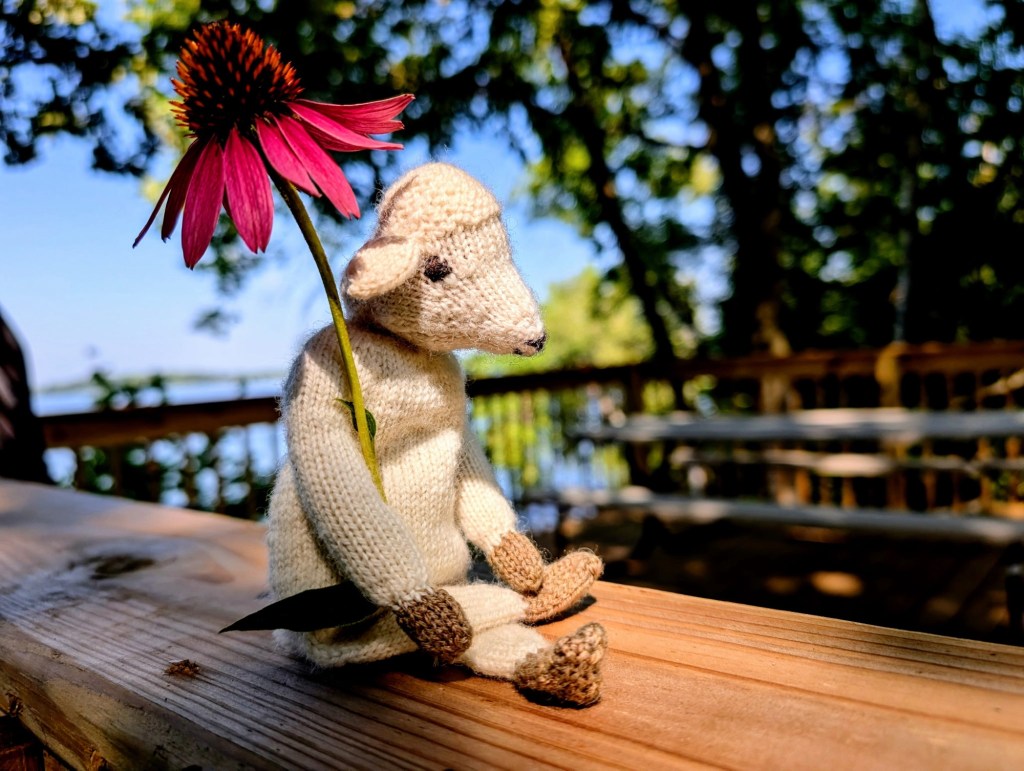
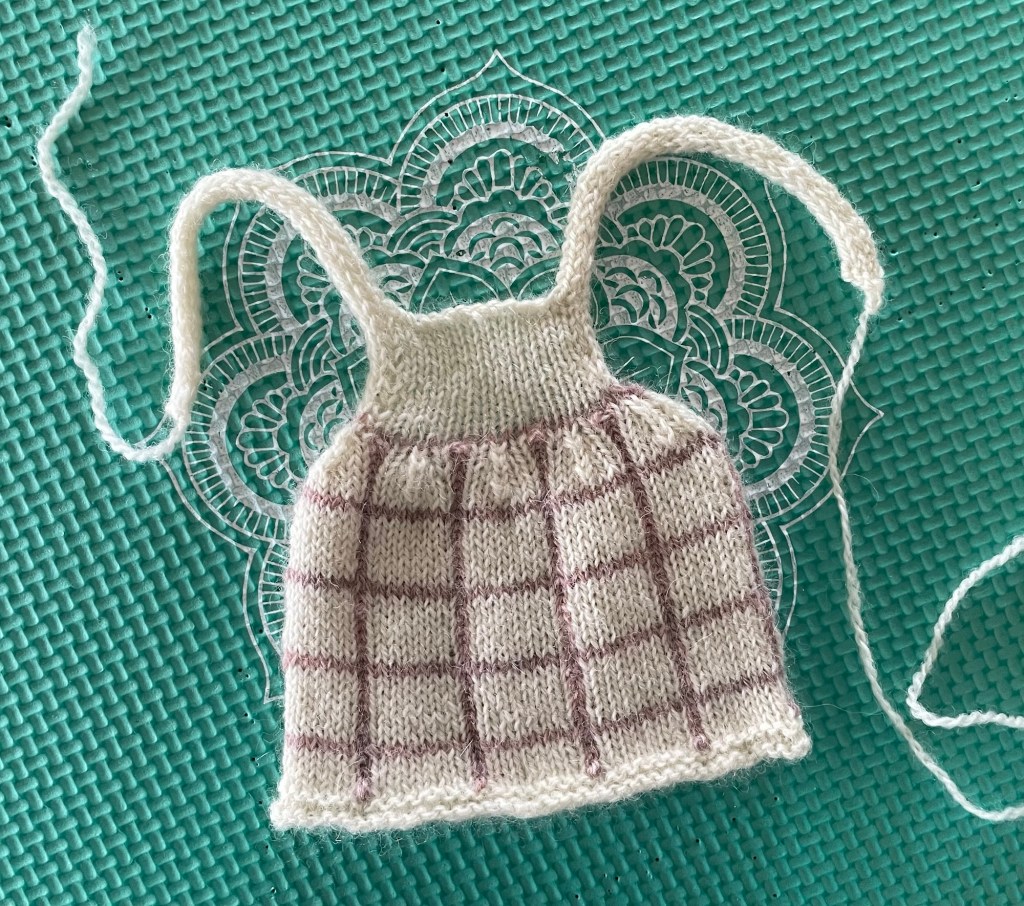
Following are photos of the dress using size zero needles, with pinkish yarn for the stripes instead of the tan.
The vertical stripes are chain crocheted on in the channel where there is a purl stitch all the way down. In the photo from the back show below, the channel farthest on the right does not have a stripe yet.
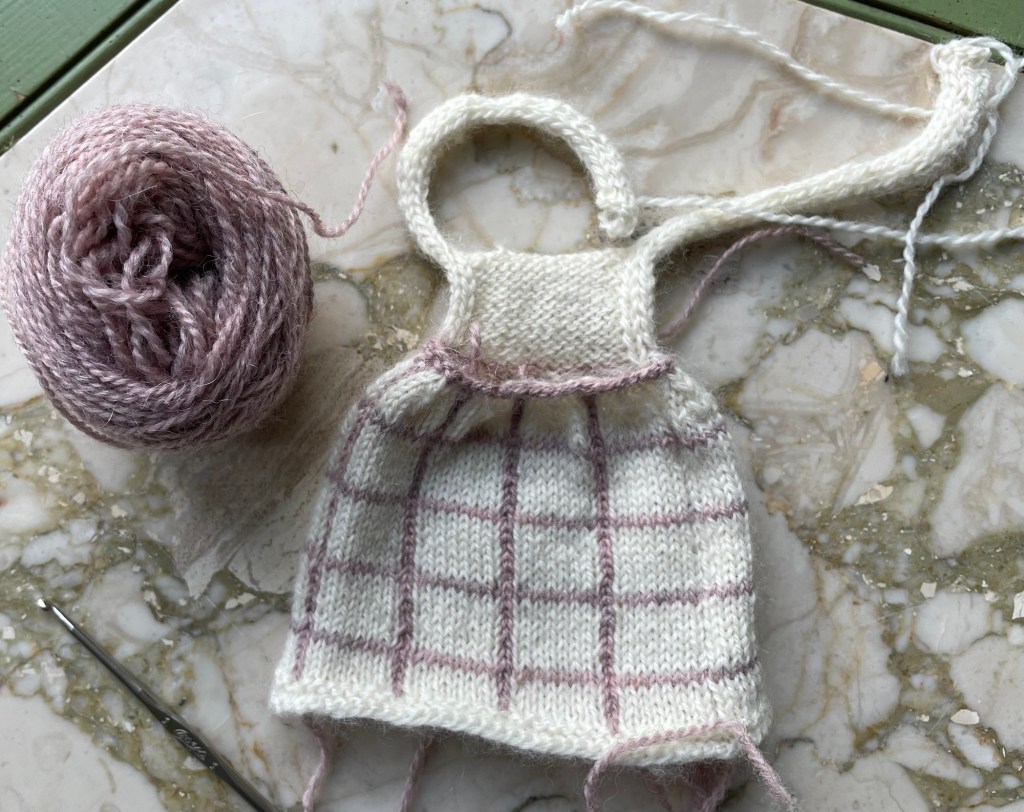
I should have used size one needle for the dress, not sure why I went down two sizes. It is a little tight.
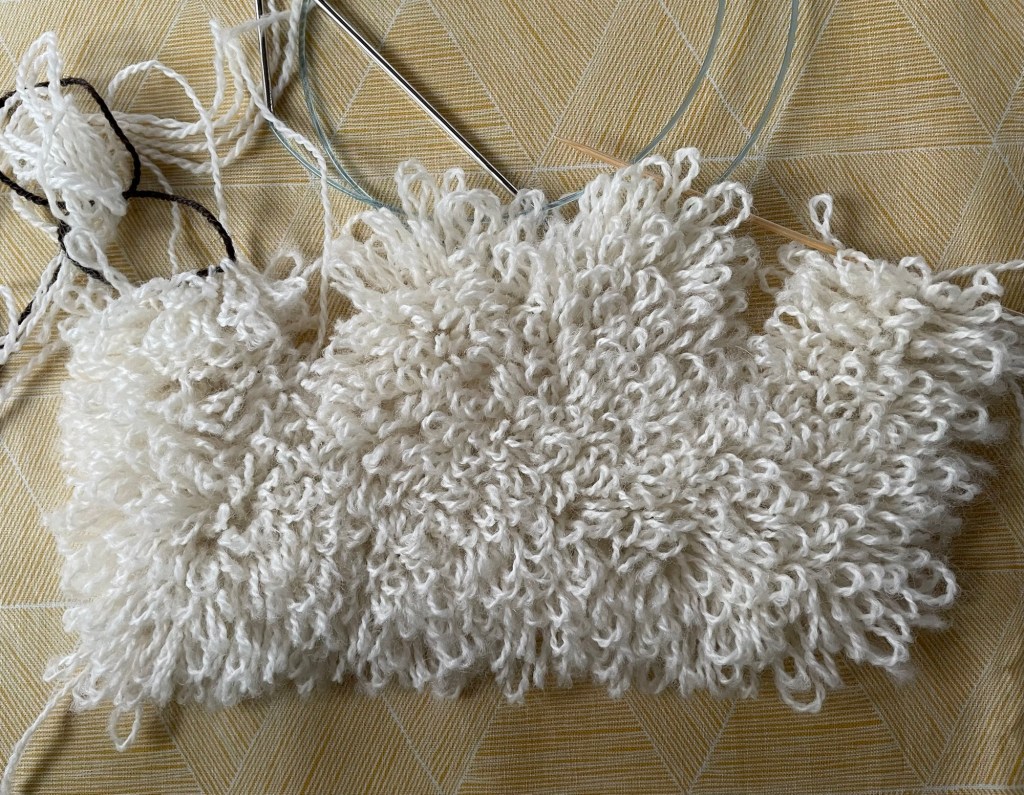
Knitting the loopy vest was somewhat tedious. Rows with long loops in the middle of a stitch are alternated with plain knit rows. The method for making the loops was like a “knit in the front and back” increase, with the long loop added between the front and back stitch, and then putting the front stitch over the back stitch on the needle. The first row was excruciatingly not fun. The second row with loops was a little easier once I started to get the hang if it. Subsequent loopy rows were easier, but still took longer than a normal knit row.
I brought Agi the Sheep along on an RV camping trip with friends to Theodore Roosevelt National Park in North Dakota. There was quite a bit of knitting time in the seven hour car ride to get there, and during the vacation. The next two photos show the vest from the front and back, before joining at the shoulders.
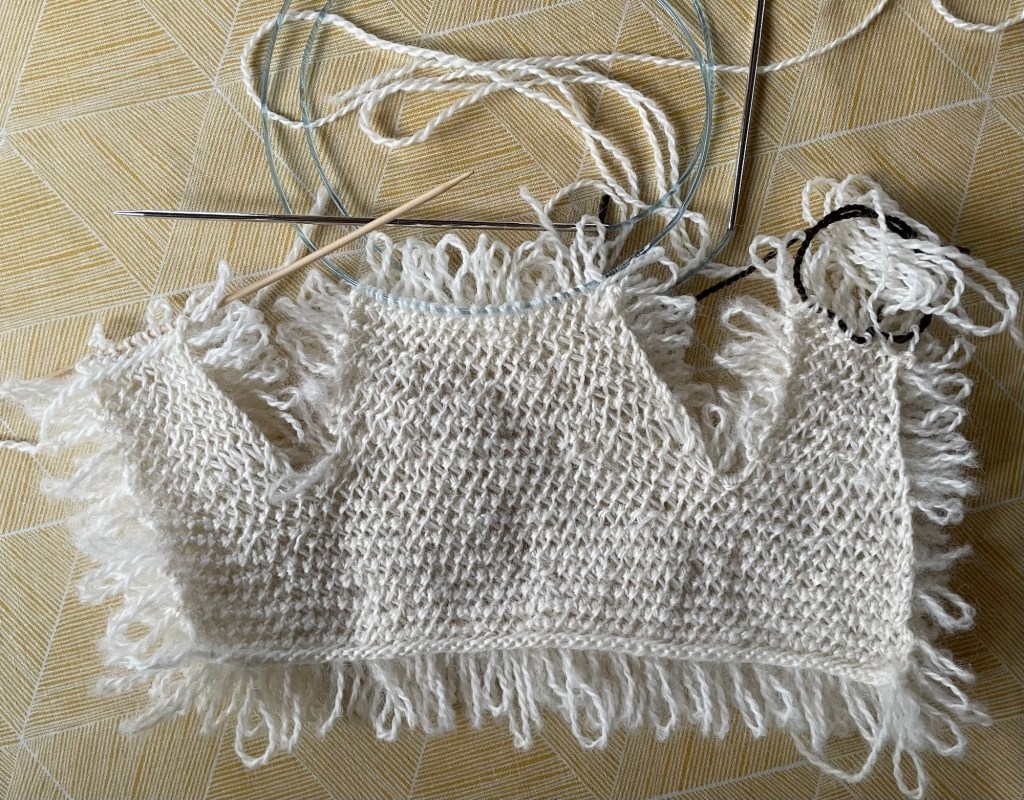
Back of the vest before joining at the shoulders
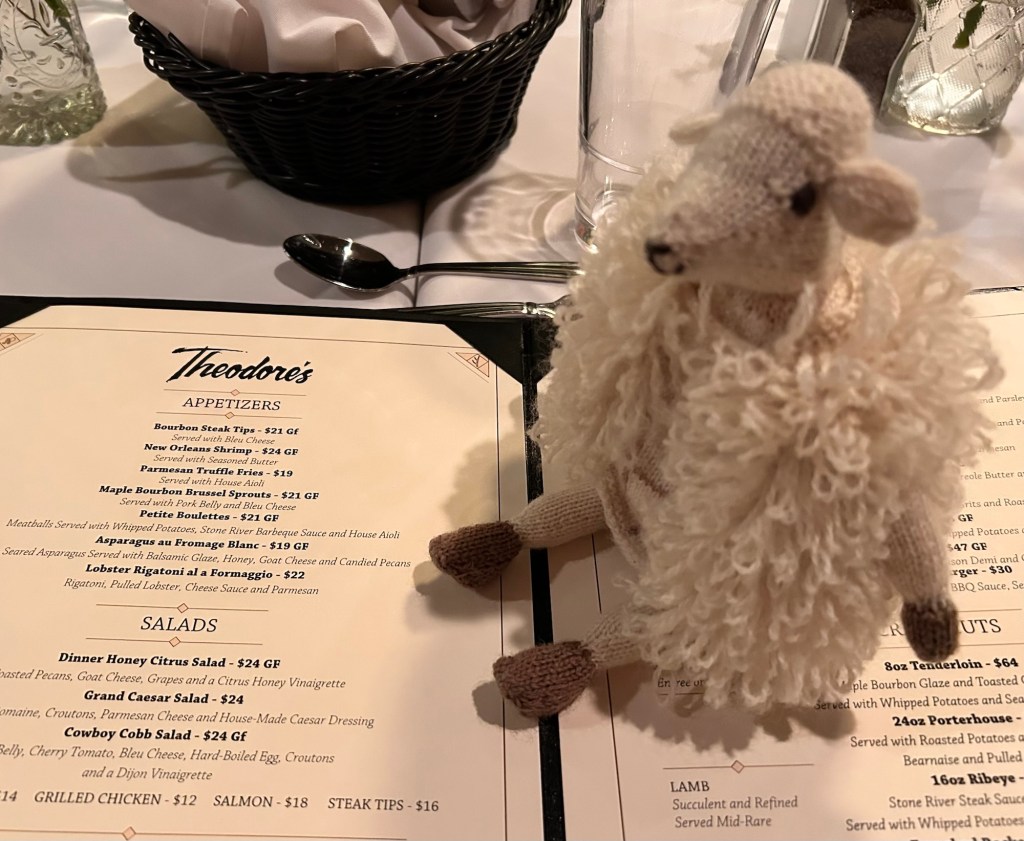
After the vest was finished, Agi came with us to a restaurant in Medora, North Dakota.
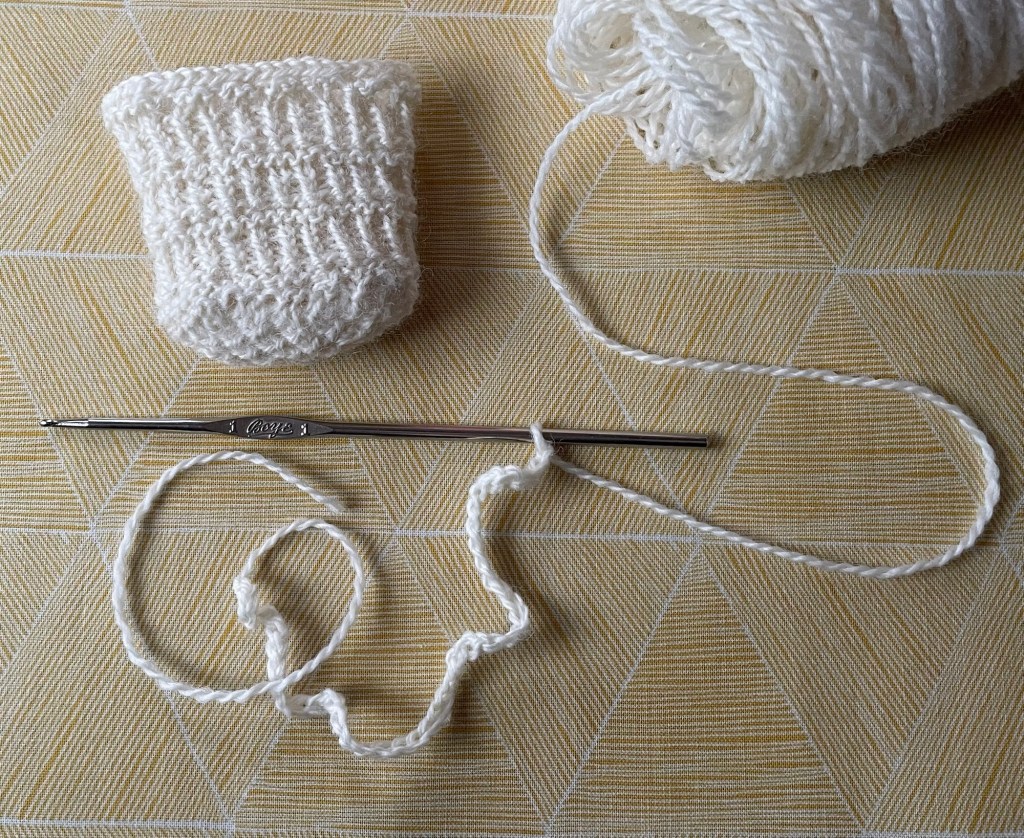
Instructions for Agi’s bag begin with casting on eight stitches, then knitting 20 rows, followed by picking up stitches along the three sides that are not on the needle. I do not like picking up stitches, and this seemed very much like the beginning of the Novus Knit Pouch.
To avoid picking up stitches, I used Lola’s provisional cast on using a pick up line, and then Lola’s pickup method to pick up stitches at the beginning of each row, going up the sides. At the end of knitting the 20 rows, the “picked up” stitches were already waiting on the pickup cord.
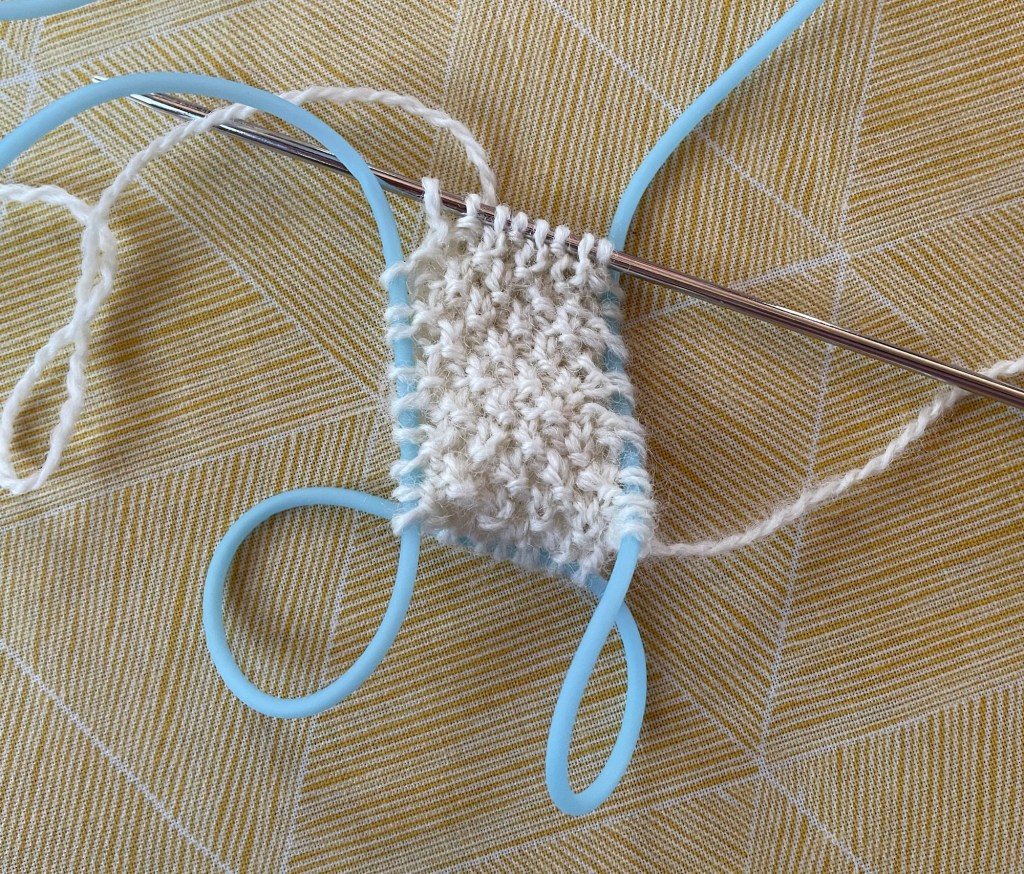
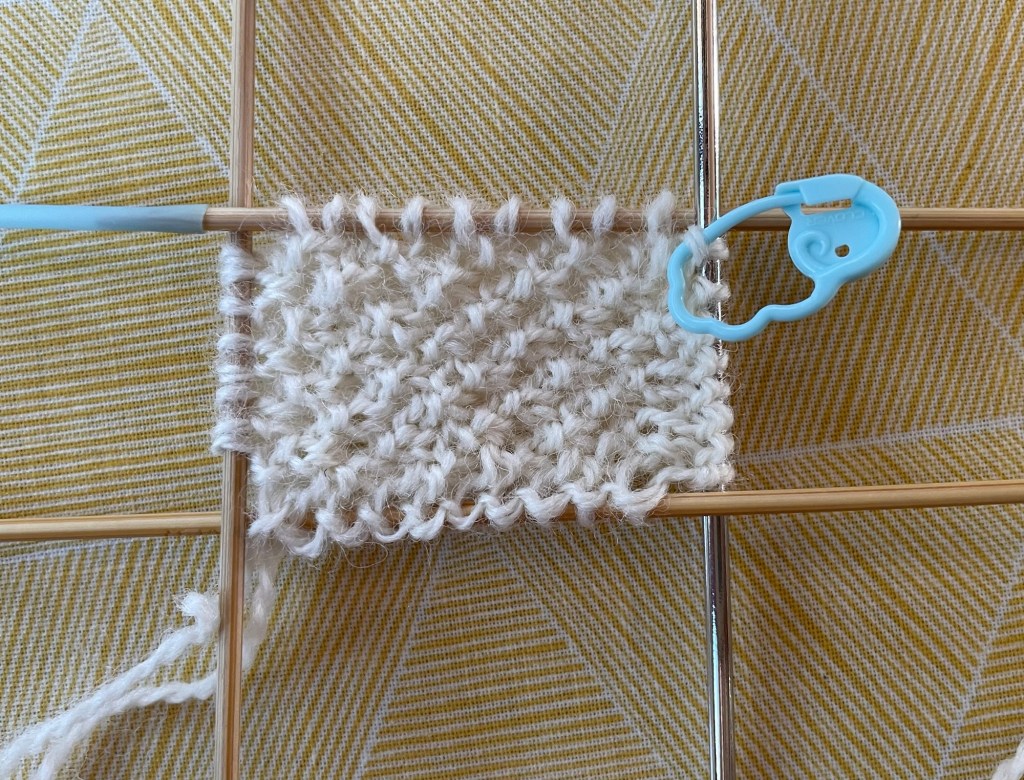
I transferred the stitches from the cord to double pointed needles.
Rows were knitted in the round to complete the tiny purse, using a pattern to make it more interesting.
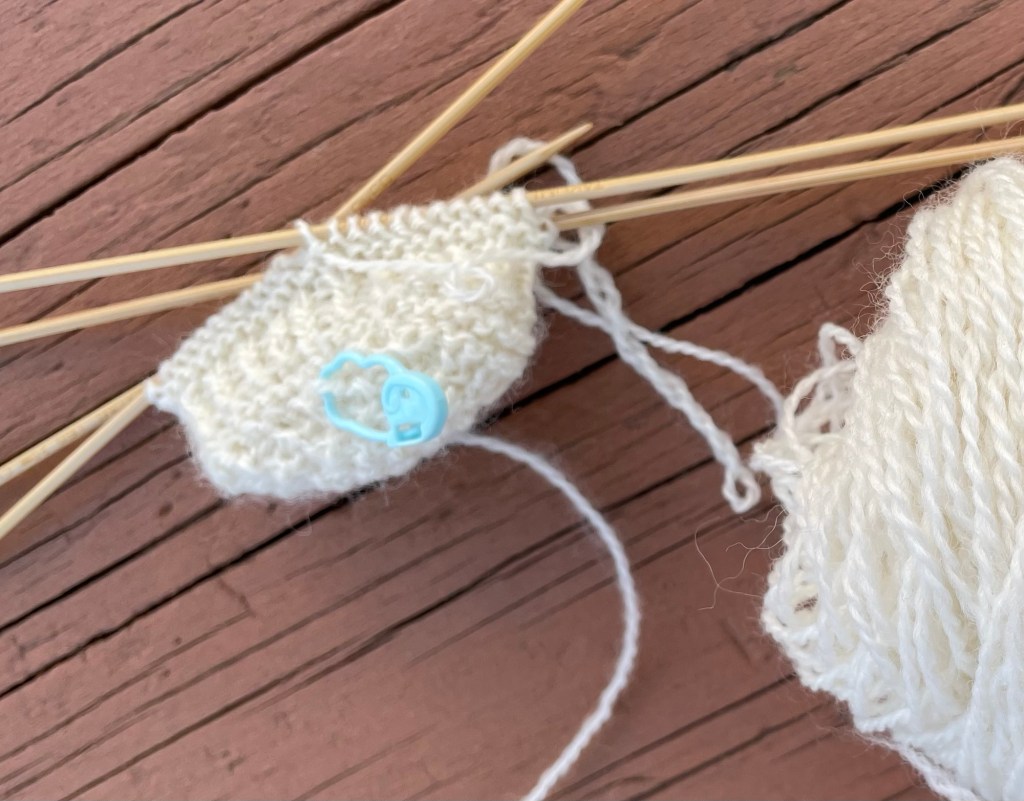
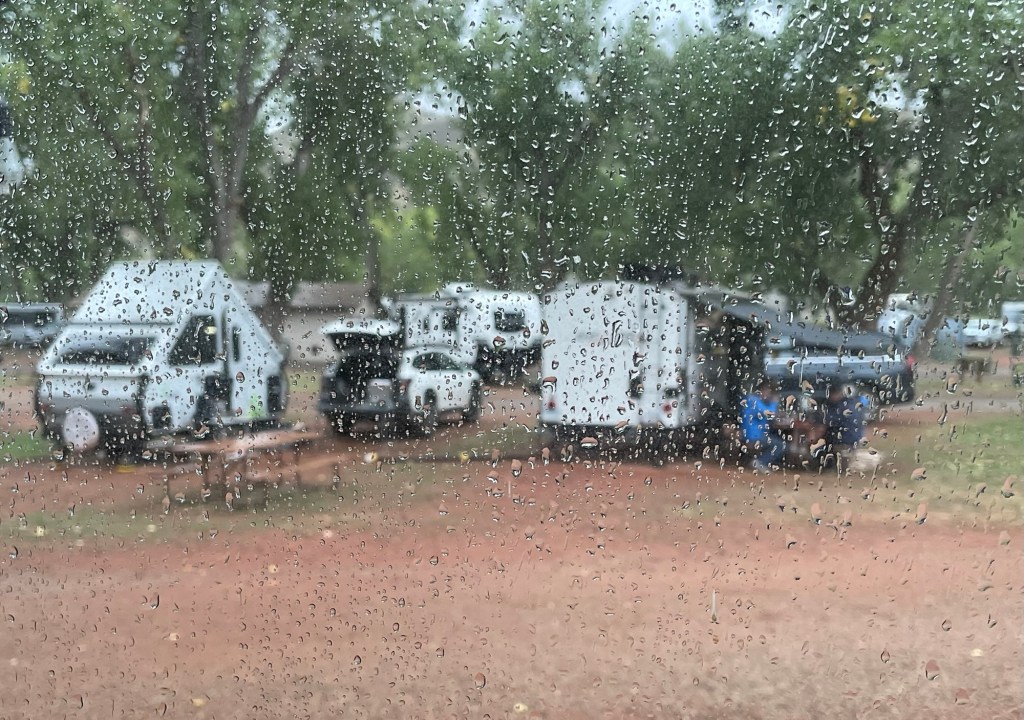
There was a very rainy day while at the campground that was great for knitting. Most of our group ate breakfast outside under the awning of our friend’s rented RV. I hope they did not think I was rude for declining the offer. One reason we have an RV is so we do not have to sit outside in the rain.
The bag has eyelets knitted into the top edge for a chain stitch cord, and a knitted Icord handle.
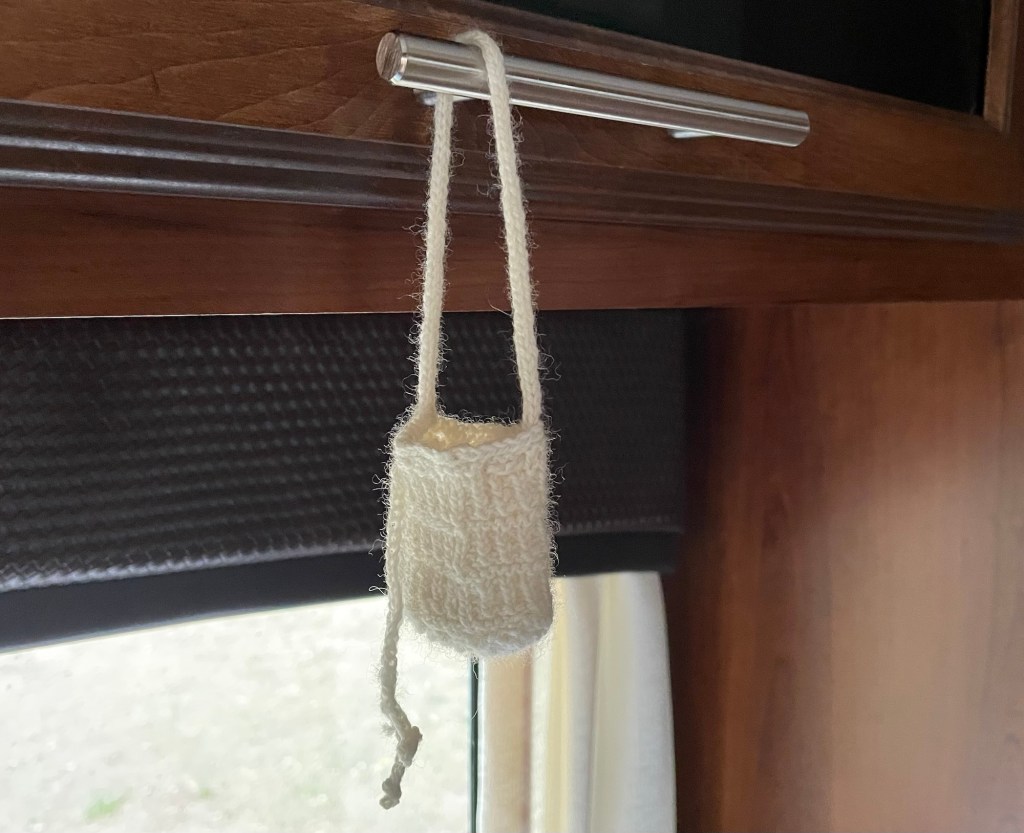
After soaking the bag in water, I hung it to dry on an RV cupboard handle.
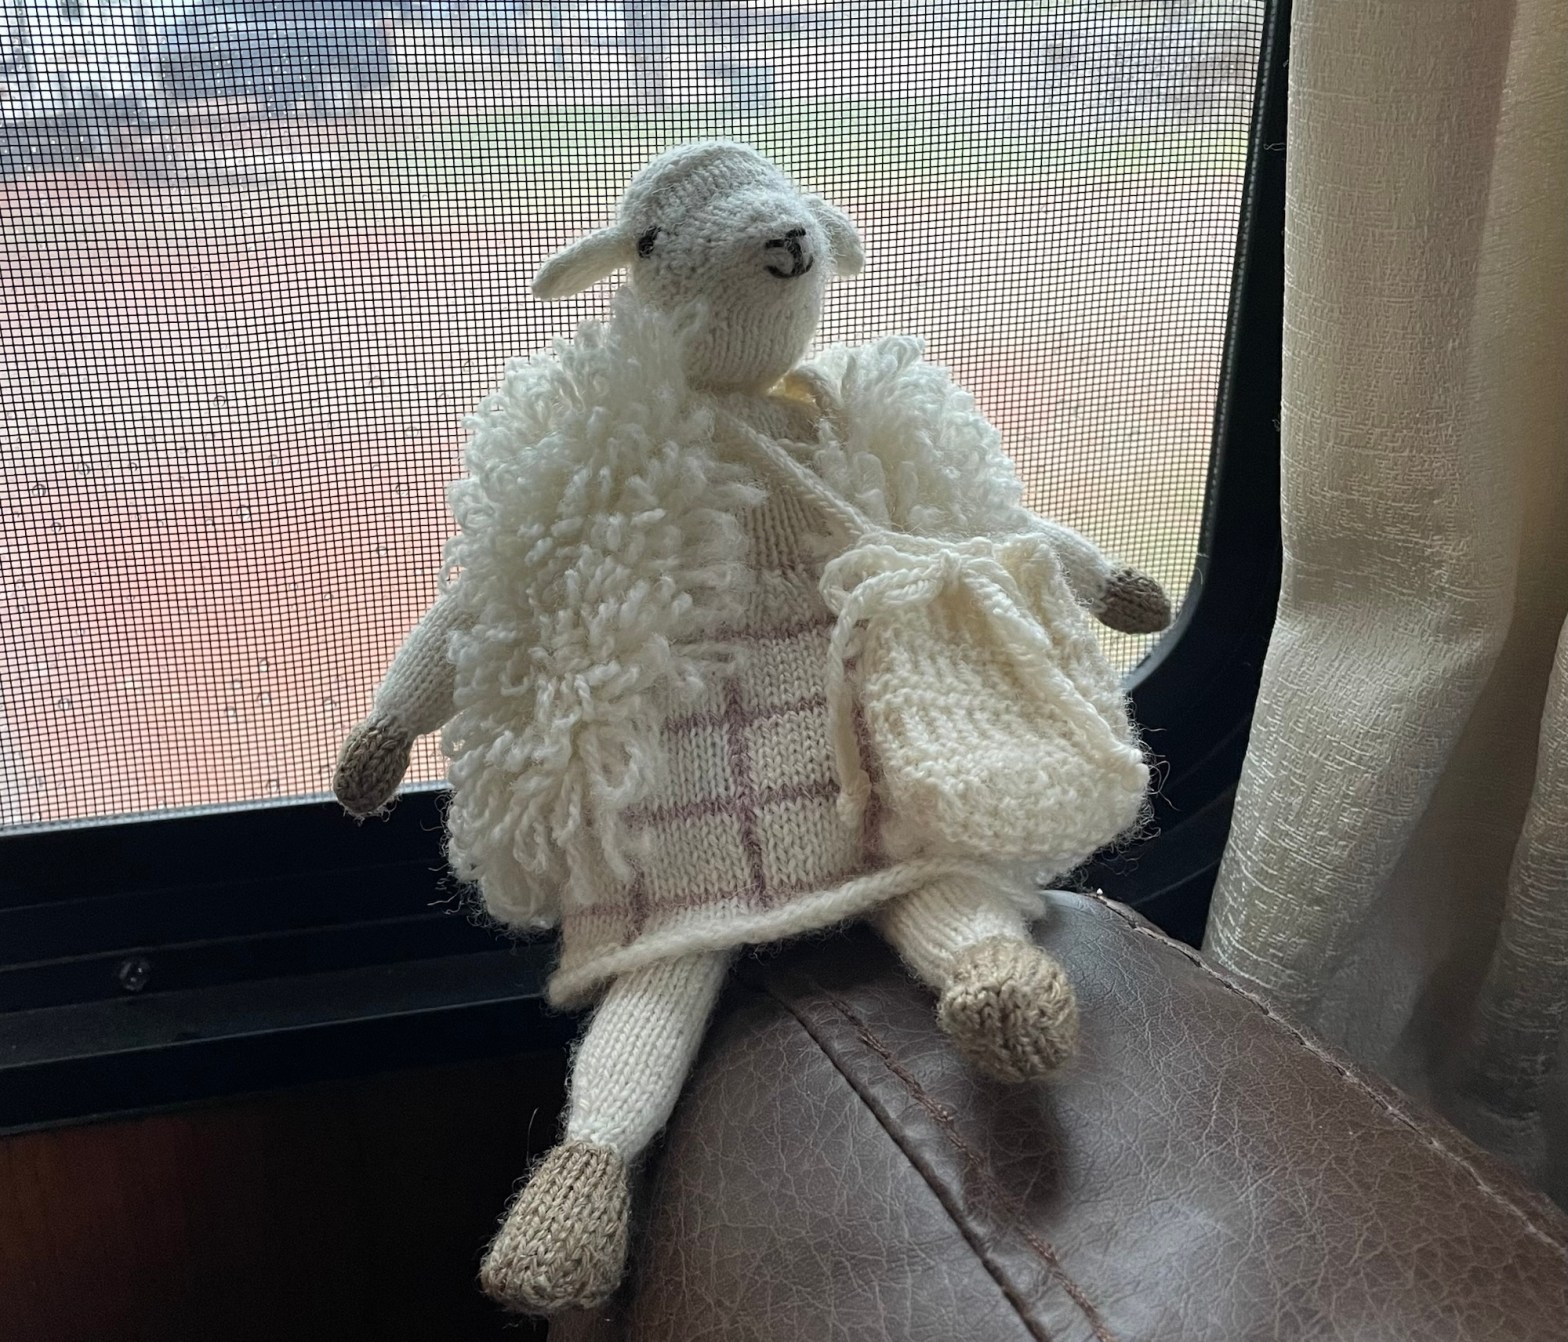
I finished Agi the Sheep with her clothes and bag towards the end of the trip. In the following photo she is lounging on the back of the RV sofa.
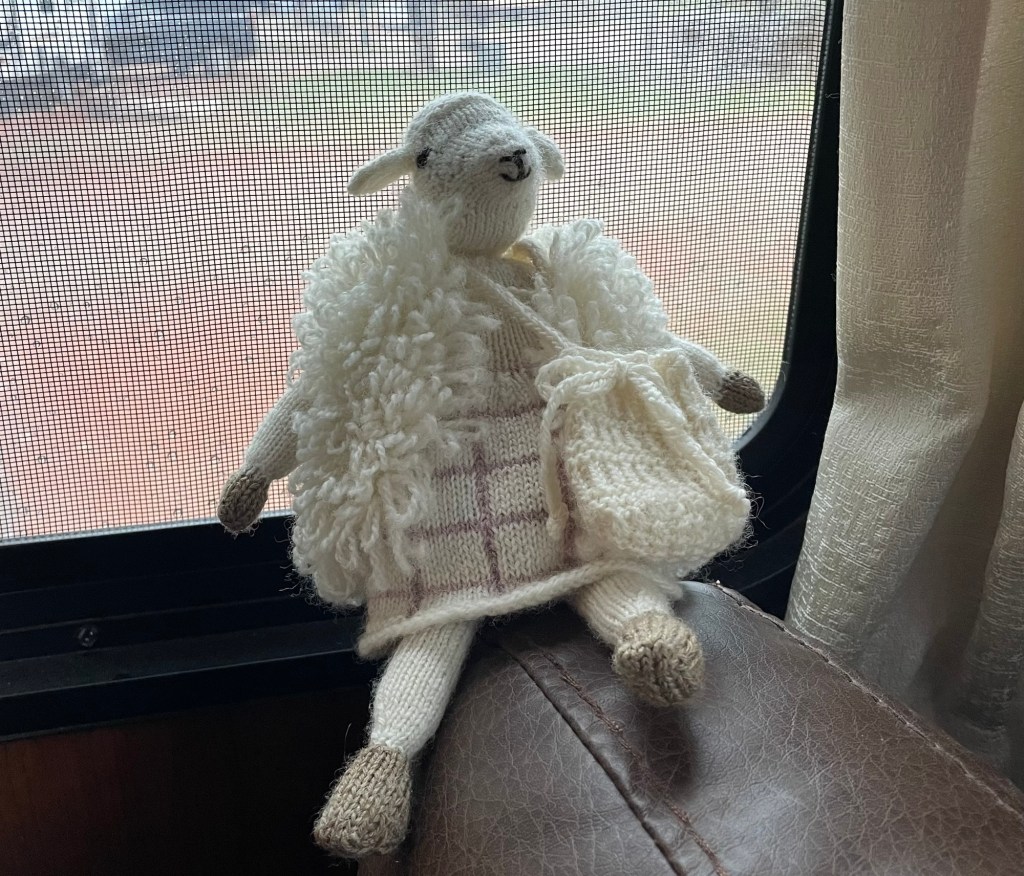
My Agi dress is a mini dress. The dress on the sheep in the pattern looks longer.
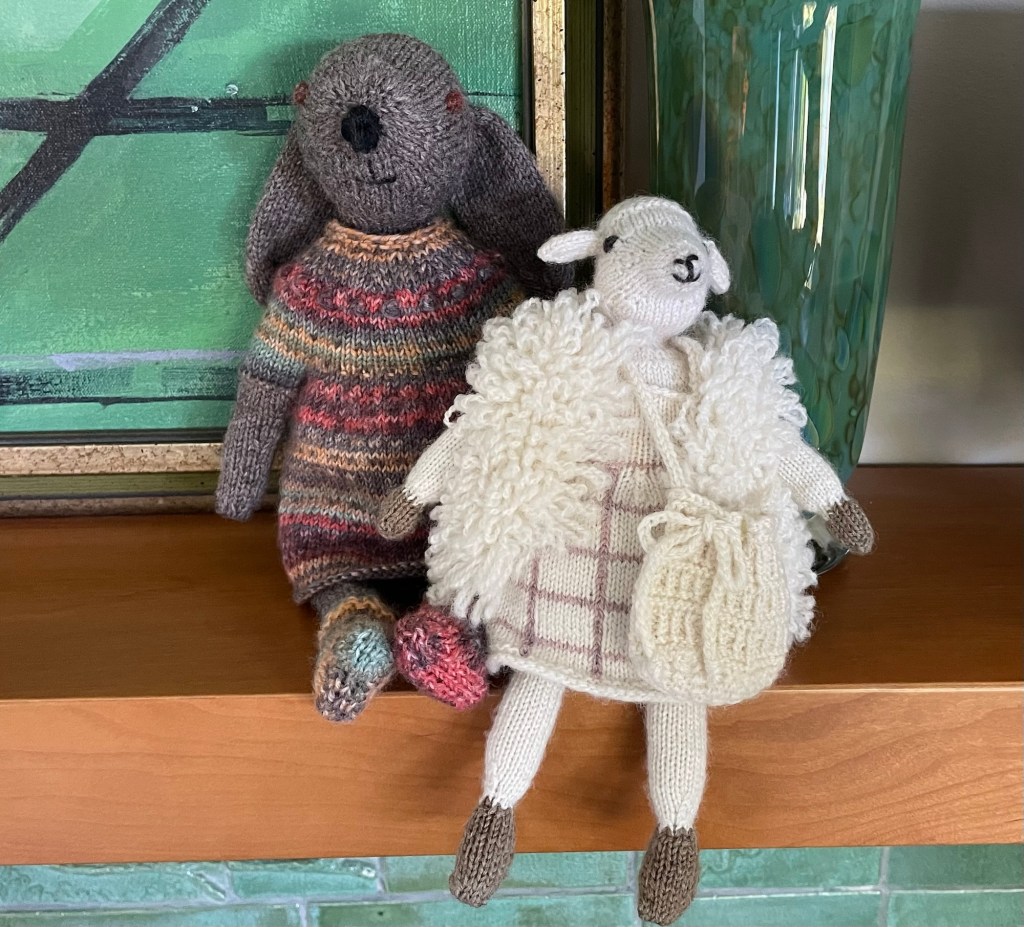
Back at home, Agi is displayed above the fireplace with the Mouche & Friends bunny I made earlier. The bunny is bigger due to both the pattern and thicker yarn used.
I have printed off the pattern and assembled yarn to make the Mouche & Friends pig. Meanwhile, I started a different hand knitting project, and I lost the size zero needles I will need for the pig.


Wow! I am so impressed! I have never had the courage to knit a stuffy, I always default to crochet as all of the shaping intimidates me. Beautiful job! I love the loopy vest and the wonky ears especially. 🙂
LikeLiked by 1 person
Thanks! The pattern by Cinthia Vallet is very easy to follow with lots of detail (although with that said, not a beginner pattern). I was inspired by friend who had made a couple of these animals from the Mouche & Friends book first.
LikeLiked by 1 person
Meg, I can’t even!!! This is so stinking cute. I do not have the patience for knitting tiny critters. This is so sweet and charming and you will have tons of fun knitting accessories, no doubt.
By the way, if you look at the pattern picture, the little sheep in the photo has crooked ears too. Clearly it is a trait of the breed. 🙂
LikeLiked by 2 people
Thank you! The pattern is very detailed and well written and easy to follow. I don’t think the pattern is supposed to have crooked ears, but apparently I am not the only person who did not get them straight!!
LikeLiked by 1 person