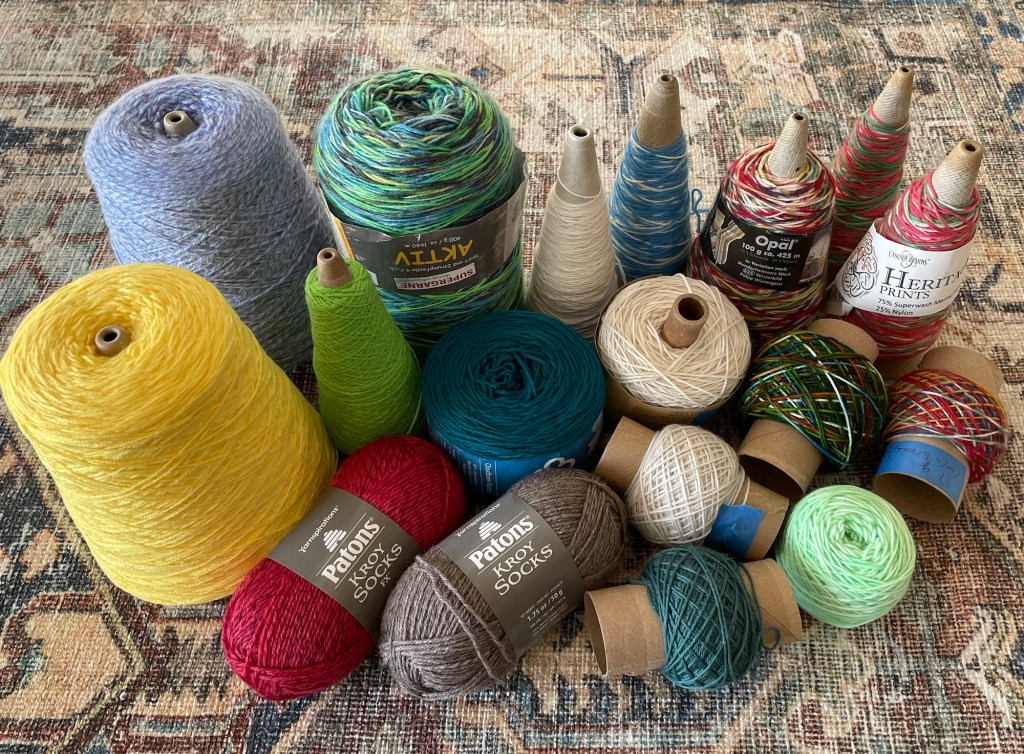
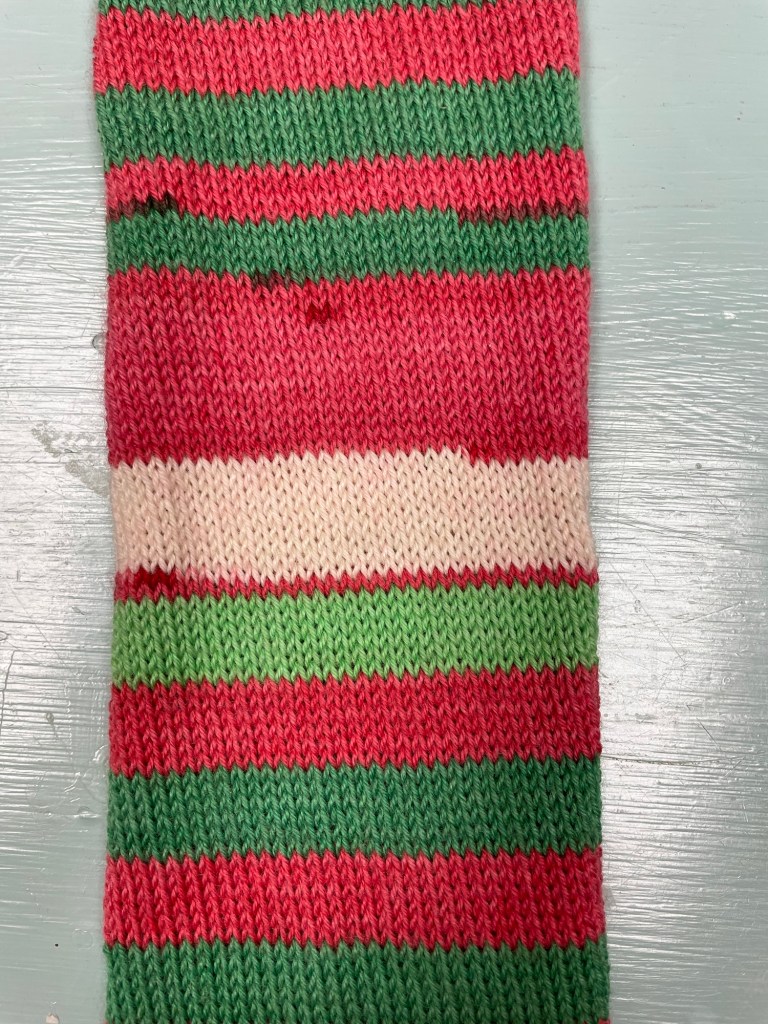
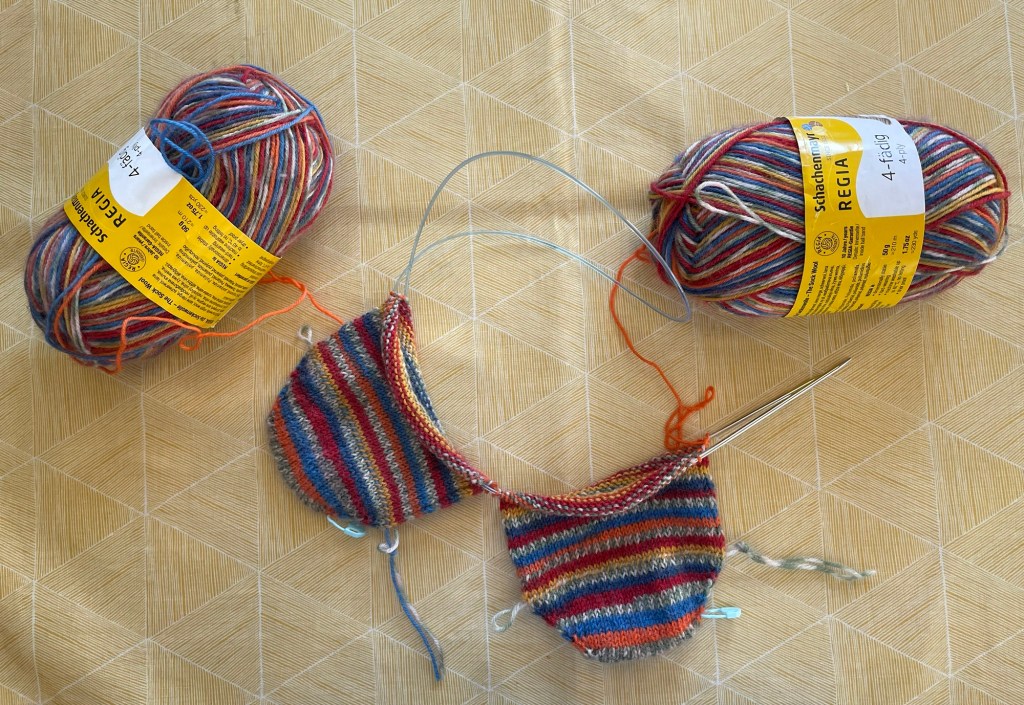
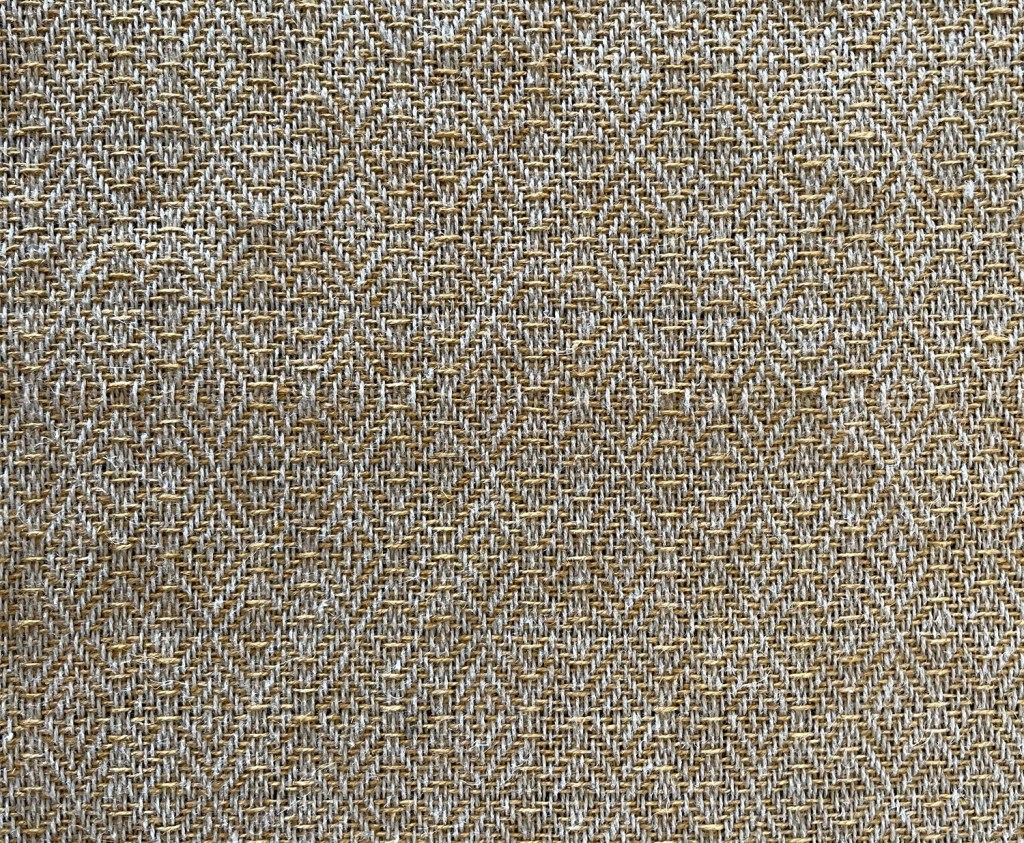
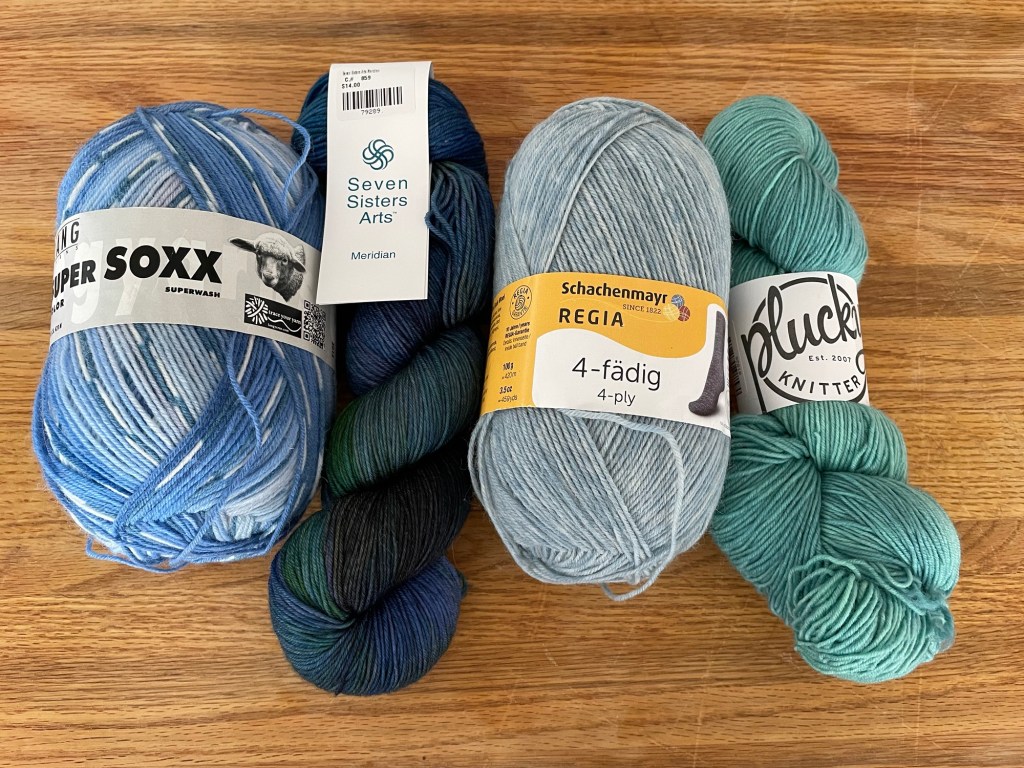
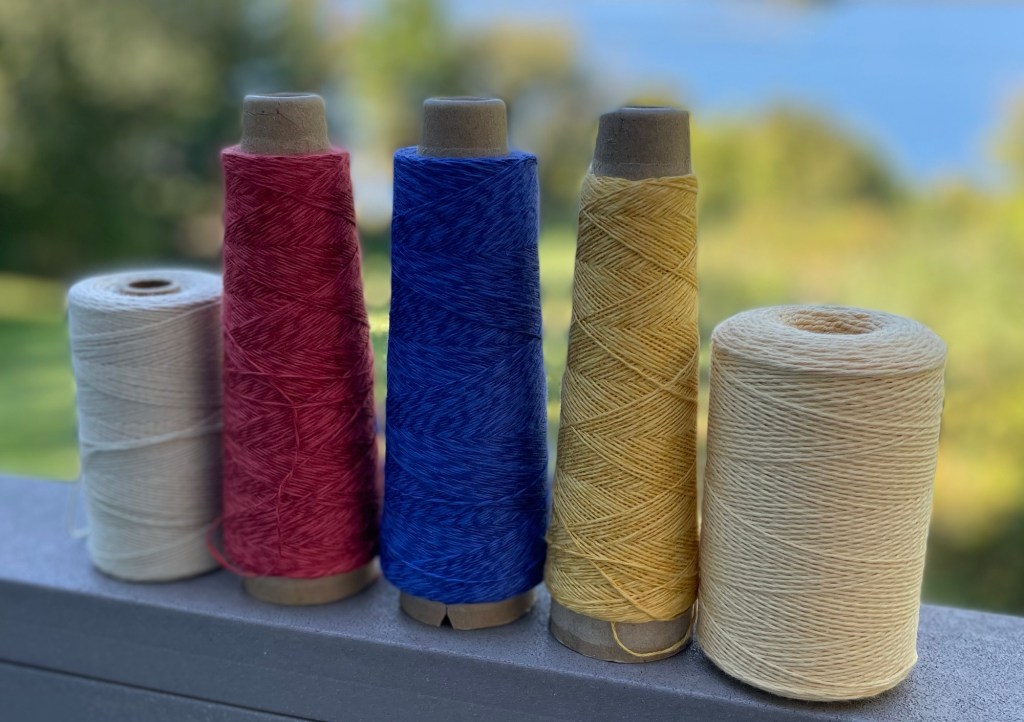
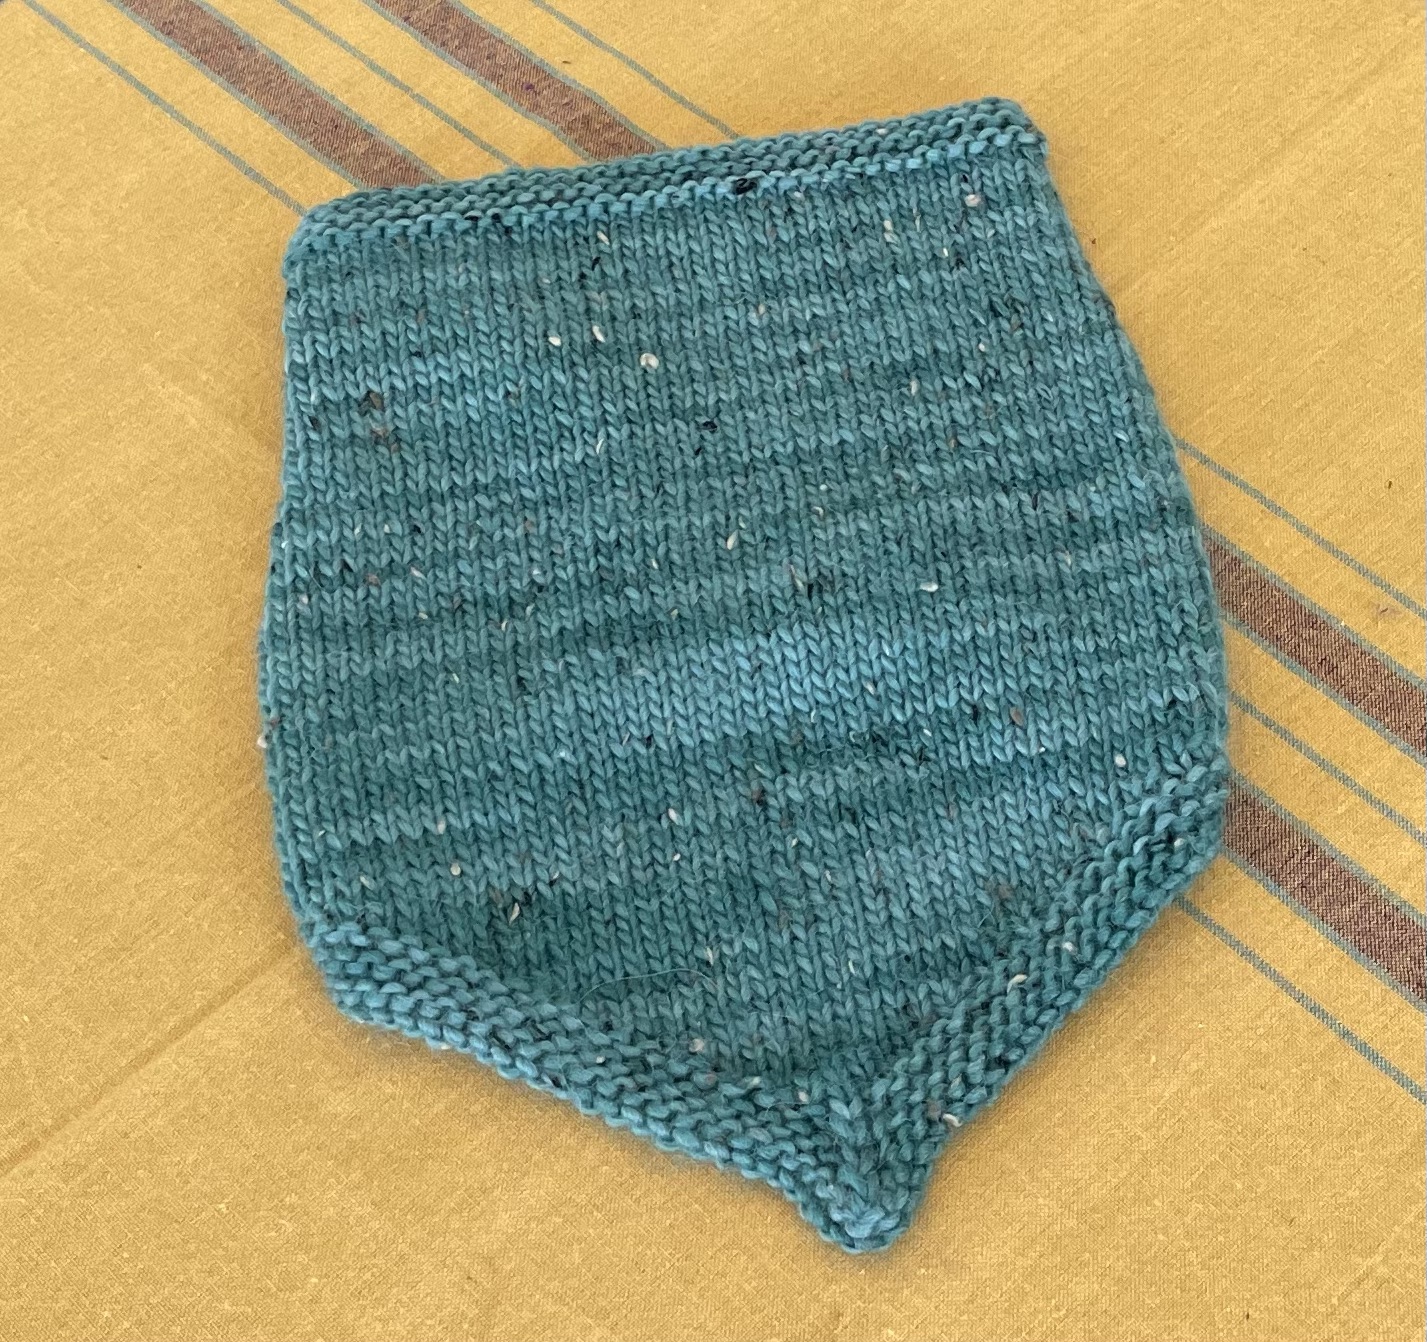
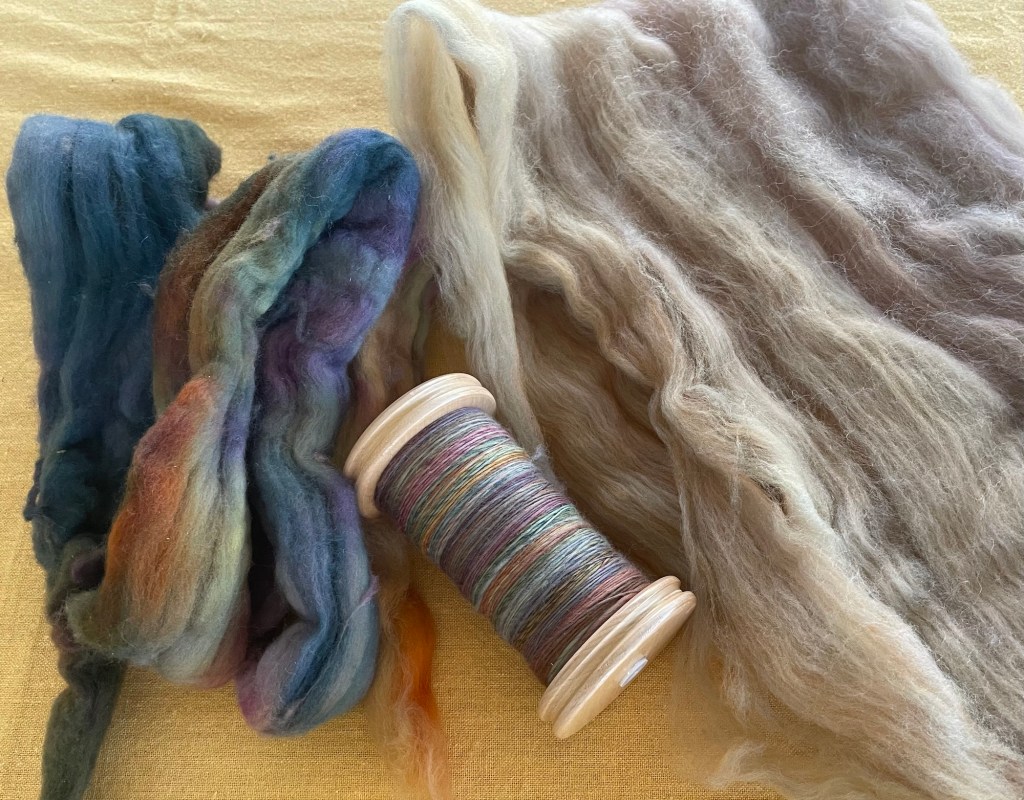
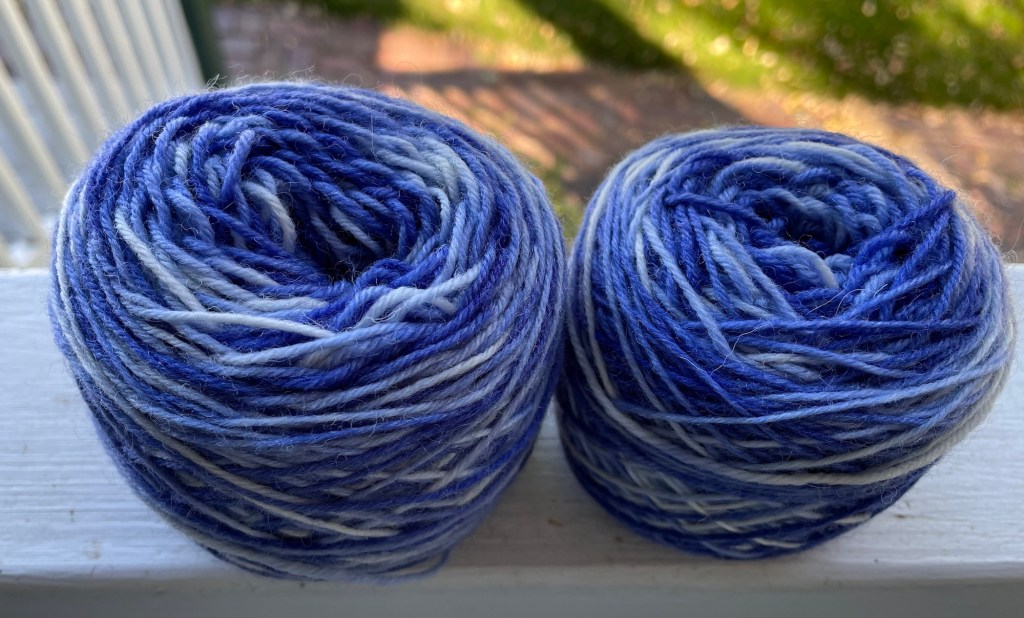
After finishing self striping socks for my son, but still long before I had my sock machine, I decided to knit socks for my daughter-in-law for Christmas. She liked this pretty blue and white hand dyed yarn I had from Greenstone Fiber Arts in Minnesota. I bought it at a fiber fair, but they have an ETSY shop that can be accessed here.

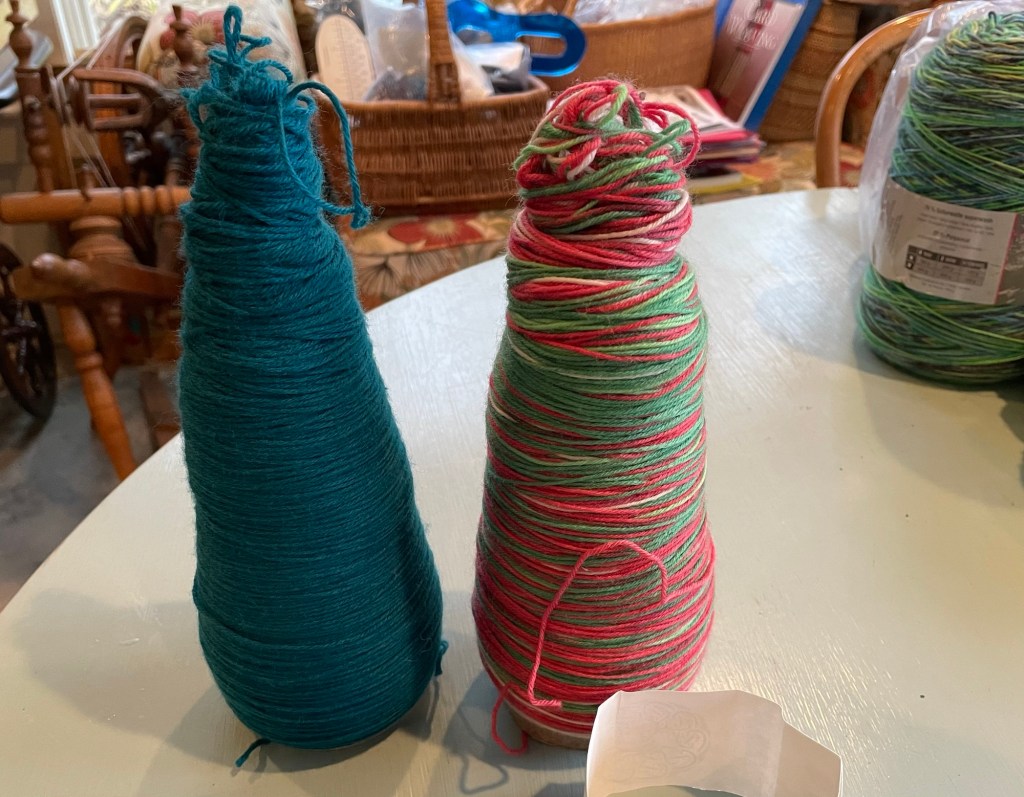
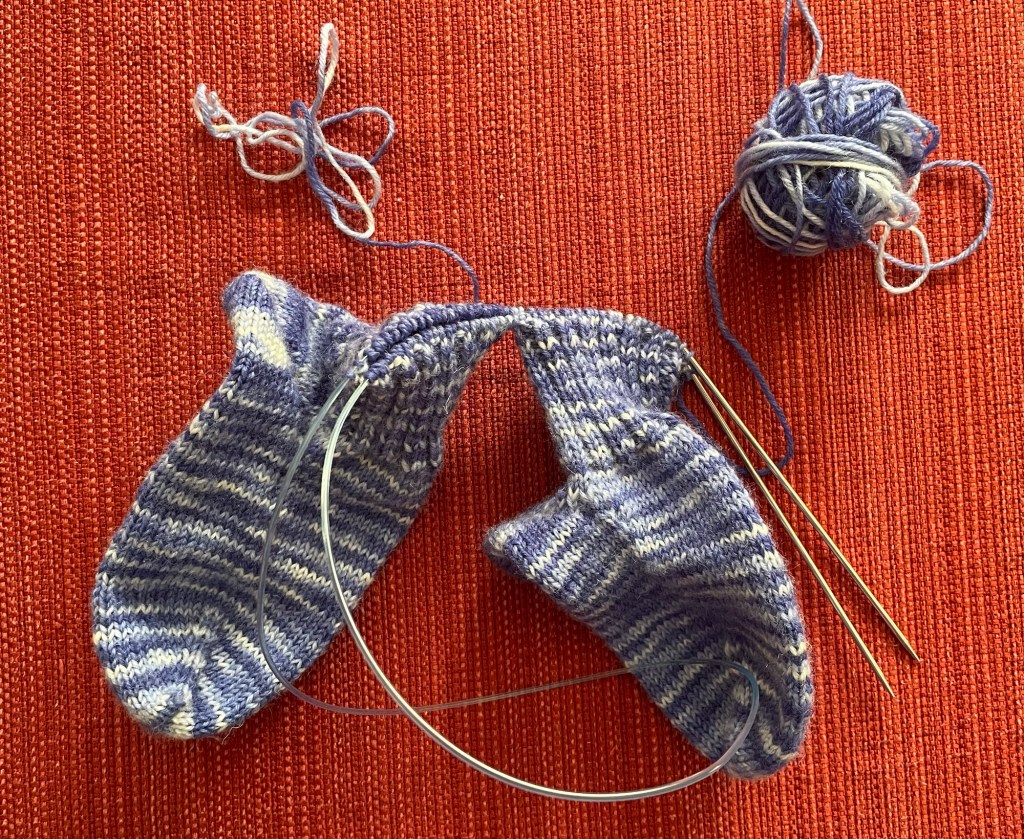
I made two center pull balls of equal weight, one for each sock. The cake that looks bigger is actually a few ounces less than the other cake, because it is wound looser.
I started off making the toes separately, because it is easier to do Judy’s Magic Cast-On one at a time. I knitted the entire first toe on size one magic loop needles, then transferred it to double pointed needles while I knitted the second toe. While I was working on the second toe, I noticed a problem with the first toe. After finishing the second toe, I ripped out the first toe and started over.
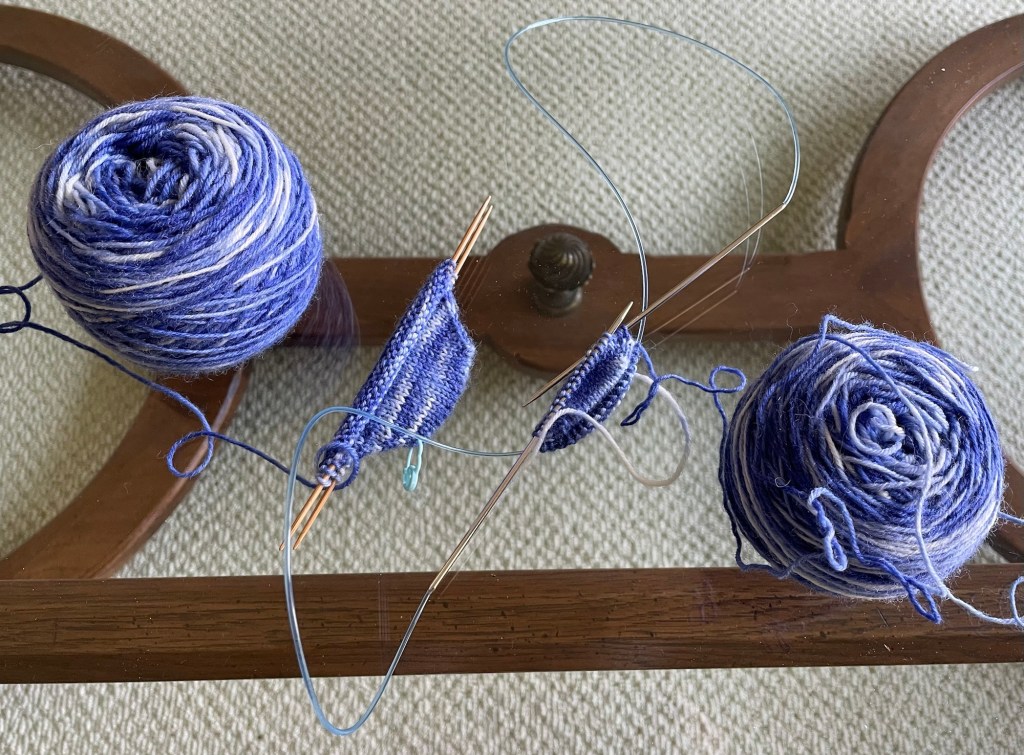
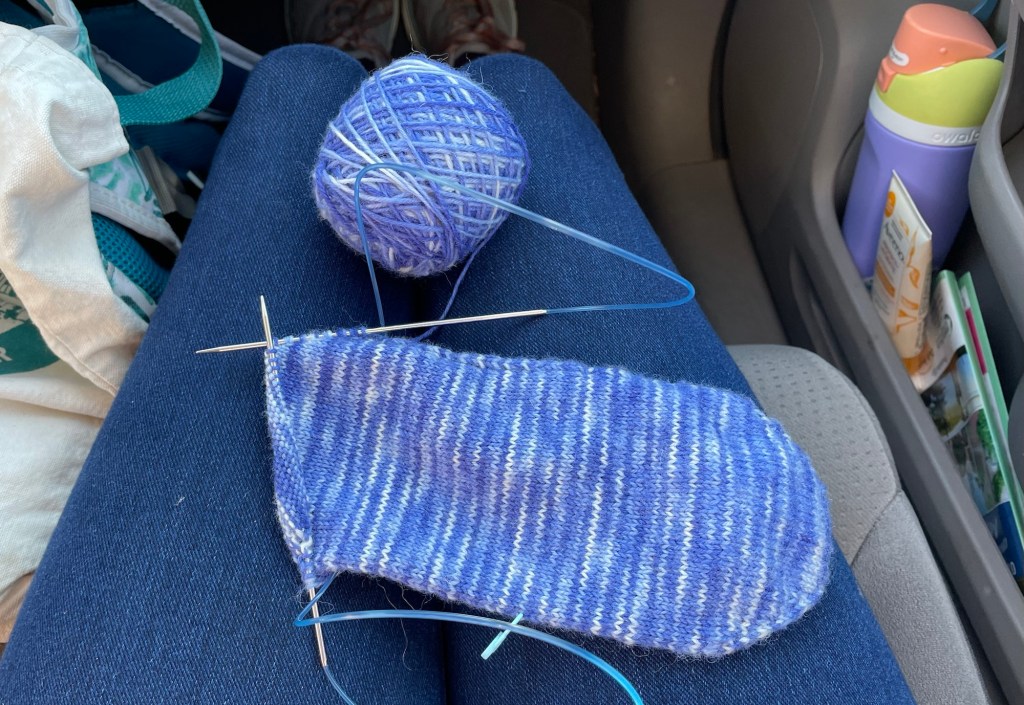
I have knitted several pairs of socks for myself that fit well with 60 stitches around for the foot. They have a few extra stitches added before the heel, and for the cuff. Kelsey has almost exactly the same size narrow feet as me, so I started out her socks with 60 stitches around. It is nice to know that if the sock fits me, it will fit her. After finishing the toes I got both socks on to the magic loop needles for two-at-time knitting.
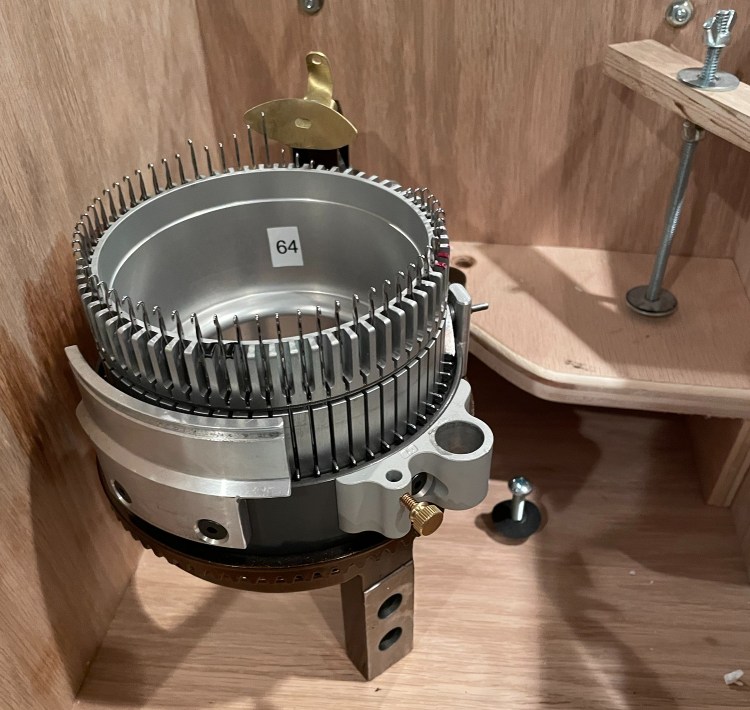
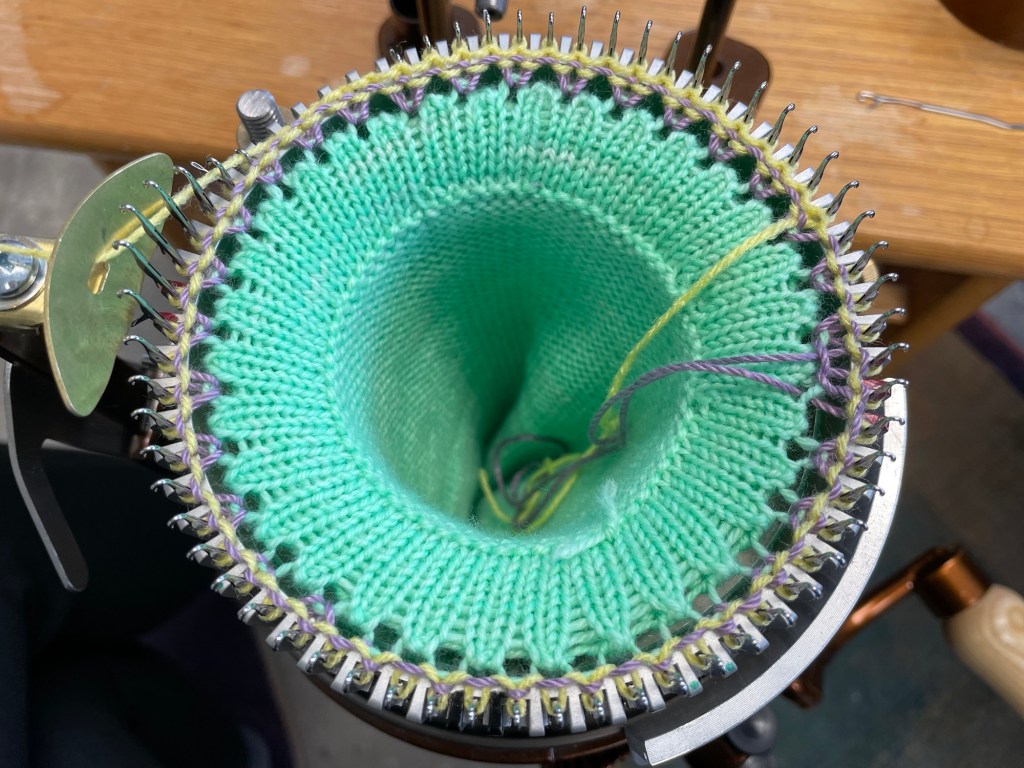
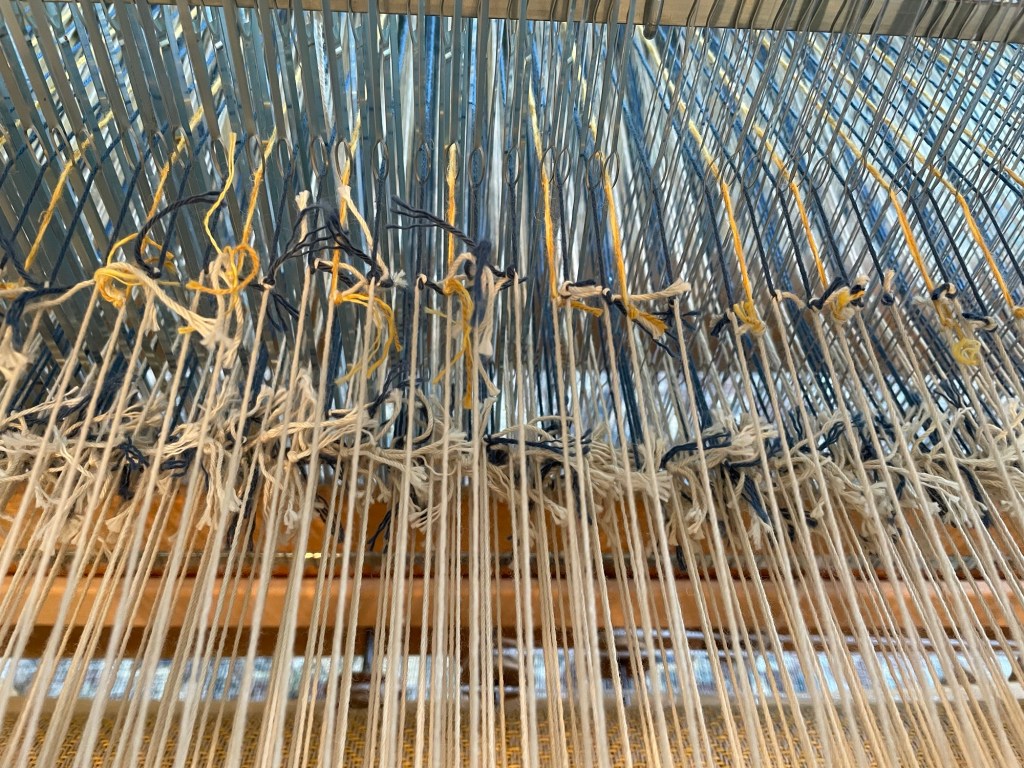
At the time I started this pair of socks, I had begun to seriously think about buying a circular sock machine. I wanted to knit these socks as if they were knit on a circular sock machine, so I would know how that would come out. Knitting a sock by hand means you can make any adjustment you want to any part of the sock to get a perfect fit. You cannot add stitches on the sock machine.
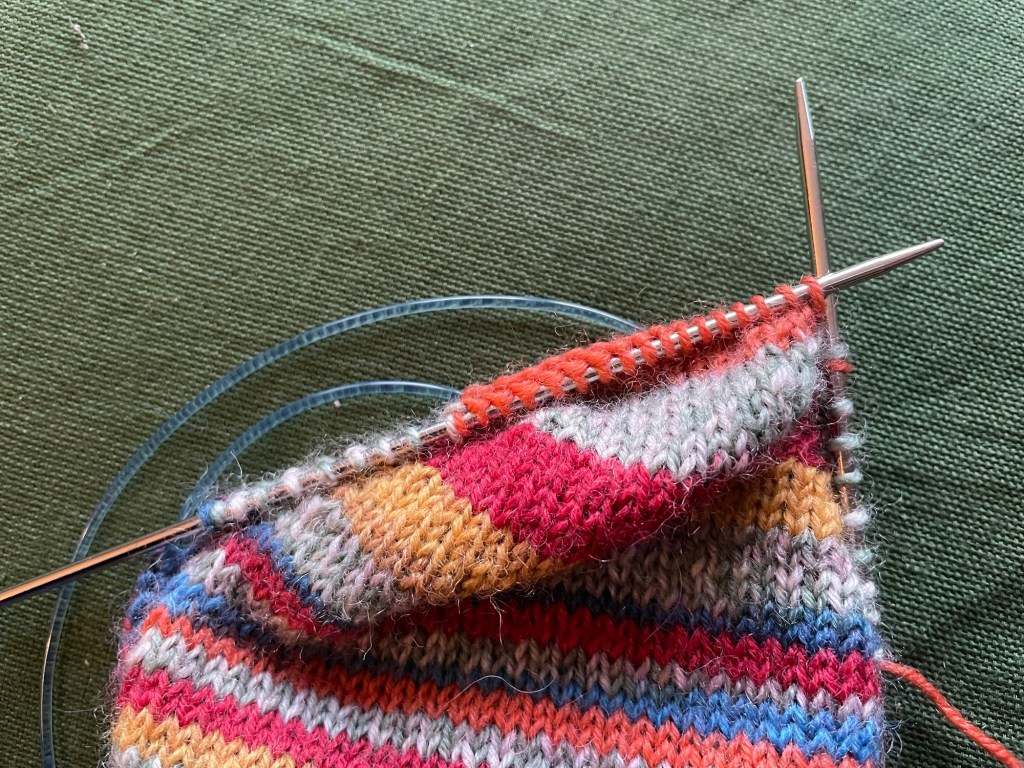
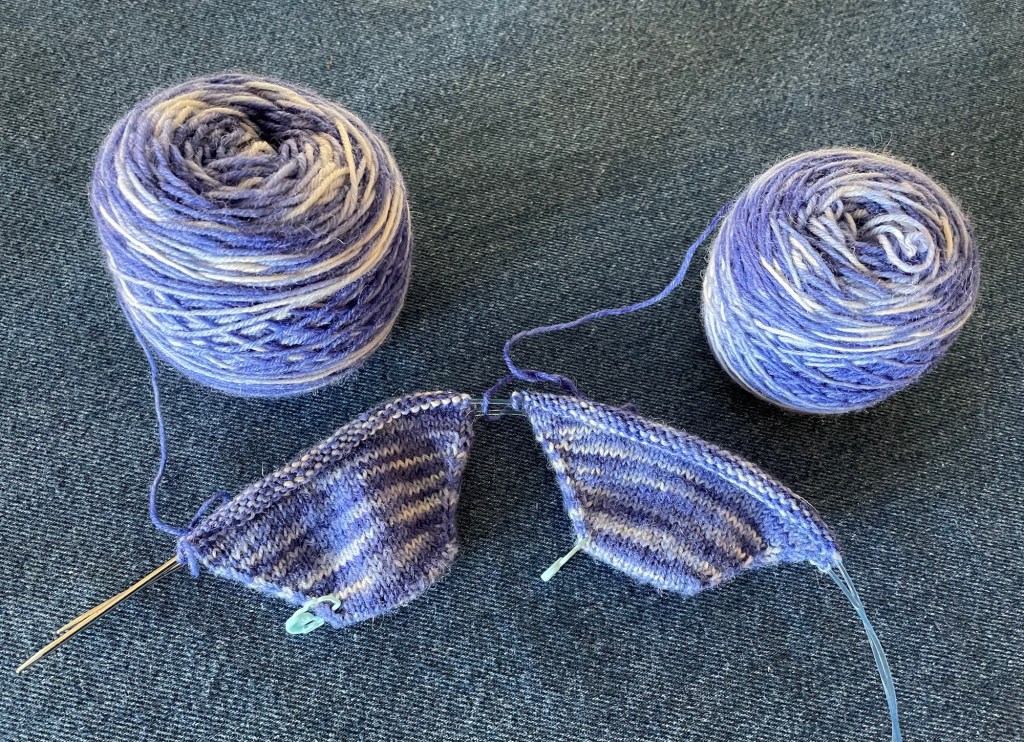
If I knitted Kelsey’s sock with 60 stitches, the heel and cuff would be too tight. ARGGG, I concluded there should be 64 stitches around. That meant unknitting a couple of rows, putting one sock back on the double pointed needles and doing another increase row on each sock.
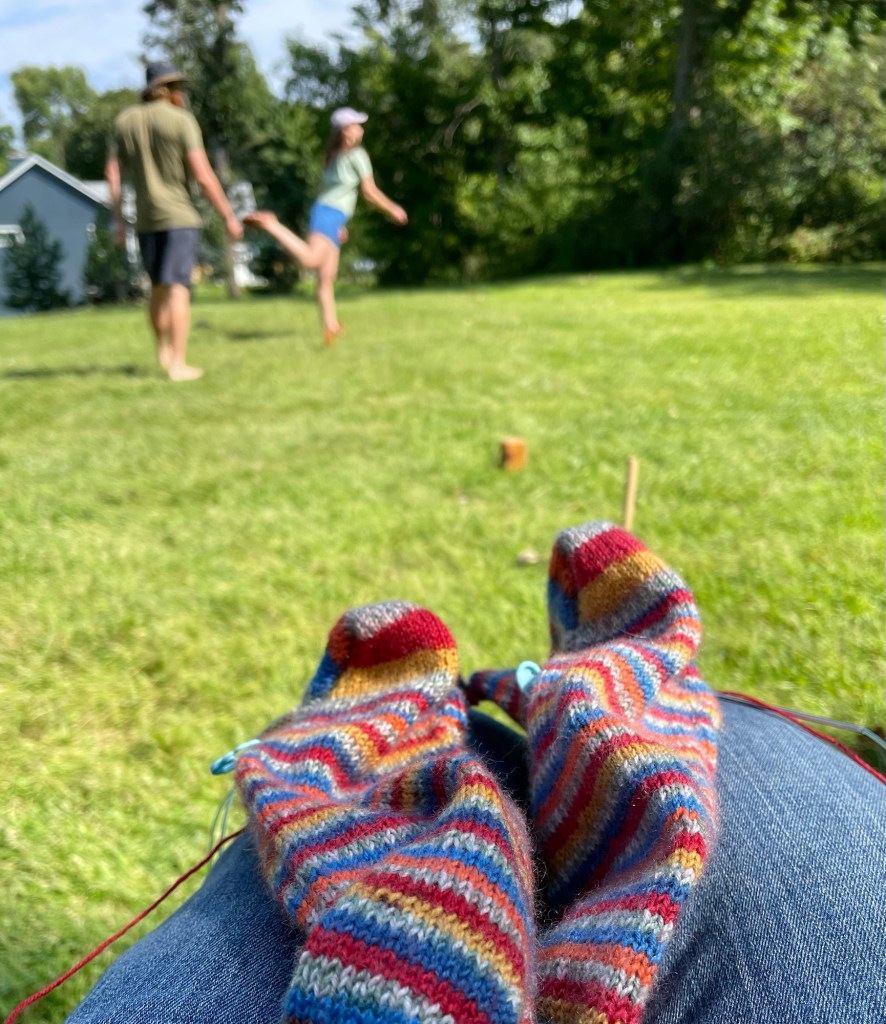
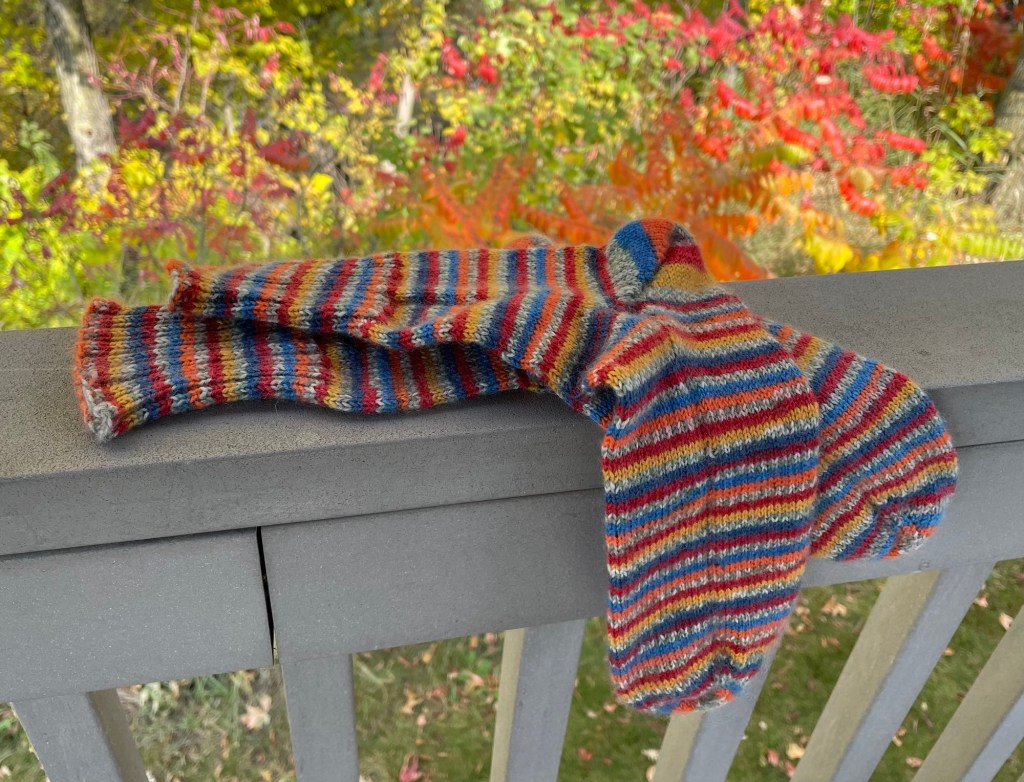
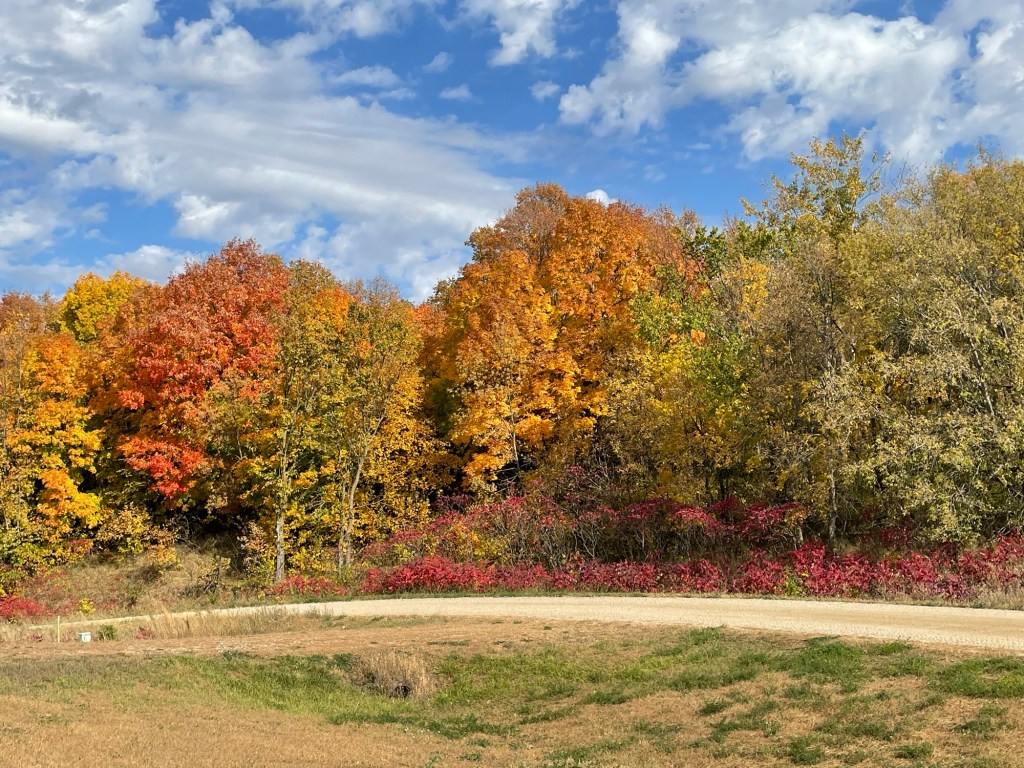
We were on a scenic drive around Otter Tail County, Minnesota, looking at the fall colors while I was working on this. It should have been pretty easy, but I had to re knit one of the additional increase rows due to a very big sloppy stitch I found in the corner a couple of rows later. Better to fix it and be happy with the sock, rather than later wished I had. Finally I got both socks at 64 stitches around and back on the magic look needles with a couple of rows of toe knitted.
We had some beautiful colors across the road from our house this fall.
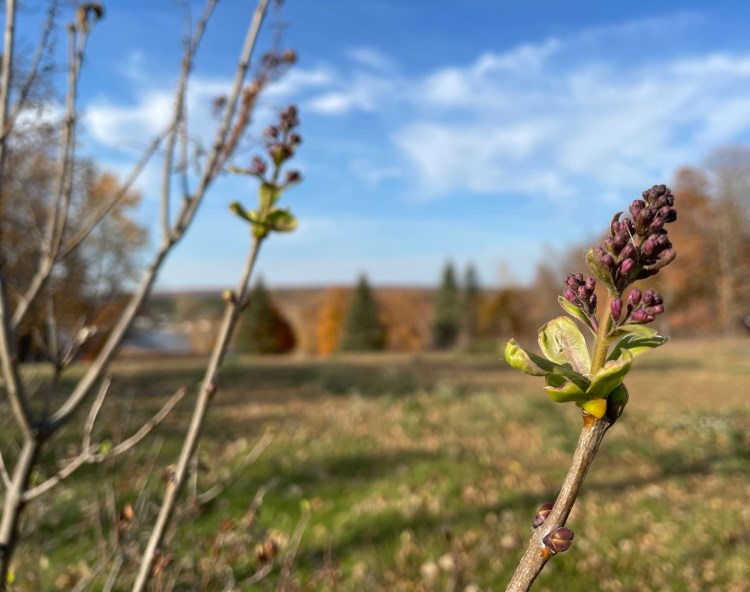
We also had unseasonably warm weather late in the fall, which caused some lilac bushes to bloom in Minnesota. Our big overgrown lilac bush did not bloom again, but a small bush had new growth. This seems very unhealthy and not what is supposed to happen. I heard that if a bush blooms in the fall, it will not bloom in the spring. We will see.
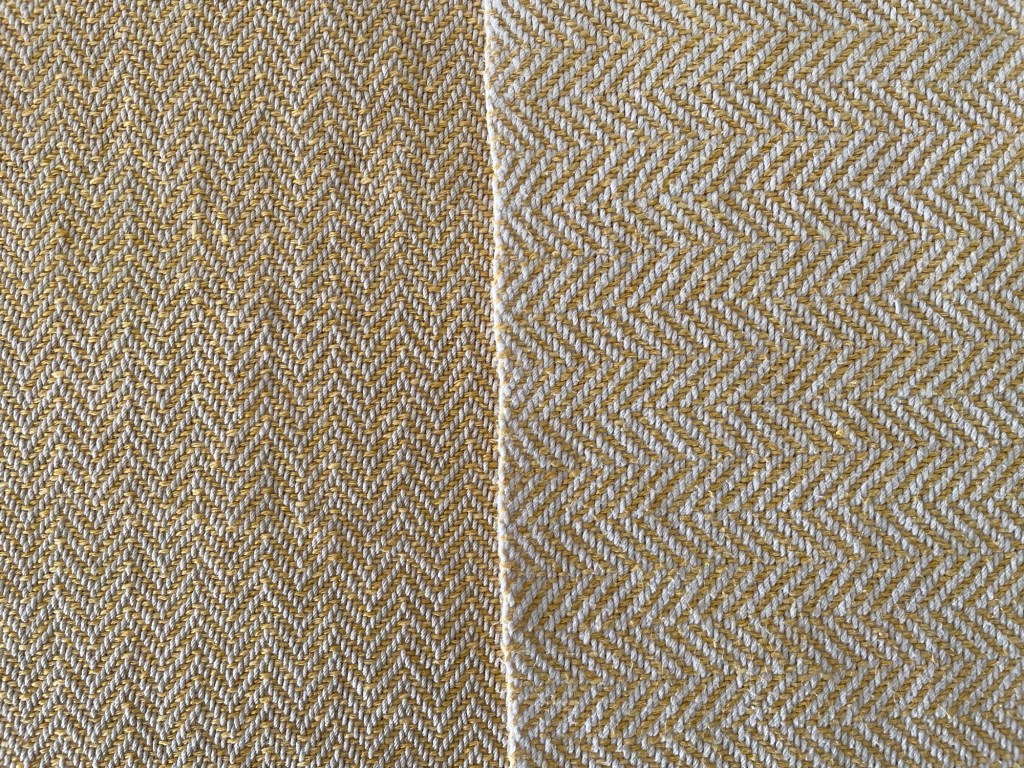
I had two goals for this pair of socks. One goal was for them to fit Kelsey, and the other goal was to get information on whether a 64 stitch sock machine cylinder would work for a generic ladies sock. After knitting more of the foot with 64 stitches, I started to get worried they were going to be too loose. I thought about options for making the foot have more elasticity, including adding some rows of ribbing in the foot, which would make it fit more tightly.
I was prepared to add a section of 1 x 1 ribbing in the middle of the foot, but when I got to the right place to start the ribbing they did not seem too big around after all. This pair of socks was coming out a similar size around to other socks I knit with yarn that is a little thinner, with only 60 stitches around. It is all a mystery. I did not do the ribbing in the foot after all.
I worked on the heel in the car using my favorite short row method, Fish Lips Kiss Heel. I can almost do this without looking at the pattern. The standard way to do the heel is using exactly half of the stitches. Since you cannot add stitches on the sock machine to make the short row heel fit better, the way to make the heel “deeper” is to use more than half of the stitches. Since I was trying to mimic a sock made on the sock machine, I made the heels using two more stitches on each side of the heel.
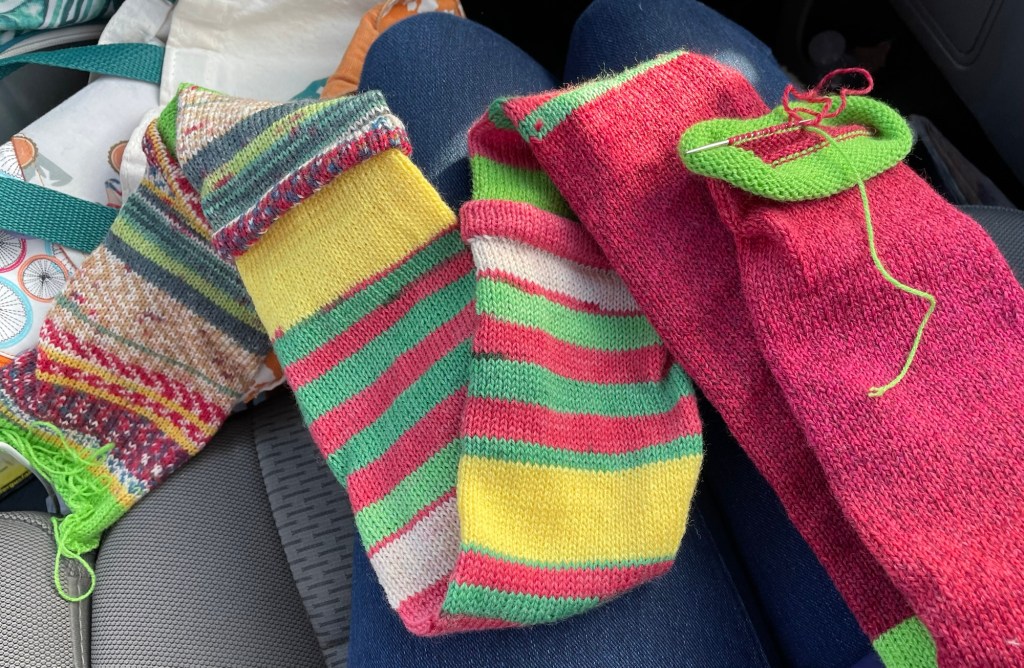
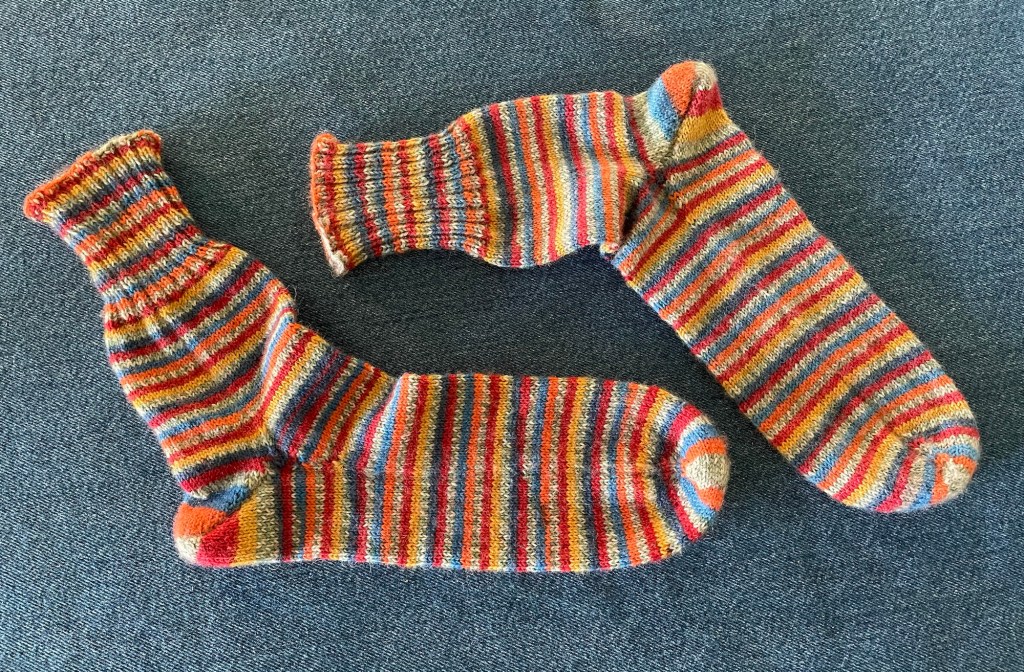
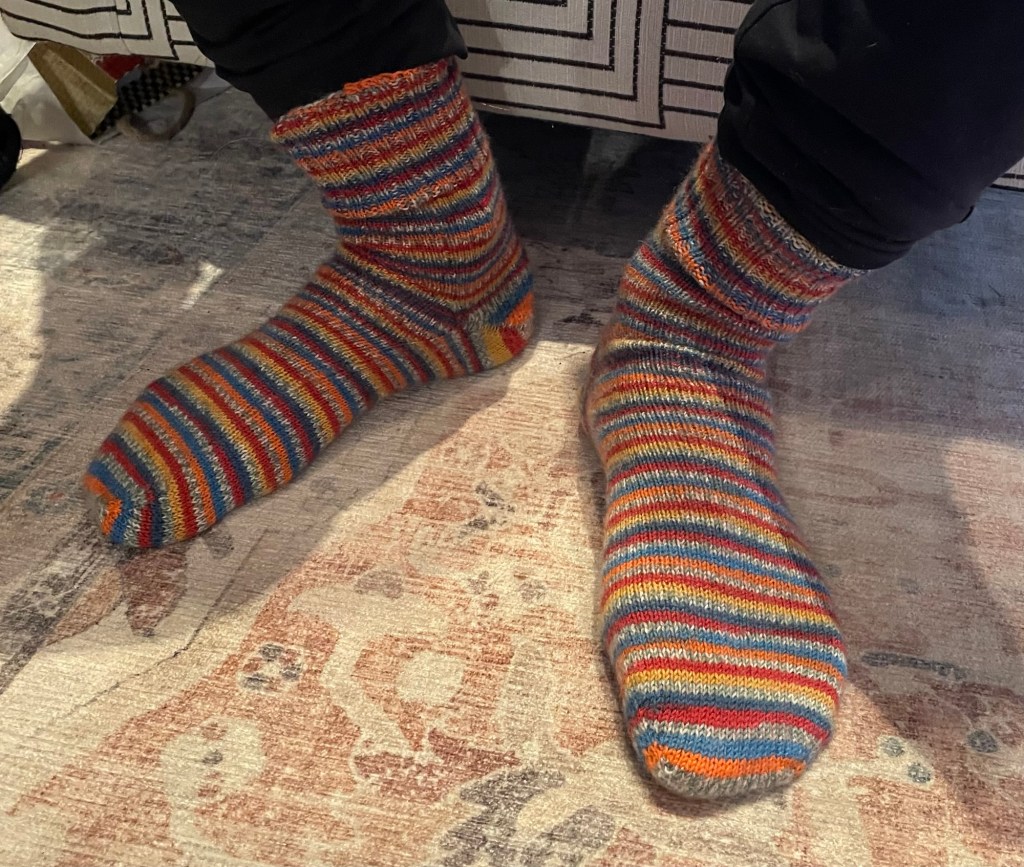
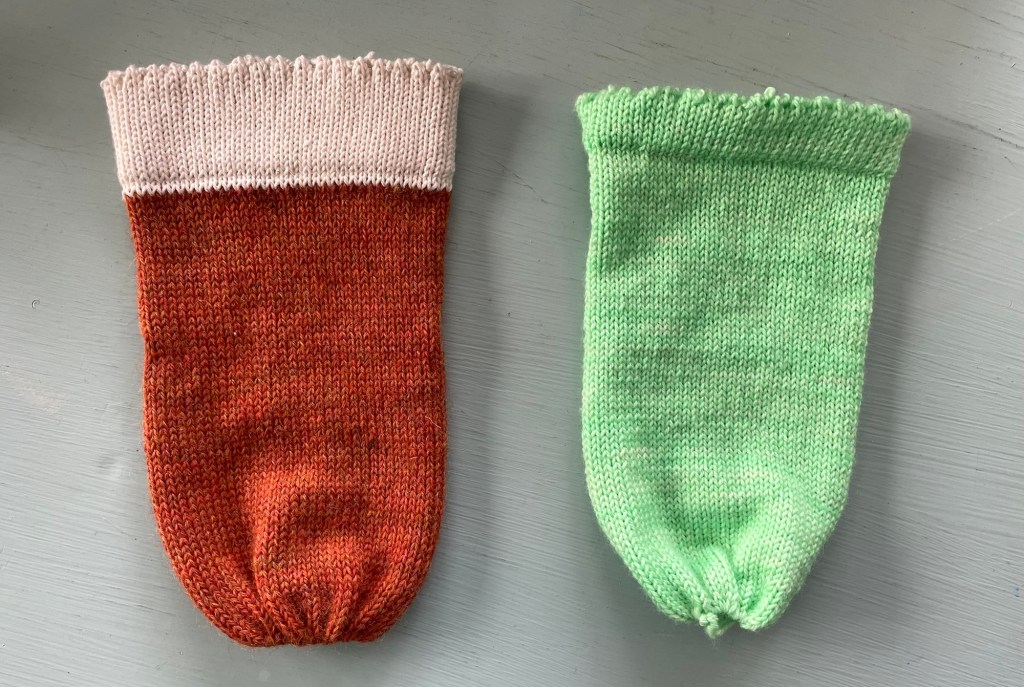
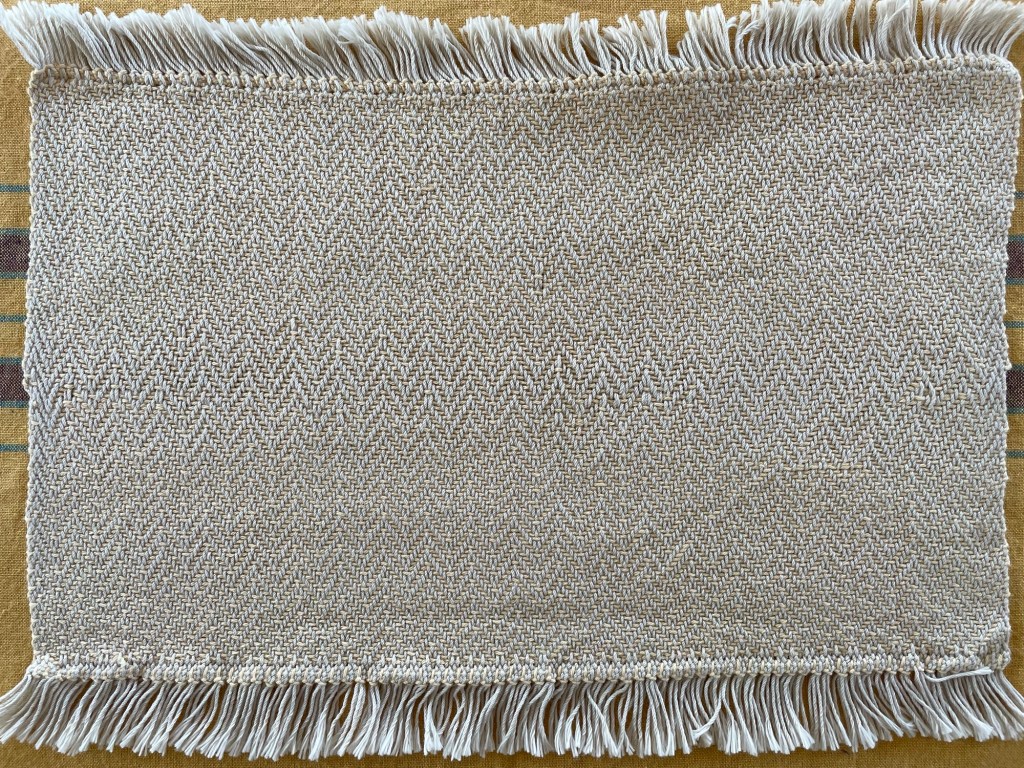
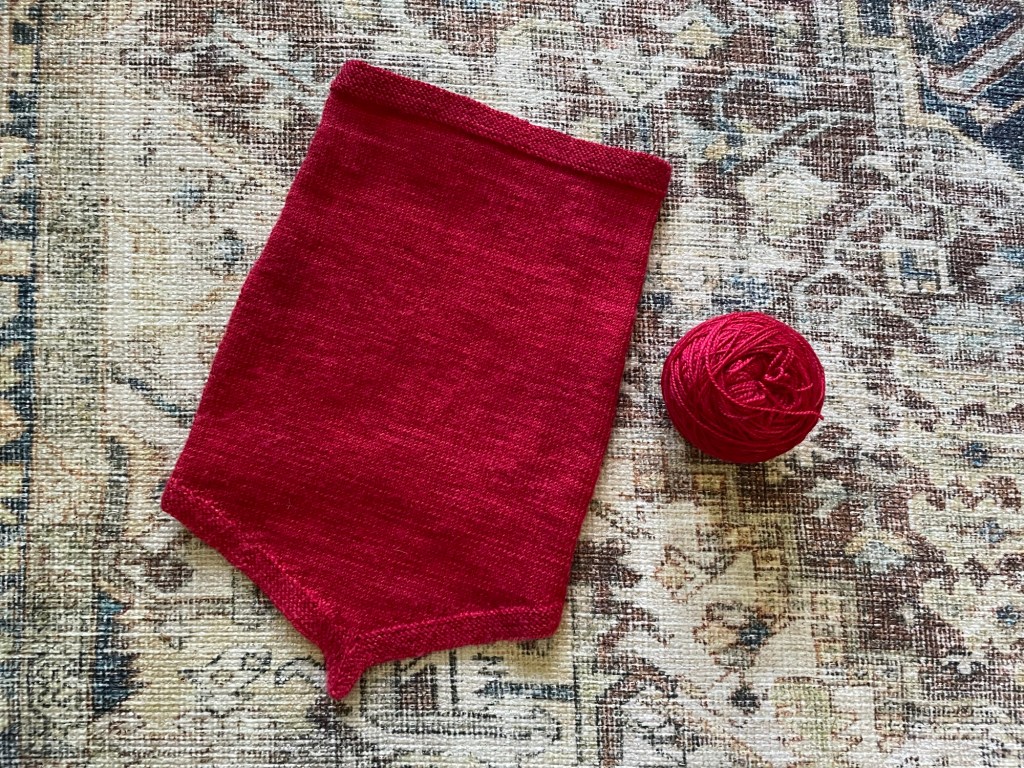
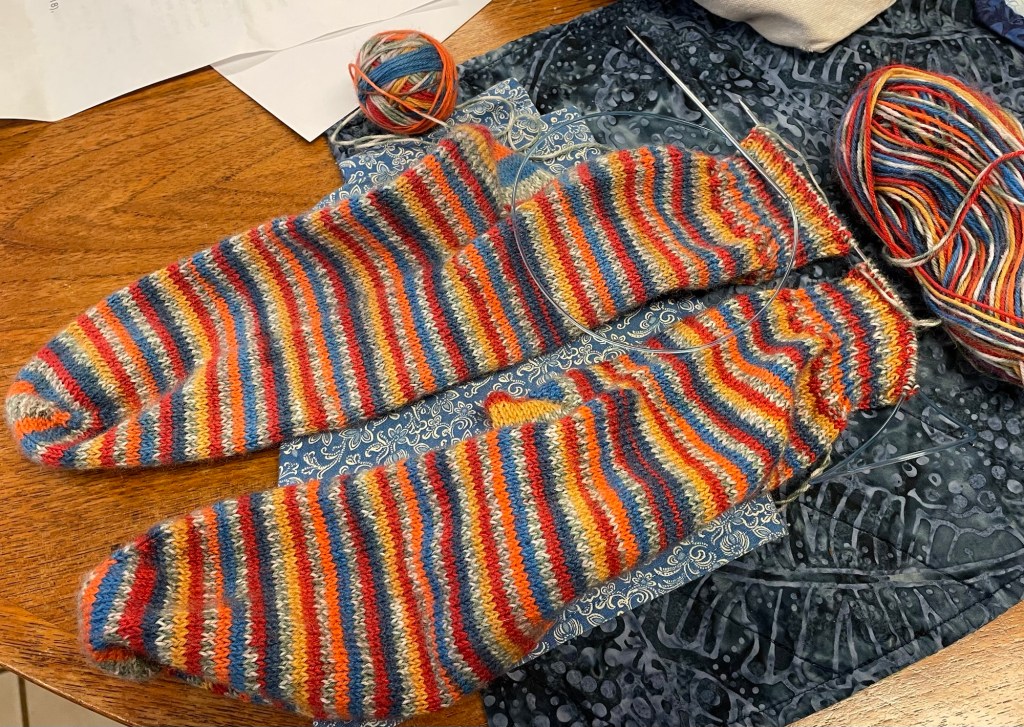
Following is a photo of the socks complete, before blocking.

I had some other hand knit socks that needed to be washed. I put all the socks in a tub of warm water with a bit of wool soap, carefully rinsed them with clean water, squeezed out extra water, rolled them in a towel to remove more water, and then spread them out to dry. Most of these socks are made with superwash yarn that has been processed so it won’t shrink in the washing machine. The process used to get it this way is not good for the environment, but that is a different topic. I have always been nervous about putting handmade socks in the washing machine, not wanting to take a chance on ruining them. Later I tried it with a couple of pairs and found it worked fine, noting that I did not put them in the dryer.

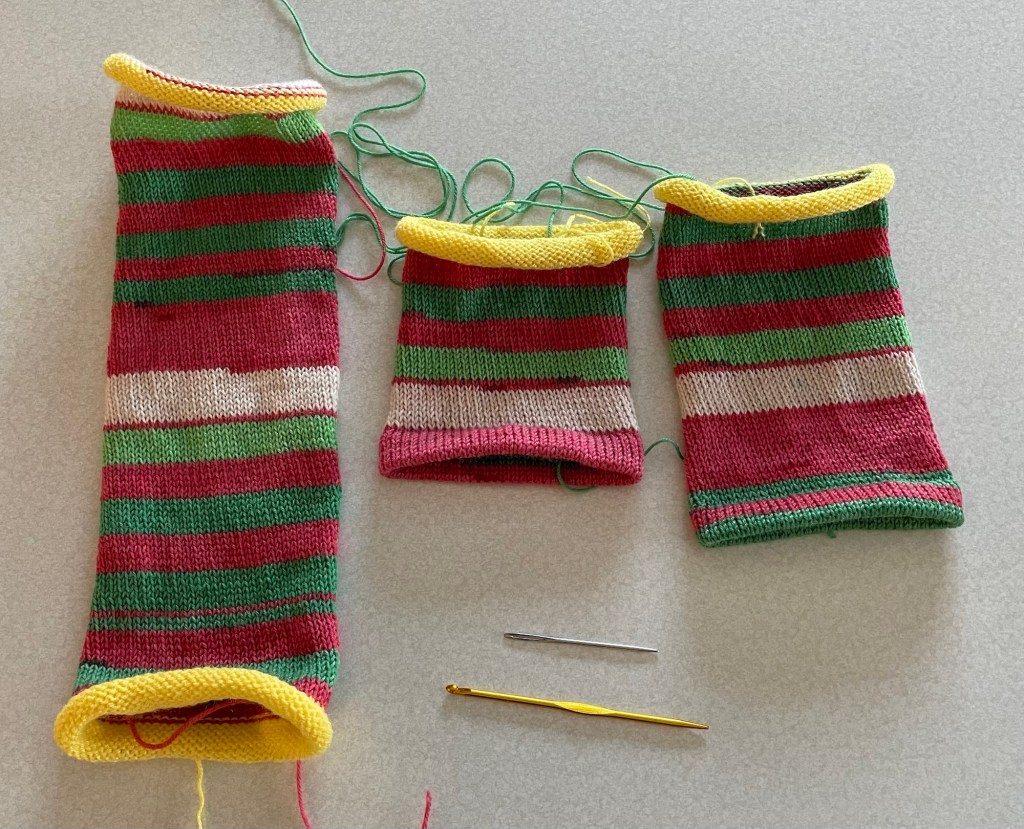
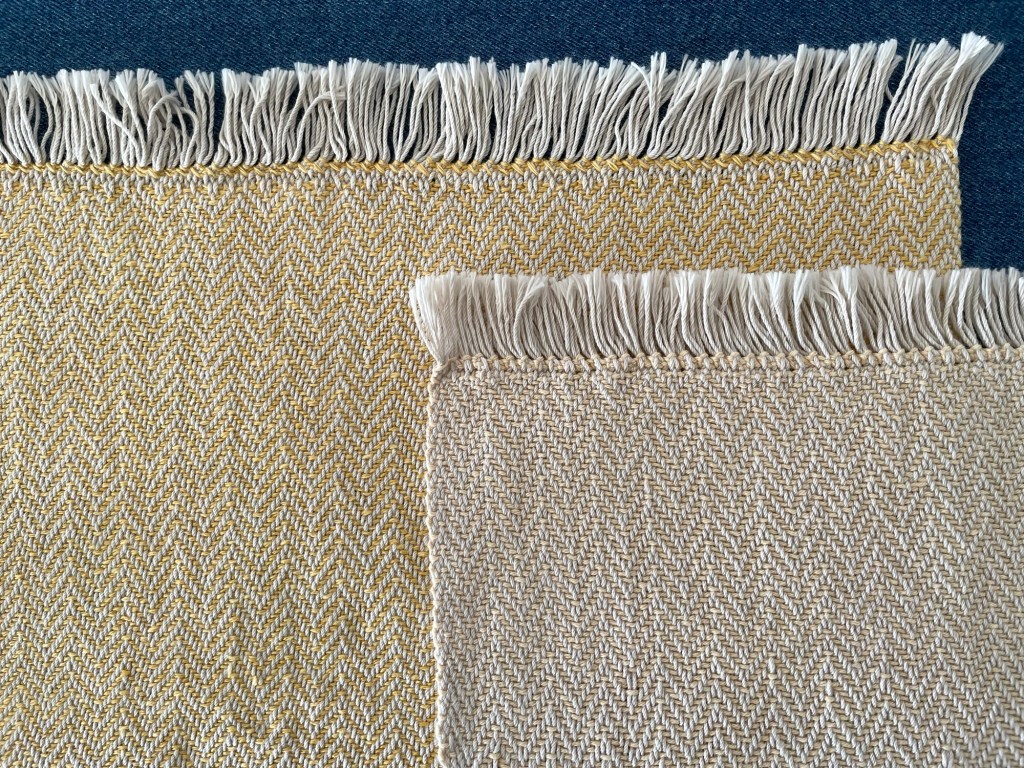
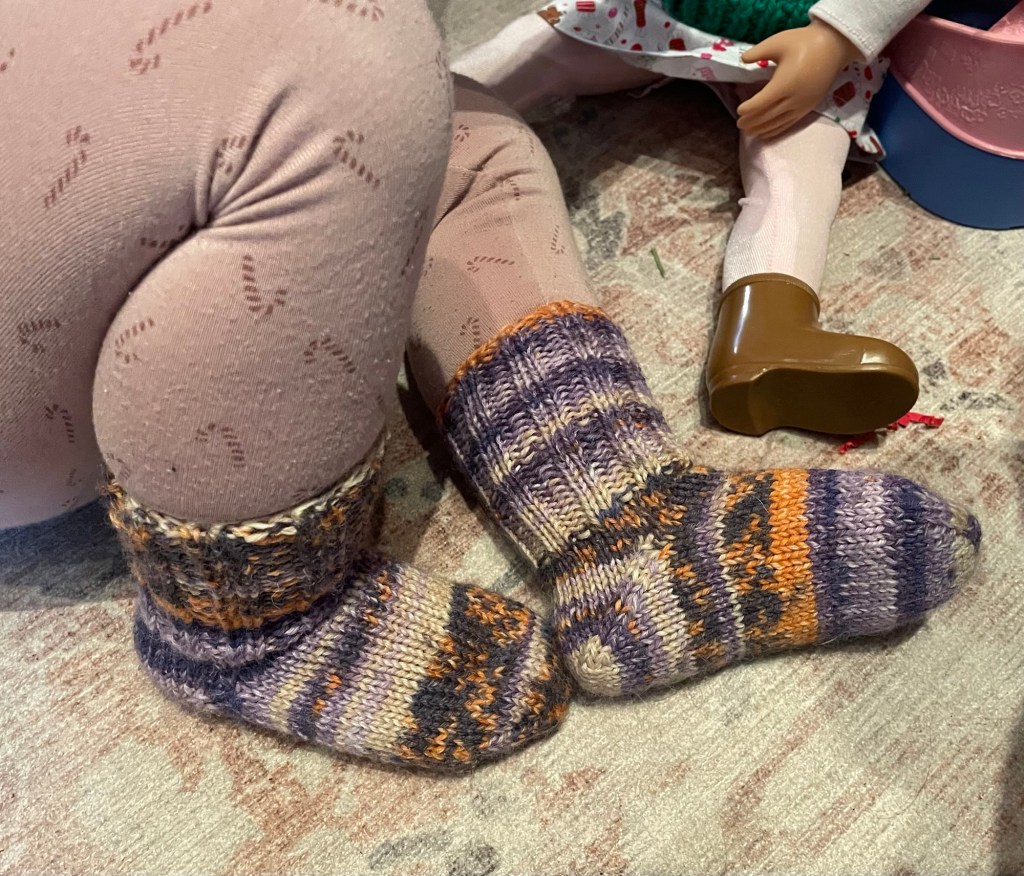
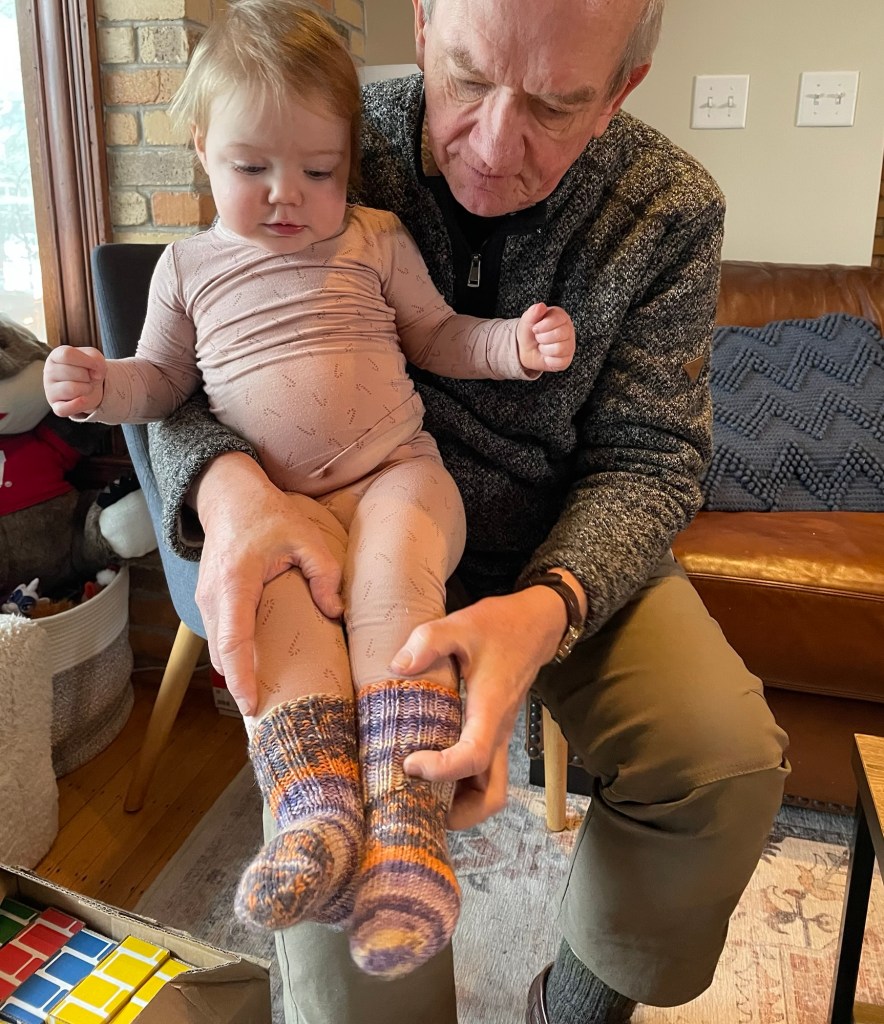
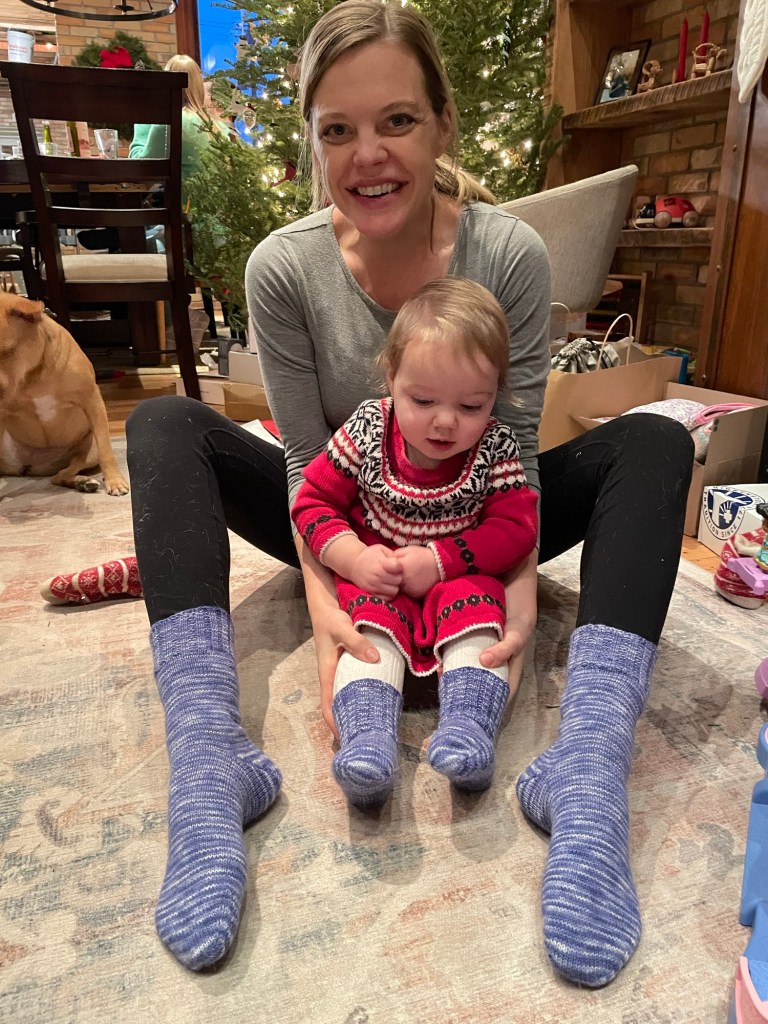
There was enough yarn left to knit a pair of matching toddler size socks for my granddaughter.

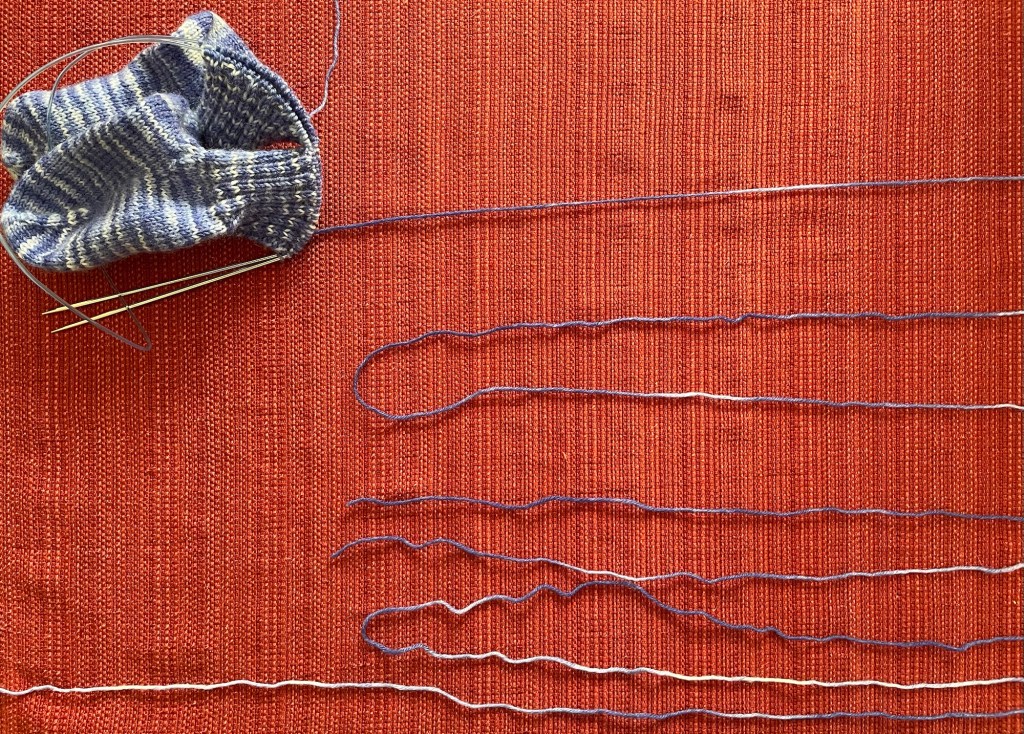
One ball of yarn was going to run out before I finished knitting the socks.
I spread the remaining yarn out, so I could cut off half of the yarn from the ball that had more, to use on the other sock.
After knitting a couple more rows I stopped. I might have been able to knit one more row, but I did not want to find out. I went ahead and cast off, leaving only a few inches of tail on one of the socks.

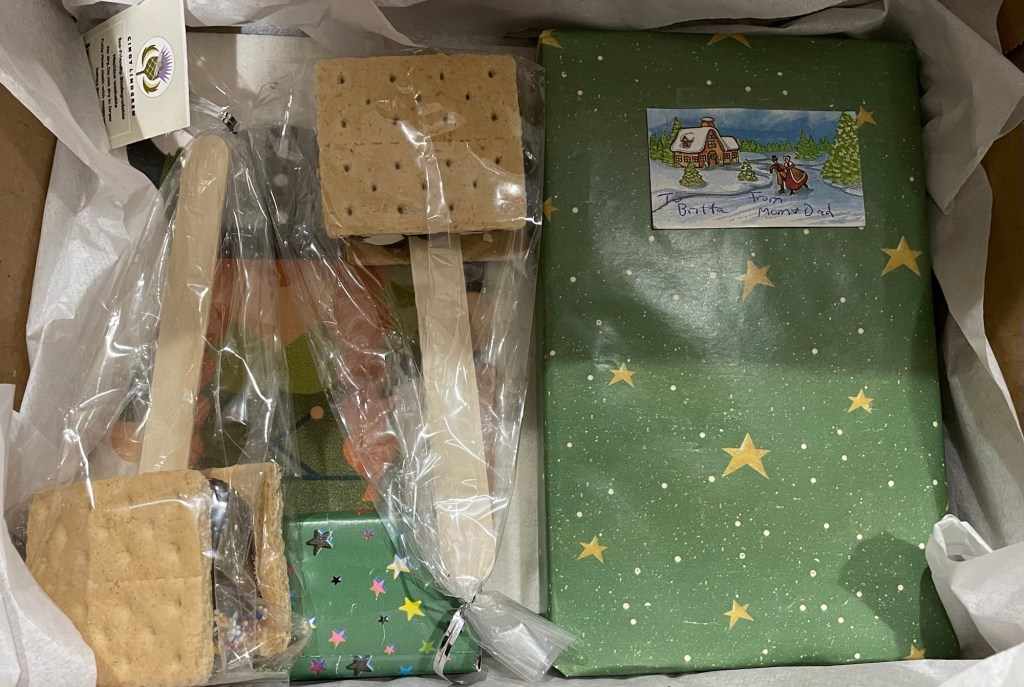
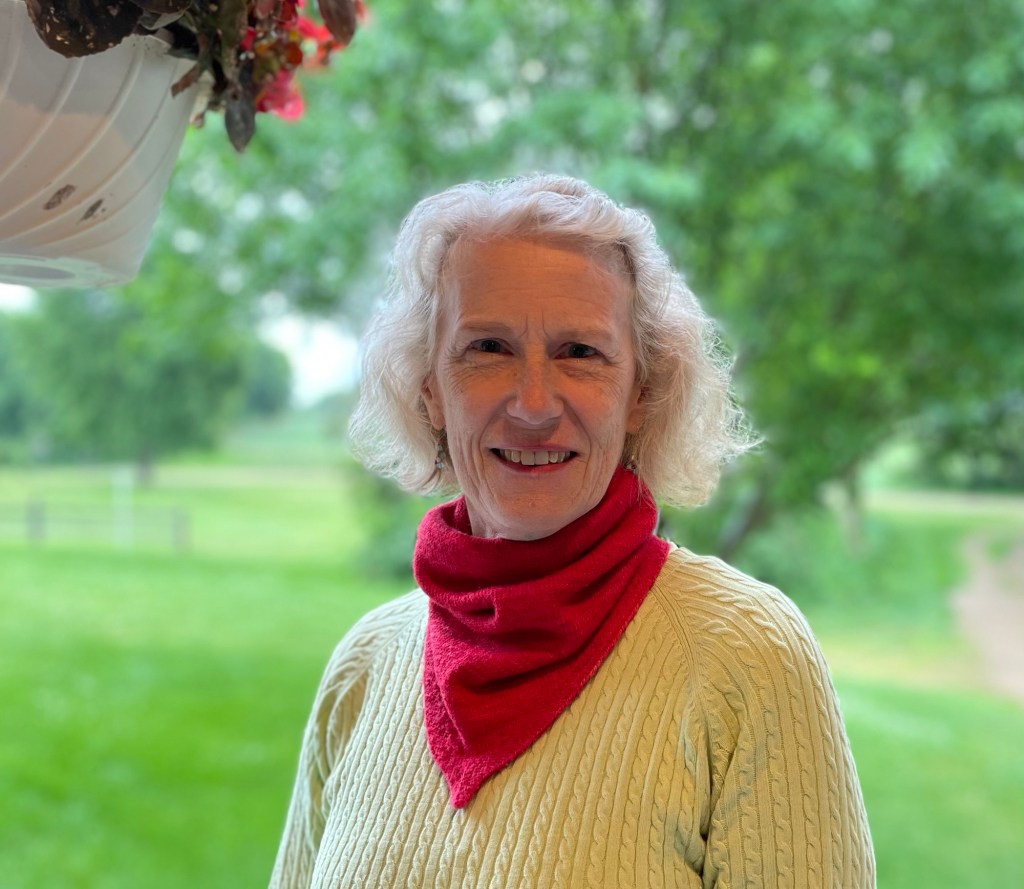
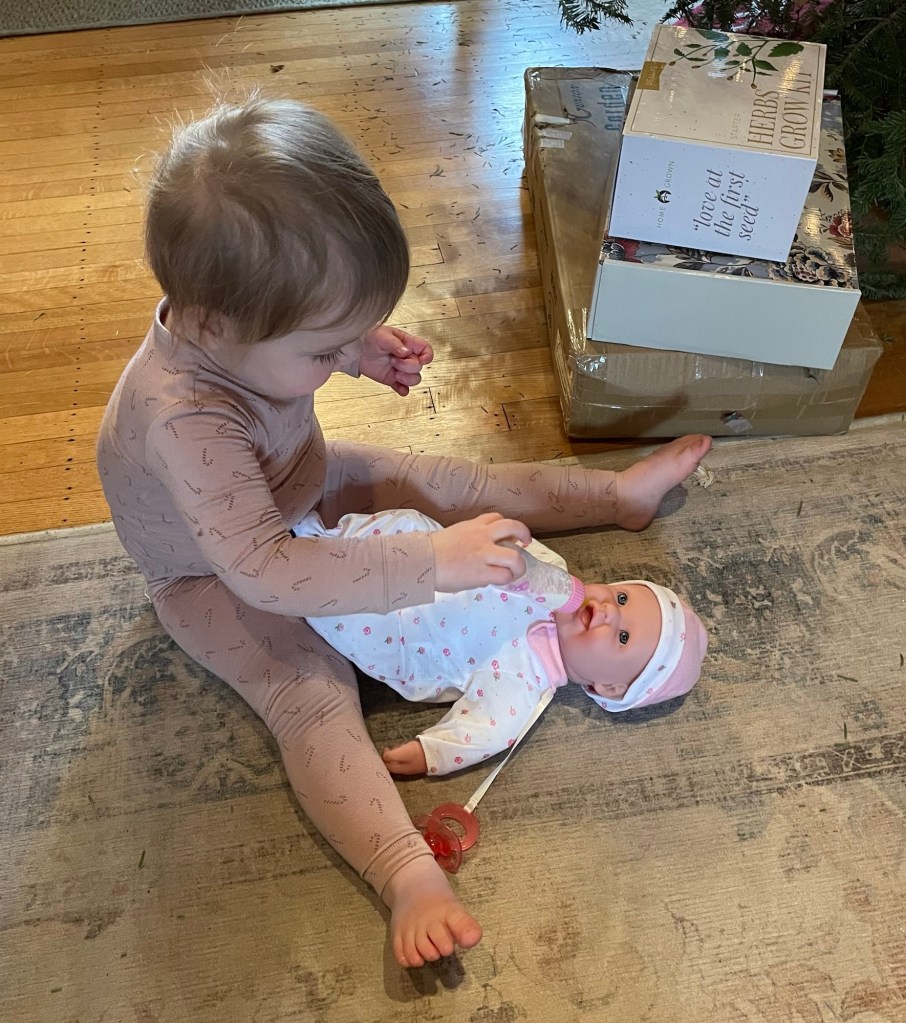
I gave the pairs of matching socks to Kelsey and Blair for Christmas, along with another pair of toddler socks I had knit years ago. Blair was not excited about the socks (no surprise), but she did like the baby doll she got from Santa. She also got an American Girl size doll from her great great aunt who has never met her, with a whole box of clothes and accessories hand made by a friend of hers.
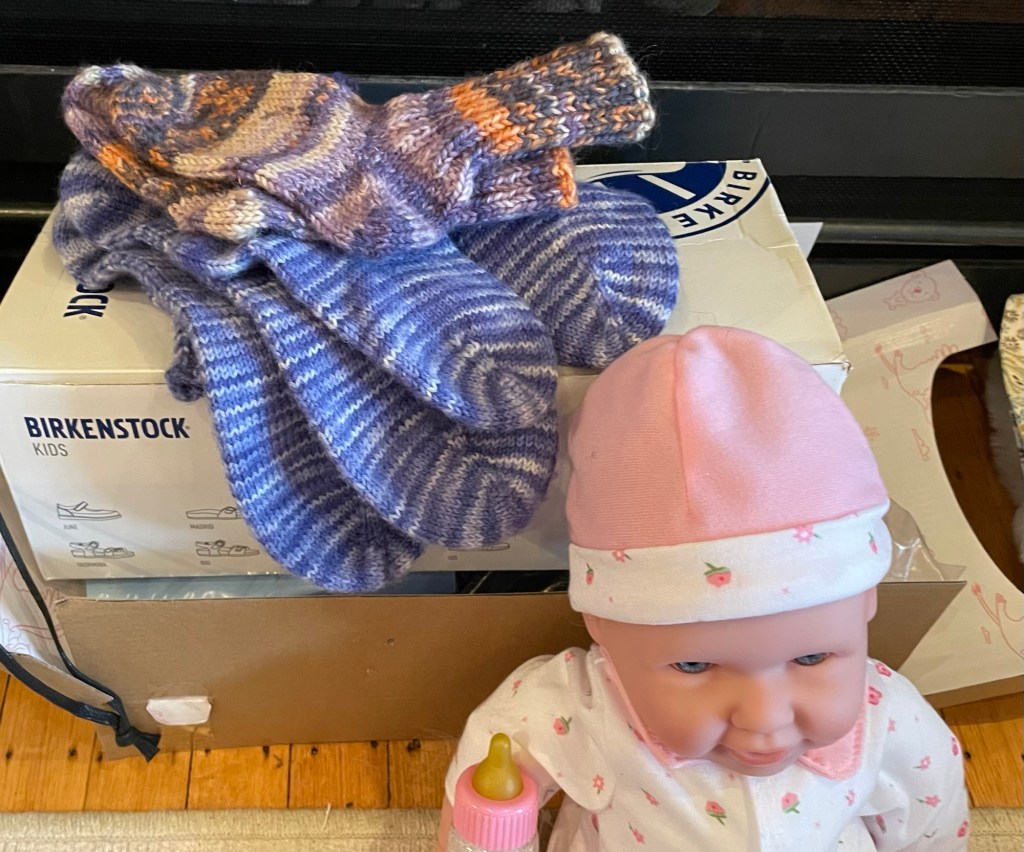
Blair knew right away to put the tiny bottle in the baby doll’s mouth.
I find it fascinating how much happens in a child’s first two years of life. Blair goes to Spanish Immersion day care. Her first word was “agua”, which she uses for all beverages. At Christmas time she was 18 months old and saying more words that we could identify, such as dog and ball. She very clearly pointed to her other grandpa and said “papa”. There were three dogs in the house including their own dog Winnie, the other grandparent’s dog, and Kelsey’s brother’s dog Olive. Blair had been referring to all dogs (and all children) as “dog”, but she clearly said “Olive” while pointing at the correct dog. Not sure why she did not try to say the name of her own dog, or why only the other grandpa was “papa”. I am sure her language will develop quickly over the next months.
It seems like Blair recognizes us now on facetime which makes me very happy, since there is a long stretch of time while we are in Arizona when we won’t see her in person. When we get back home in the spring, she will have grown a lot and be speaking many more words, and her baby sister will be arriving at any time. I hope to knit matching infant and toddler sweaters by then.