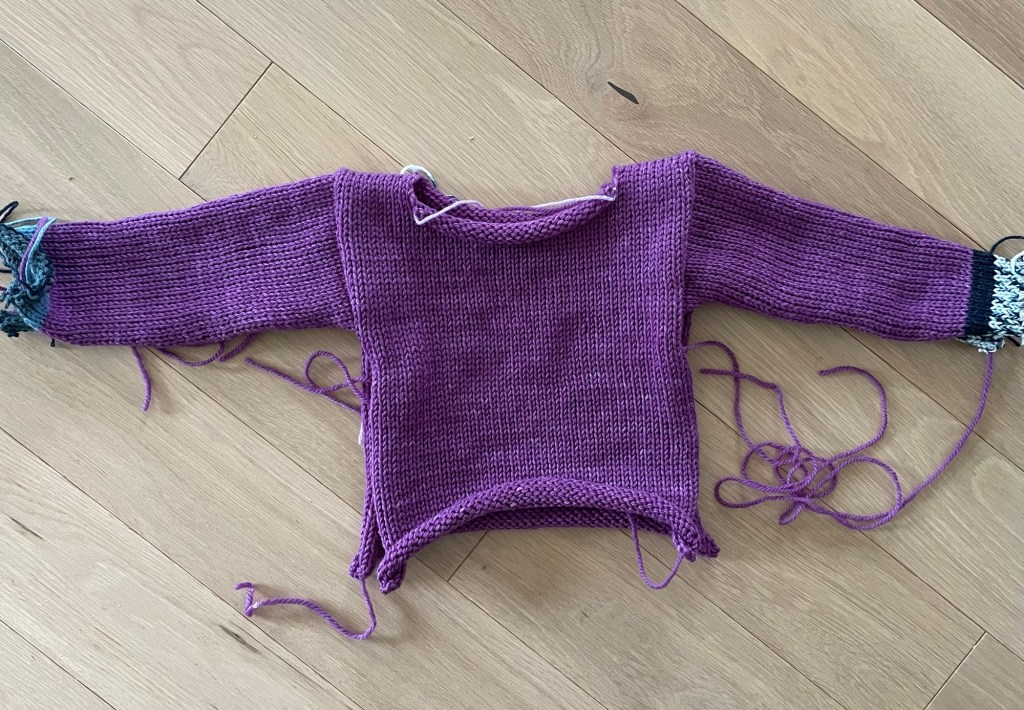
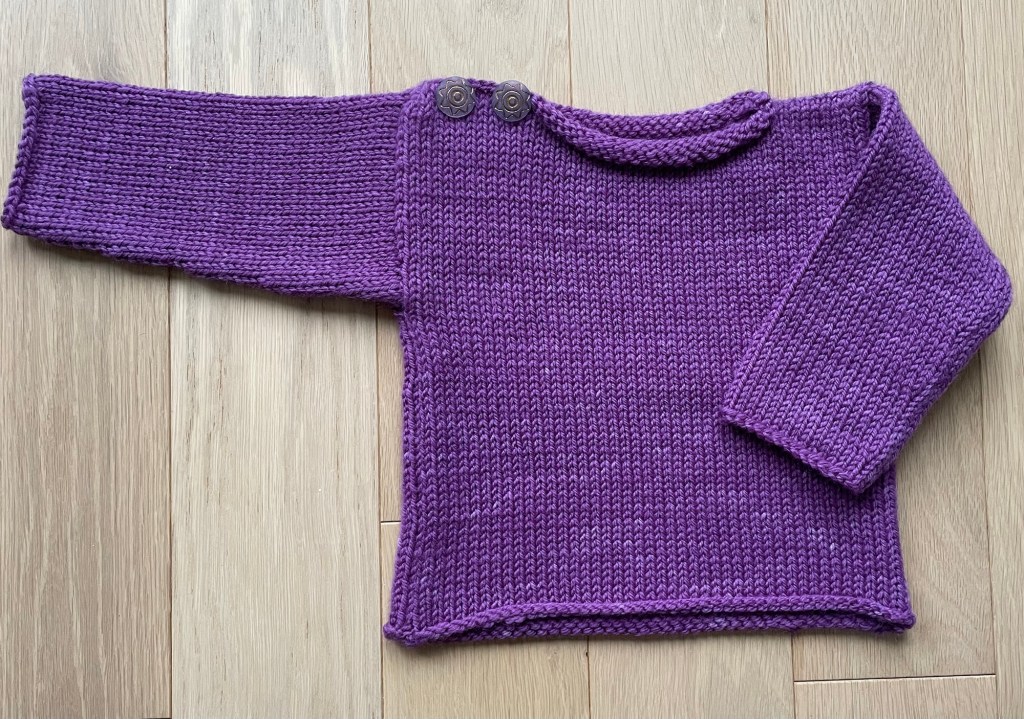
The colorwork sweater I am making is on hold while I knit a couple of red hats.
Needle & Skein, a local yarn shop in the Twin Cities, advertised a knitting pattern for a red hat, similar to red protest hats made during the Nazi occupation in Norway. All proceeds from sale of the pattern were to be donated to local charities. This has gone viral, and now people all over the country and in foreign countries are knitting red hats. Red yarn is out of stock everywhere. The Melt the ICE Hat pattern by Paul Neary is available on Ravelry here.
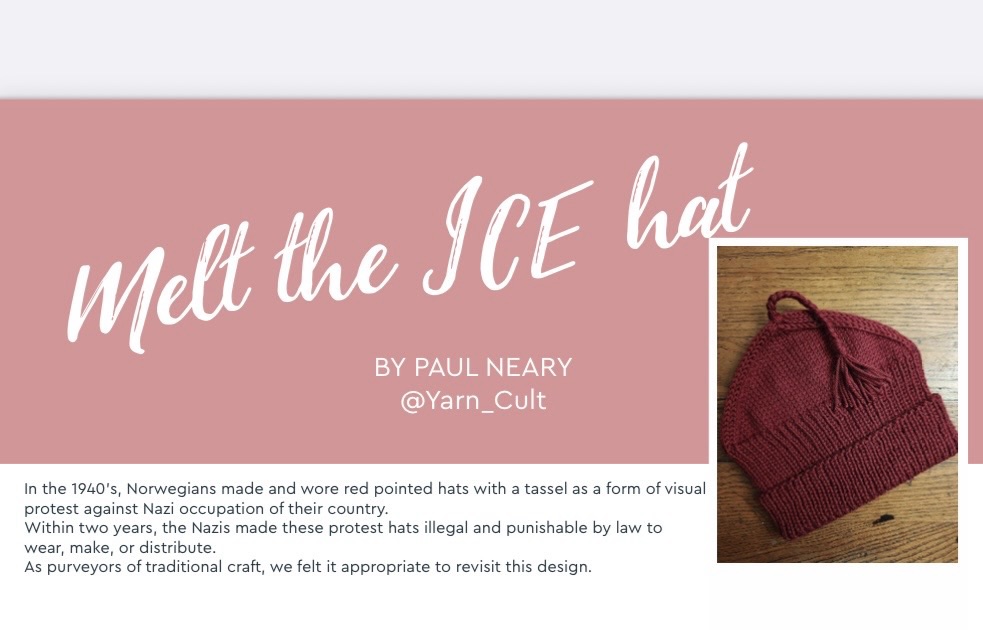
From the pattern: “In the 1940’s, Norwegians made and wore red pointed hats with a tassel as a form of visual protest against Nazi occupation of their country. Within two years, the Nazis made these protest hats illegal and punishable by law to wear, make, or distribute. As purveyors of traditional craft, we felt it appropriate to revisit this design”.
I have generally shied away from posting about politics on social media, and have kept this blog politics free. Until now. What has been going on in my hometown of Minneapolis and the state of Minnesota is not OK. For most of the people I know, I am speaking to the choir. For the others, please listen from someone who grew up there and has family and friends with first hand experience.
I support undocumented violent criminals being deported, but that is not what is happening. What is happening is poorly trained ICE agents roaming around randomly grabbing people off the street, breaking windows and dragging people out of cars, throwing people on the ground, spraying chemicals inside cars containing infants, sending children off to Texas, shooting people in the street.
In proportion to the population of the Twin Cities, the number of undocumented immigrants is low compared to southern border states. Most brown people in Minnesota are citizens or here legally, working and providing needed services. When have legal citizens had to carry around “documents” to prove it?
I am not in favor of any kind of violence on either side. There have been some protesters getting out of control, but the vast majority of the 1000’s of people out in the streets are behaving peacefully.
If you think that the “protestors” you see on TV are paid or backed by some organization, that is just not true. I know many people personally who have been out on the streets “protesting”, or helping out their neighbors. They are doing it because they are outraged, they care and want to help people in need. They are not getting recruited or paid, it just happens, even when it is below zero outside. I know a couple who cancelled a road trip so they could be home to support their community. They and other people I know personally are packing meals at local churches for families afraid to leave their house, driving people to and from work, escorting children to school, buying and dropping off groceries. A friend participated in collecting winter coats for detainees who have been released from the detention center in January with no jacket.
My granddaughters attend a Spanish immersion day care. It is wonderful to think they will be bilingual. The caregivers are native Spanish speakers who are all documented. Regardless, my son reported that ICE knocked on the door of the daycare, during the day while children were there. They did not have any warrants or a reason to go there, they were just looking to round up any Brown person they could. No one let them in and they left.
I heard a story in the media about a young adult in Duluth, Minnesota, home on break from college. She had a load of clothes in her car to drop off at the Goodwill. She happens to be African. ICE stopped her and interrogated her for a long time, asking for papers and implying that she was trying to “escape” the country with all the clothes. Some of the things in the media are exaggerated, have inaccuracies, or are just wrong. You don’t always know what to believe, so at the time I took this with a grain of salt. Later I was talking to a friend who went to school with my sister. It turns out that the young woman in the news story is the adopted daughter of another classmate of theirs. Not fake news. It happened.
Likely you have seen news reports showing the thousands of people out marching on a couple of occasions in below zero Fahrenheit temperatures. The following image of a rally in downtown Minneapolis on January 23 was widely published by news media.

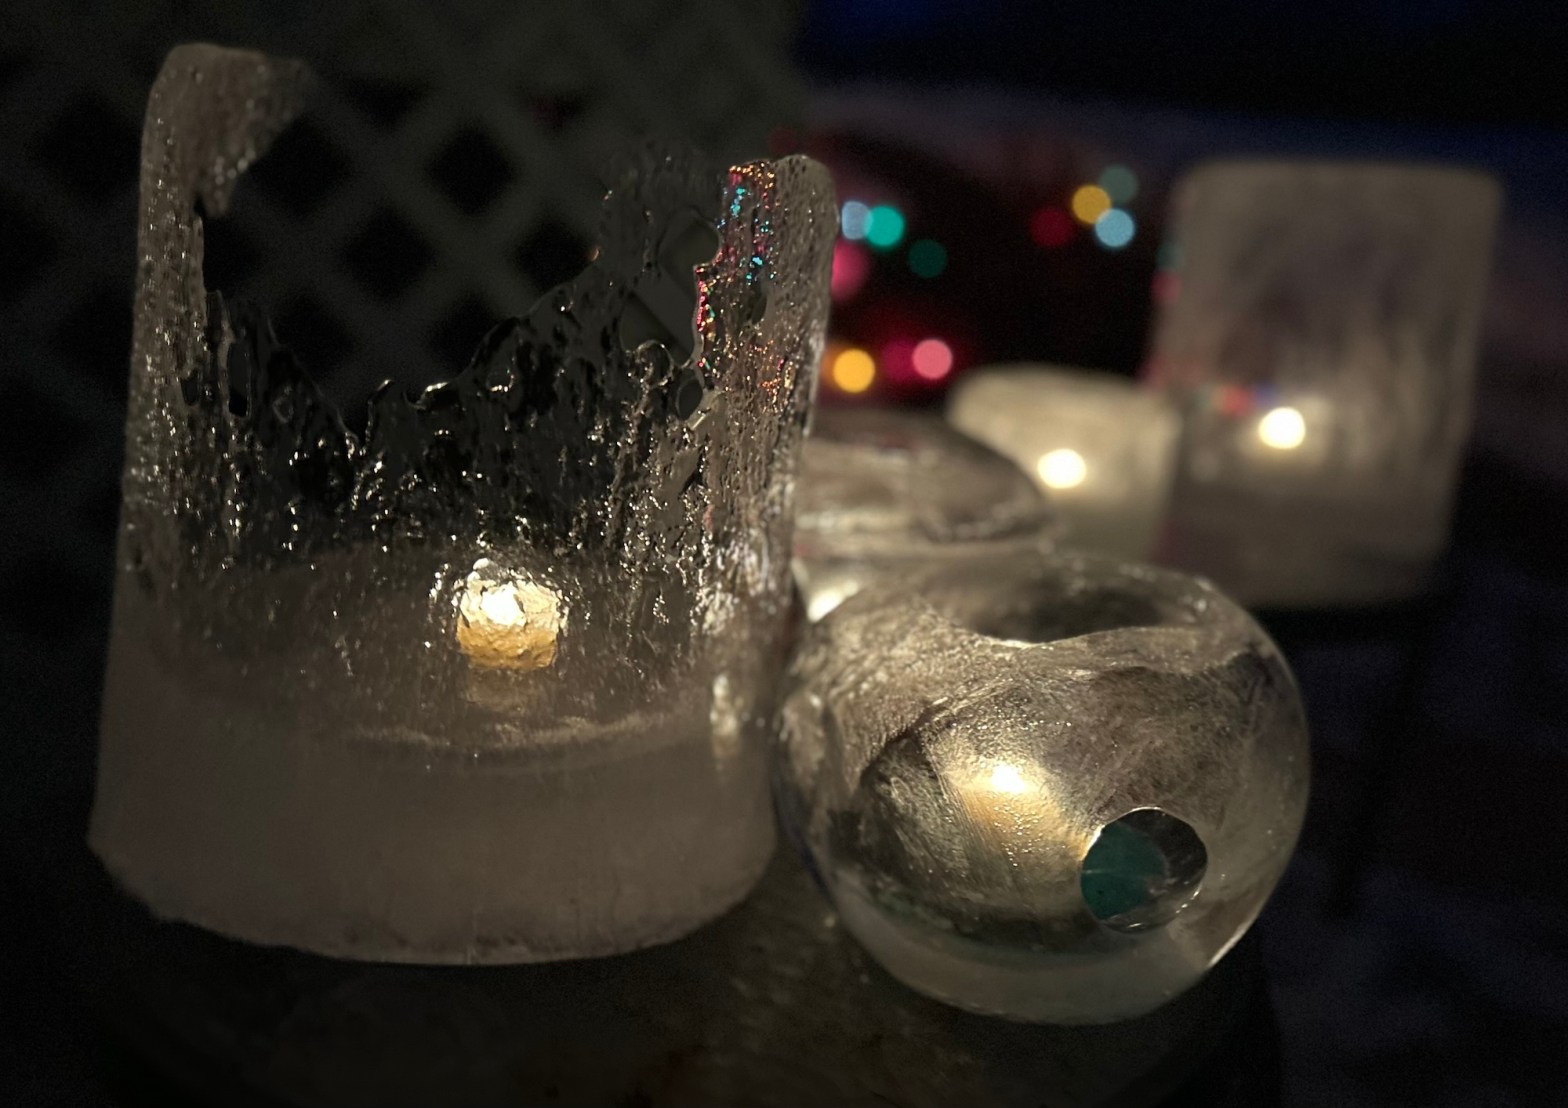
There have been other quieter things happening spontaneously in Minneapolis on frozen city lakes.


There was a memorial bike ride in Minneapolis to honor Alex Pretti, who was shot while aiding a woman who had been thrown to the ground. Alex was an avid biker. 1000’s of bike riders turned out on a cold January day. The following image is from CBS News. There is an article from Minnesota Public Radio (MPR) News about the bike ride you can read here.

I have seen a couple of comments online that knitting red hats does not help, and it just makes people think they are helping, that you should be donating money to local aid funds. I disagree. I have donated to multiple local aid funds, and sales of the pattern are all donated. You can do both. Knitting red hats is a form of solidarity and a way to visibly communicate your position. People in Minnesota need warm hats to be out in person protesting or helping their neighbors in the cold weather. It is a way to stand out and be counted. Also noting that the activity of knitting is calming when you feel stressed or anxious whether you are sitting in your home by yourself, or knitting together with a group sharing the same purpose.
National Public Radio (NPR) wrote a good article about the red hat phenomenon that you can read here.
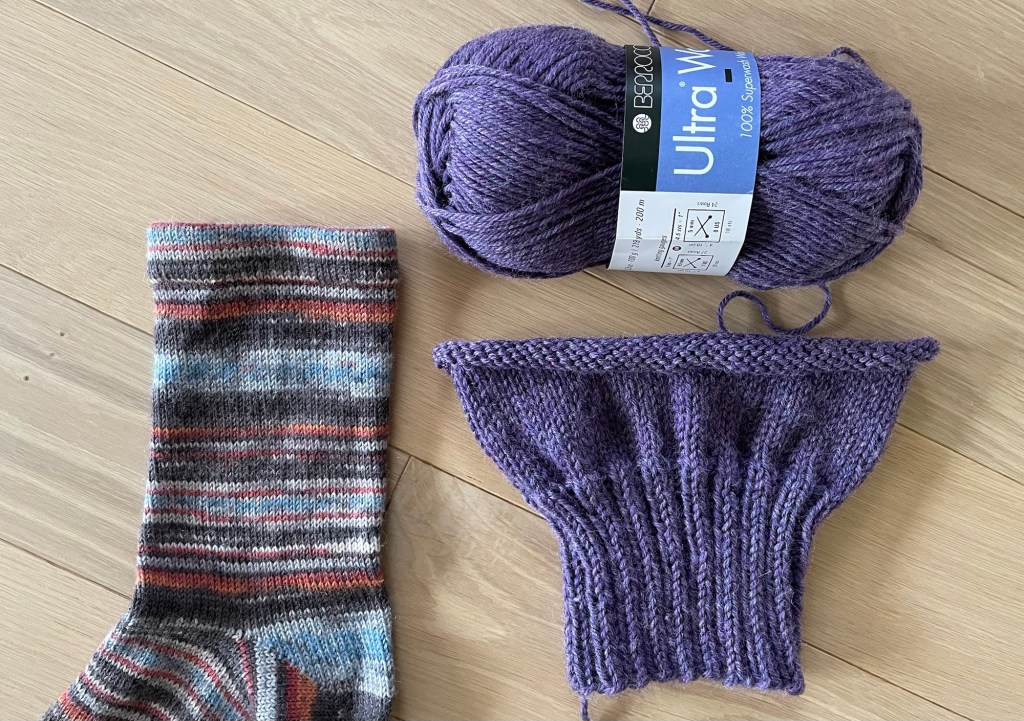
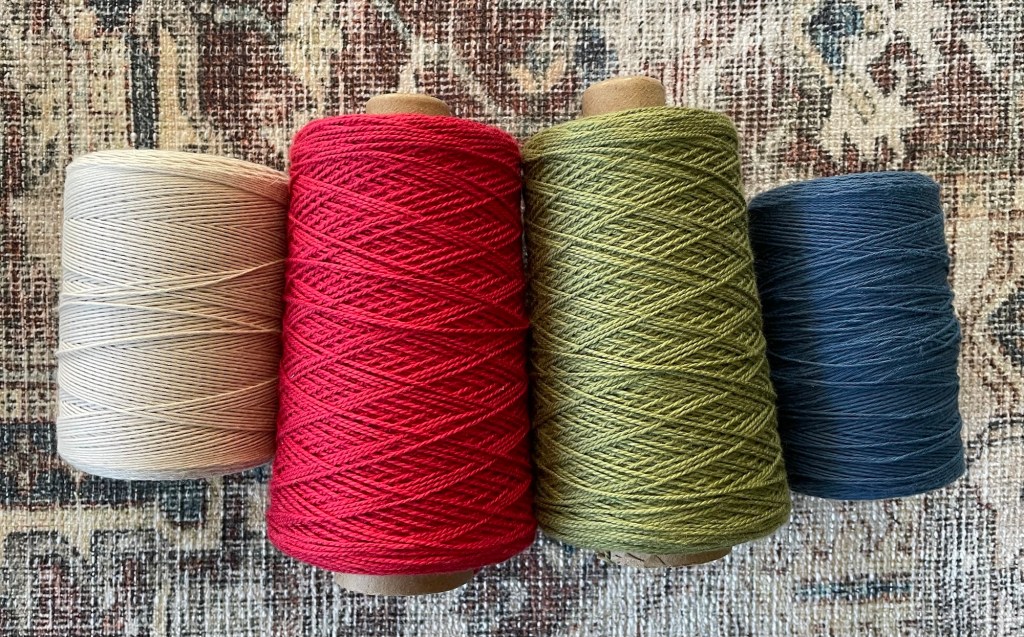
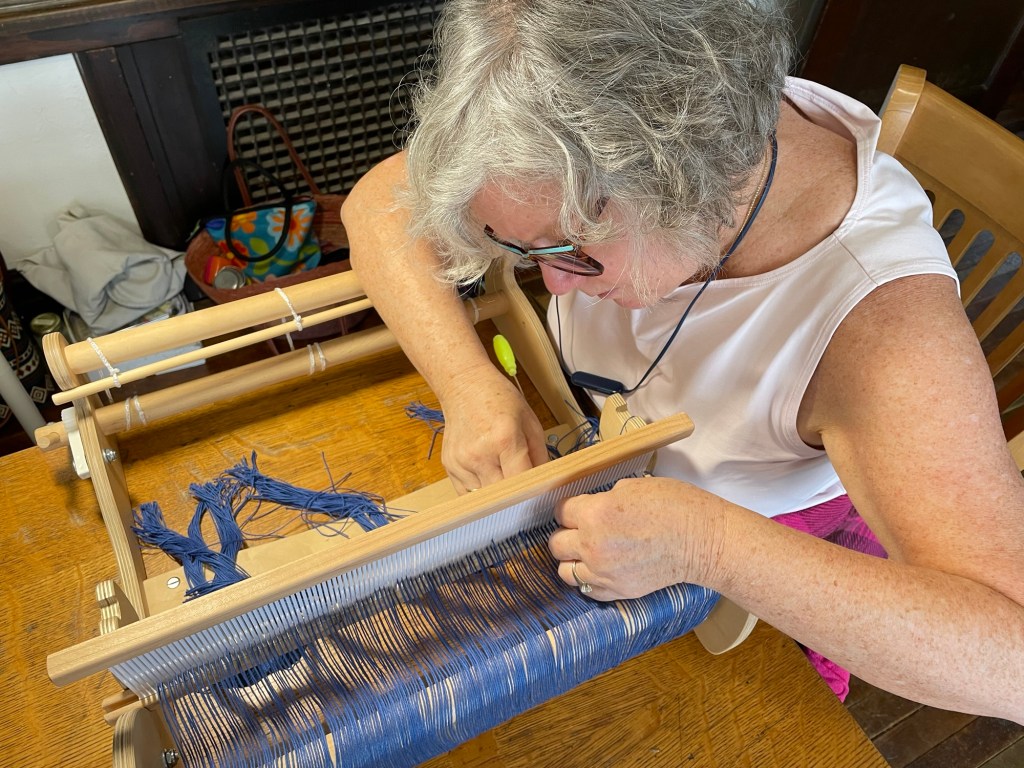
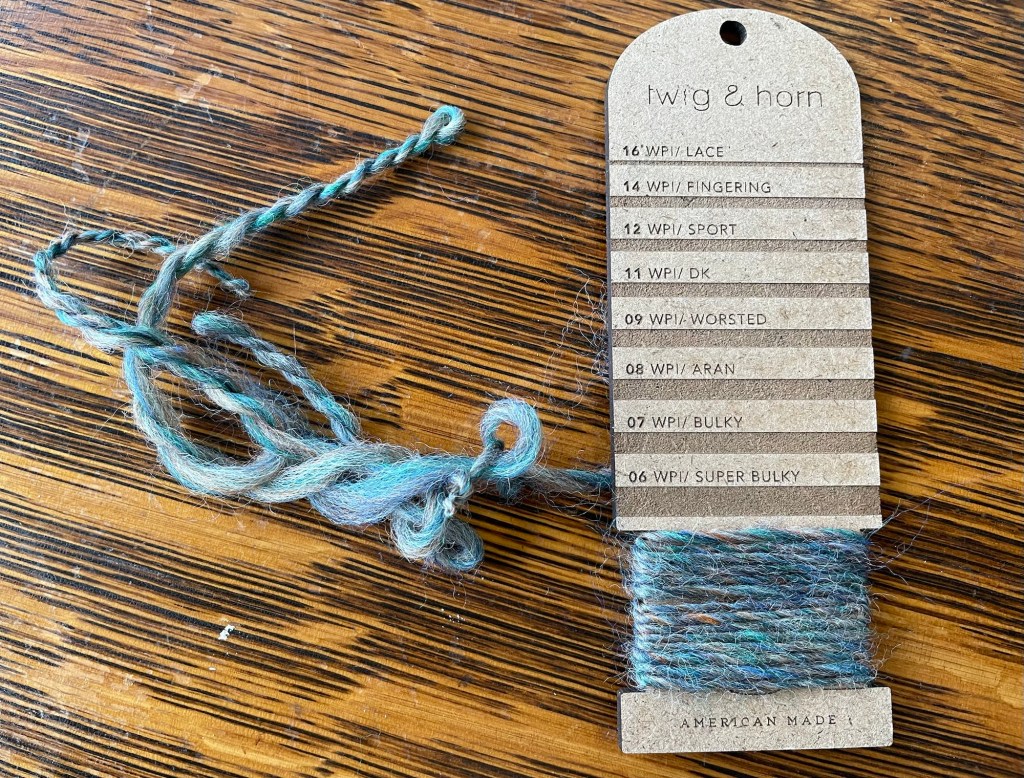
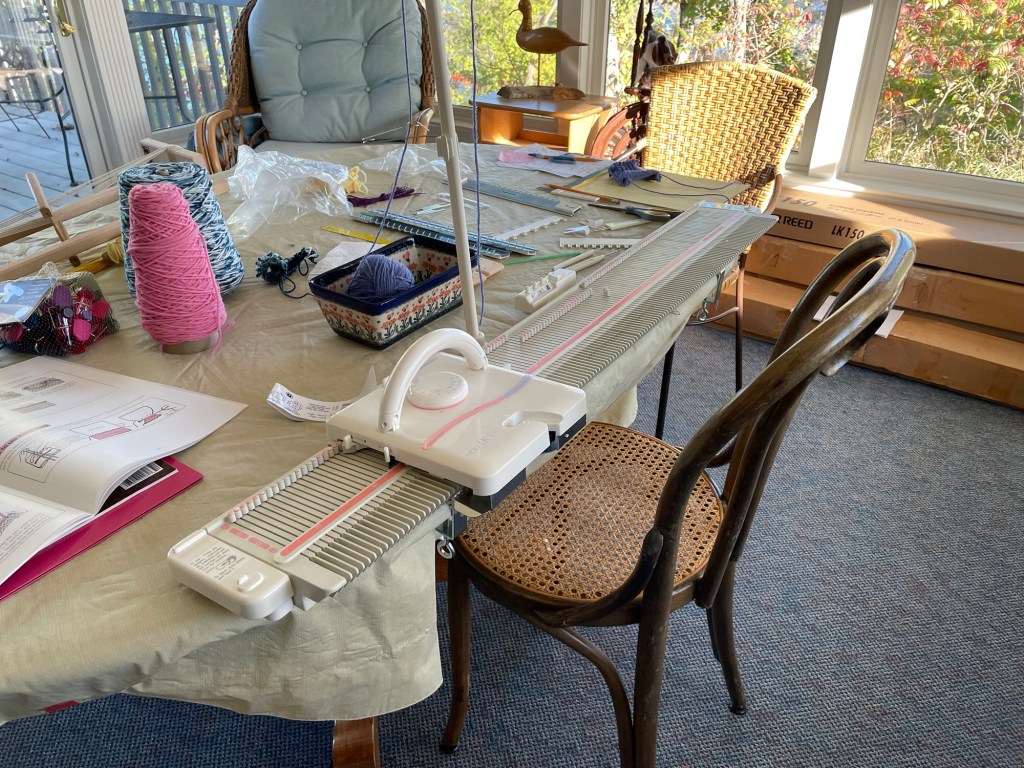
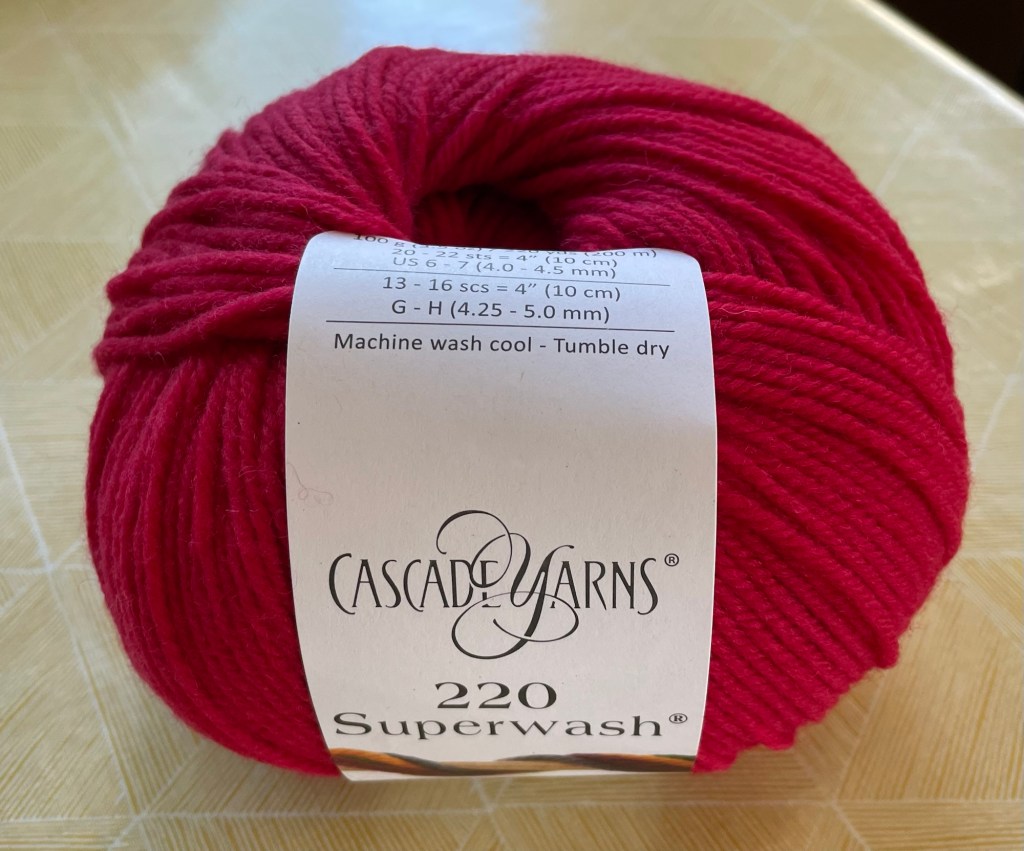
Being a knitter, and not in Minneapolis to help in person, buying the pattern and knitting a hat was a way I could contribute (in addition to money I had already donated to several funds). I texted a friend about finding red yarn, and she happened to be at a yarn shop right then. She was able to get me three skeins of Cascade 220 Superwash worsted weight wool yarn.
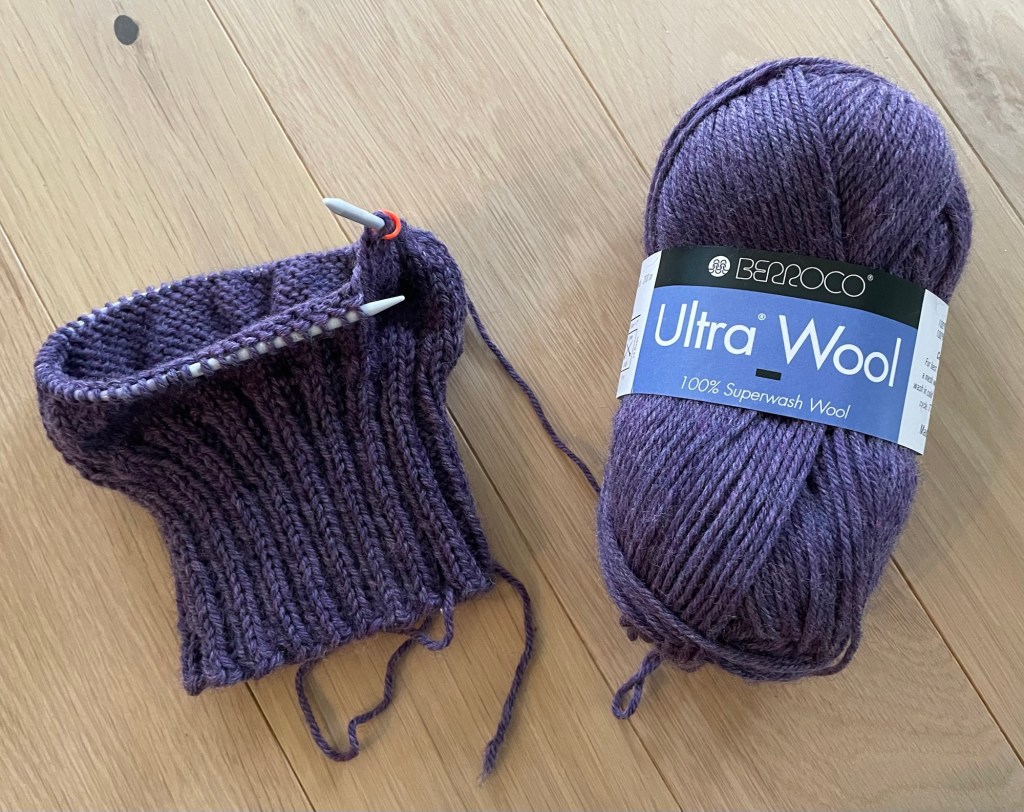
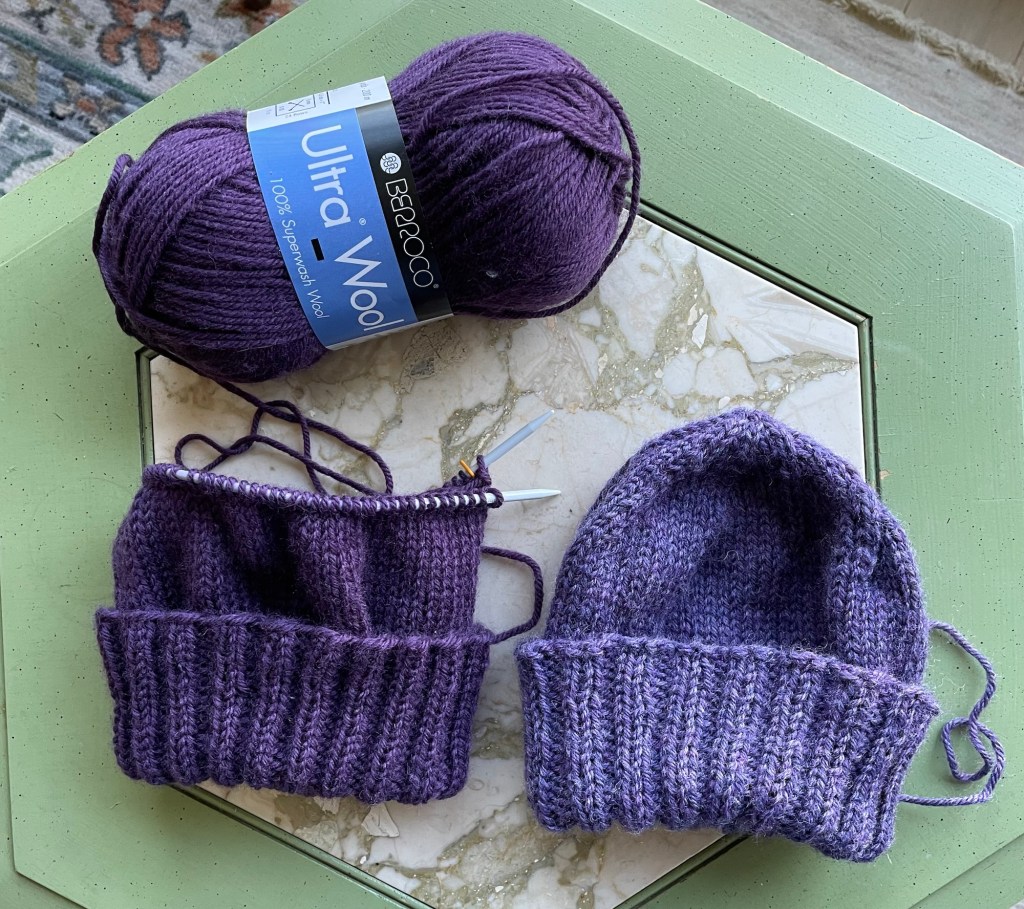
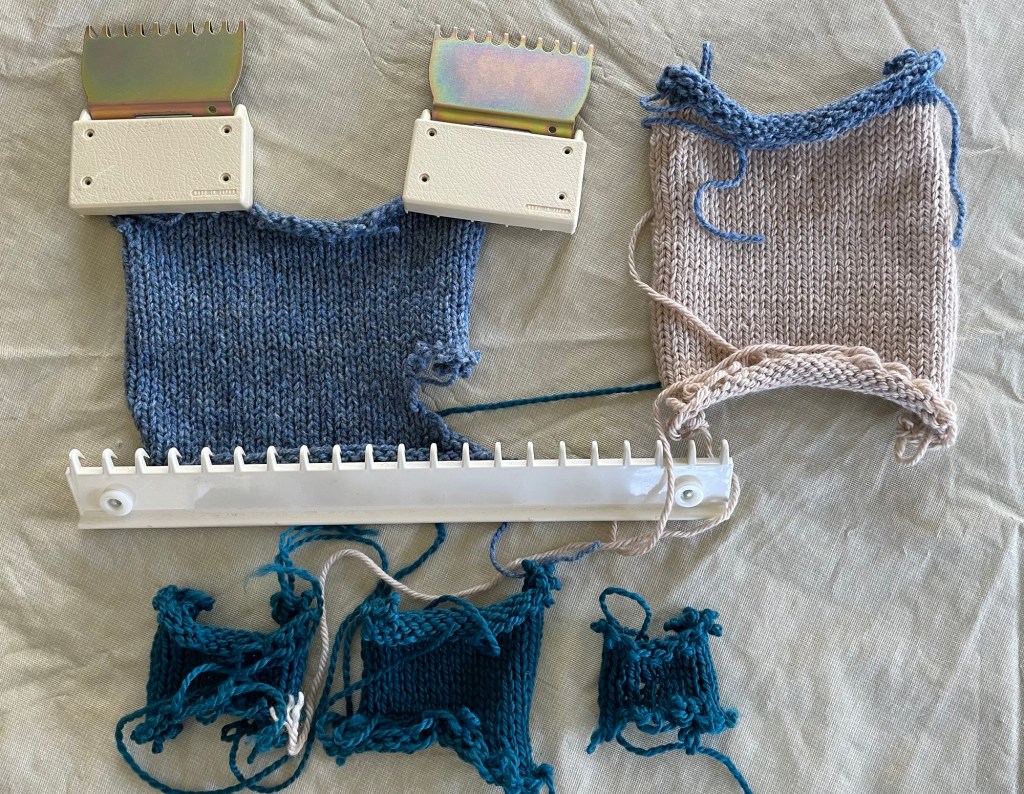
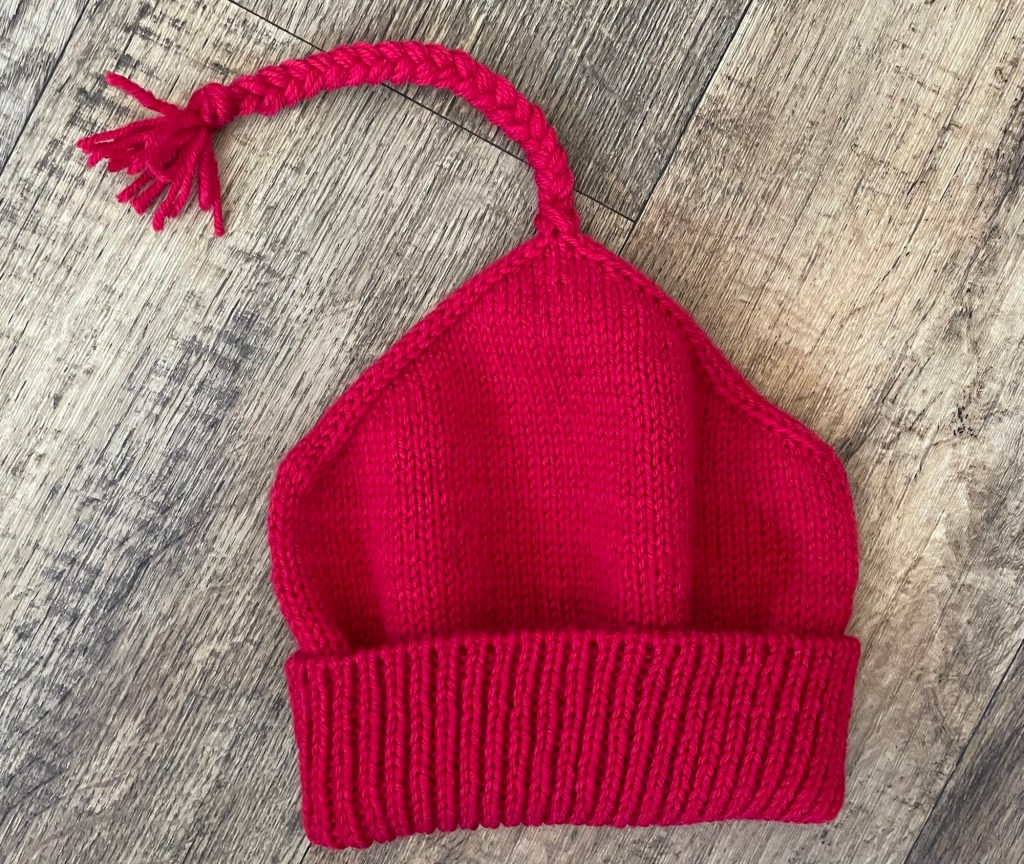
I asked a few people at home who I thought might want a hat. One person responded right away, so I started a hat for her using her head circumference, with the gauge information, to determine how many stitches to cast on. I have a few requests from other people for a hat.
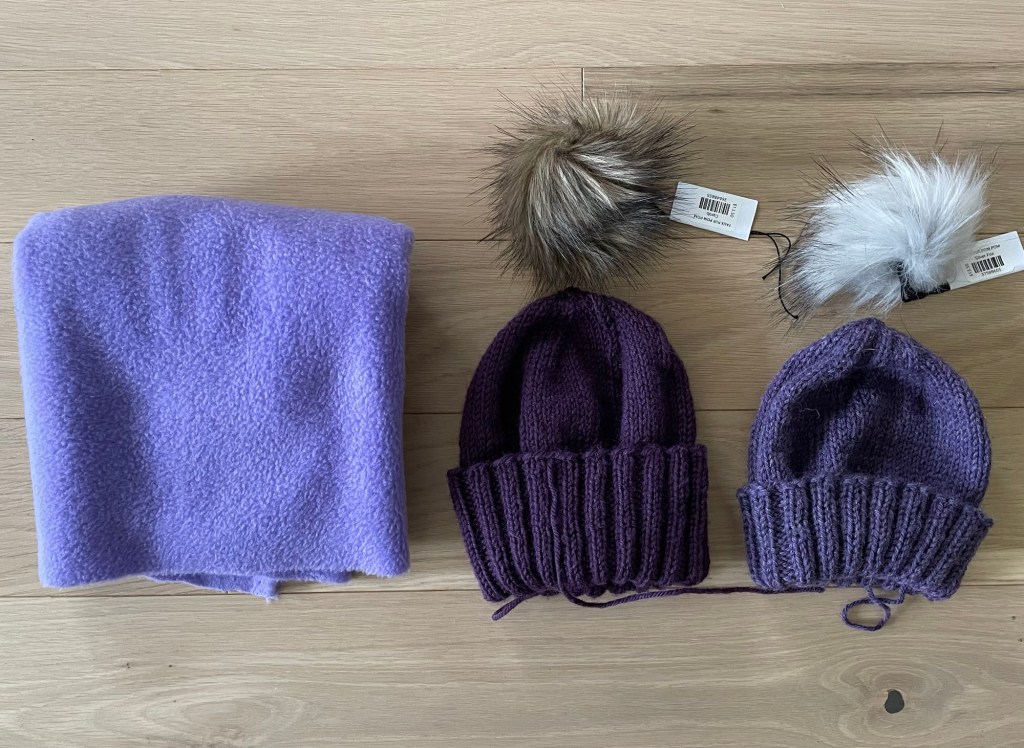
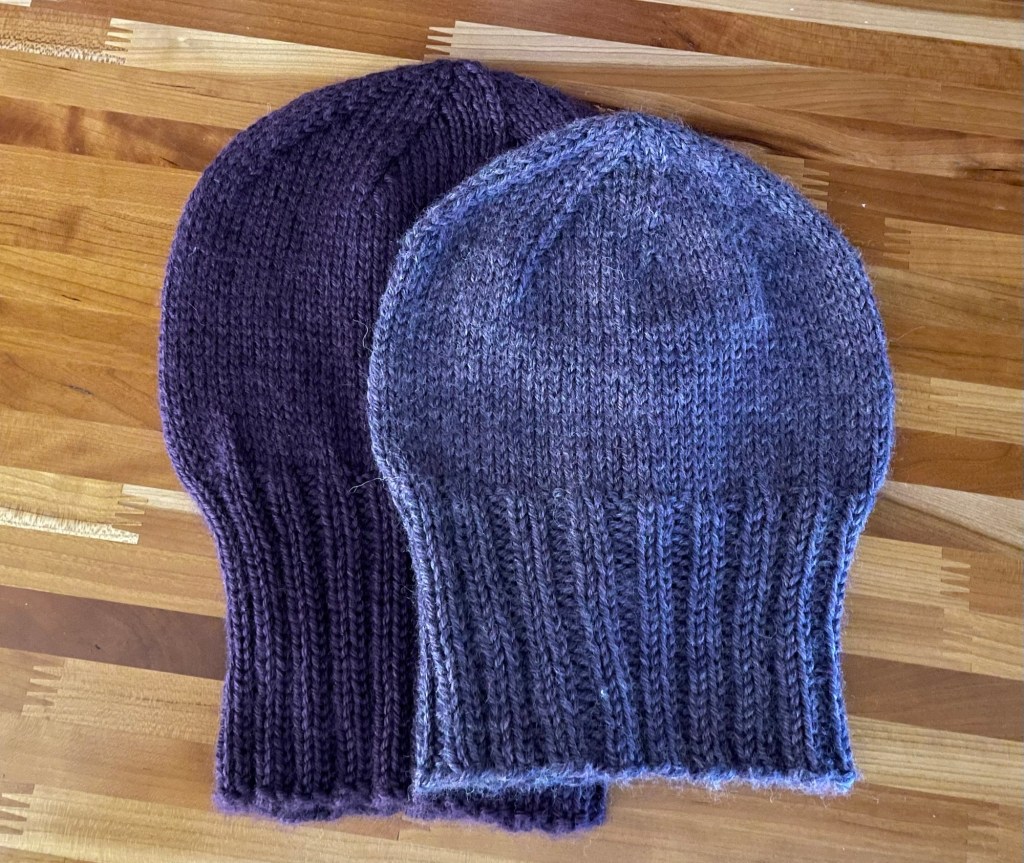
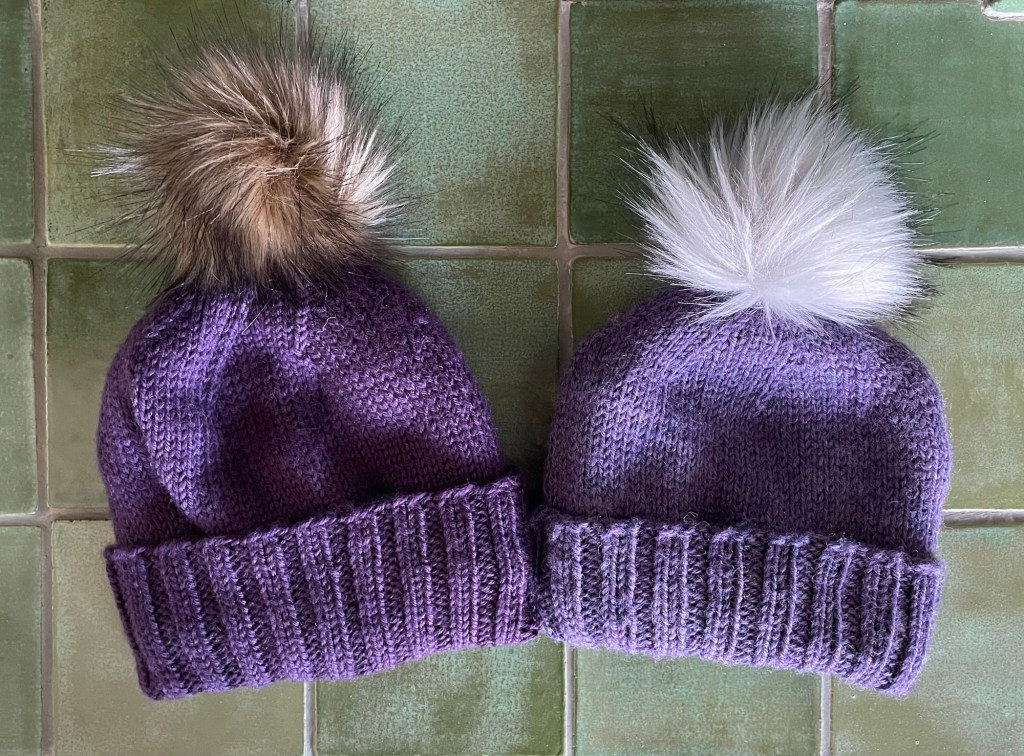
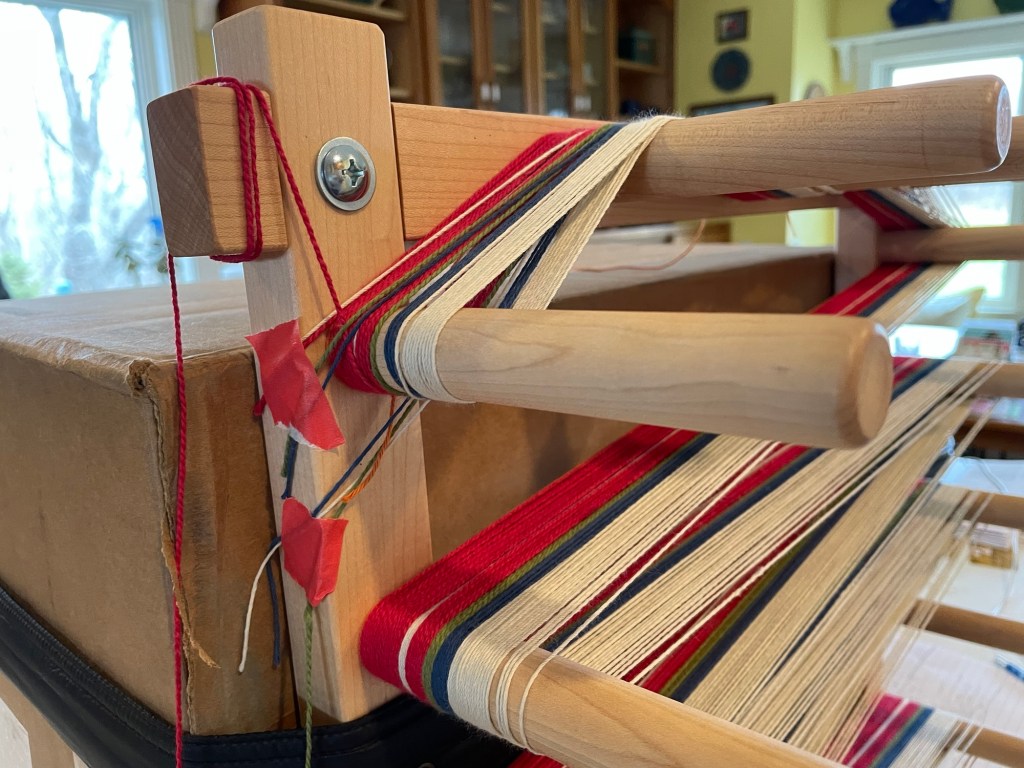
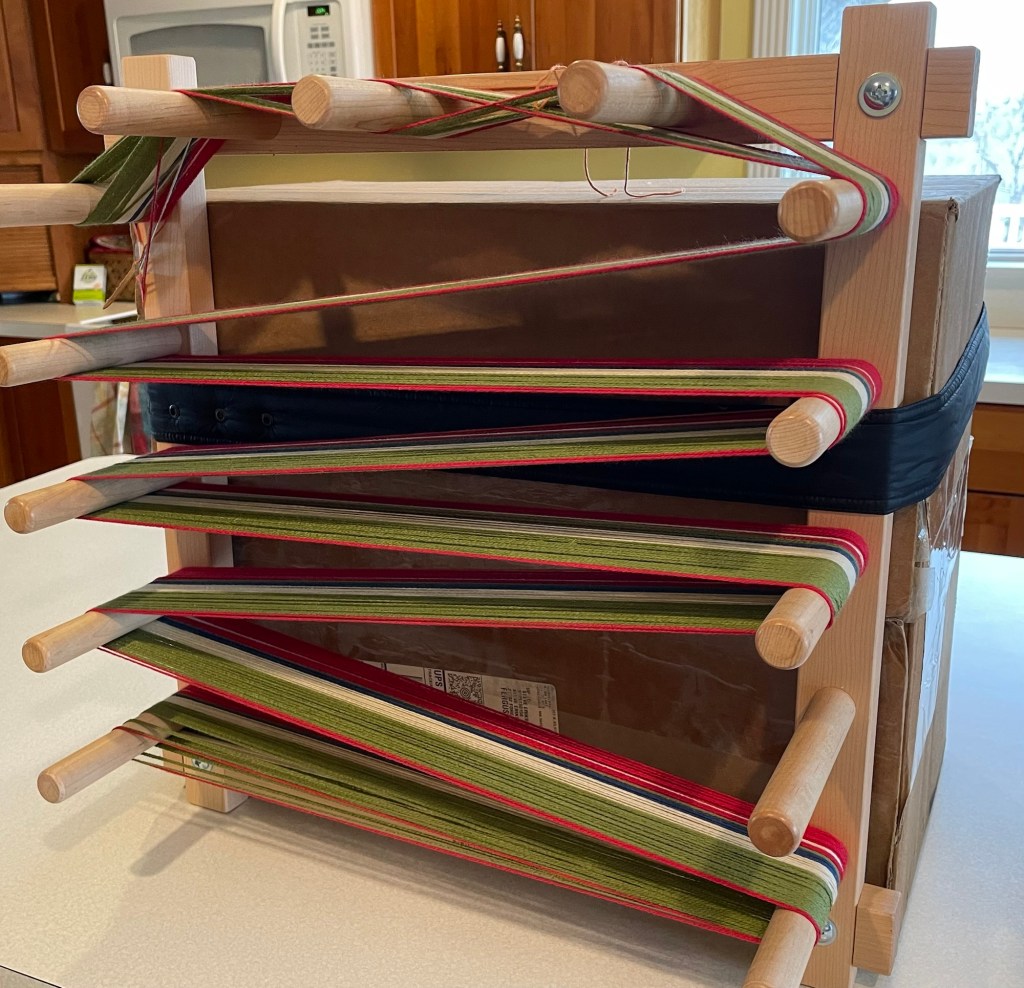
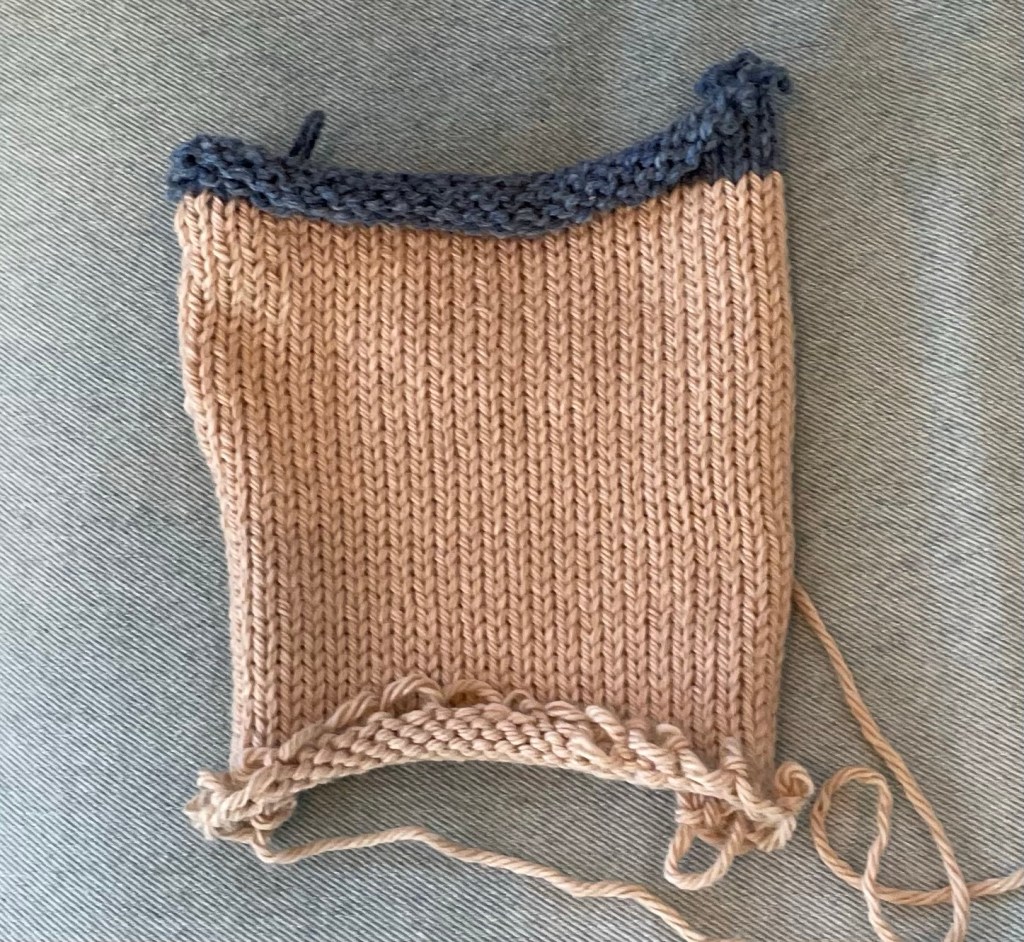
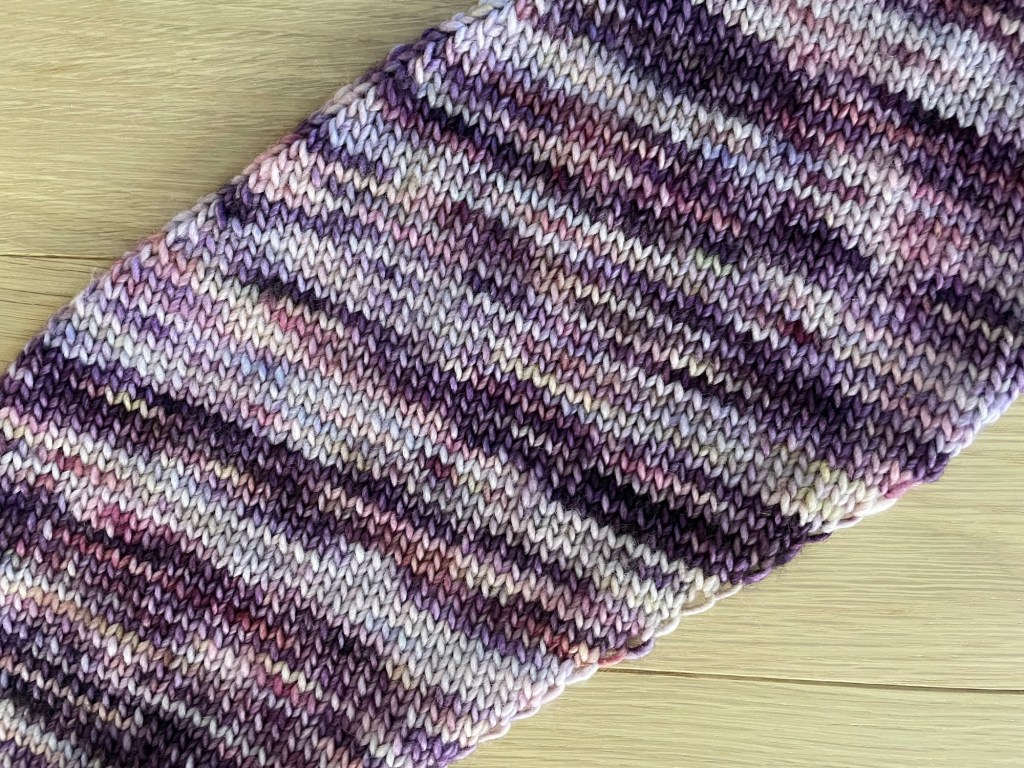
I am not going to share all the steps of making the hat like I usually do, other than a couple of comments. The hat pattern is pretty basic, but uses a kind of cast-on I have never done before called tubular cast on. I found some instructions on YouTube by Laura Nelkin. It took a couple of tries to get it right. At one point I was trying to knit a few rows in the dark in the car (what could go wrong?). I started knitting the wrong direction and ended up with a hole that I noticed right away when I got back around to that spot. I only had to undo one row, no big deal. I changed the pattern up a little so the ribbing was shorter and there were some plain stockinette rows in the main part of the hat. The plain knitting goes faster, and I also liked the look better. I knitted enough rows for the cuff to fold over more than the original pattern shows.
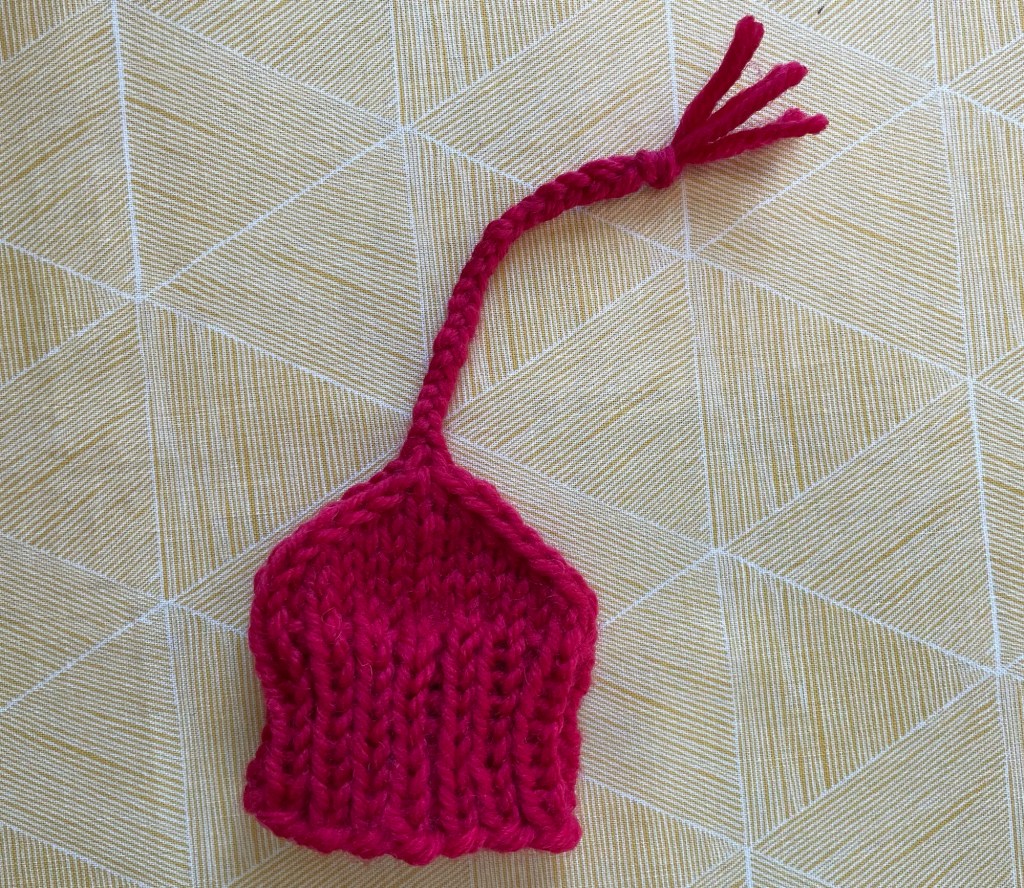
It has been fun to see all the different variations of red hats being made, including a tiny hat that can be used as a pin or ornament.
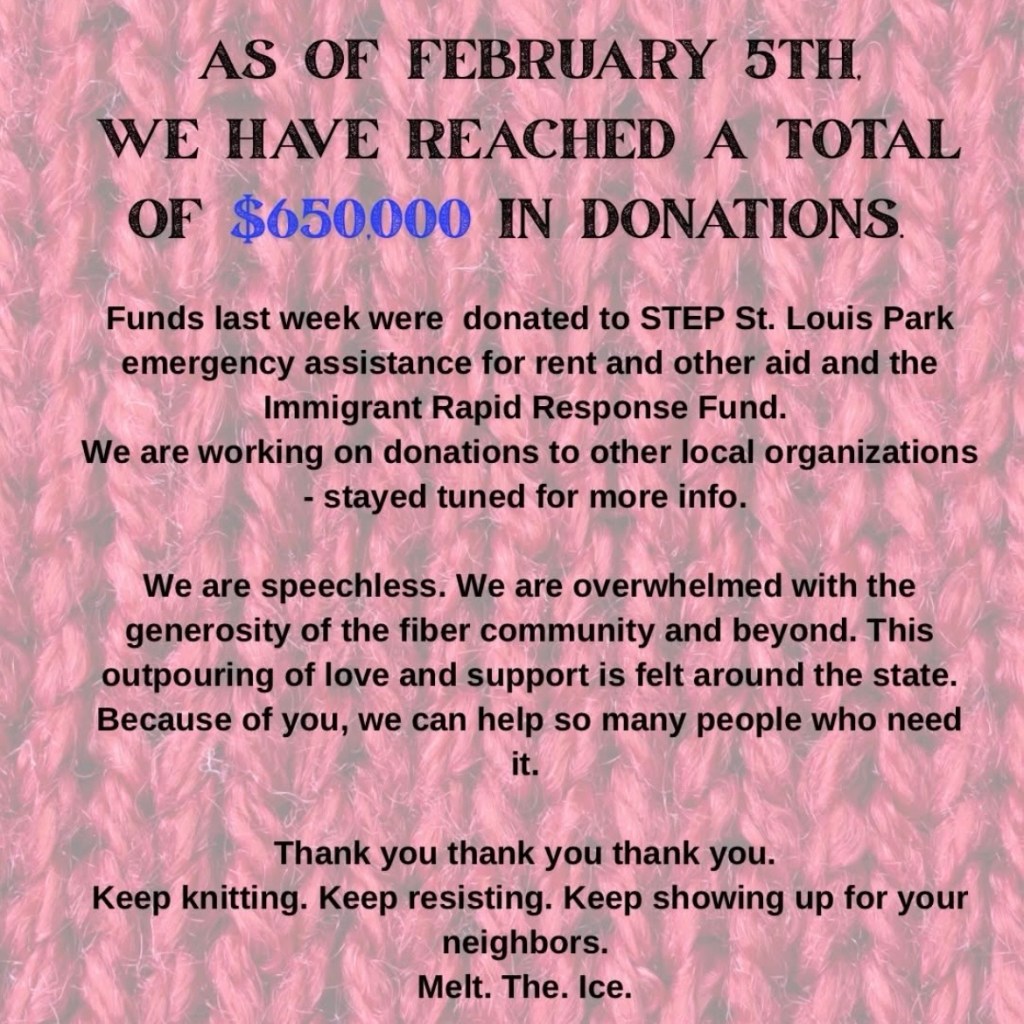
In only a few weeks, $650,000 has been raised from hat pattern sales, and over 7,000 red hats have been posted on Ravelry. The following was posted by Needle & Skein yarn shop.
News media is reporting that some of the ICE agents have been or are going to be removed from Minnesota. I really hope that is the case.