In August we went on a two week Yellowstone and Tetons RV vacation with friends. We had a great time, and it would not be surprising if we do another group trip. With that said, this trip was not my idea. Wayne and his friends came up with the plan to meet at Yellowstone. I like Yellowstone. I have already been to Yellowstone two times. I would have picked a different destination I have not already visited. Wayne came up with the itinerary, made all the arrangements, and researched possible activities. I was so busy over the summer that I did not think about it until it was time to pack for the trip.
We bought our 5th wheel trailer four years ago, with the idea that we would be able to use it for snowbirding, as well as for other vacations. It turns out that this is the first time we have used it, other than at a 55+ resort in Arizona during the winter.
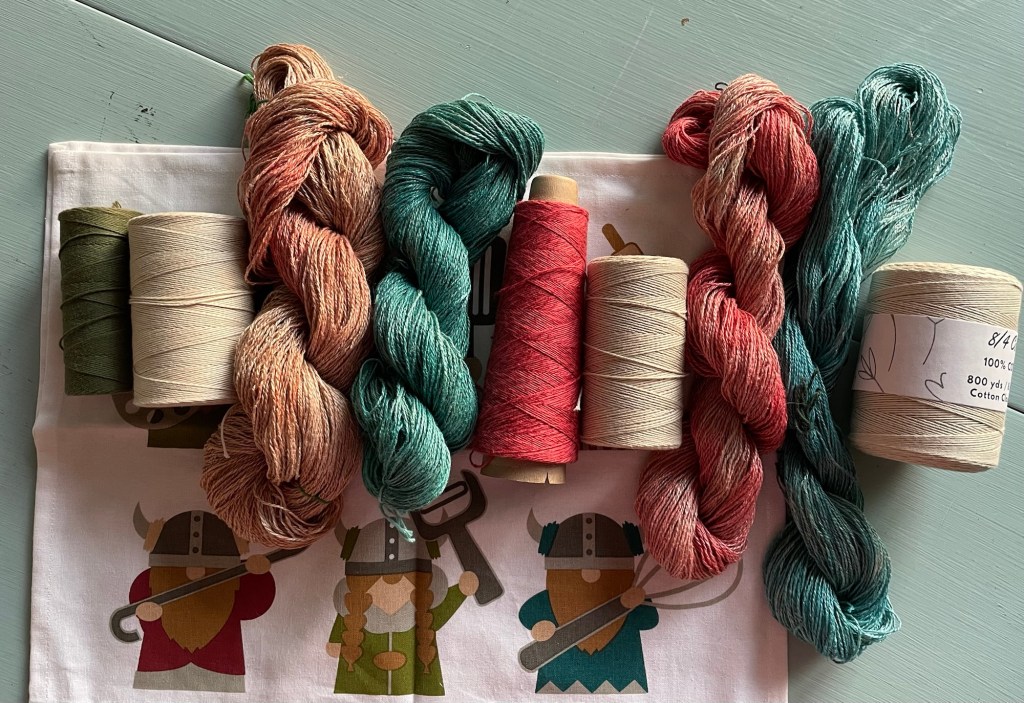
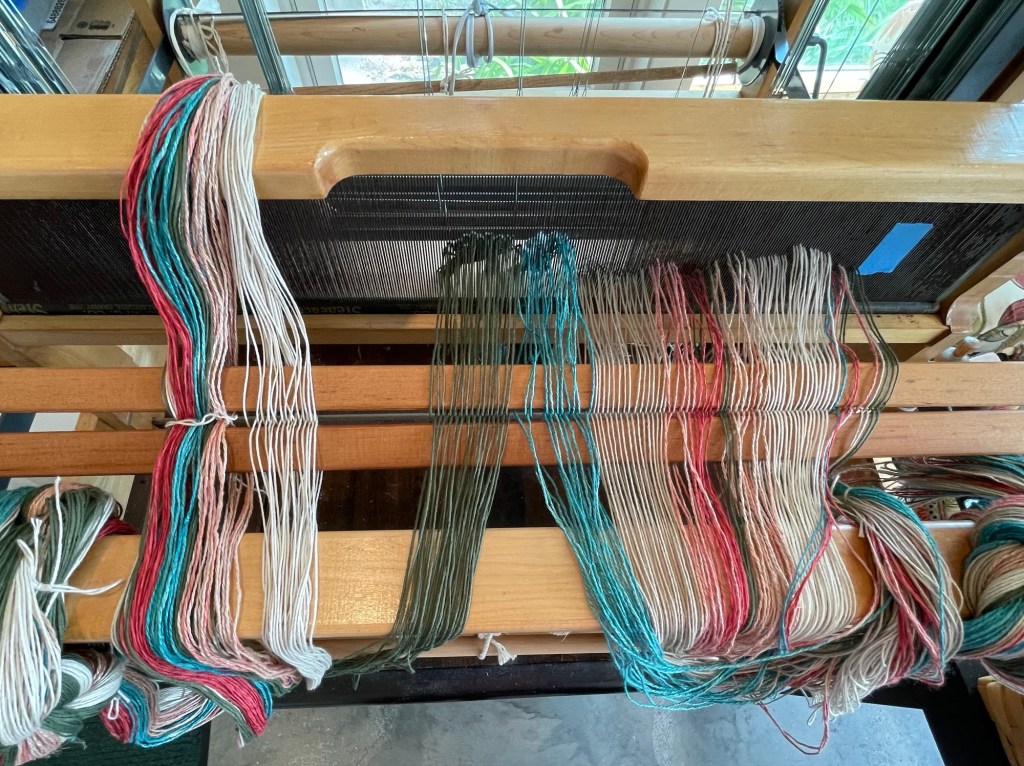
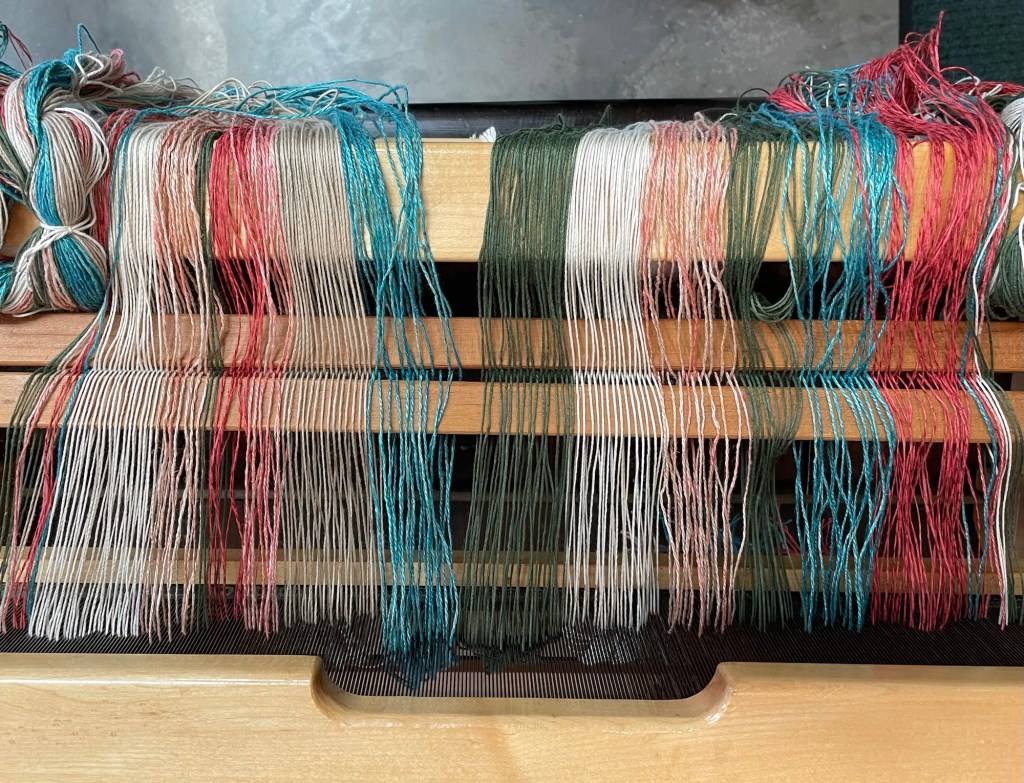
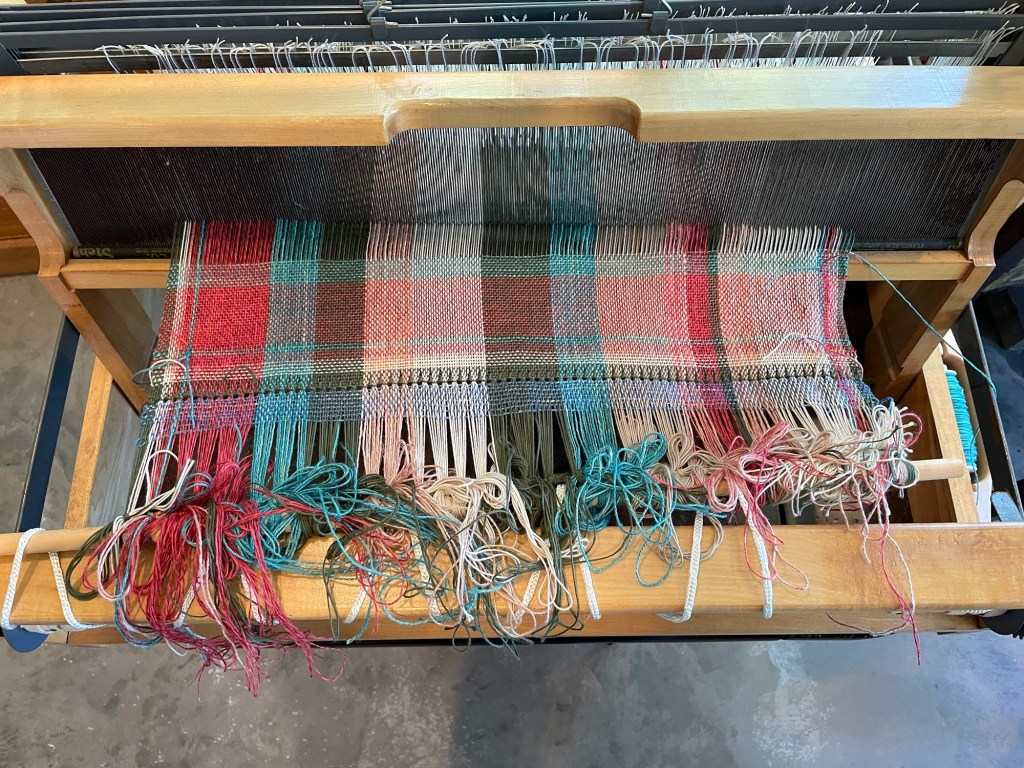
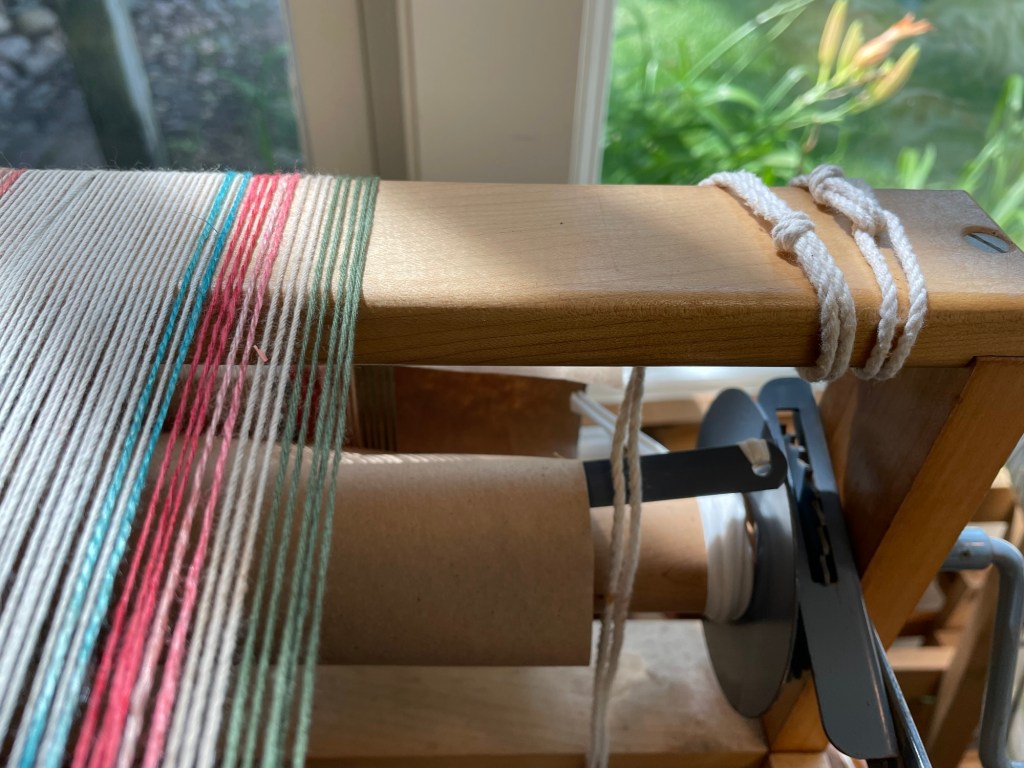
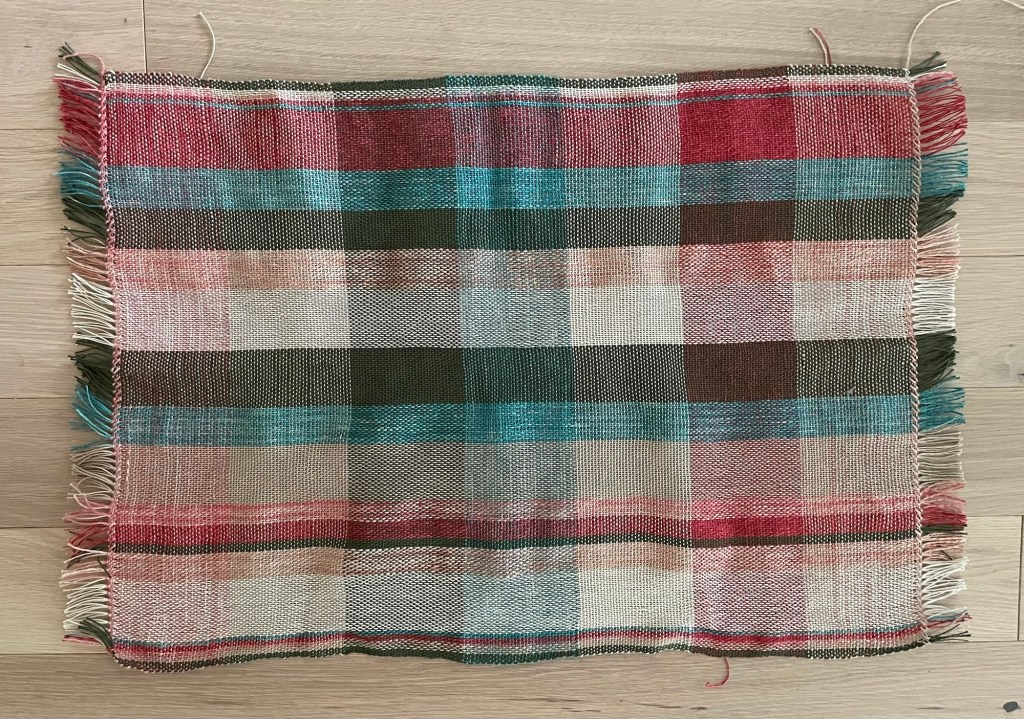
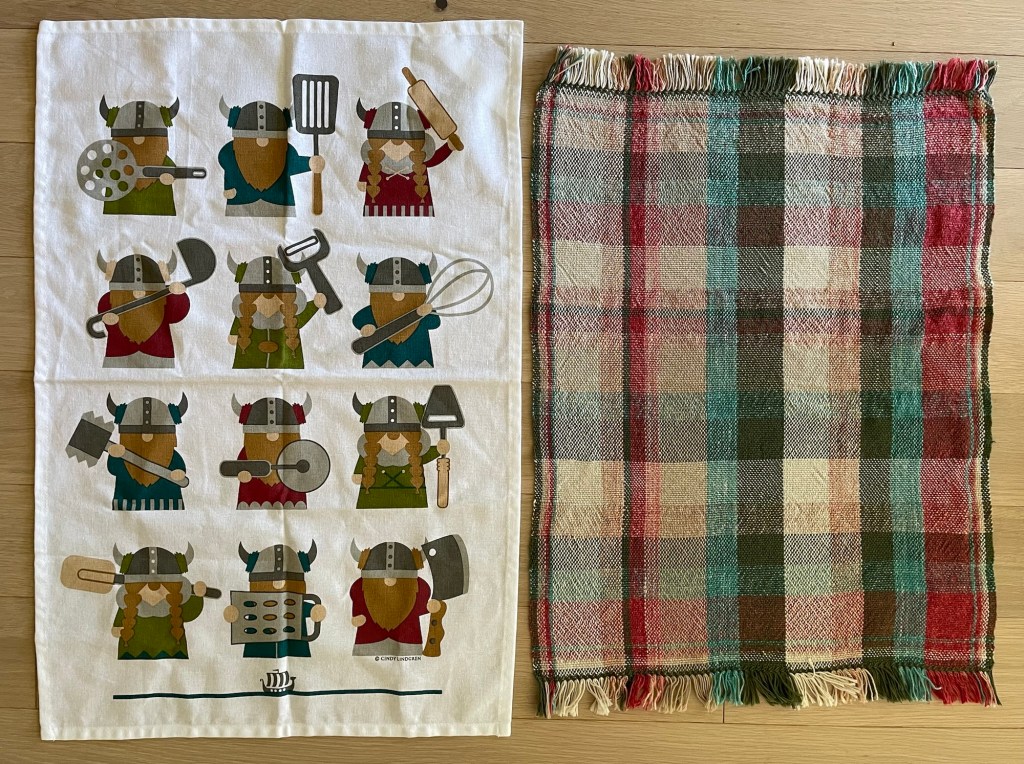
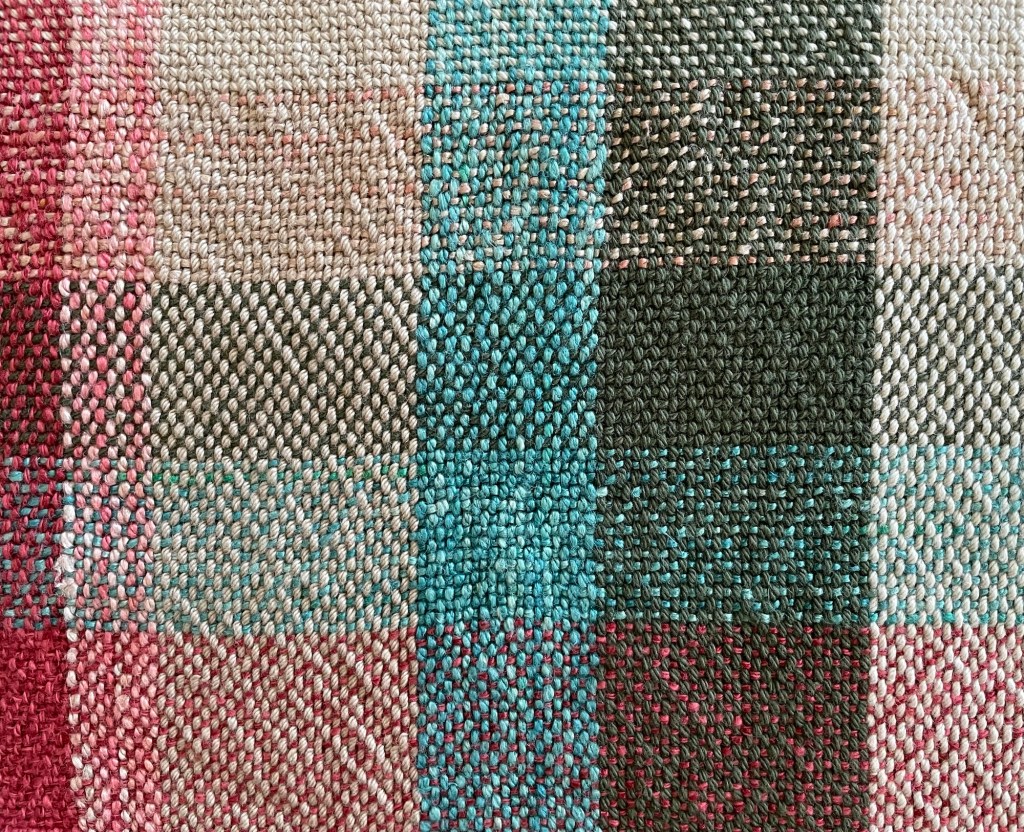
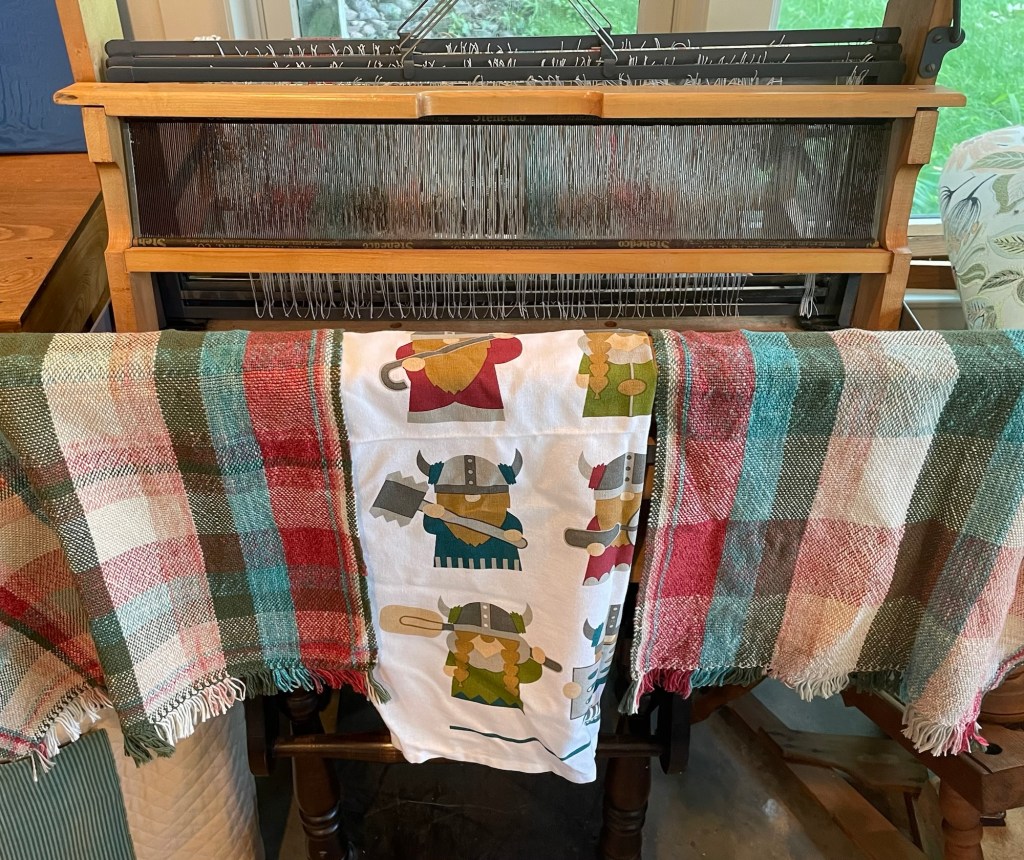
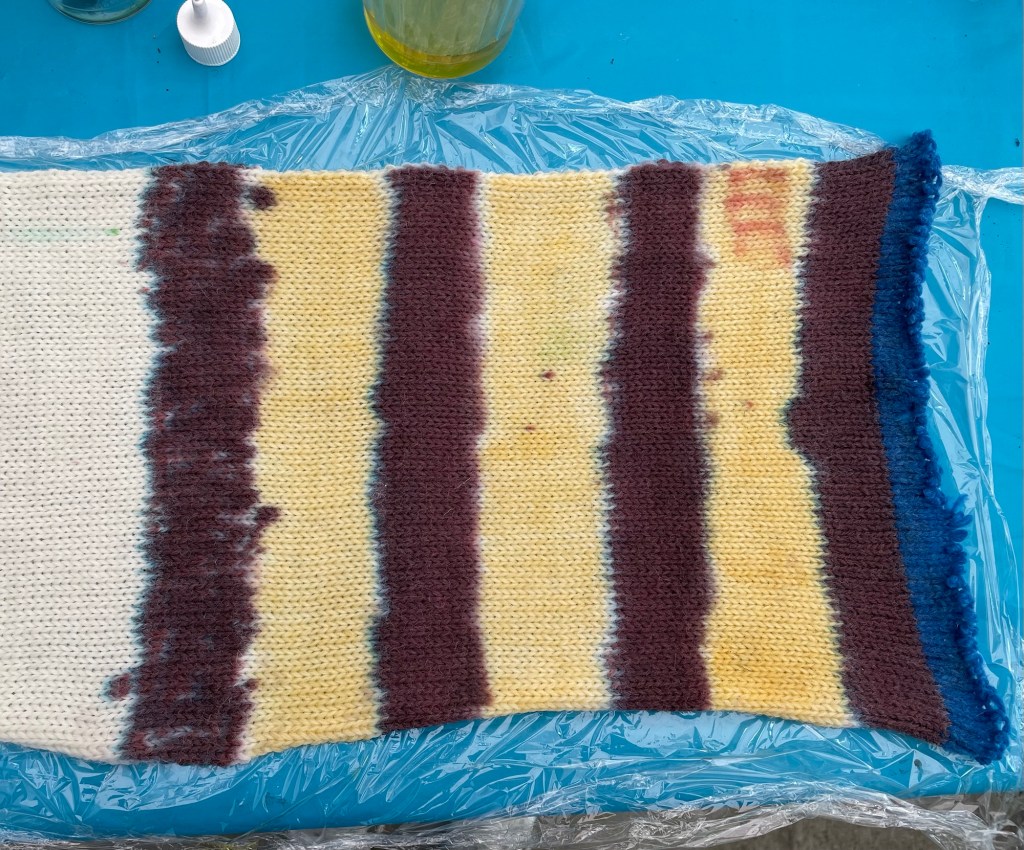
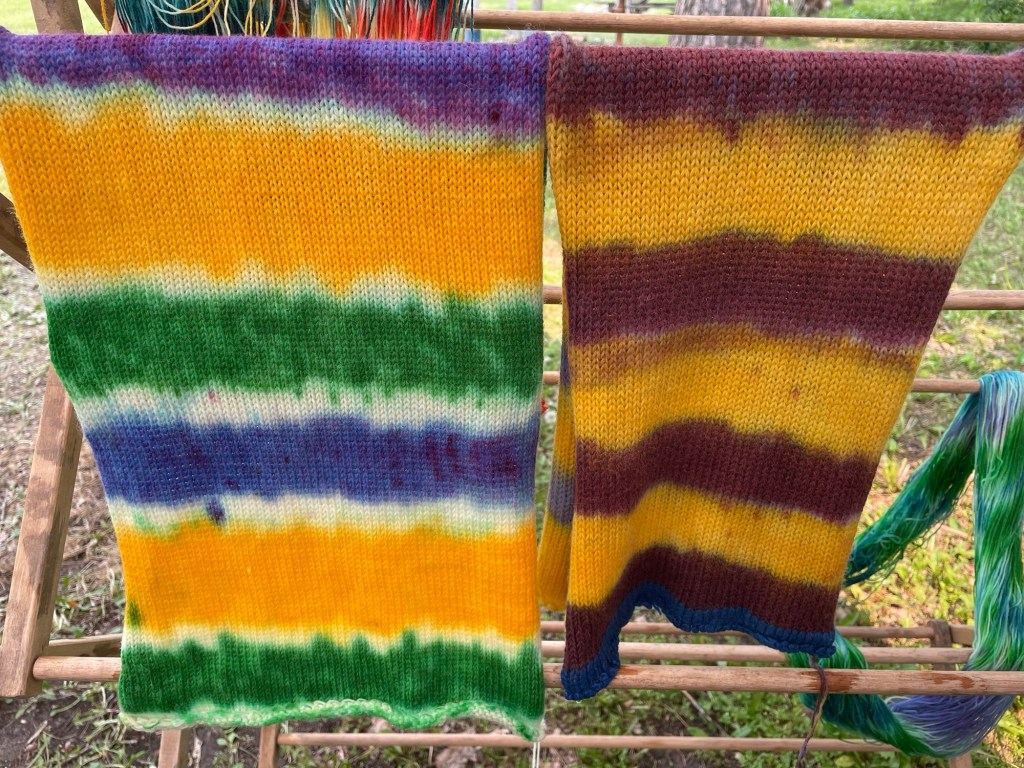
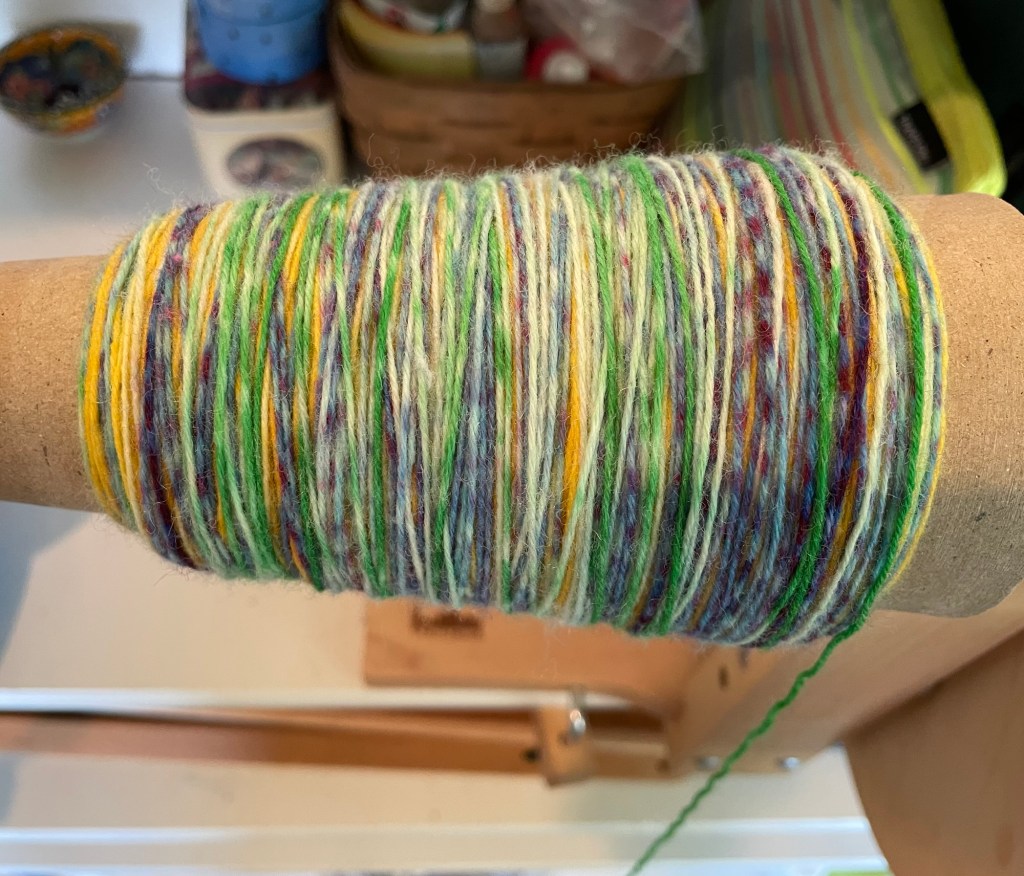
As the time got closer to departure day, I looked forward to getting away after a very full summer. Packing was easy using my very detailed spreadsheet of what is stored in the RV, and what I need to assemble. It was stressful due to regrouping after hosting a big family get together at our house and the cabin, and preparing for two different groups of people to use our house while we were gone. I was also working hard to finish a weaving project in order to post about it before we left.
We got the truck and RV loaded and prepared as much as possible the night before, including connecting the 5th Wheel Trailer to the hitch in the bed of our Ford 150 pickup truck.
Wednesday, 8/13/2025
We pulled out of our driveway around 7:30 am. It was easy driving from western Minnesota, going west on Interstate 90 across North Dakota and Montana. In four trips towing the RV to Arizona and back, Wayne has done all the driving. This time I gave him a break for about two hours, my first time driving while towing the RV. All I did was drive onto the freeway, and later off the freeway. It was not hard, as you can hardly tell the 5th wheel trailer is there, other than that you cannot see anything out the rear view mirror. The giant side mirrors make up for that.
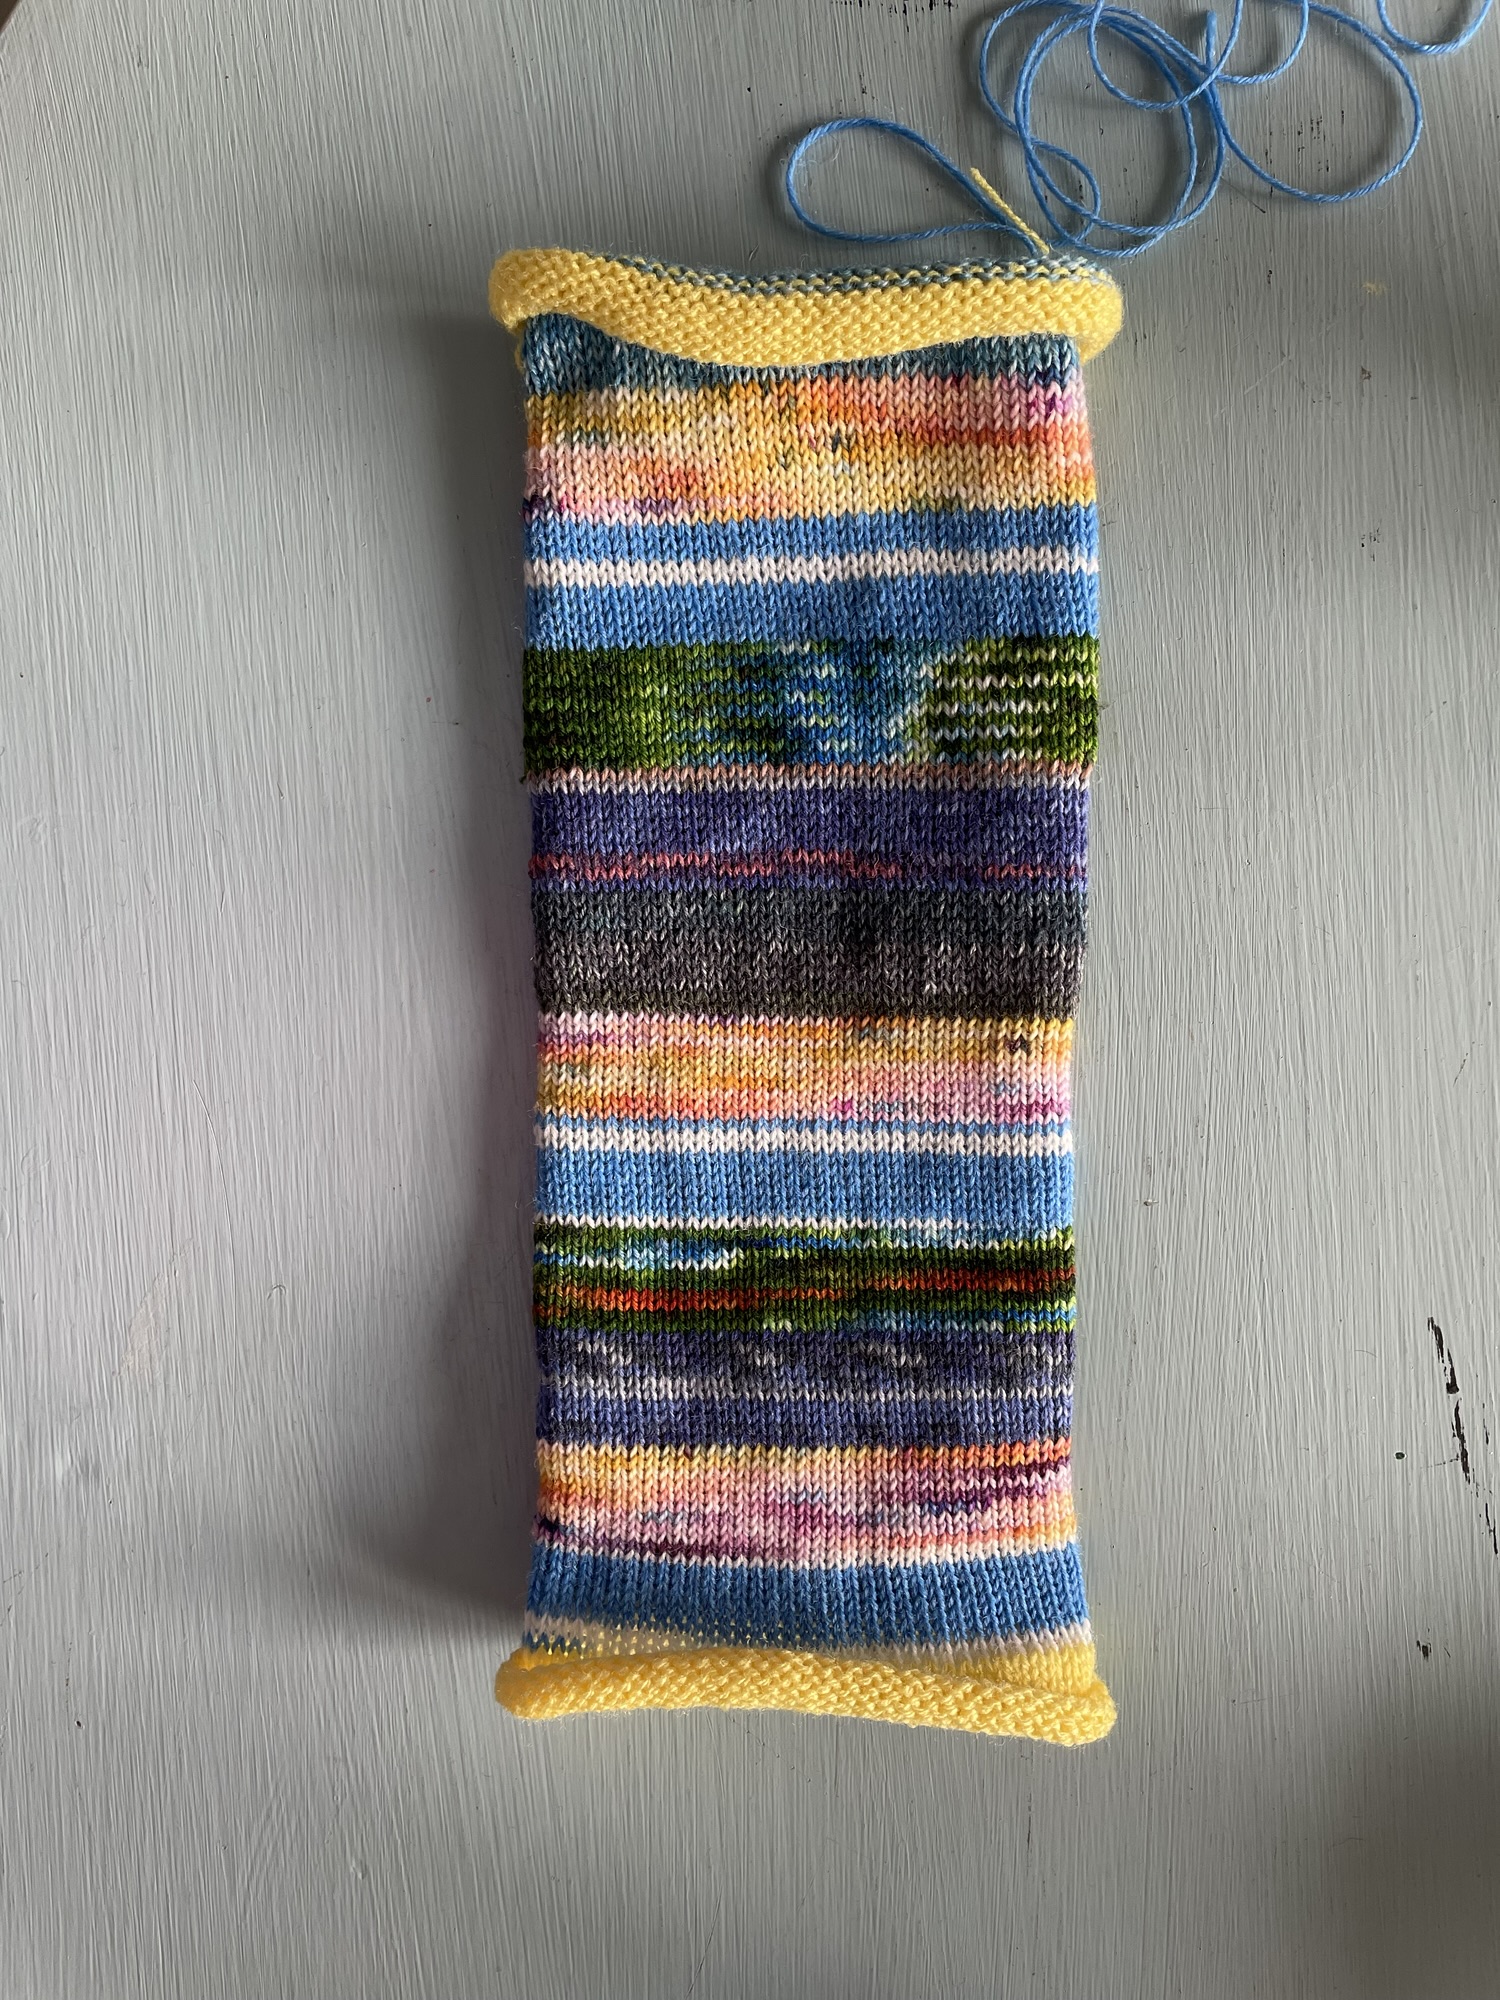
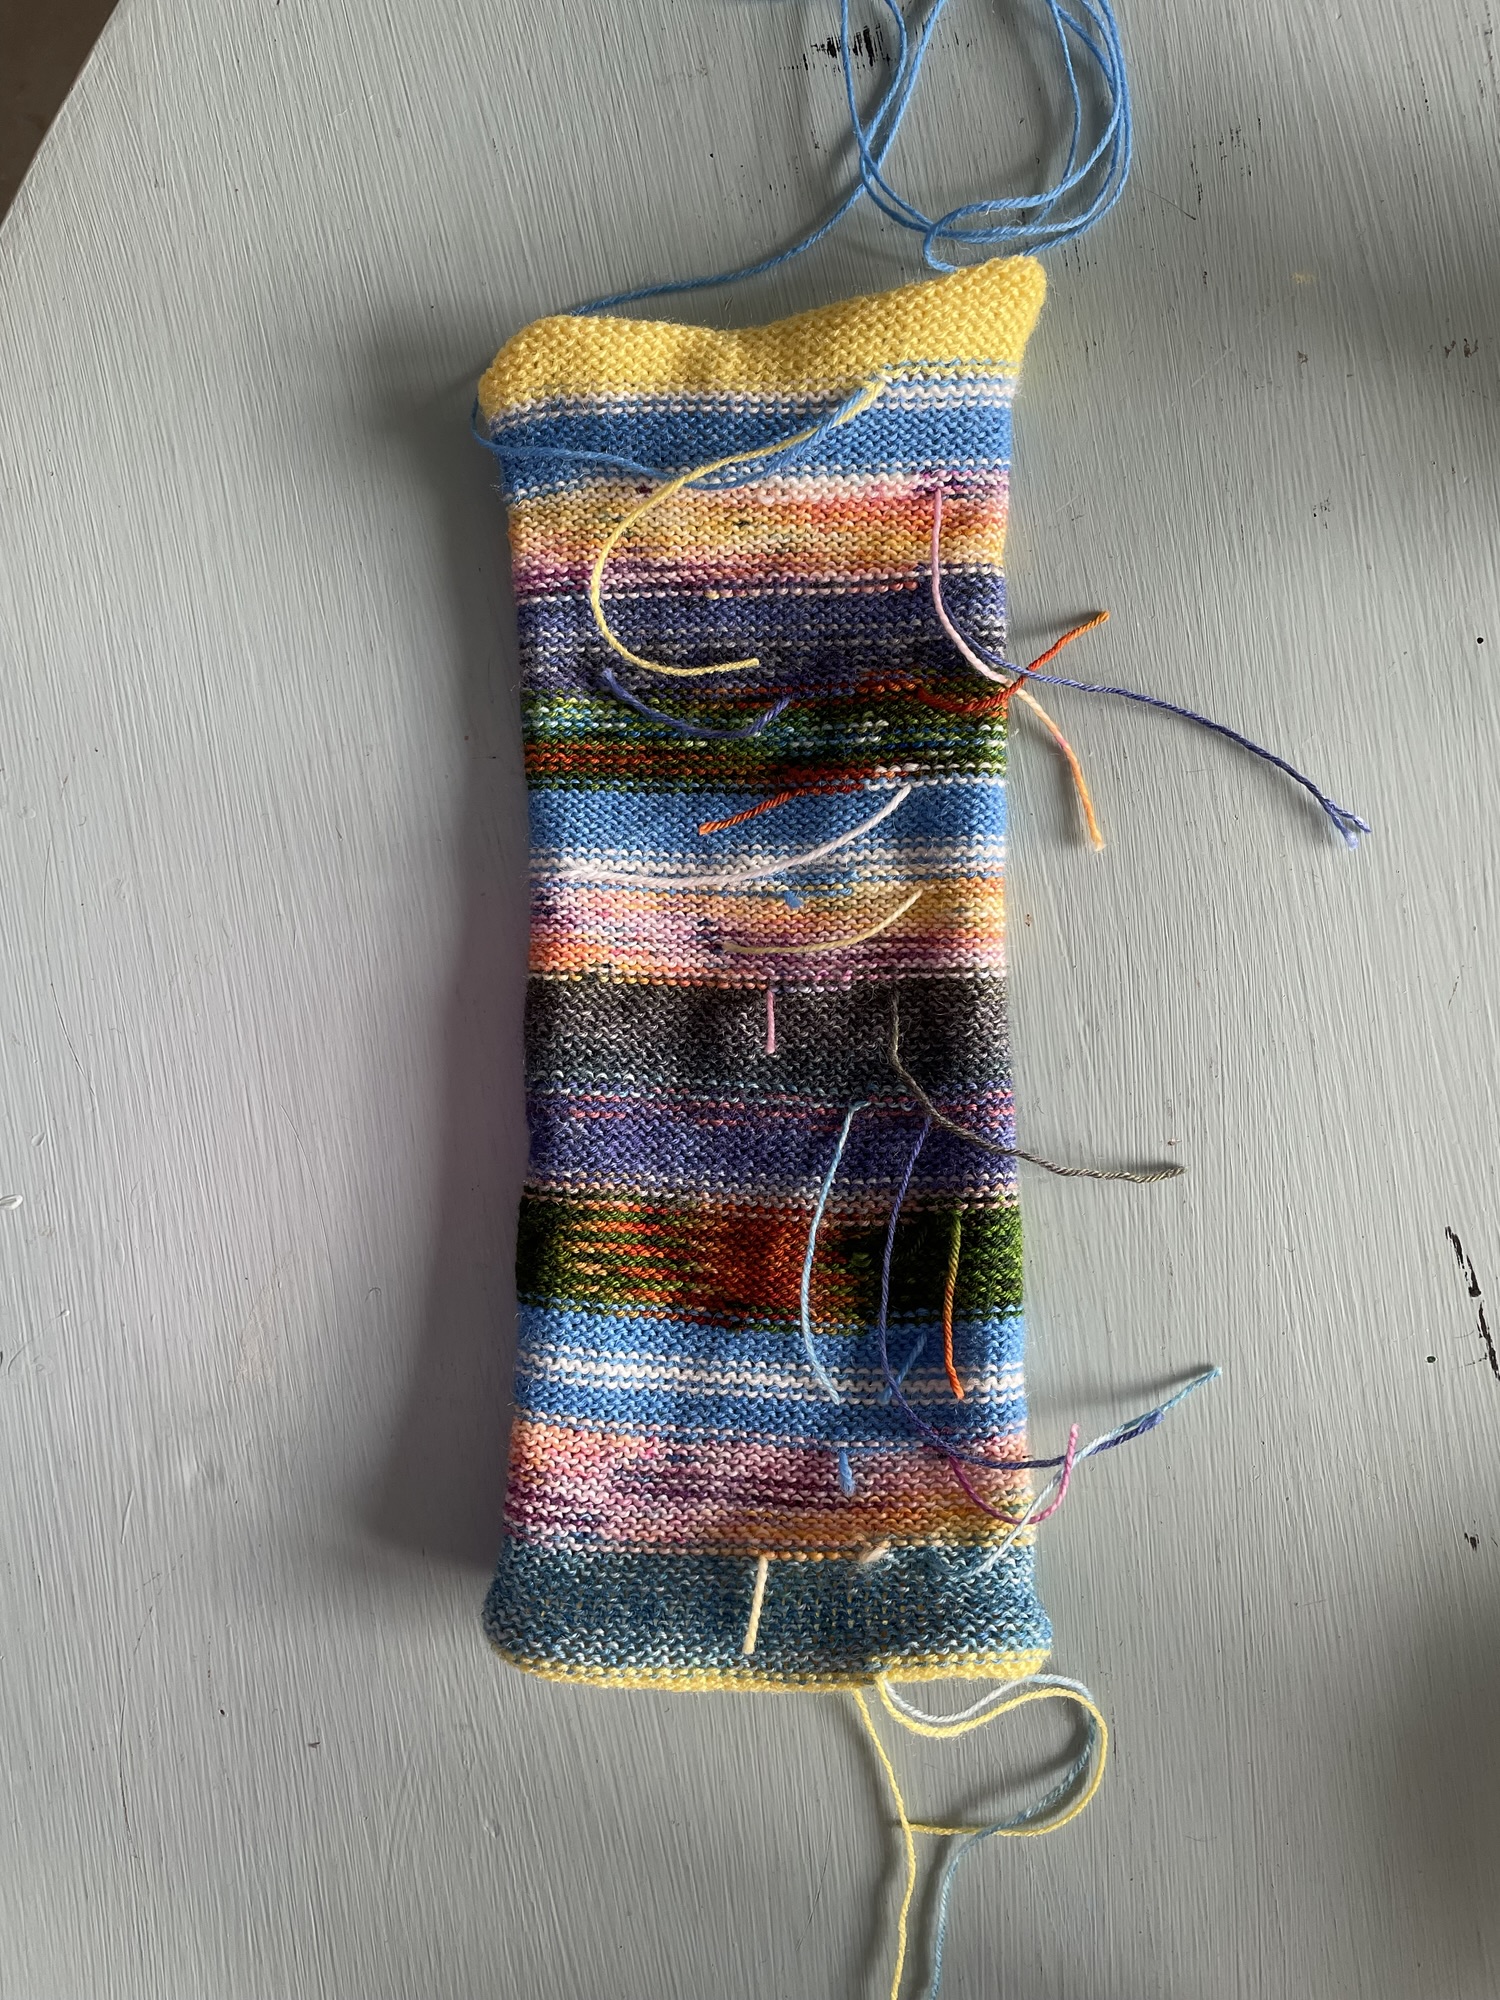
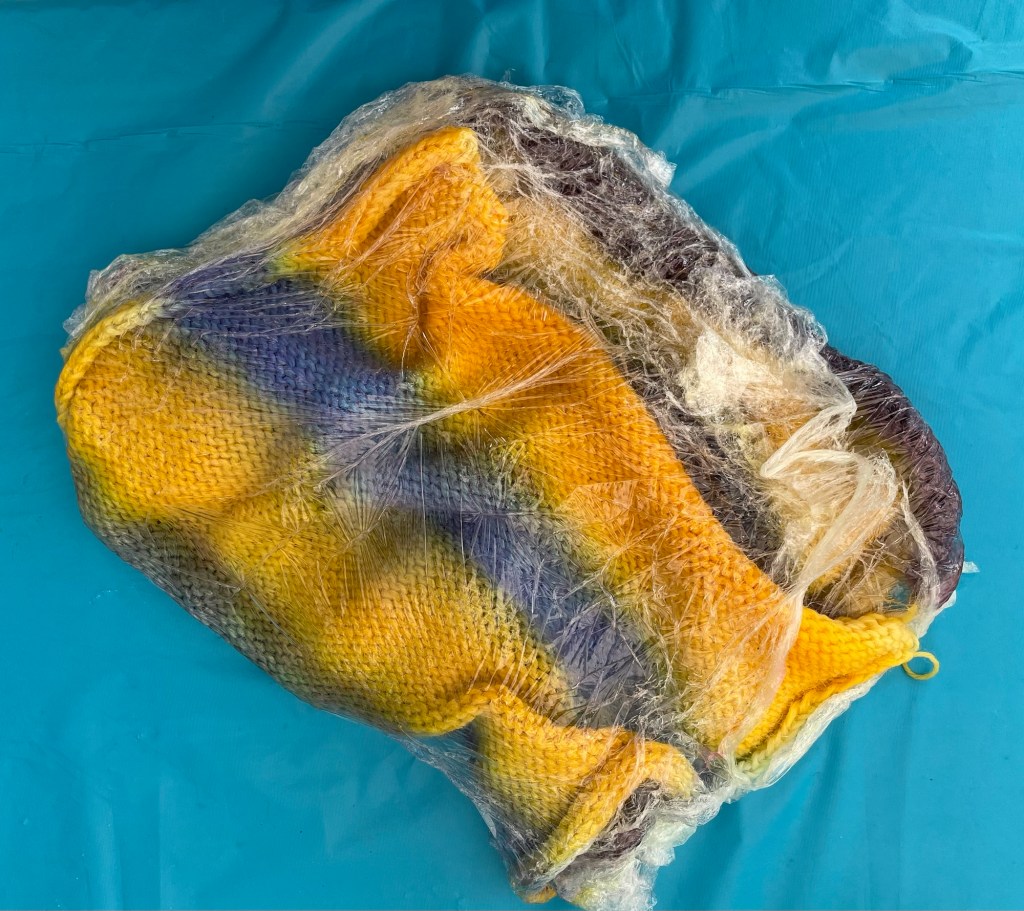
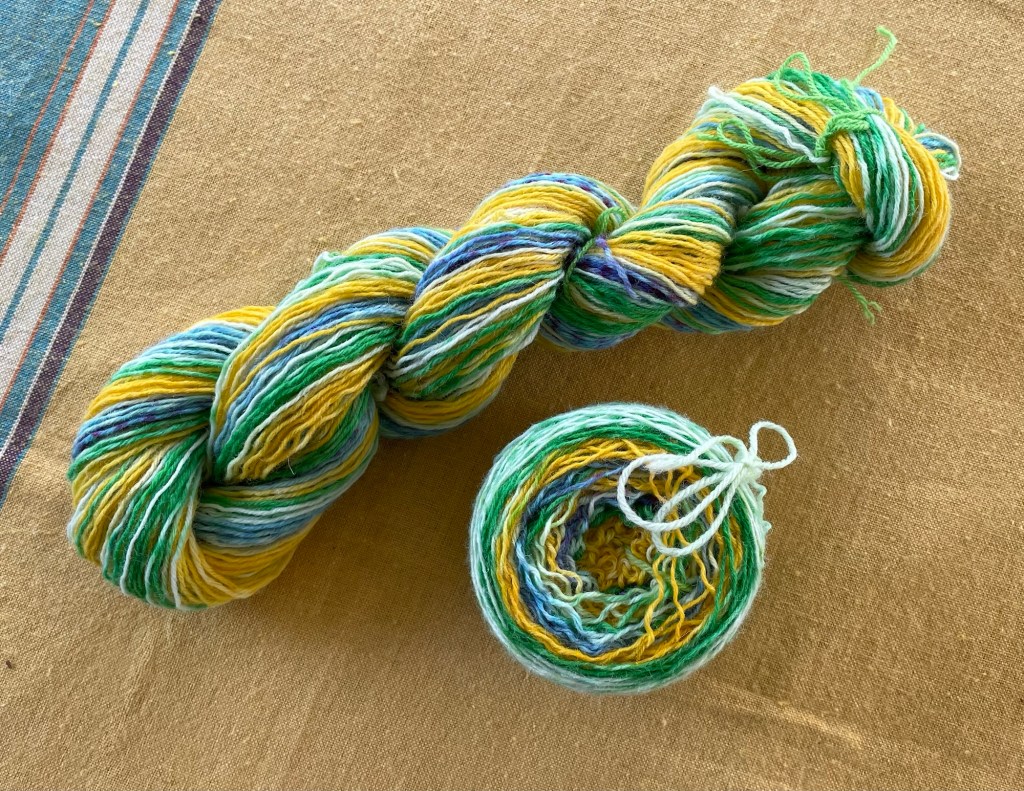
Of course I had a knitting project to work on during the trip. I am attempting to make knitted and felted slippers. Eventually there will be a blog post, assuming they work out. Or maybe even if they don’t.

We had planned on sleeping in the RV for one night while en route, using the bed and toilet without unhooking the trailer from the truck or opening the slides, and without any utilities. When we are on the way to Arizona it is too cold, so we have never done this before. As we were making our way across Montana it was in the upper 90’s Fahrenheit, and at one point the car thermometer registered at 100 degrees. It would not cool off fast enough or far enough to make it habitable inside the RV overnight, so instead we booked a hotel room near Columbus, Montana, west of Billings.
Thursday, 8/14/2025
Cell phone service was very limited as we drove across Montana. We had trouble touching base with our friends, and Wayne had to give up on a phone call with his cousin that kept dropping.
We stopped at a Safeway store in Bozeman for groceries, knowing that prices would be higher in the town of West Yellowstone near our campground. When walking past the butcher counter, an employee noticed the Arizona sweatshirt I was wearing. He wanted to chat about where we were from and our connection to Arizona, being he had lived there for a time. His sister lives near where we snowbird in Gold Canyon. He gave us some bags of ice, so we did not have to buy any. We had an extra cooler in the truck, but also bought a styrofoam cooler to hold more cold food.
About an hour from our destination, we stopped at a pullout along a stream and ate sandwiches I had brought from home.

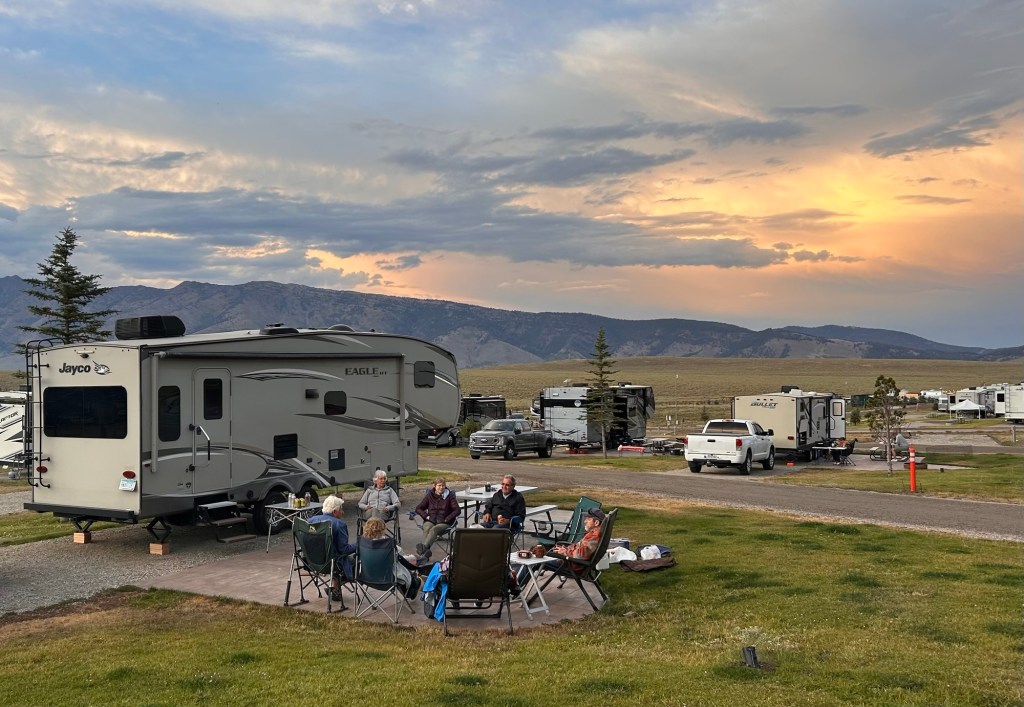
By mid afternoon on Thursday, August 14, we arrived at Baker’s Hole, a National Forest campground about three miles from West Yellowstone. One of the other couples, Steve and Sally, had arrived a few days earlier and already scoped out the area. The third couple staying in the same campground, Harvey and Glenda, arrived by early evening. Our campsites were all next to or across from each other.
The campground was how I envision camping, with spacious campsites and many pine trees. The sites have angled spaces which is nice for backing the RV into place. My only complaint is that it was located quite close to the highway, and there was a steady stream of traffic noise all the time, except during the night. There was also a small airport nearby. The other first world problem is that there was no wifi and the cell service was very bad. It was OK to be off line for most of the trip, but frustrating to not be able to check the weather forecast in the morning.

Setting up the RV is a slow process for us, but we did not have any problems. That does not always happen. The campsite had electric hookup, but no water or sewer. This was new for us. There was a place to fill our RV water tank at the entrance, but no way to add more water to the tank in an efficient way. We were filling up jugs of water for drinking and cooking, rather than using the water out of the faucet from the tank. Also, we were only using the toilet at night and only for peeing. There was an outhouse nearby that we used during daylight hours, but no campground shower facility. Showers in the RV had to be very short to conserve water.
Steve and Sally invited us to dinner at their campsite, across from ours. It was nice not to have to figure out dinner after just getting set up. I contributed green beans from our garden that had traveled from Minnesota and needed to be eaten.
Friday, August 15
Steve and Sally invited the whole group to their place for “Cowboy Breakfast” the next morning. They have an ALiner pop up camper which is smaller than what the other couples have, but very cozy and efficient, and can be towed by their Subaru. They have a very complete setup for outdoor cooking. The forth couple in our group, Loren and Linda, drove over to join us for breakfast from where they were staying in a private campground about 20 miles away.
After breakfast and some planning we all headed out for a day of sightseeing inside Yellowstone National Park, with two couples in our truck and two couples in Loren and Linda’s truck. Sometimes there are long lines to get into the park, but we breezed through the entrance with our senior passes and starting out later in the morning.
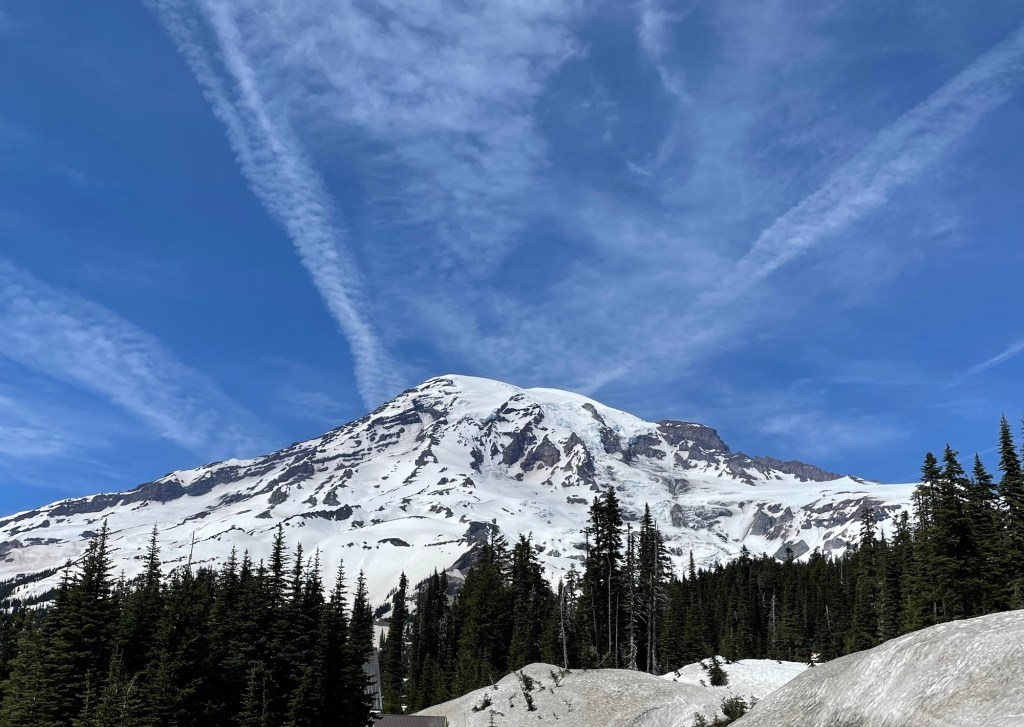
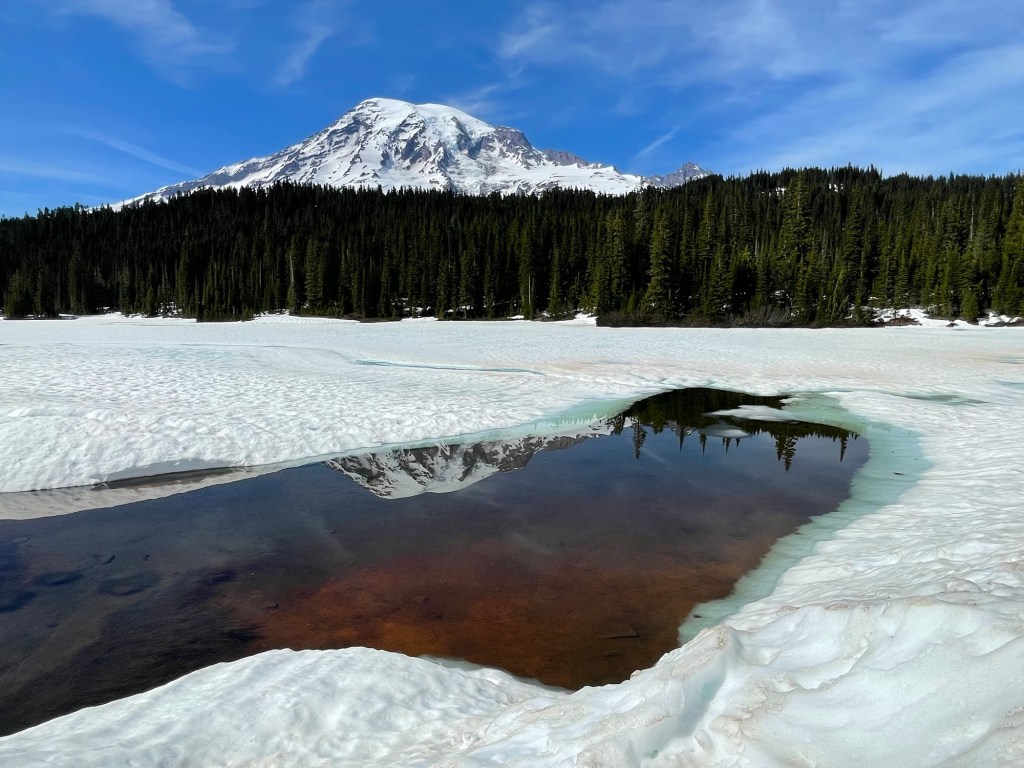
Most people have at least heard of Yellowstone National Park. For the record, it is located mostly in Montana and is known for the wildlife, and for the variety and number of geothermal features including geysers, mud pots, and colorful steaming thermal pools. The highest elevation lake in North America is located in Yellowstone. There are rivers, waterfalls, and canyons. It sits on the Yellowstone Caldera, the largest super volcano on the continent, now considered dormant. It is a Unesco World Heritage Site, and a must see amazing place. I took a photo of the map below that I saw displayed somewhere in the park.

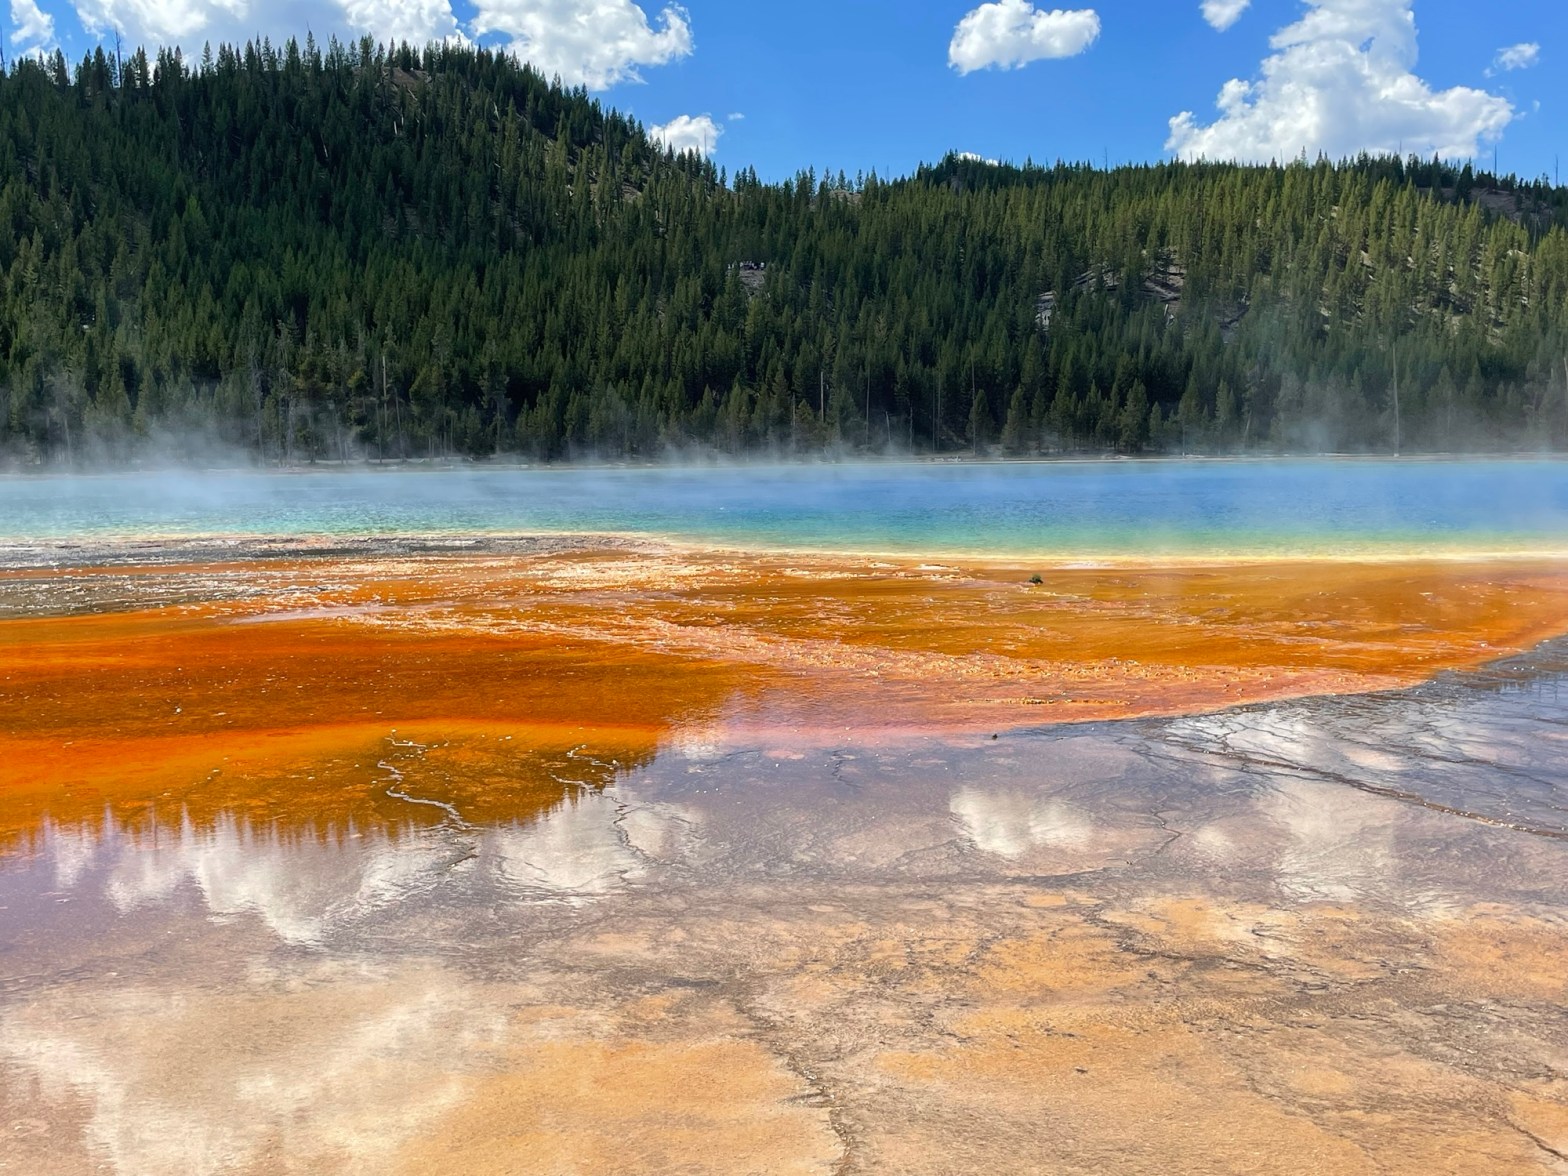
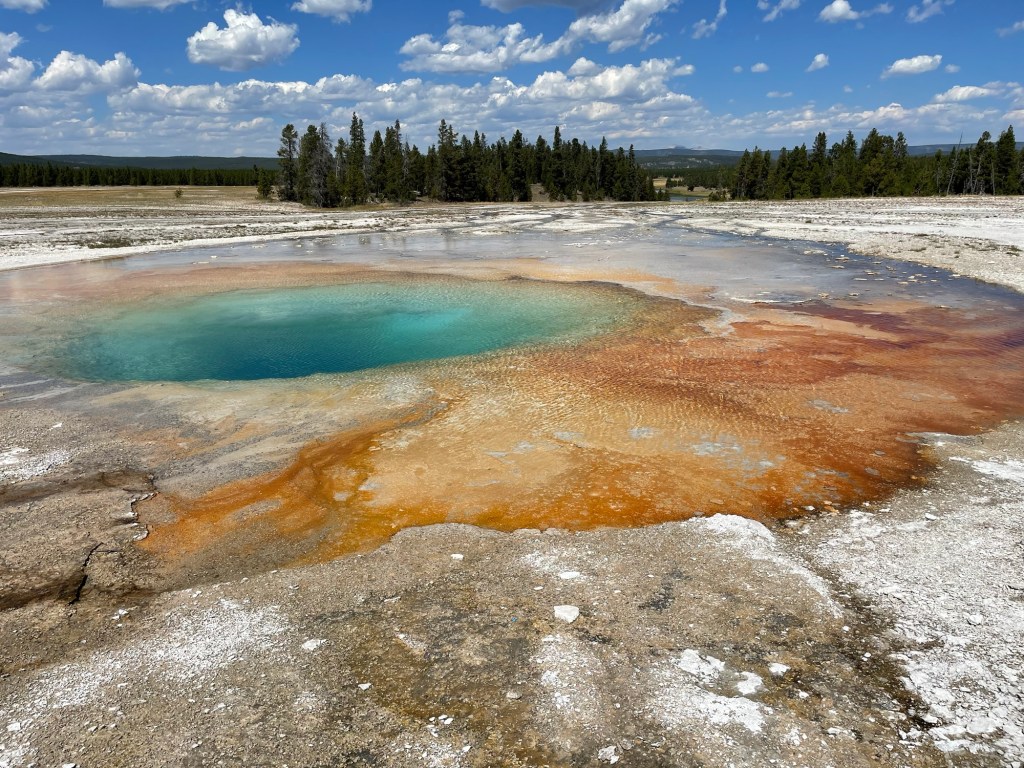
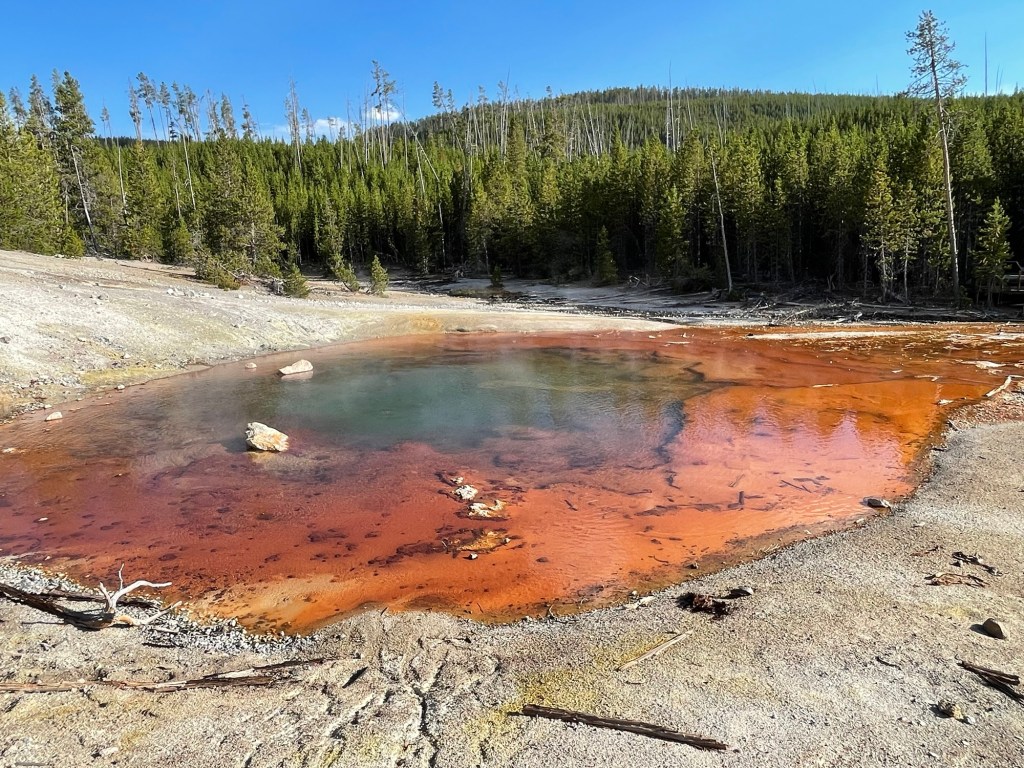
The first stop of the day was Midway Geyser Basin, an area with pools of steaming water and brilliant colors. The Grand Prismatic Spring is huge and blue and steaming, surrounded by green and orange and gold. It was impossible not to take too many photos from various vantage points along the boardwalk path.


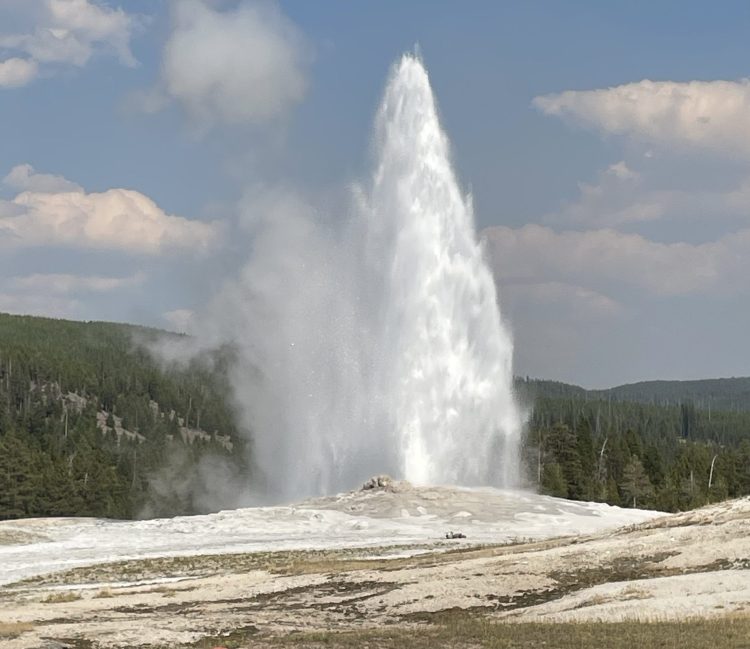
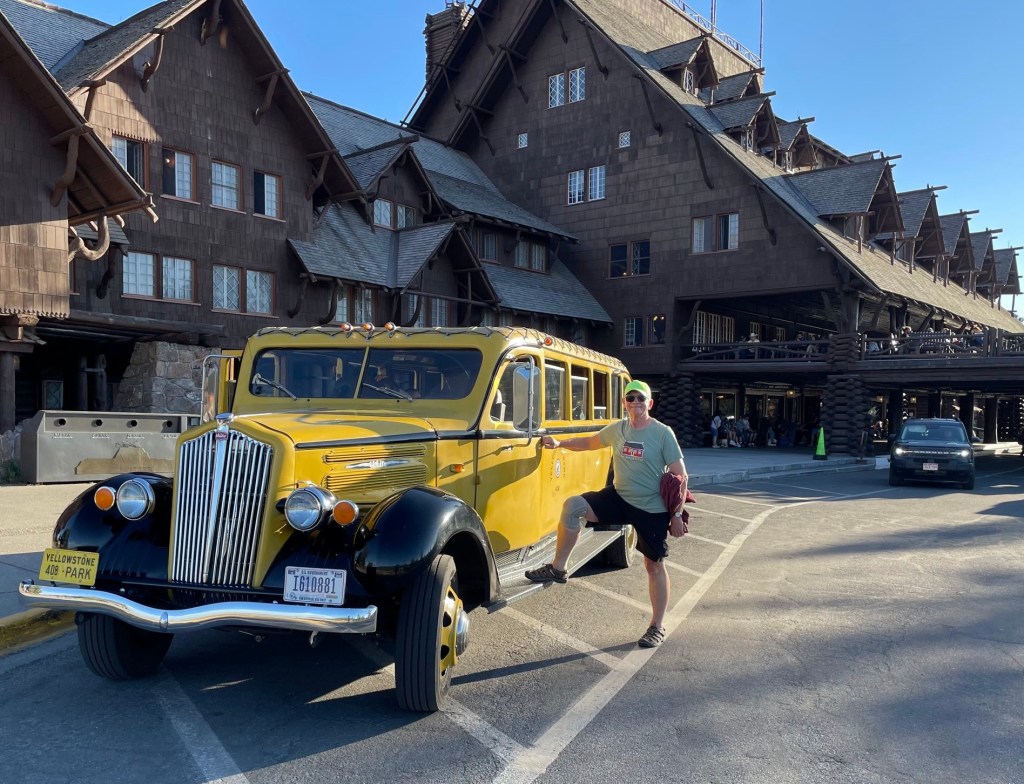
Next on the agenda was the Old Faithful, where there is a complex of buildings including lodging and a visitor center. And good cell service. At the visitor center we watched an educational movie about the park, and then went over to watch the eruption of the Old Faithful geyser at the expected time. Old Faithful is not the highest geyser in the park, but it is more regular and predictable.
It was hot outside, so in order to get out of the sun, we had beverages (and in my case an ice cream cone) followed by Happy Hour inside the Old Faithful Inn. Old Faithful Inn is the earliest classic log cabin style national park lodge, build in 1904. After we got home, my phone knew that I was googling information on Yellowstone, and in my feed was the link for a story about the Old Faithful Inn on CBS Eye on America. There is some good video and detail about the building for those interested. I found a photo online of the original facade of the Old Faithful Inn.


I forgot to bring something I needed for my knitting project. While we had cell service in the Old Faithful area, I googled for a local yarn shop in West Yellowstone. West Yellowstone Fabric & Yarn came up, but it is online only. They were advertising some yarn with colors inspired by scenes in the park, hand dyed by Jeanne from Destination Yarn in Ohio. I would have bought a skein of the “Grand Prismatic” colorway, but it was out of stock.

We considered eating an early dinner at the Old Faithful Inn, but the food options were limited. Instead we headed for the Slippery Otter Pub in West Yellowstone. Steve and Sally had eaten dinner there the night before and recommended it.
On the way out of the park, there was a back up near the exit. It turned out to be due to people slowing down and/or pulling over to look at wildlife on both sides of the road. There was a herd of elk on one side of the road, and possibly a grizzly bear on the other side. One person in our car may have seen the bear across a stream, up a bank and foraging in some bushes. I did not see it.
Saturday, August 16
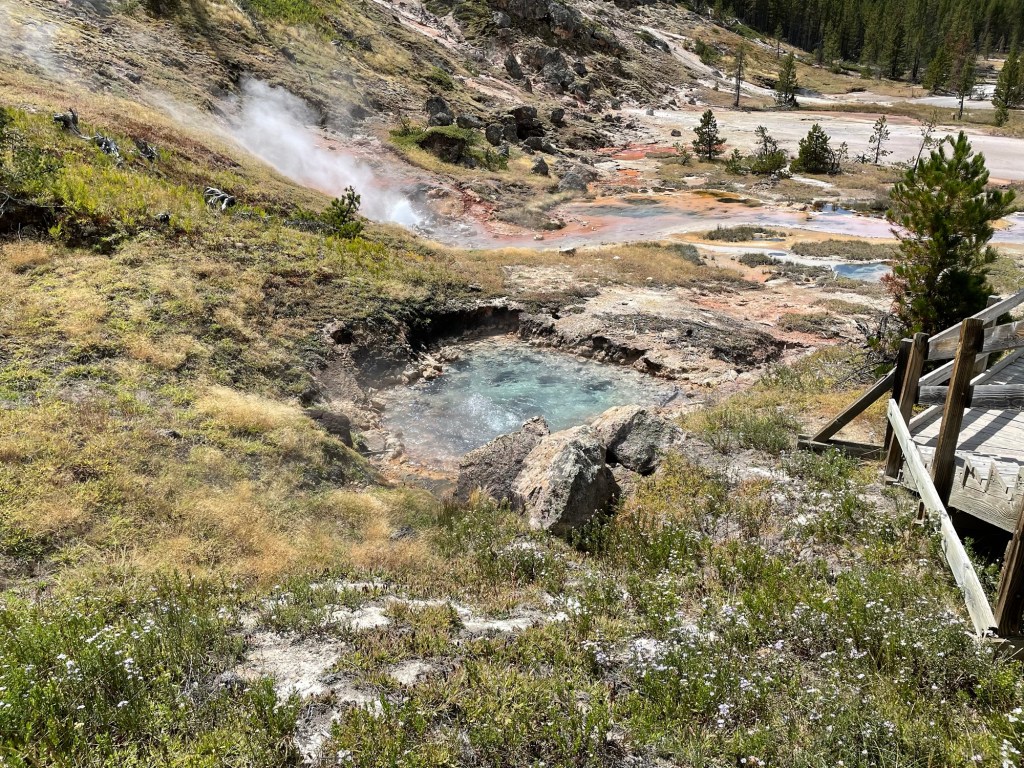
Each couple was on their own for the day. We purposely had a slow morning. I caught up on some cabin LLC bookkeeping that was behind by two months, and typed up notes from the trip so far. After lunch in the RV we drove to the Artist Paint Pots area of the park. The weather report had been for 10 degrees cooler than the day before, but instead it was about 87 degrees Fahrenheit with threat of thunderstorms. A little hot for a lot of walking around. The Artist Paint Pots is another area with a long boardwalk for viewing dozens of springs, geysers, vents and mud pots.


After that we drove to the Mammoth Hot Springs and Terraces. This area has more cool geological formations, plus an entire village with the park headquarters and housing for park employees, guest lodging, a Visitor Center, a gas station, a restaurant, and a military fort from the 1800’s. The Army was stationed here when the park was new to stop poaching by hunters and vandalization from tourists.
There was an easy walking loop for viewing the “lower terraces” composed of travertine with water flowing downhill, looking a bit like the inside of a cave. There was a longer path uphill to see the more, but due to the heat, we went on a loop drive in the car to see the “upper terraces”, instead of walking.


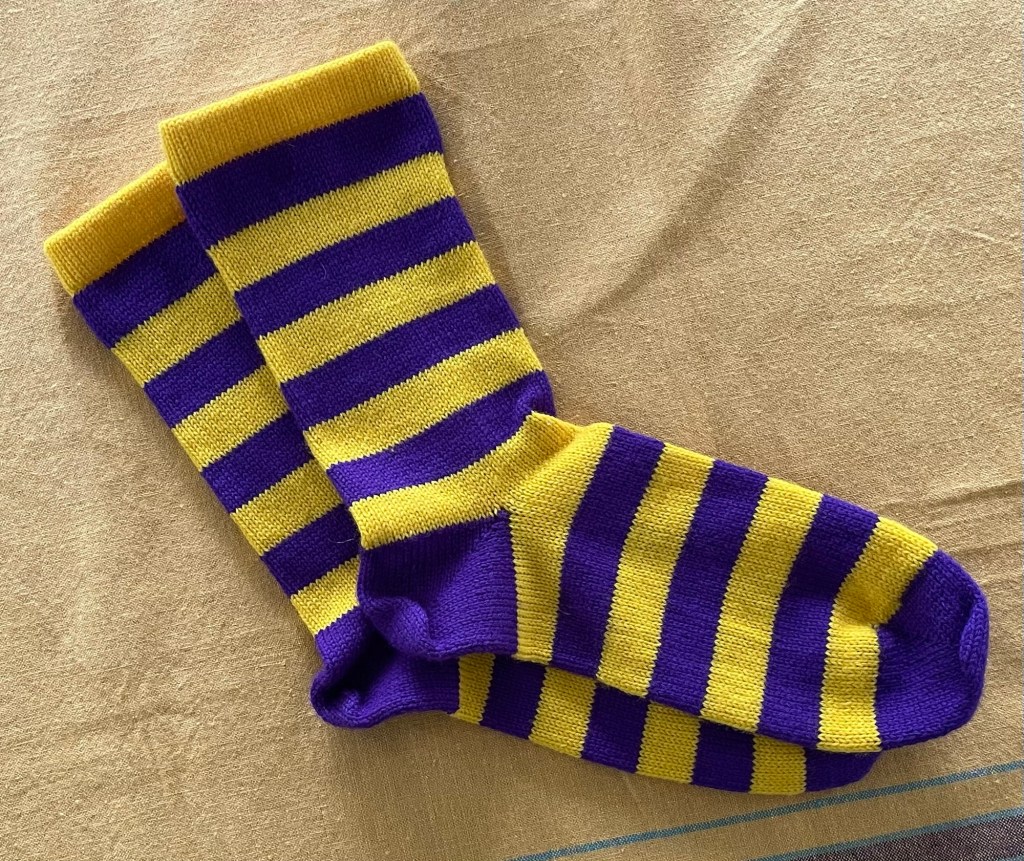
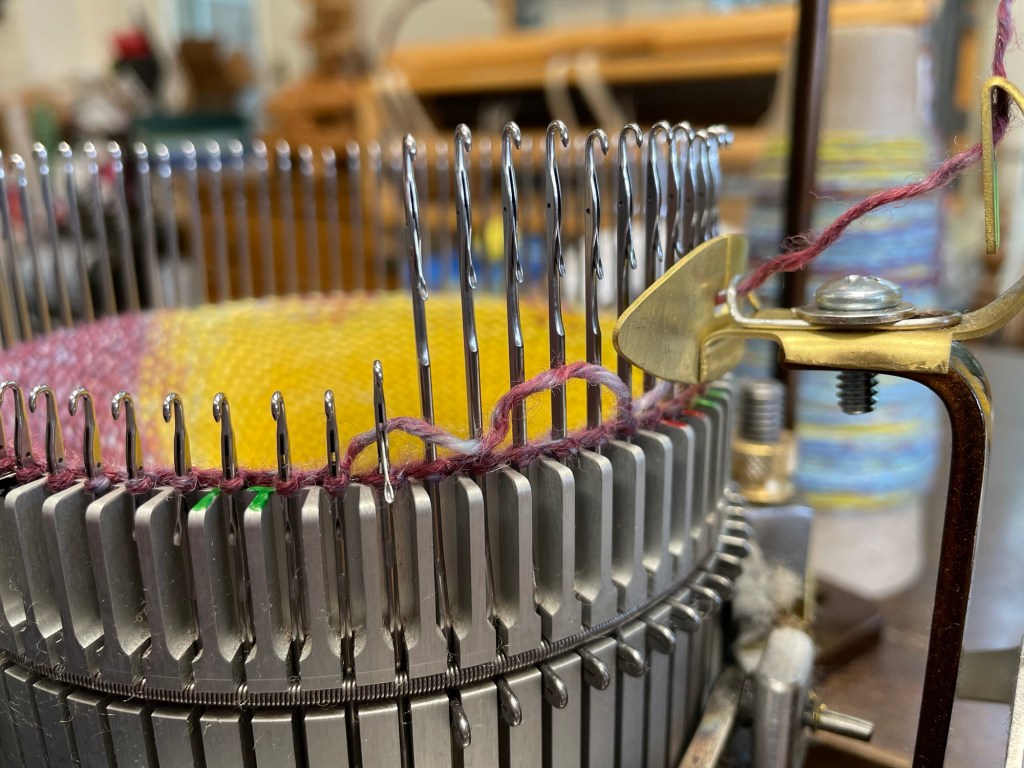
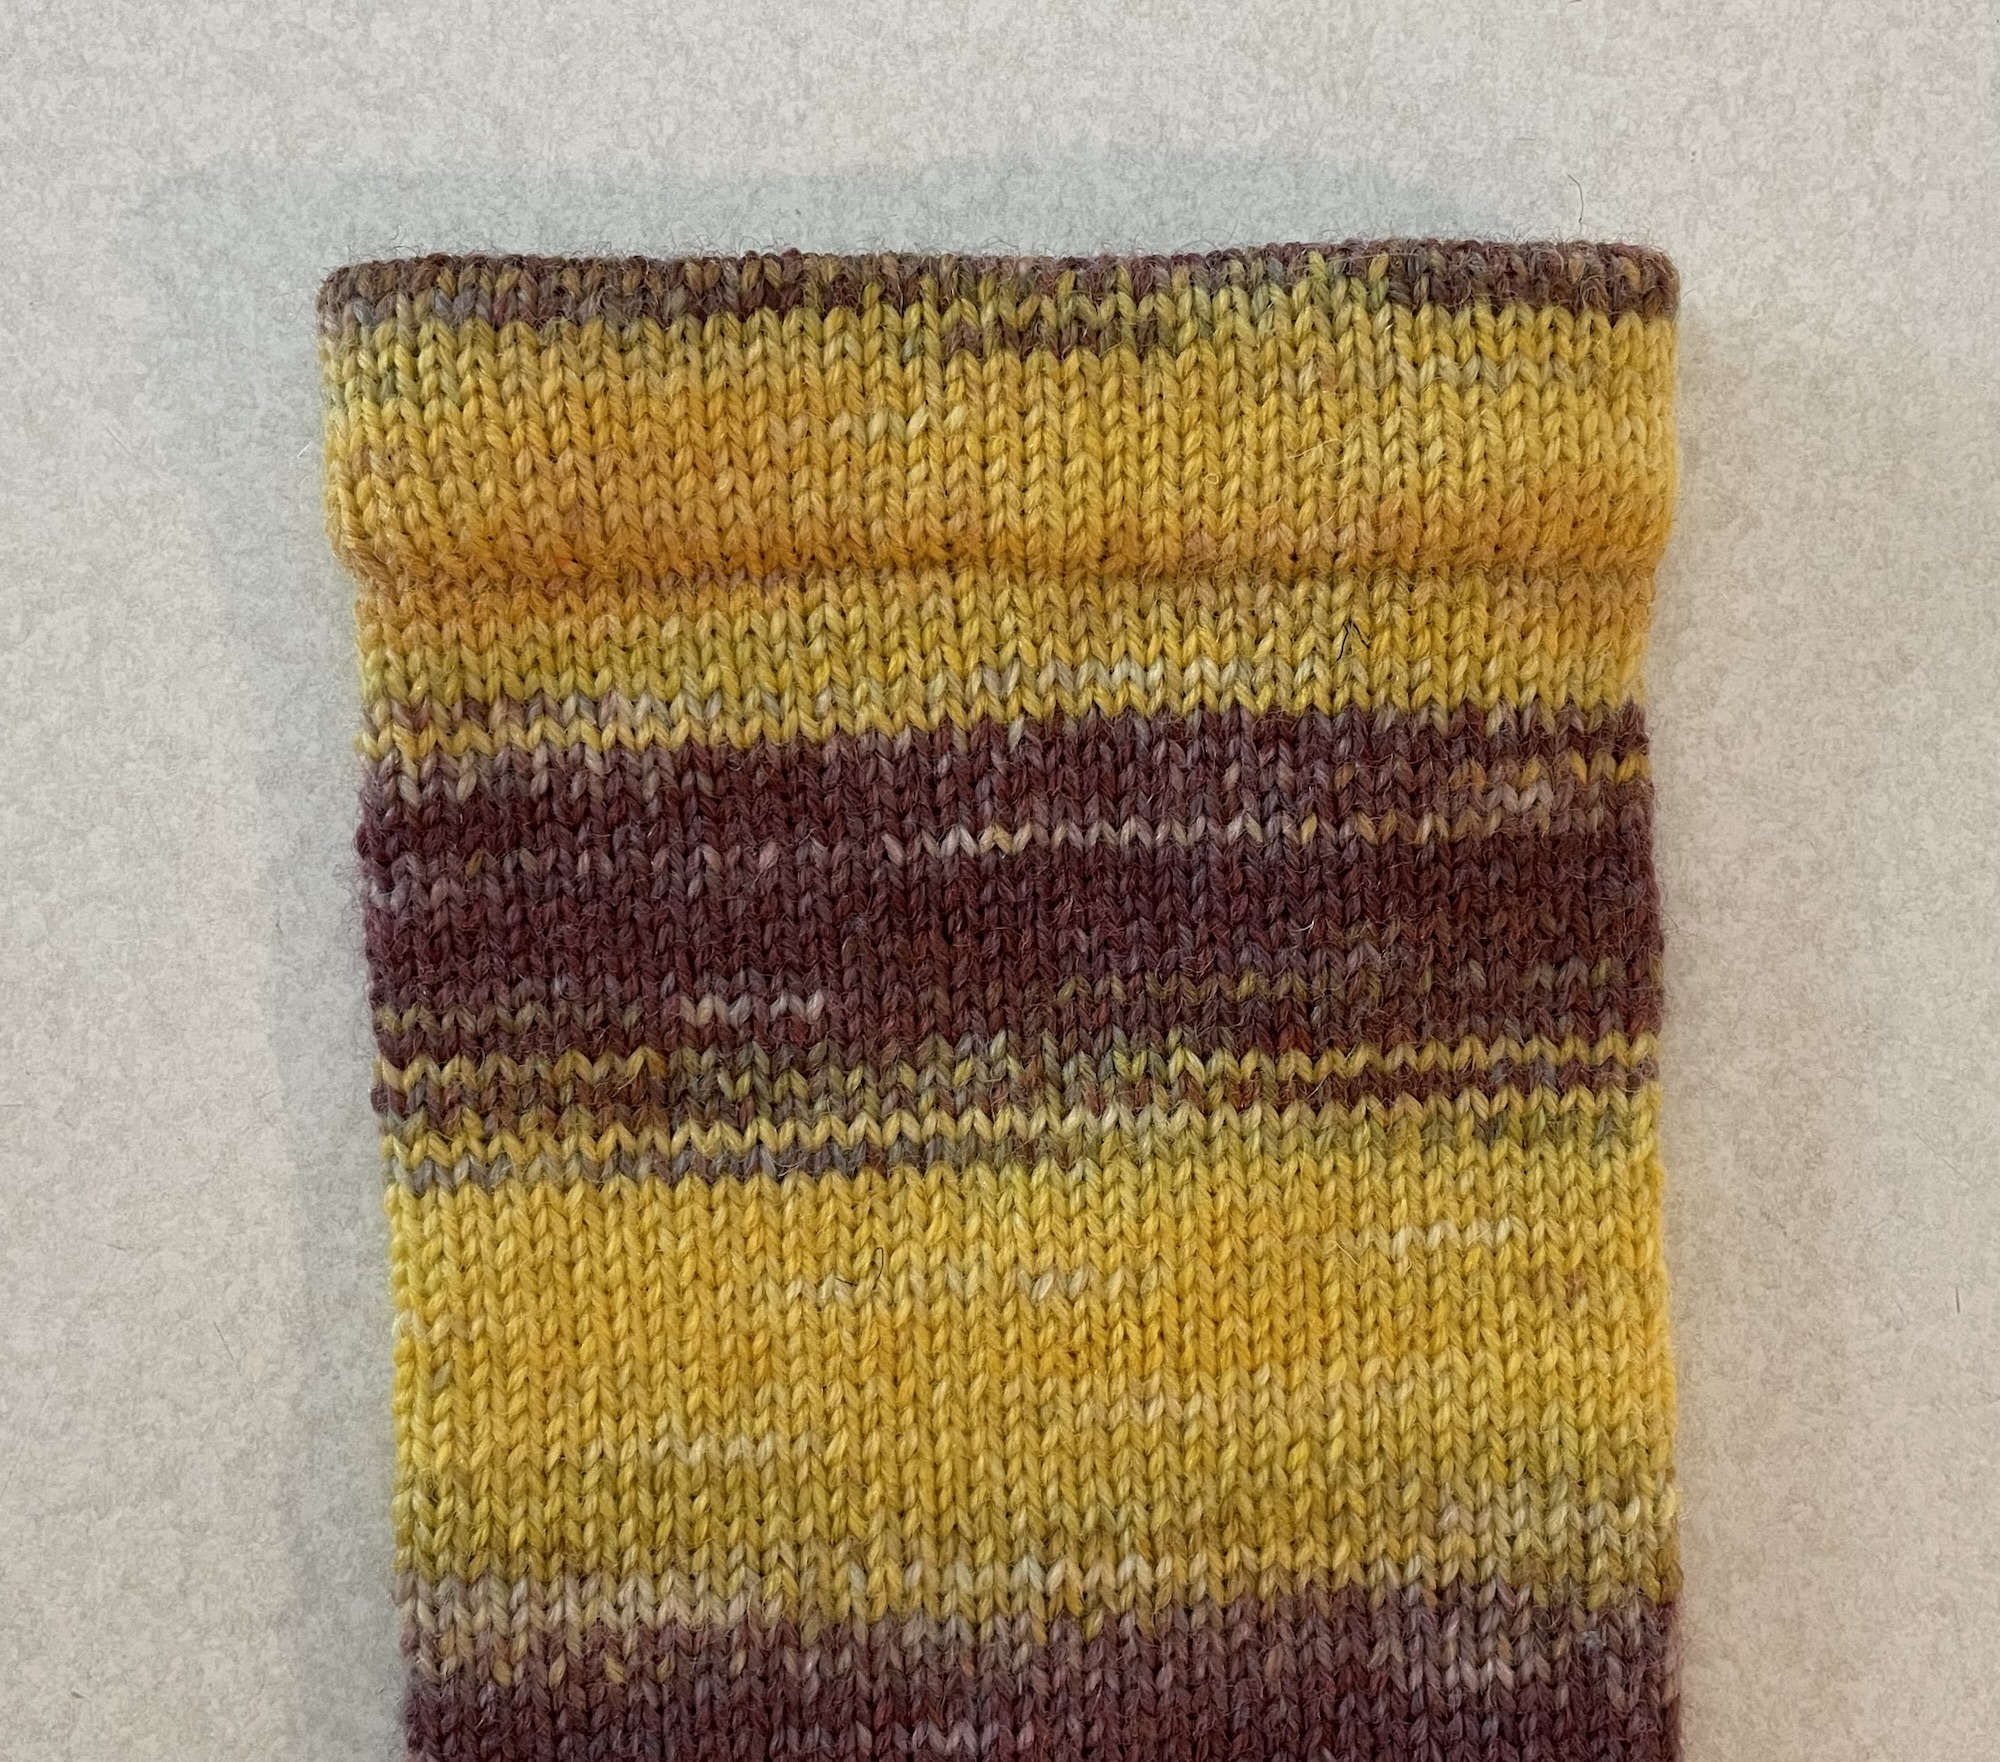
We did not want to move the car to another parking space closer to the Mammoth Hot Springs Village, so ended up walking what seemed like a long way in the heat. We peeked in some of the buildings, and then went inside the Visitor Center. At the gift shop there was a rack of park inspired socks, including a pair with “Grand Prismatic” graphics. I have to say if I could have bought some of that hand dyed Grand Prismatic inspired yarn and cranked a pair of socks on my sock machine, they would be nicer. We saw Loren and Linda in the visitor center. Later we heard that Harvey and Glenda were there too, shortly after we left. Normally there are elk wandering all over in Mammoth Hot Springs. We saw droppings but not a single elk. We wondered if they were staying hidden in the shade somewhere due to the unusual heat.
Heading out of the park there was a backup of traffic again. This happened at the same spot every time we drove in or out of the park. We saw a lone bison by the side of the road, and possibly some elk, I cannot remember any more.


We had planned on eating dinner at our campsite, and then having a group campfire. Around the same time we stopped for groceries in West Yellowstone, we heard from Steve and Sally that the transmission on their Subaru went out just as they were entering West Yellowstone, after their day in the park. It was also starting to rain. There were text messages flying to figure out how to assist them, and changing up plans for dinner. We could not get a hold of Loren and Linda at first because they were still inside the park with no cell service. We took our groceries back to the RV and waited for updates. As Harvey and Glenda were arriving in West Yellowstone after coming out of the park, they happened upon Steve and Sally, and were able to give them a ride back to camp. We agreed to meet for dinner out instead of cooking, at the Slippery Otter again. Loren and Linda finally got all the messages, but they still had to buy groceries and it was getting late, so they did their own thing for dinner.
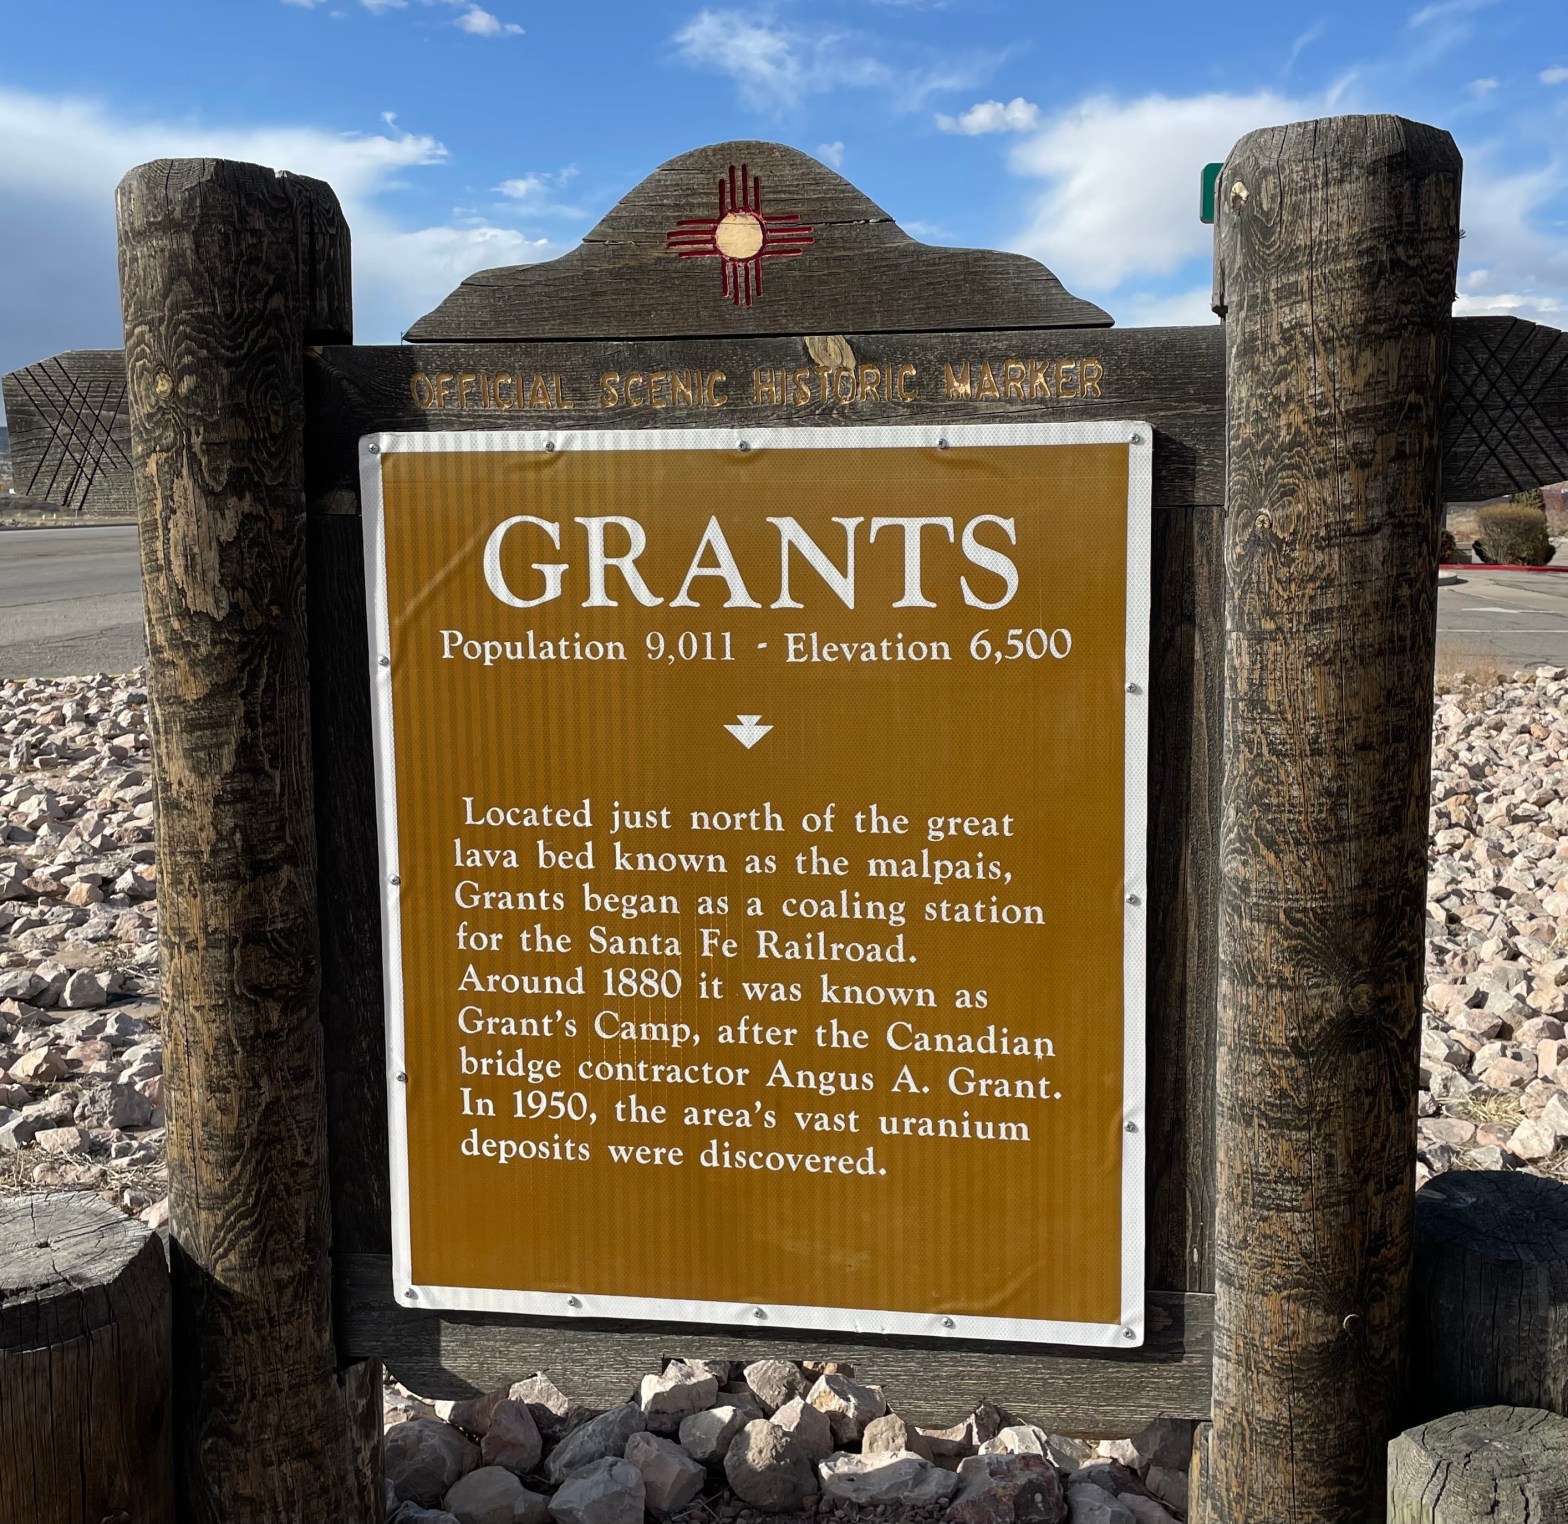
While we were eating dinner, Wayne had to tell his story of being stuck in Grants, New Mexico when we were on the way home from Arizona at the end of March, and how that was worse than Steve’s transmission going out with all of us together and able to help them. Steve was not convinced he should be happy about his situation, although they were grateful they did not break down inside the park with no cell service to call for help. Being Saturday evening he could not reach anyone at his insurance company, or any repair places or a Subaru dealer. He joked about junking the car and trading it in for a Ford F150 (what the other three couples all have), which Sally did not think was funny.
The group bonfire was cancelled due to rain, and everyone was exhausted by the end of the day.
Sunday, August 17
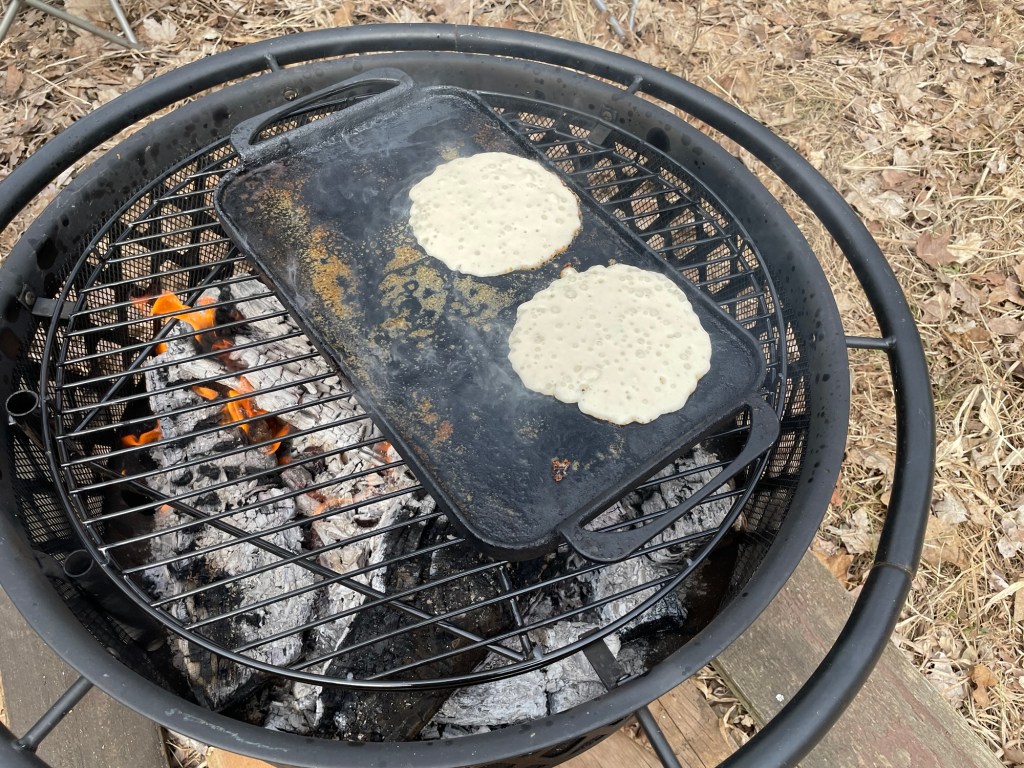
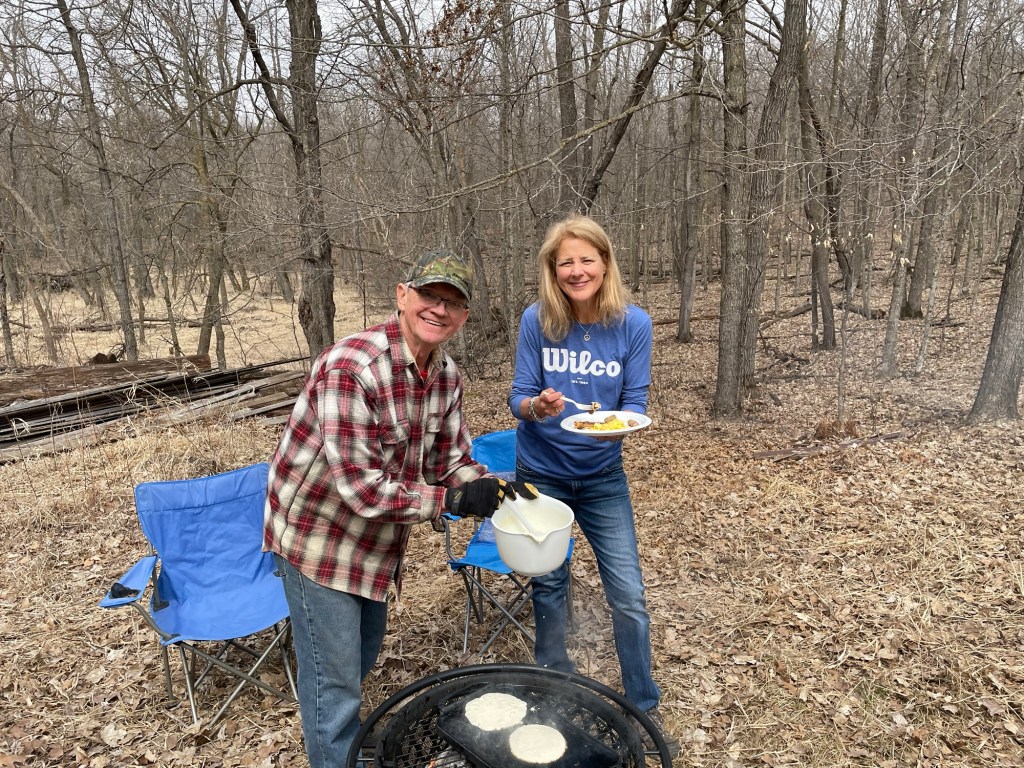
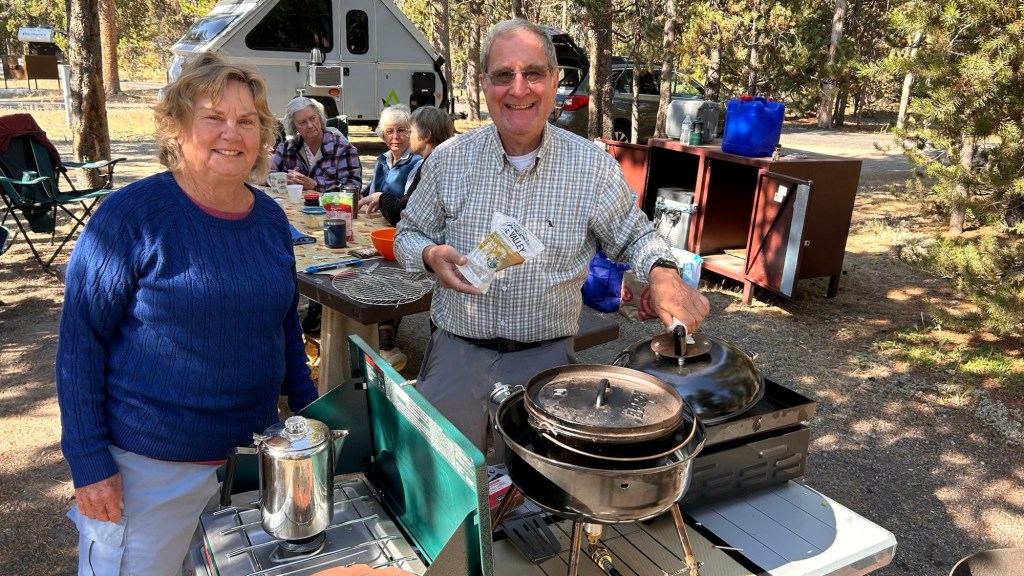
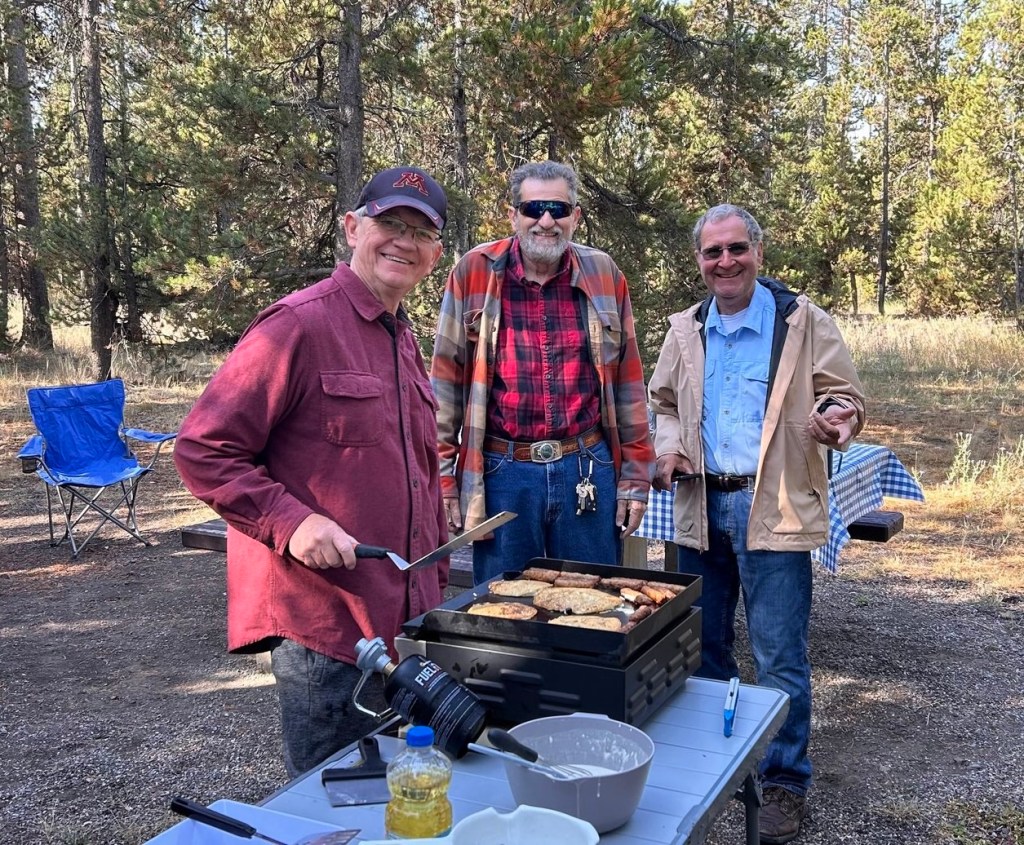
Wayne planned breakfast at our campsite for the entire group of eight people, including eggs, sausages, and pancakes with our family made maple syrup. He forgot that we have a small stove and one frying pan in the RV. I started to think about how we could cook the sausages first and put them in the small oven to keep warm, then cook the eggs and put them in the oven, and lastly cook the pancakes. Then I remembered that Steve and Sally have a big outdoor griddle. They were very willing to move that over to our campsite. Wayne cooked the sausages and pancakes outside on the griddle, while I cooked eggs inside the RV on the stove. It worked well and everyone enjoyed the meal.
After breakfast we re-grouped to prepare for a day of sightseeing with two couples each in two trucks. As Wayne pulled out of our camp site, the left front tire was making very bad noises. He pulled over into an empty site and flagged down the other carload. At that point everyone got out of the trucks and the four guys all tried to figure out what was wrong, including jacking up the truck and taking the tire off and putting it back on. It was determined that our truck needed service and we could not use it. At this point two of the four vehicles were broken down. Harvey’s truck was available, but his F150 has a smaller back seat. We shuffled around so that there were five people in Loren’s truck and three people in Harvey’s truck and headed out again.
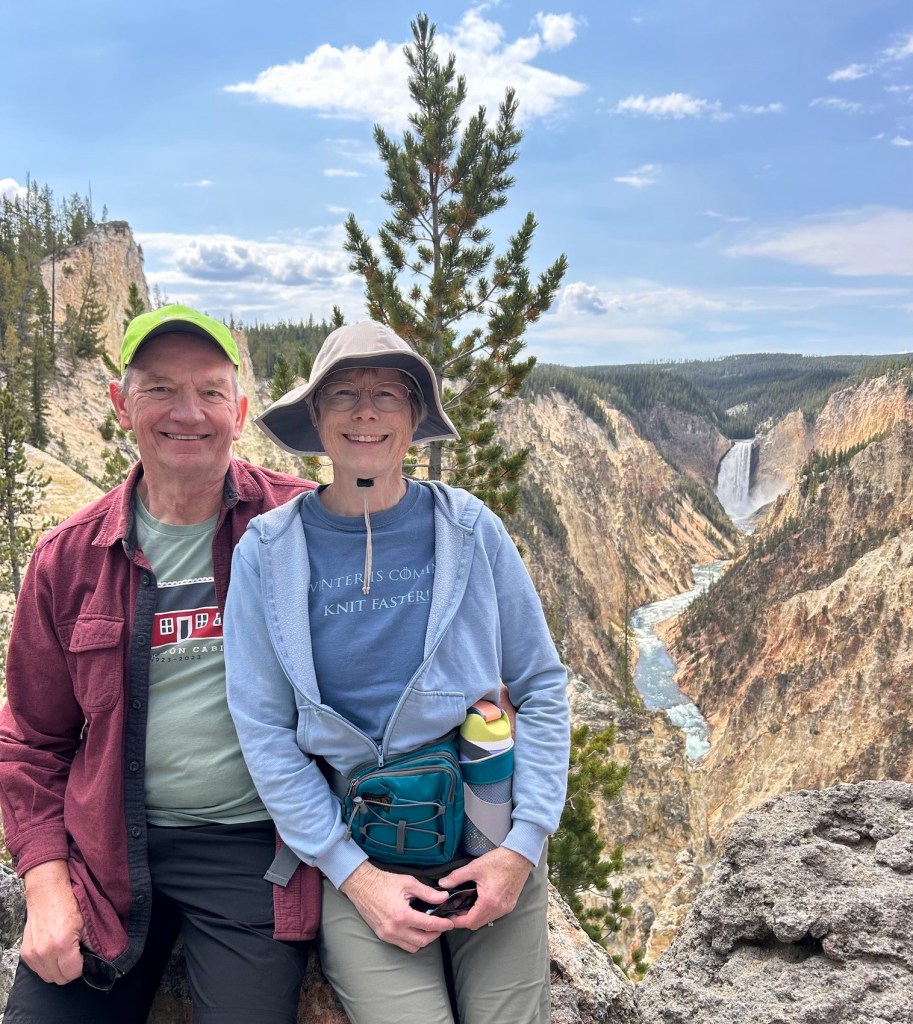
The destinations for Sunday were the Grand Canyon of Yellowstone, followed by the Hayden Valley and Mud Volcano area.
There was an informative ranger talk at the Grand Canyon where we learned some of the history of Yellowstone National Park. The land has been inhabited by humans for around 11,000 years. In the 1700’s Fur Traders came through the area. There were several expeditions by Europeans in the 1800’s. The most important one was the 1871 Hayden Expedition that included a photographer and some artists. A book was made using photos and art from the trip that was used to communicate to Congress and other big whigs how unique and beautiful the place is, and the importance of preserving it. In 1872 President Ulysses S. Grant signed into the law the establishment of the first National Park in the world.

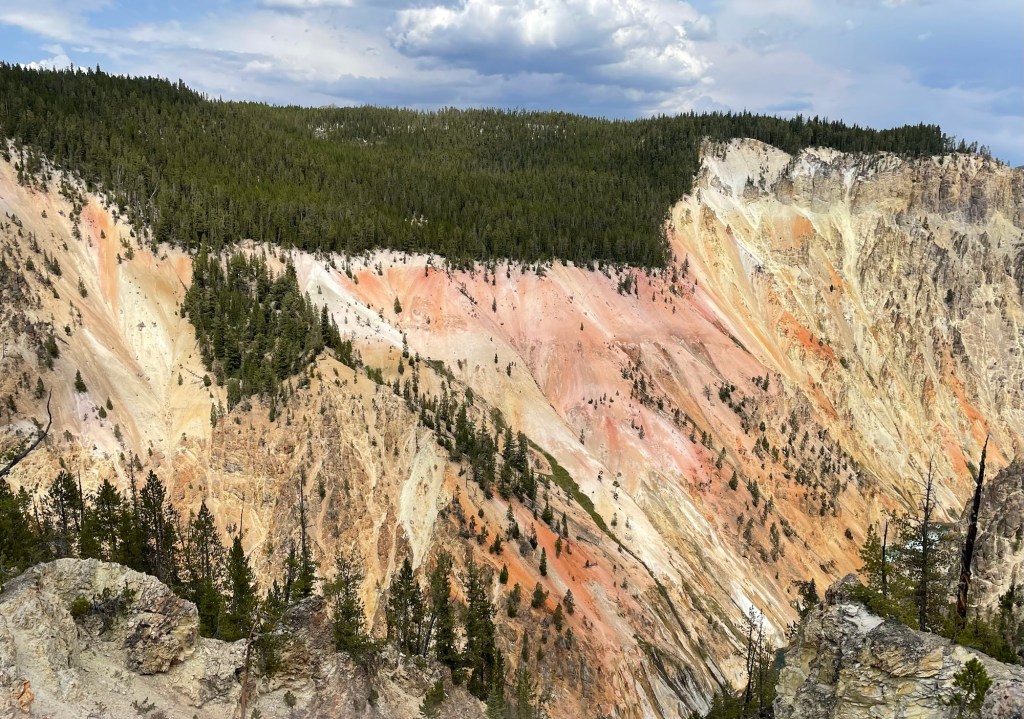
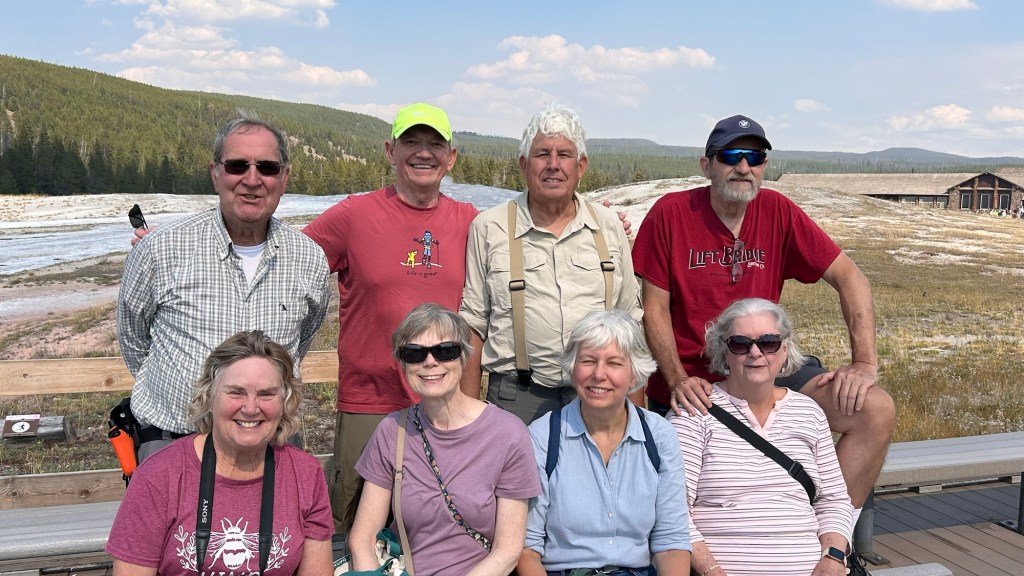
After gawking at the Grand Canyon of Yellowstone, we found someone to take a group photo with the lower falls in the background.

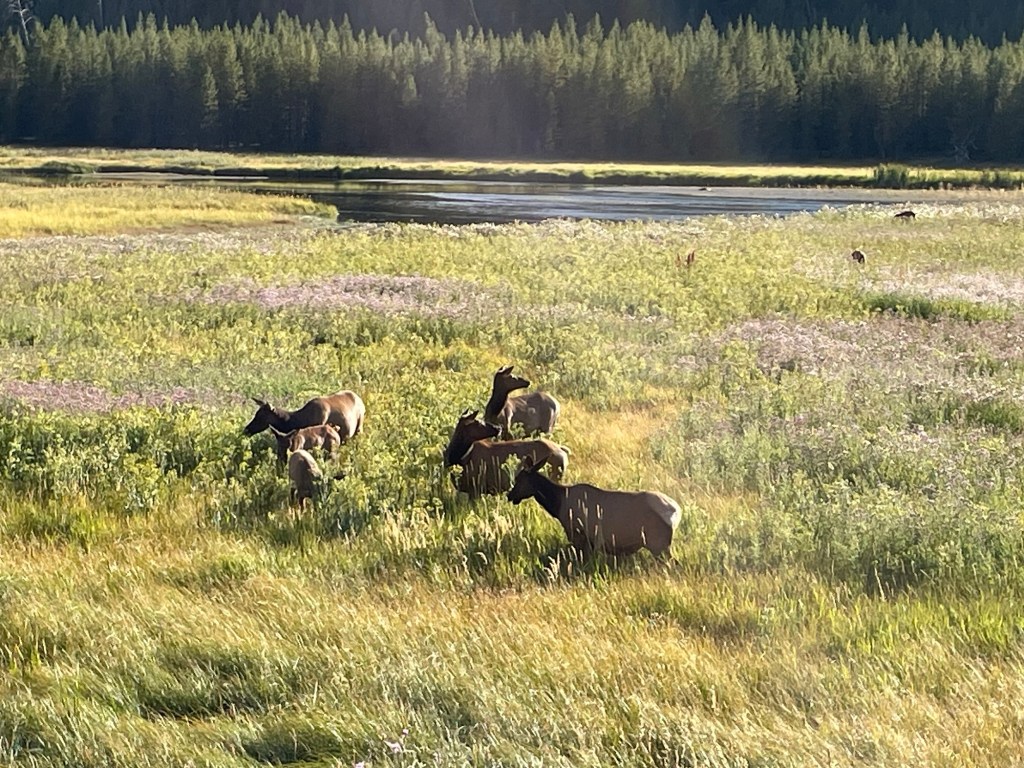
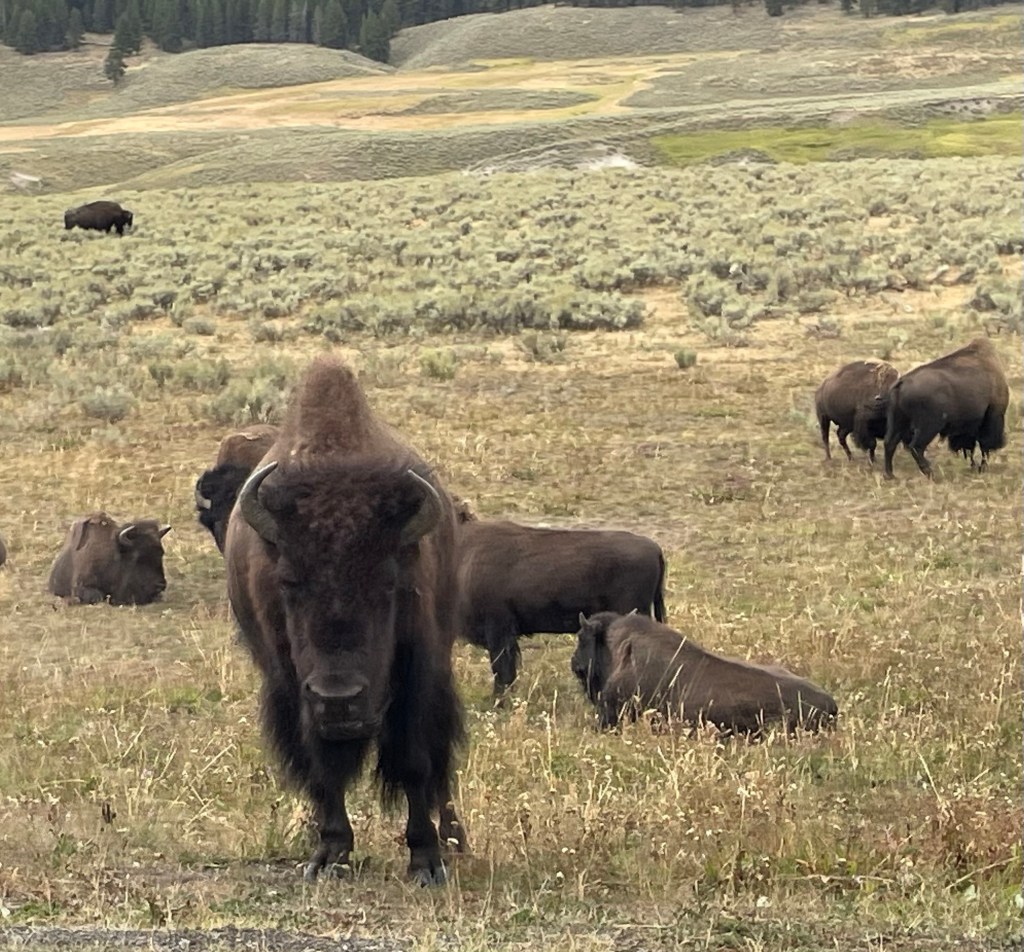
Next we drove through the Hayden Valley, an area where it is common to see animals. We saw many bison, including a few mother bison nursing babies. Some of the bison were making grunting noises, which we later found out happens during mating season.

The Mud Volcano area was the last sight seeing spot for the day. More thermal features are here that look like bubbling witches brews of mud.


For Sunday dinner Loren and Linda invited us to have spaghetti dinner at their camp site at Red Rock camp ground, about 20 miles south. Their camp site was more open with beautiful mountain views, and full hookups. Loren and Linda have a 5th wheel trailer very similar to ours. Or rather ours is similar to theirs. We saw theirs, liked it a lot, and bought a similar model. After dinner we had a camp fire with s’mores. Loren drove some of us back to our camp ground since Harvey could not fit six adults in his truck.
Wayne and Steve both fretted about repairs to the vehicles, but were not able to get any information since everything was closed on Sunday. Steve considered many scenarios depending on how long it would take to fix his car, including what to do with their trailer if the repair took longer than their reservation at the campground.
Monday, August 18
Loren and Linda checked out of their campsite and went south to the Tetons, so we would not see them again on this trip.
No sightseeing happened on Monday due to the problems with vehicles, and because everyone was wiped out from all the activity that had happened so far. Wayne drove our truck (it was OK to go a short distance) with Steve into West Yellowstone first thing in the morning. Wayne had found an auto service place that could look at it. Steve was able to get a ride with the tow truck taking his car two hours to Bozeman where there is a Subaru dealer. He was able to get a loaner car to drive himself back to West Yellowstone, and to use until there their car was fixed or there was another plan.
Sally and I got a ride into town with Harvey to look at some shops and get a few groceries, and where we met up with Wayne. Steve arrived back from Bozemen with the loaner car and met up with Sally. Other than that it was a welcome quiet day of hanging around the camp site. I typed up more trip notes and worked on my knitting project.

We hosted a group dinner at our camp site with brats and burgers cooked on our small portable grill, vegetable stir fry, baked beans, and fruit. Harvey and Glenda brought their can cozies.

I checked in with my sister who had used the cabin and our house with friends over the weekend. They had a good time, but forgot that I had suggested they pick produce out of our garden. If no one picks anything before we get home, we will find some state fair record size zucchini.
Tuesday, August 19
Steve and Sally hosted another big breakfast at their place with sausage, and biscuits with gravy or Huckleberry jam. Normally I do not have a big breakfast, but it worked out well so that we could bring snacks in the car for lunch. I had some time to work on a shoelace weaving project, using a different band weaving technique than the pair I made before with tablet weaving before we left the camp site.
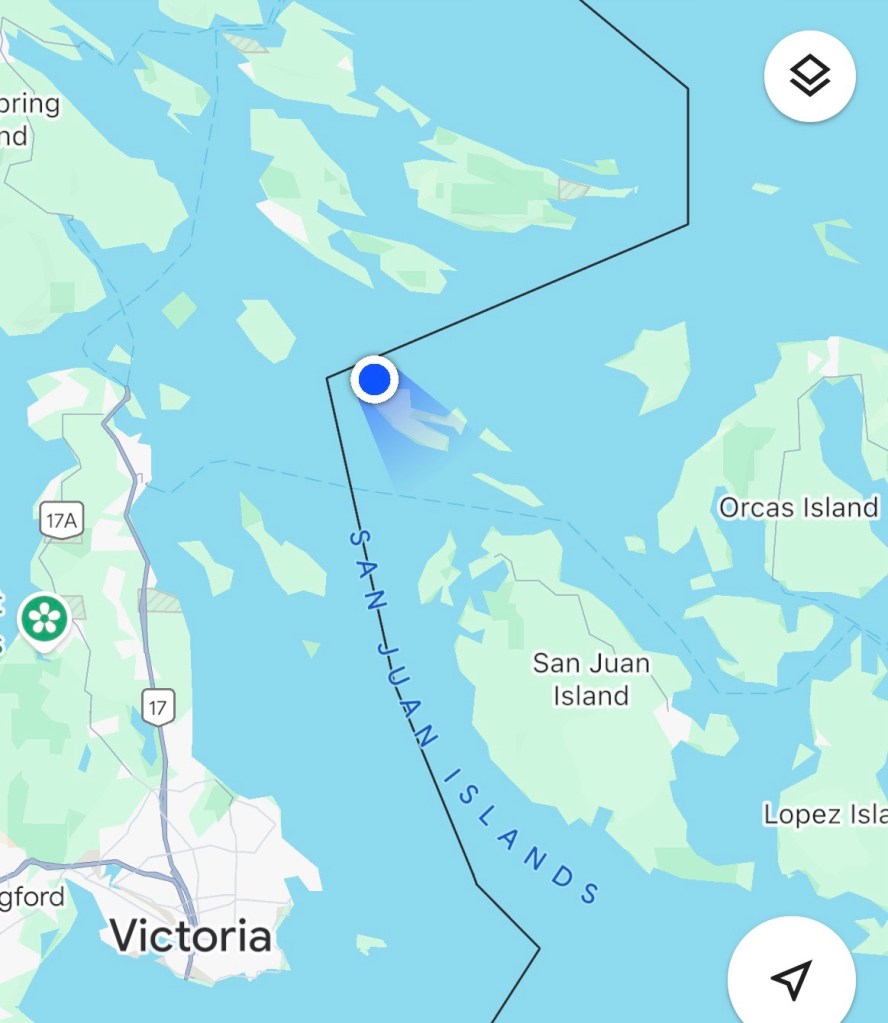
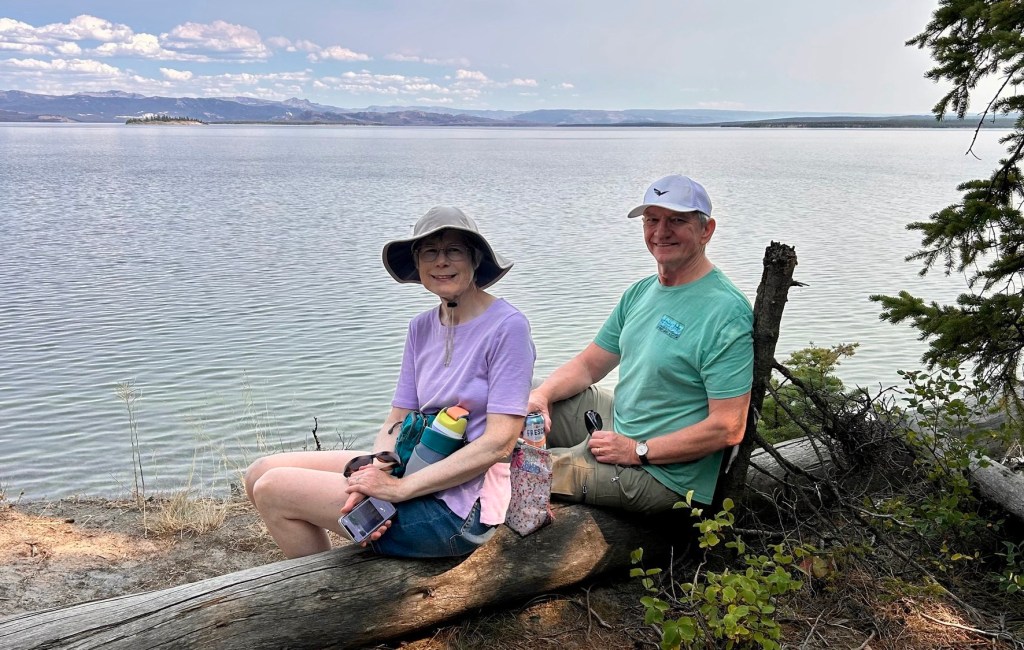
We were down to six people instead of eight for another day of sight seeing, since Loren and Linda had moved on. Wayne and I rode with Steve and Sally in their loaner car, while Harvey and Glenda drove their truck. They agenda for the day was West Thumb Geyser Basin and Yellowstone Lake. I discovered the compass app on my phone that includes elevation. On the two hour drive through the park, I took a screen shop documenting that we reached 8,530 feet.
The West Geyser Basin area has a boardwalk around more thermal pools, and a view of Yellowstone Lake. It was unusually hot outside again. Steve had a gadget that he could wave at the thermal pools and get a temperature reading. Some were around 120 degrees Fahrenheit, others were as high as 195 degrees.


We made a couple of stops on the way back, including a snack break with a different view of Yellowstone Lake.
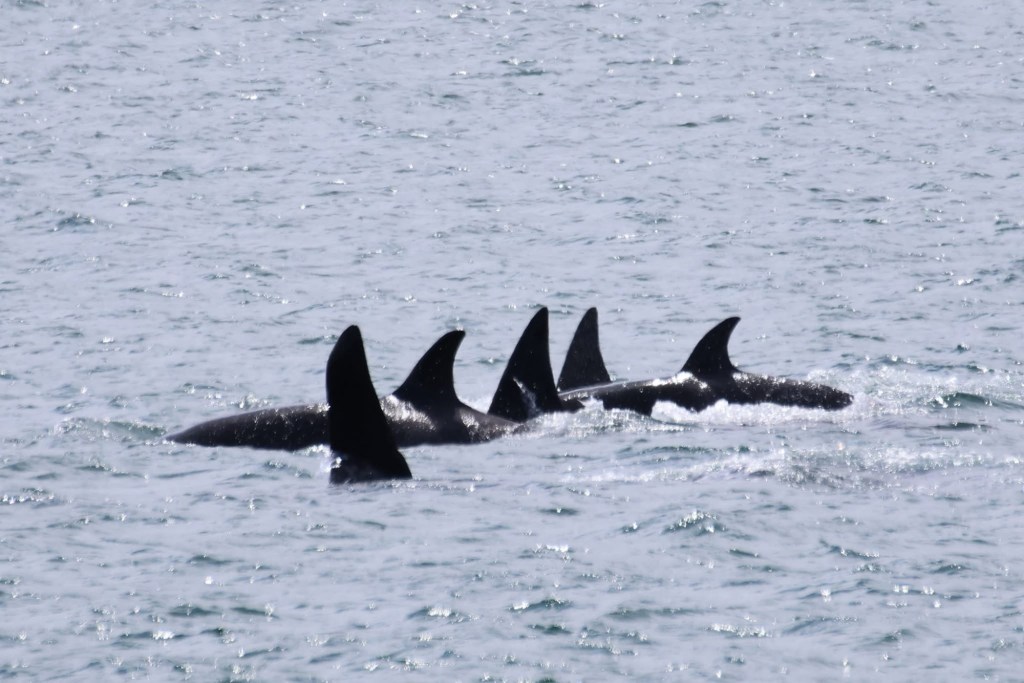
Some of us saw the bear at the same place where there was a traffic backup every single day on the way out of the park. I saw it this time, but did not try to take a photo. It would look like a brown blob. Following is a better photo of a bear than what I could get from inside the car with my phone.

Harvey and Glenda were in West Yellowstone at a brew pub, Yellowstone Beer Company, when we exited the park. Steve and Sally and Wayne and I joined them there for happy hour, followed by dinner. Several of the people in the group had a locally inspired entree, Bison Jambalaya, which they said was very delicious.
We got word that our truck was fixed already, so were able to pick it up after dinner.
Wednesday, August 20
Everyone did their own thing again. I blew a fuse in the RV blow drying my hair while an electric space heater was running. Oops. Steve and Sally drove their loaner car to Bozeman to look at new cars. We drove to Big Sky to get together with a former coworker of Wayne’s who has a house there. He and his wife were originally from New York, but he was offered a job in St. Paul, Minnesota. Minnesota being flyover country, they thought he would take the job for a year or two, and then move back to the east coast. Now, 25 years later, they still make the Minneapolis area their primary home. We met them at a restaurant for breakfast in Big Sky, and then they gave us a tour of the area. This included the ski resort which was active with mountain bikers, a place where they like to go hiking, an exclusive golf course, and a new housing development for people who have more money than they know what to do with. It was all very beautiful and we enjoyed catching up with them.
After regrouping back at the RV, we drove into Yellowstone for the afternoon. We were headed back to the Old Faithful area, stopping on the way for Firehole Canyon Drive and Firehole Falls, Fountain Paint Pots, and Black Sand Basin. Firehole Canyon is very scenic drive, and the thermal pools and areas at Fountain Paint Pots and Black Sand were amazing.


We had a picnic dinner at the Old Faithful area, and then walked to the Old Faithful Upper Geyser Basin boardwalk to see more geysers. We did not see much geyser activity and Wayne’s knee was bothering him, so we gave up on that and drove back to camp.
I had been eyeing the Haagen Daz ice cream shop in West Yellowstone, my all time favorite brand of ice cream. We had driven by multiple times. I convinced Wayne that it was a good time to stop for a cone on our way back to the RV.
Steve and Sally returned to the campground in their brand new Subaru Outback Wilderness with a trailer hitch, in time for a campfire at our place.

Thursday, August 21
Steve and Sally left for home with their new car towing their ALiner trailer, as per their original schedule. We caught up on some housekeeping tasks at our trailer for the morning.
We spent our last afternoon at Yellowstone with Harvey and Glenda, visiting the Grizzly & Wolf Discovery Center in West Yellowstone and the Norris Geyser Basin inside the park.
The Grizzly & Wolf Discovery Center is a private non-profit wildlife park and educational center in the town of West Yellowstone. In addition to bears and wolves, they have information and displays on eagles and birds of prey, and an aquarium with otters and fish. We watched a bear being very silly.

Our final activity in the park was walking around “the hottest, most acidic, and most dynamic” (according to a sign) Norris Geyser Basin.


Our RV fresh water tank registered as empty, so Wayne turned the hot water heater off. No more showers. Water was still coming out of the faucets, but we we were not sure how long that would continue. We had jugs of fresh water for dishes, drinking, and flushing the toilet if needed. We had not done any laundry since leaving home. Harvey and Glenda were going to be away from home longer than us, so they did laundry at a laundromat in West Yellowstone. I washed out a couple pairs of underwear by hand. In lieu of hand washing anything, Wayne bought a couple of new tee shirts in town. Maybe he turned his underwear inside out? I do not know.
Friday, August 22
It took all morning to prepare for leaving Baker’s Hole campground and towing the RV to another campground near Grand Teton National Park. This was different than packing up the RV after a winter in Arizona. I left food in the refrigerater, and most of the dishes and food in the cupboards, moving only heavy or loose items into boxes on the floor. Baker’s Hole campground does not have a dump station, but we were able to empty out the black and gray tanks at Yellowstone Grizzly RV Park in West Yellowstone.
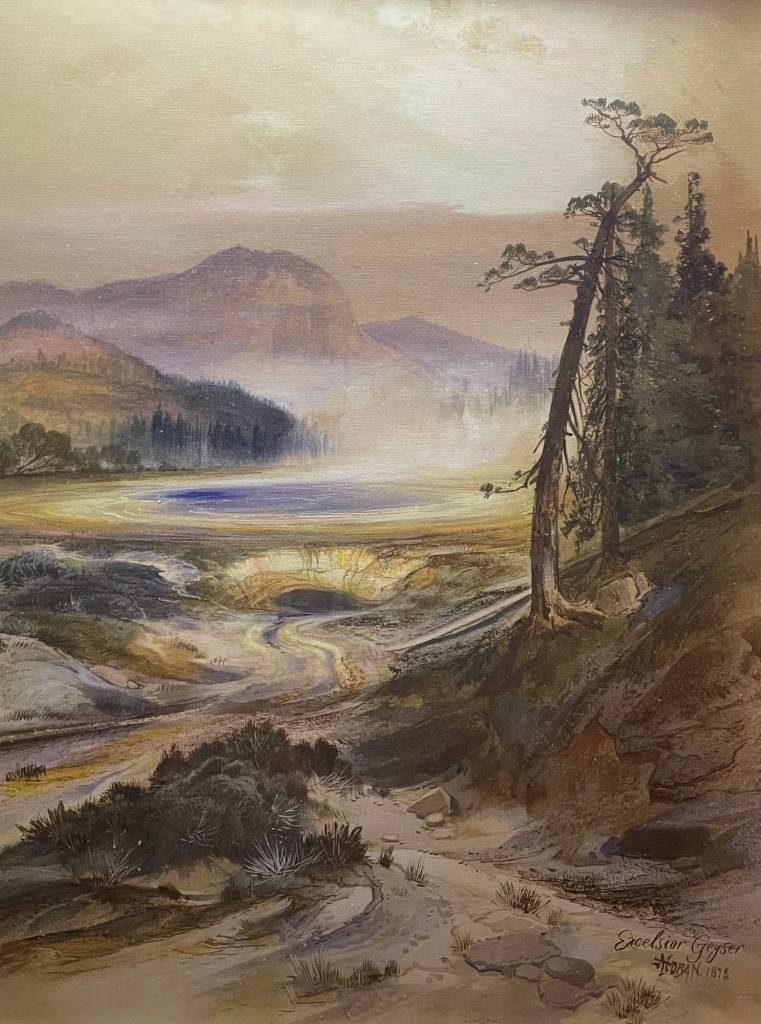
There are several possible routes to get from the west side of Yellowstone south to Grand Teton National Park. They all involve driving through mountainous areas with curvy roads. Wayne decided that the least scary way was going through Yellowstone, rather than around on the east or west side, so for one last time we enjoyed the beautiful scenery in the park. The following art was on the wall in the Yellowstone Inn, I neglected to get the name of the artist. I am not sure if it is supposed to be a specific spot in the park, or more of a composite of several areas. I thought it was pretty and gives a good overall sense of the place.
One thing that was always in the back of my mind is the fact that Yellowstone is sitting on a dormant super volcano. I saw the following display that shows how for the ash from various volcano eruptions was spread. The Yellowstone eruption spread ash all the way to where we live in Western Minnesota.

It is not expected to erupt again anytime in our lifetime, but eventually when it does go off, it will not be pretty. With that in mind, we made our way out of the park and on to the next leg of our vacation. Our time in the Grand Teton National Park and the journey home will be featured in another post.
Note: Some of photos were from Wayne, or possibly one of our friends who shared them with me.