I used to wear sweaters to work all winter in Minnesota. Since I retired, moved to a rural area, went through the pandemic, and have been spending three months of winter in Arizona, I hardly ever wear a sweater (or make up, haha). In cooler weather, I usually wear a sweatshirt or a polar fleece top for maximum comfort
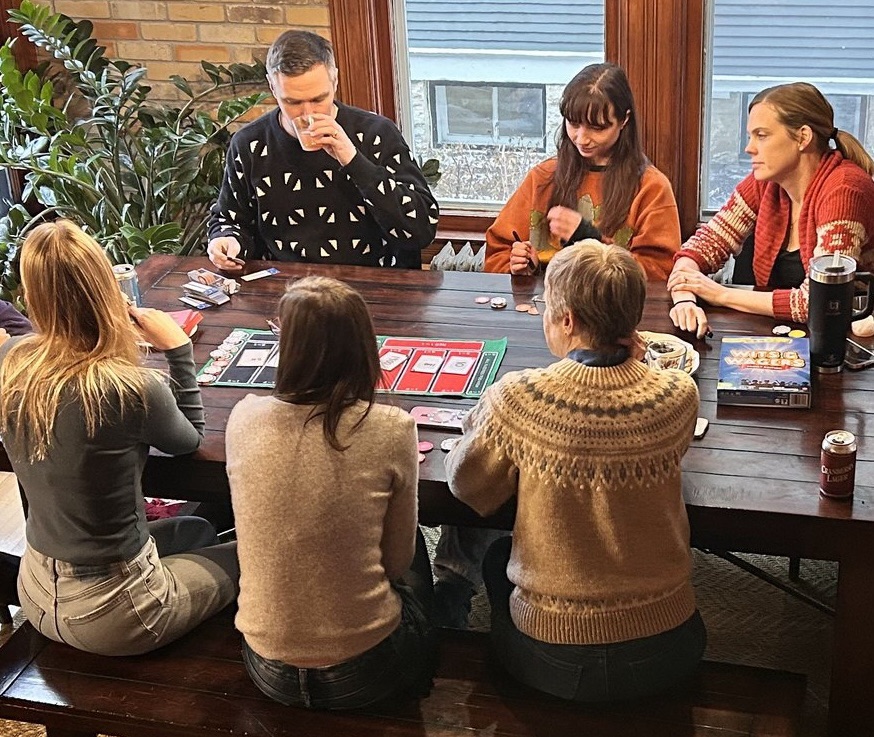
Lately I have been seeing colorwork sweaters all over. I dug out my Norwegian Sweater that I bought in Norway in 1988 to wear on Christmas Eve.
I have knit several sweaters in my life, including two when I was in college. Sweaters are a big project that take time and use a lot of yarn. Of course I like the expensive stuff, so it has not been a regular thing.
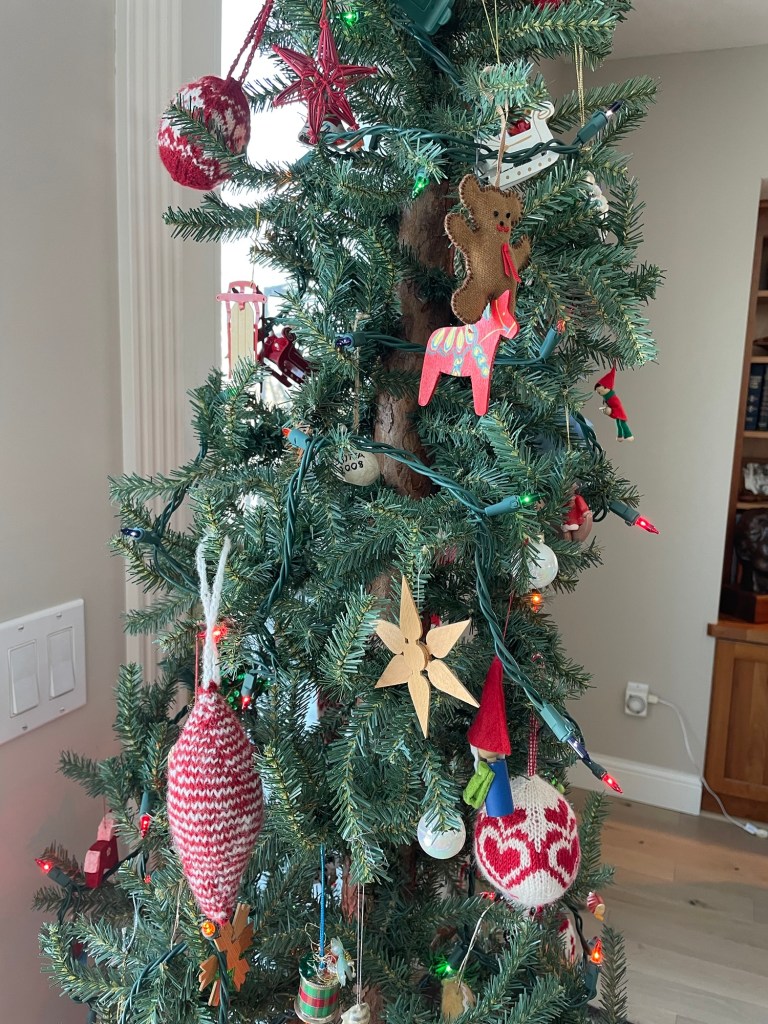
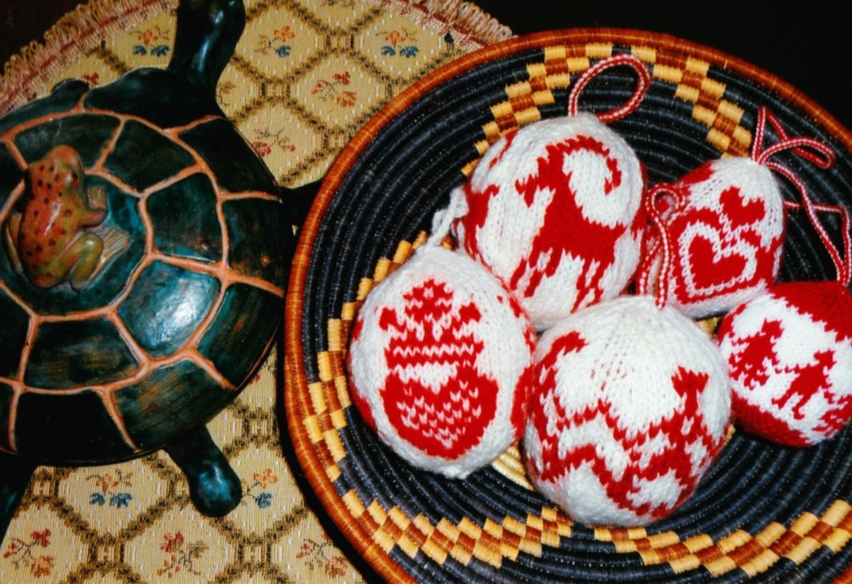
The only colorwork experience I have are knitting some Arne & Carlos Christmas balls. At the time, I did not have any instructions on how to do colorwork, other than googling what to do with the floats on the back.
This fall there was a School of Sweet Georgia online class for designing and knitting a colorwork sweater. I was intrigued but not ready to dive in at that time, being a little intimidated and also busy with other projects.
The sweater pattern included for the colorwork class is written for hand knitting from the bottom up, with the body and sleeves completed first, and then joined together on a long circular needle to continue knitting the yoke in the round. I wanted to try making the main body and sleeves on my LK150 flat knitting machine. The pattern is ideal for that, and this project would involve learning new colorwork and machine knitting skills.
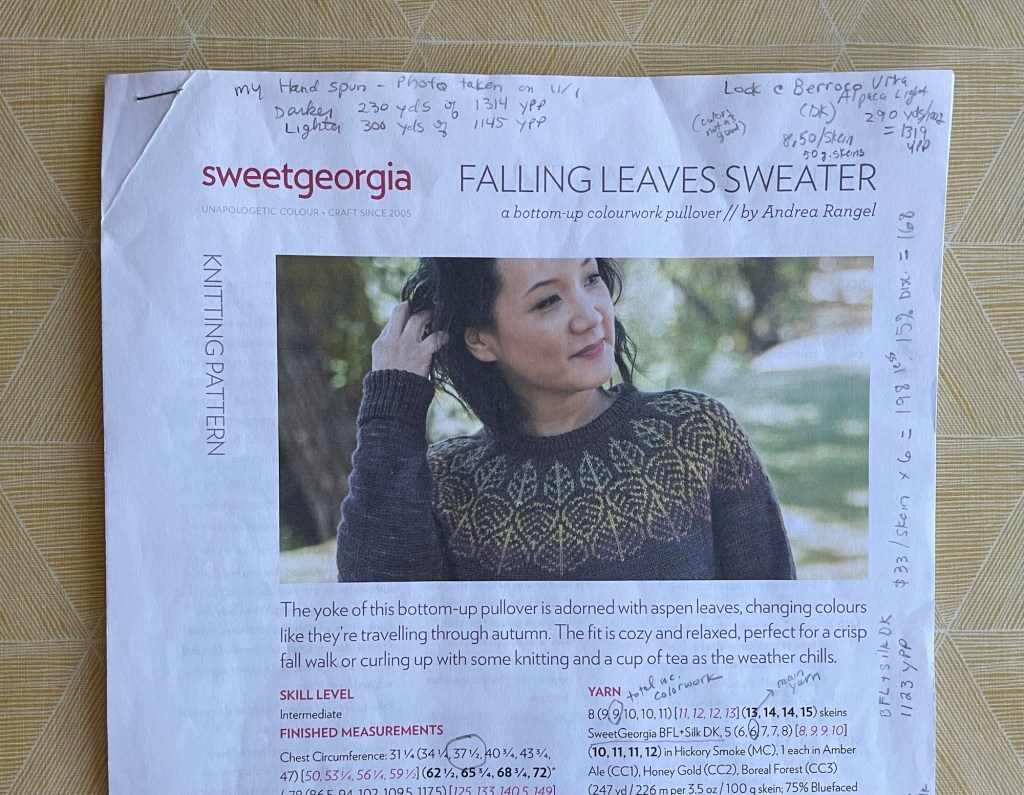
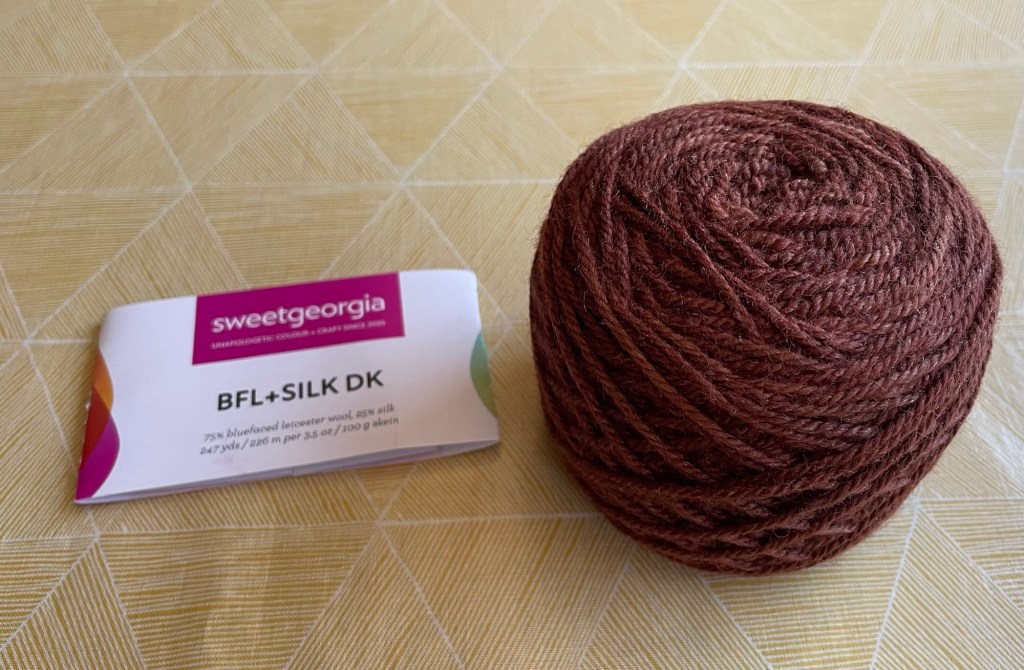
I ordered the Sweet Georgia BFL+Silk DK yarn used in the pattern. I had a hard time justifying the cost, given that I hardly wear the sweaters I already have. Whenever I discuss having trouble spending money on expensive yarn or knitting tools, people always remind me how much money Wayne spends on golf. I also have to remind myself that this is the cost of my hobby. It is a learning experience, and not necessarily about how many times I will use the thing I am making.
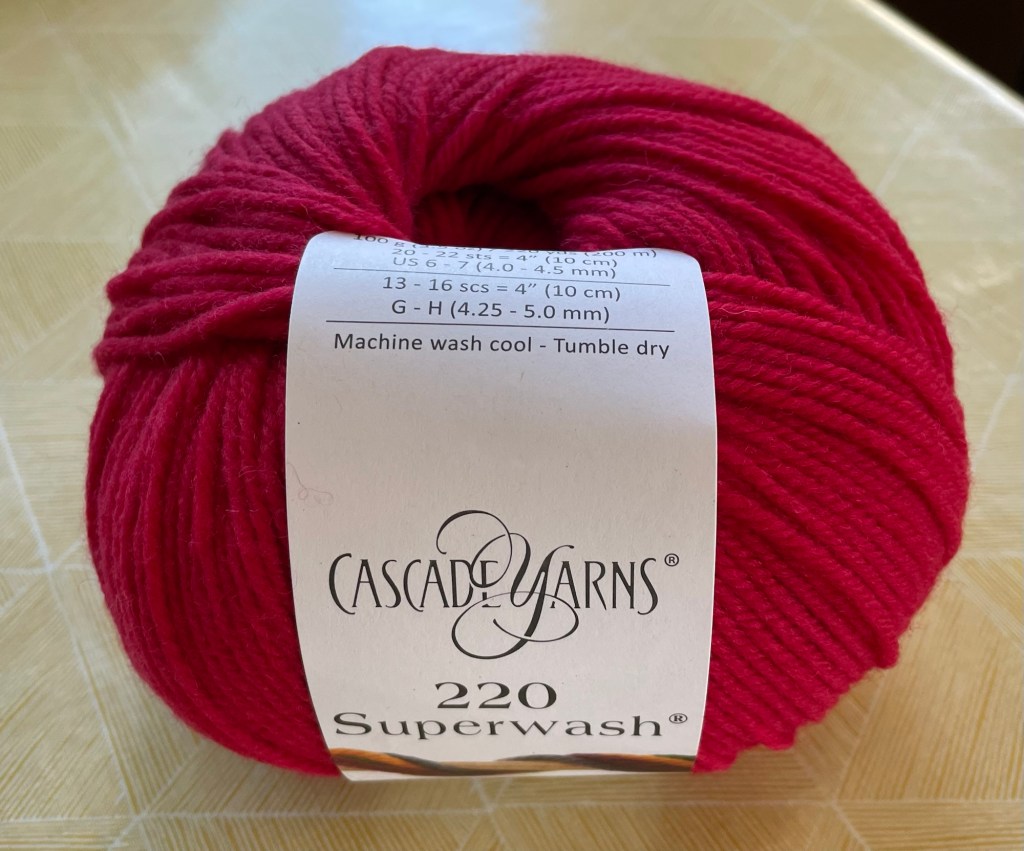
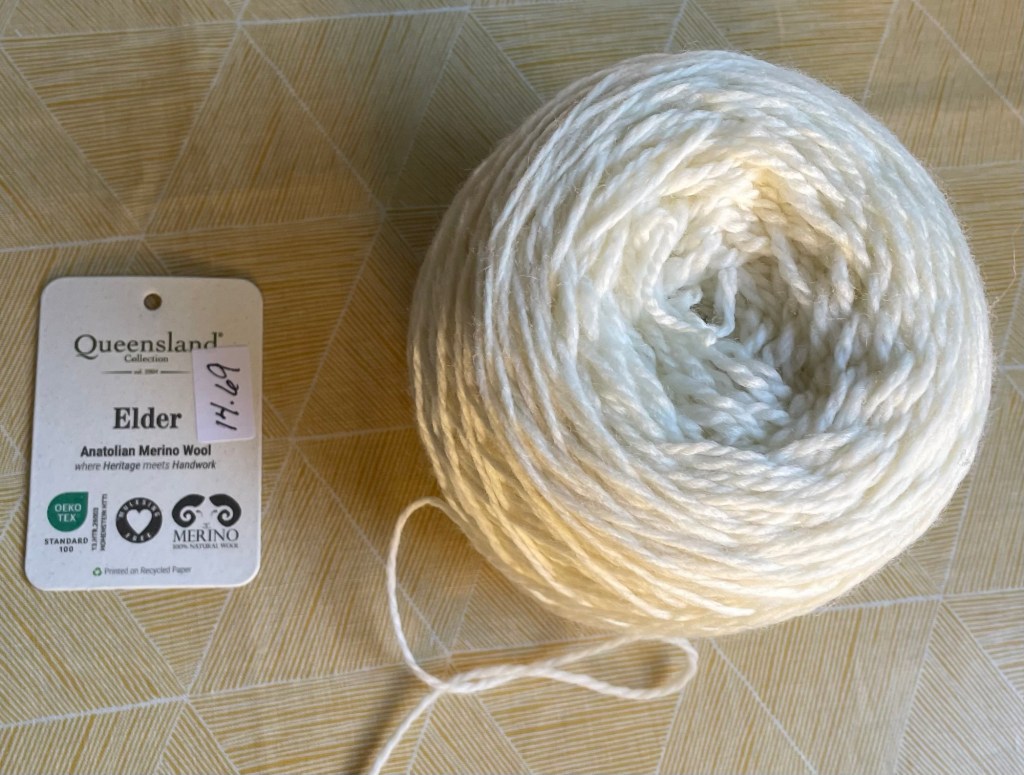
The Sweet Georgia yarn was on sale, and I decided it could be a Christmas gift to myself. They did not have enough skeins in stock of the color I wanted, but I was able to place the order. Later I found out Sweet Georgia Yarns dyed the additional skeins to fulfil my order, or maybe in any case to refill their stock. When the yarn arrived, I gave the box directly to Wayne without opening it, to wrap up for Christmas. It was hard not to look at it right away! Later I wound one skein into ball so I could knit a swatch.
I decided to try making the sweater with some cheaper yarn before using the Sweet Georgia yarn. The Valley Yarns Worthington Wool/Alpaca/Viscose yarn I bought was not cheap either. It has quite a different feel, but I like both of the yarns.
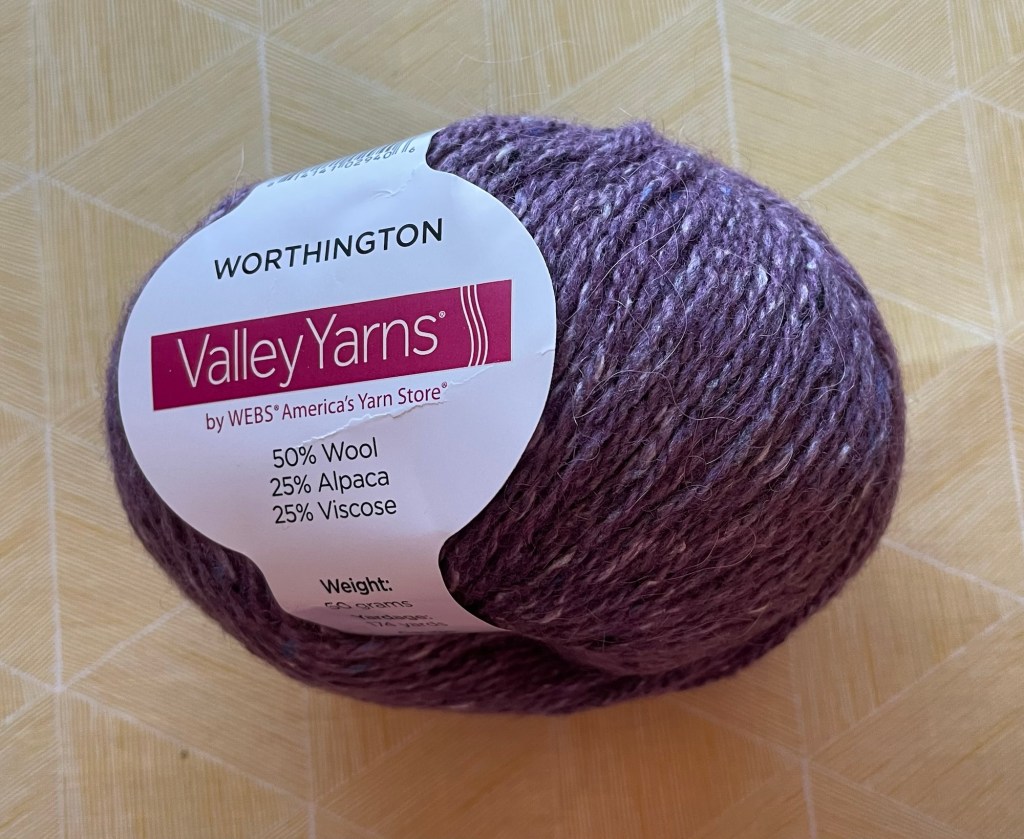
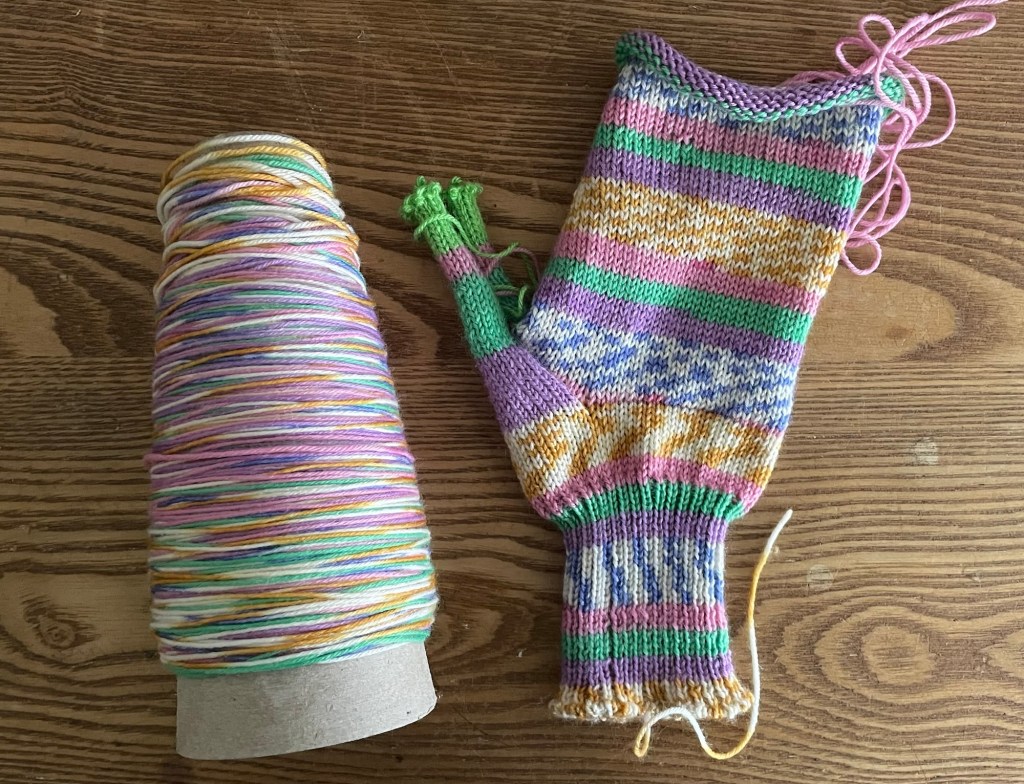
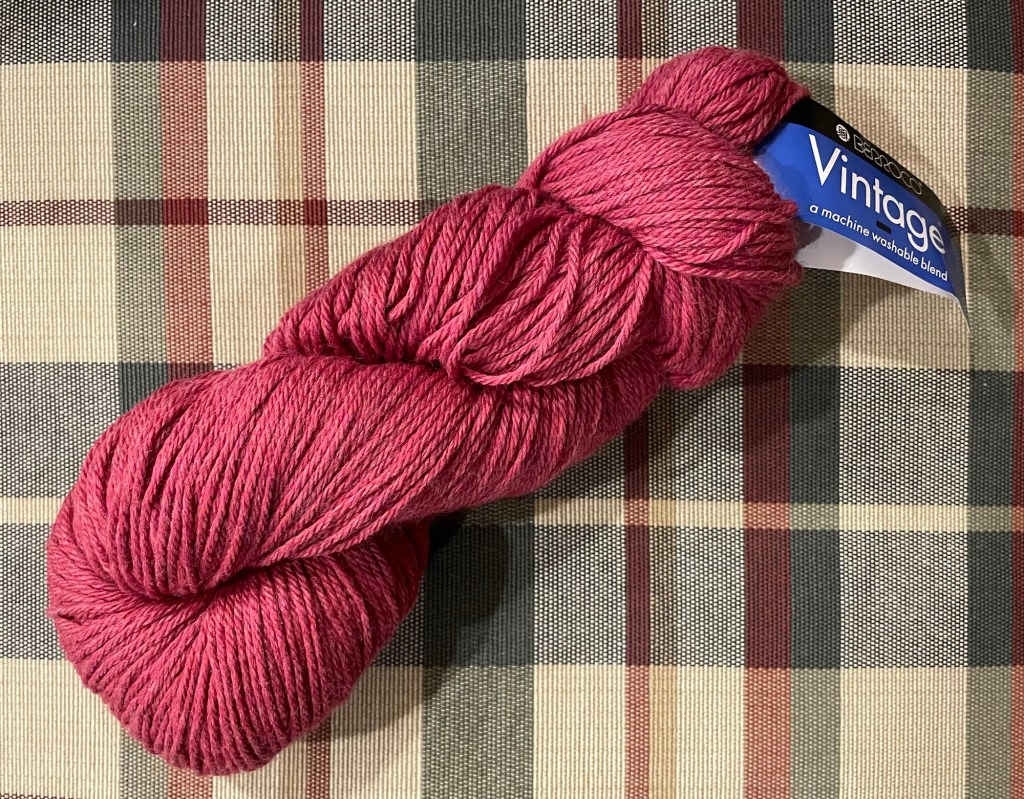
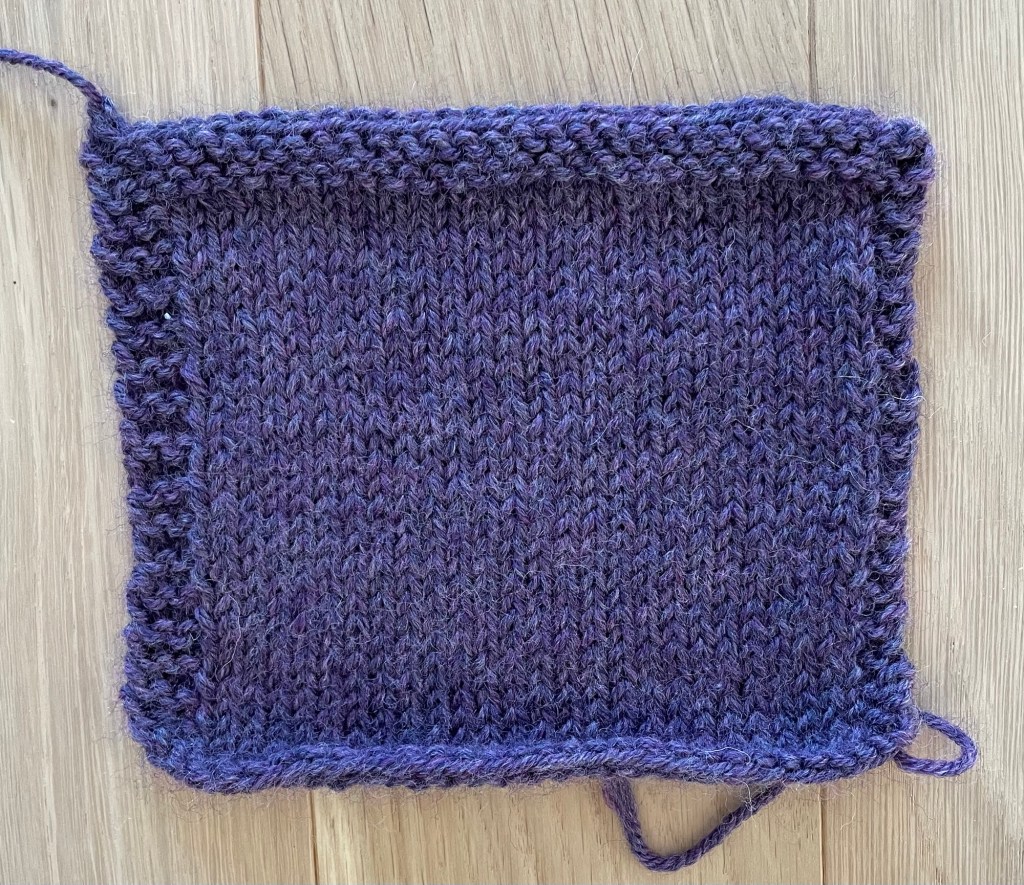
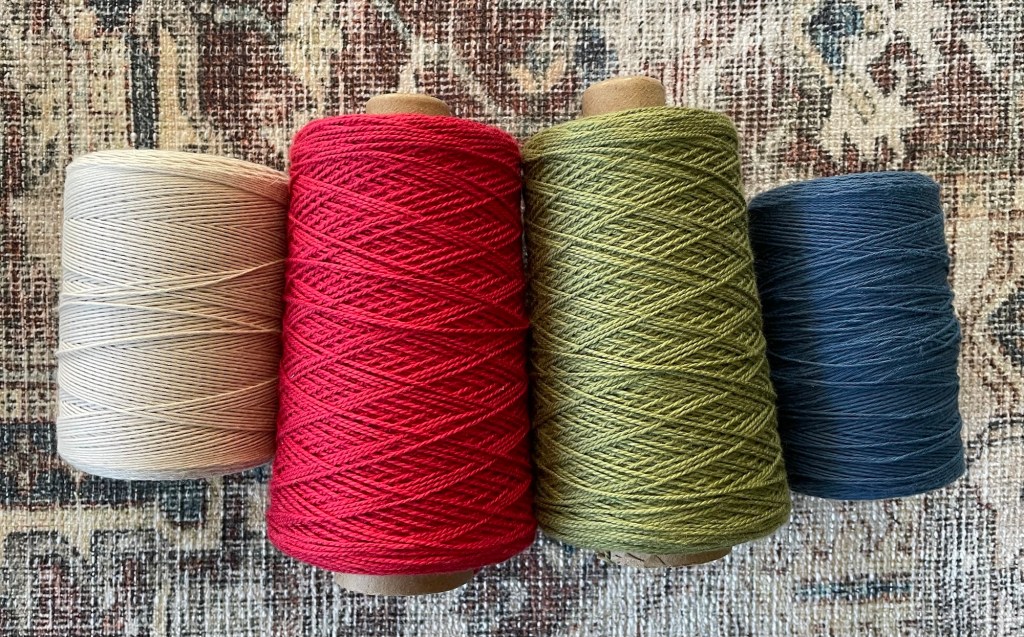
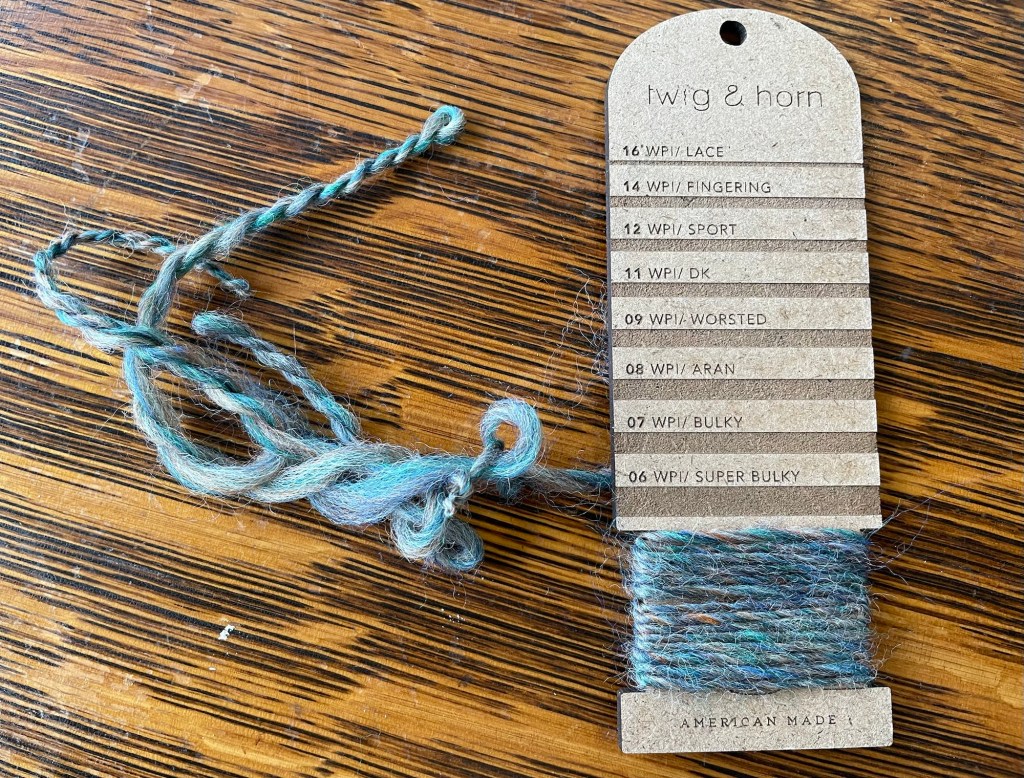
I made swatches on the knitting machine using different combinations of tension and stitch length settings to see what would result in a gauge closest to the pattern. The color in the following photo is too dark and too blue. The photo above of the ball of yarn is more accurate.
I was not able to match the exact gauge specified in the pattern. I settled on tension and stitch gauge settings that were close. Based on the stitches per inch I was getting, I picked the sweater size in the pattern that resulted in the correct final measurements for me. Knitting the front and back panels went quickly. They were the same size each, approximately a big square.
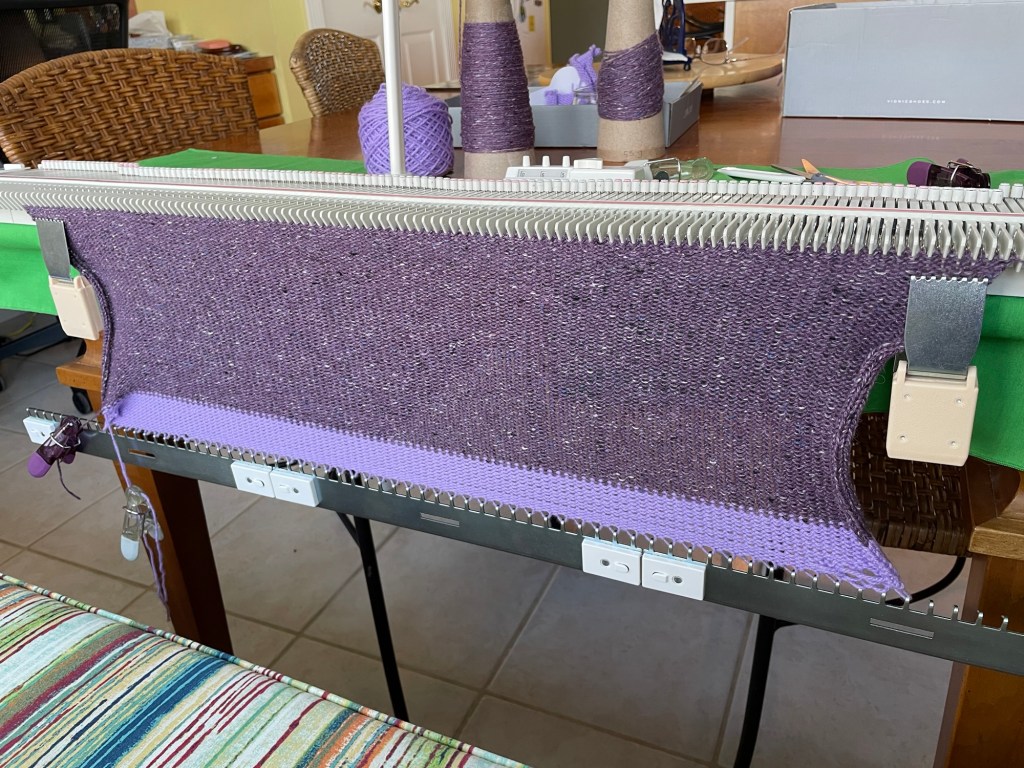
The knitting is very stretched out while it is on the machine. The panel for the front of the sweater looked huge. When removed, it takes some time to relax into the natural density. Even after sitting overnight and a steaming, the front panel was 20″ wide instead of 18.75″, and it was an inch shorter than I expected. I considered doing the panel over again the next size down, but I was worried that would be too small.
I had been using my knitting machine in our three season porch. That room is not heated in the winter, and it was freezing in there. My work table in the basement is round which does not work, so I moved it temporarily to our kitchen table. I went ahead and knitted the panels for the back and the two sleeves. The sleeves started at the cuff and had some increases going up to the underarm.
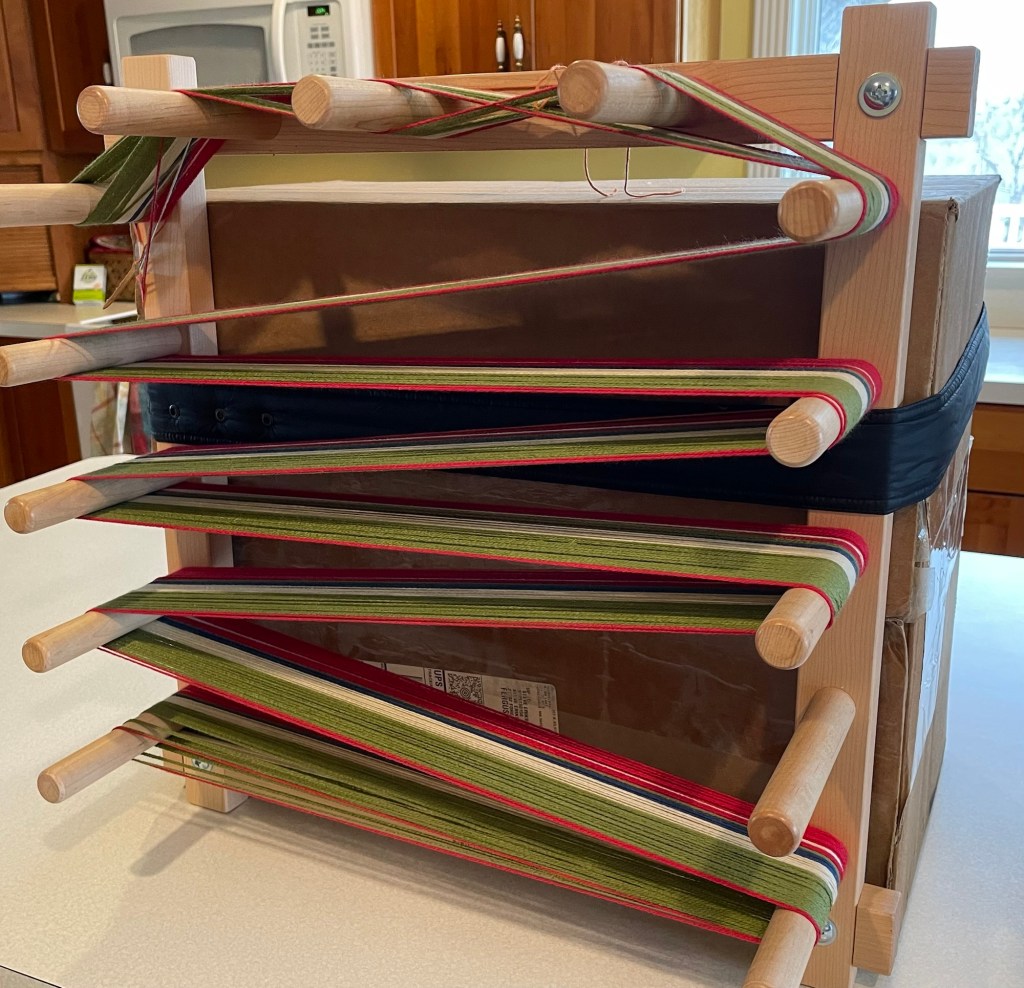
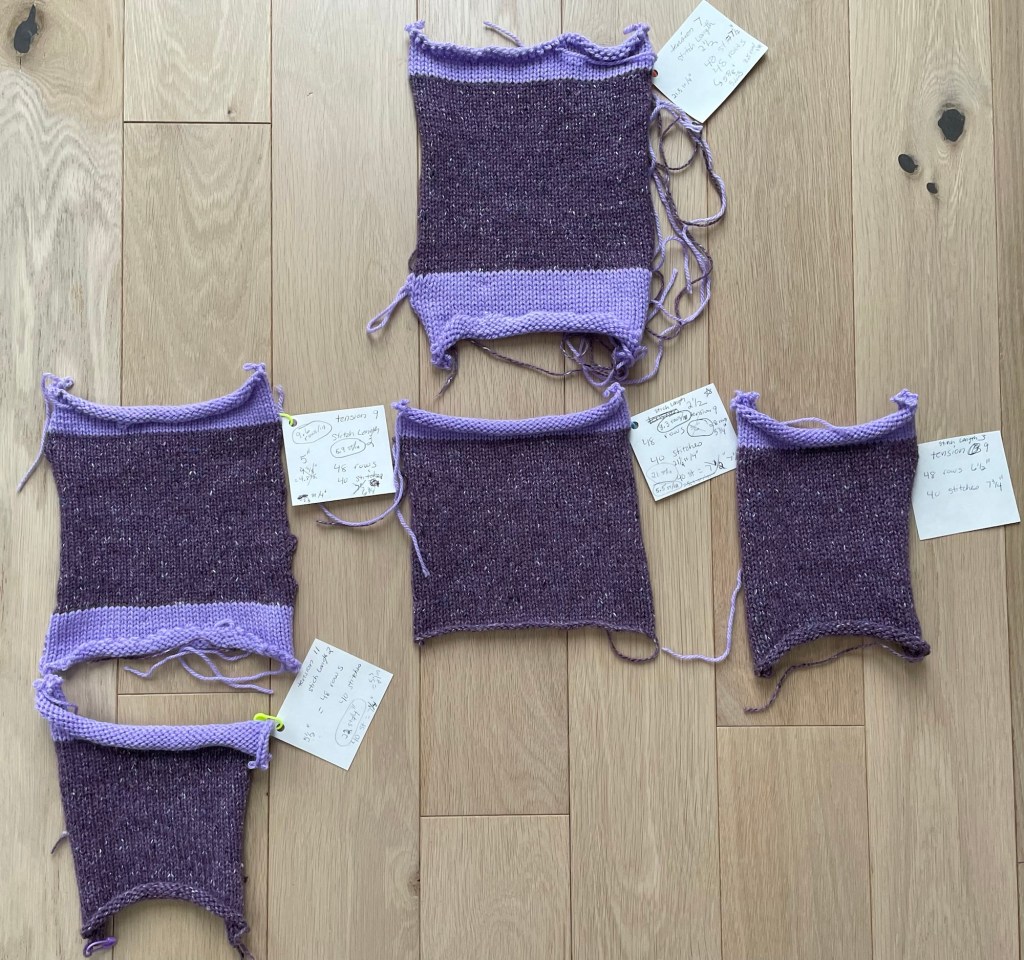
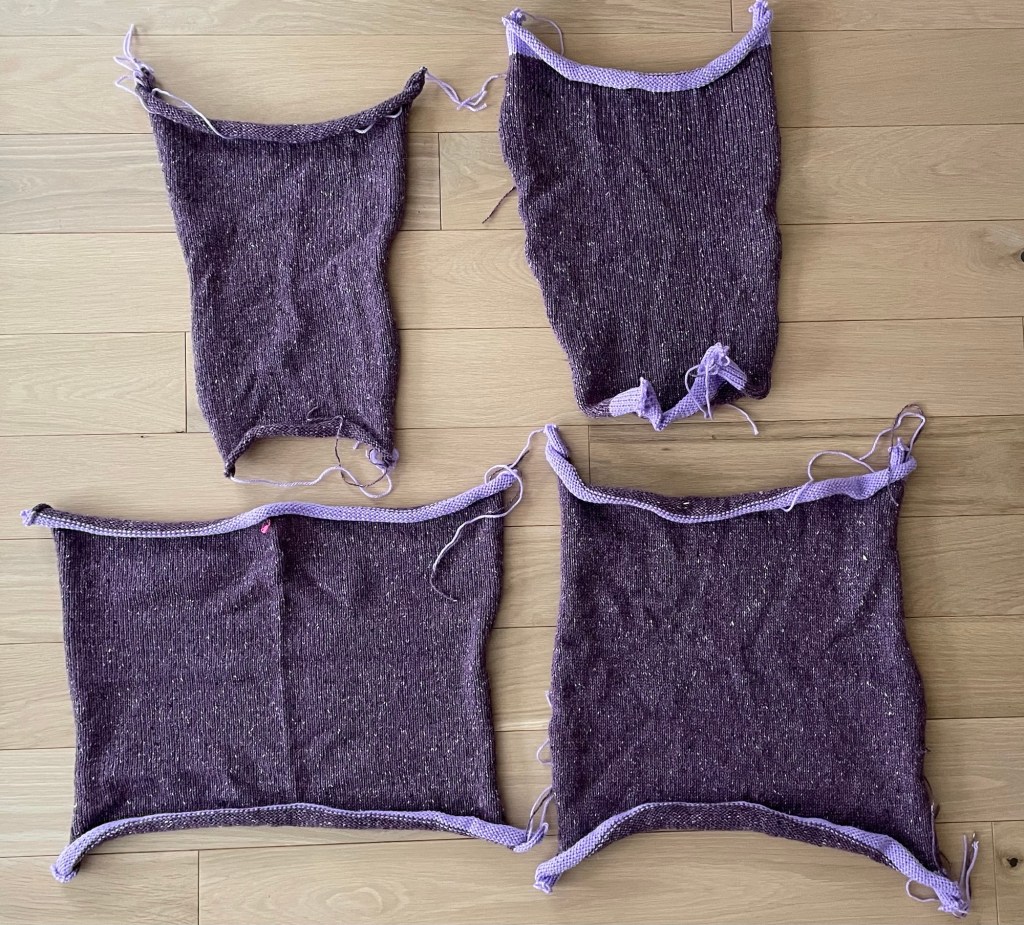
Following is a photo of the four pieces knit on the machine. The taller narrower front piece was steamed some. The back and two sleeves shown below had not been steamed or blocked.
I did not have any more time to spend on this project in December, as I was very busy getting ready for a full house of guests for the Solstice weekend, a trip to the Twin Cities for Christmas a few days after that, and driving to Arizona with our 5th Wheel Trailer at the end of the month. After I finished machine knitting the sweater panels, I put the knitting machine and all the accessories back in the box until spring.
I was worried about what would happen when I hand knitted the ribbing and yoke on to the machine knitted panels. It could look bad if my hand knitting looked a lot different than the machine knitted parts. I had not thought about this before. Should I block the machine knit panels first and then join them together for the hand knitting? Or should I wait for the all the knitting to be complete and then block the entire thing at the same time?
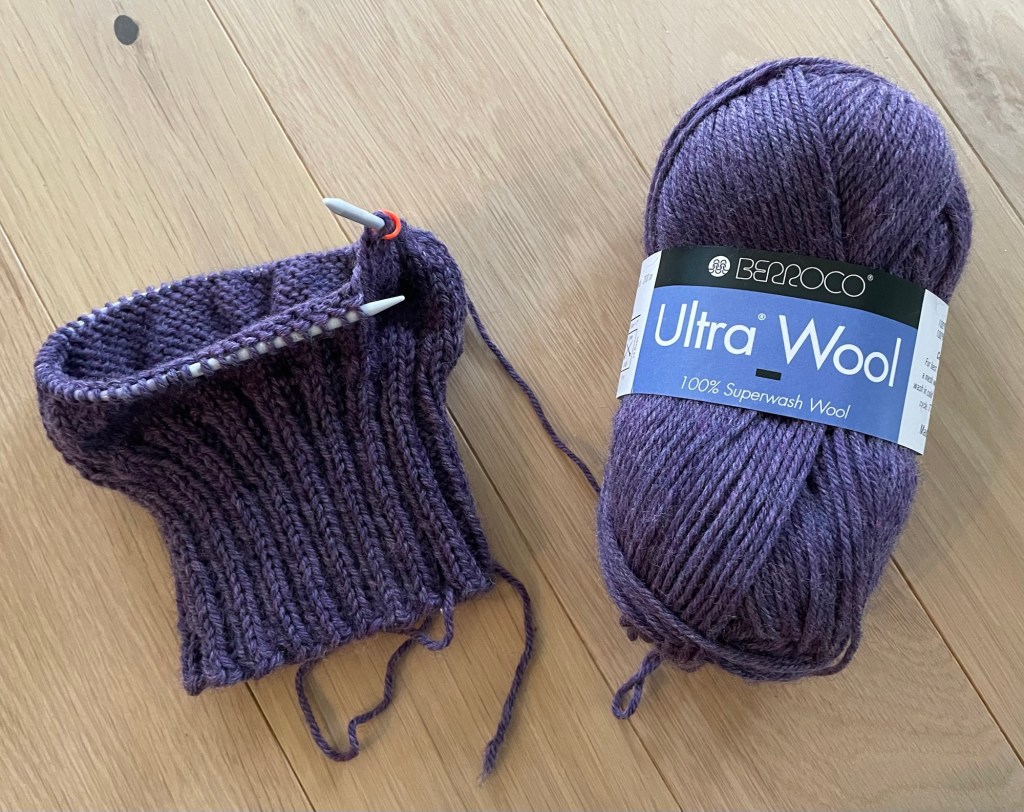
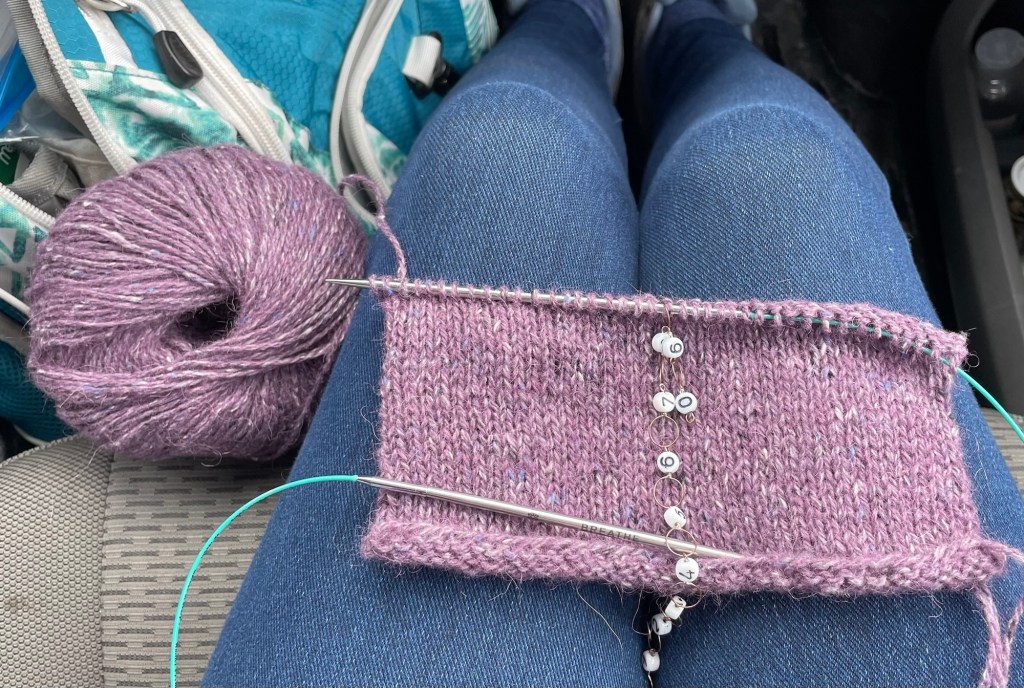
During those last busy days of December, I was able to hand knit a swatch in the evenings while watching TV, when I would not have been doing anything else anyway. I made the swatch with the same number of stitches and rows as the machine knit swatches, using what I thought was a size 4 needle as suggested by the pattern. The gauge seemed too loose and big, so I knit another swatch using a size 3 needle. That one came out closer to the gauge of my machine knit panels.
Later I realized that the reason the first swatch was so much bigger was because it was a size 6 needle, not a size 4 needle. I knit another swatch using a size 4 needle while we were in the car on the way to Arizona.
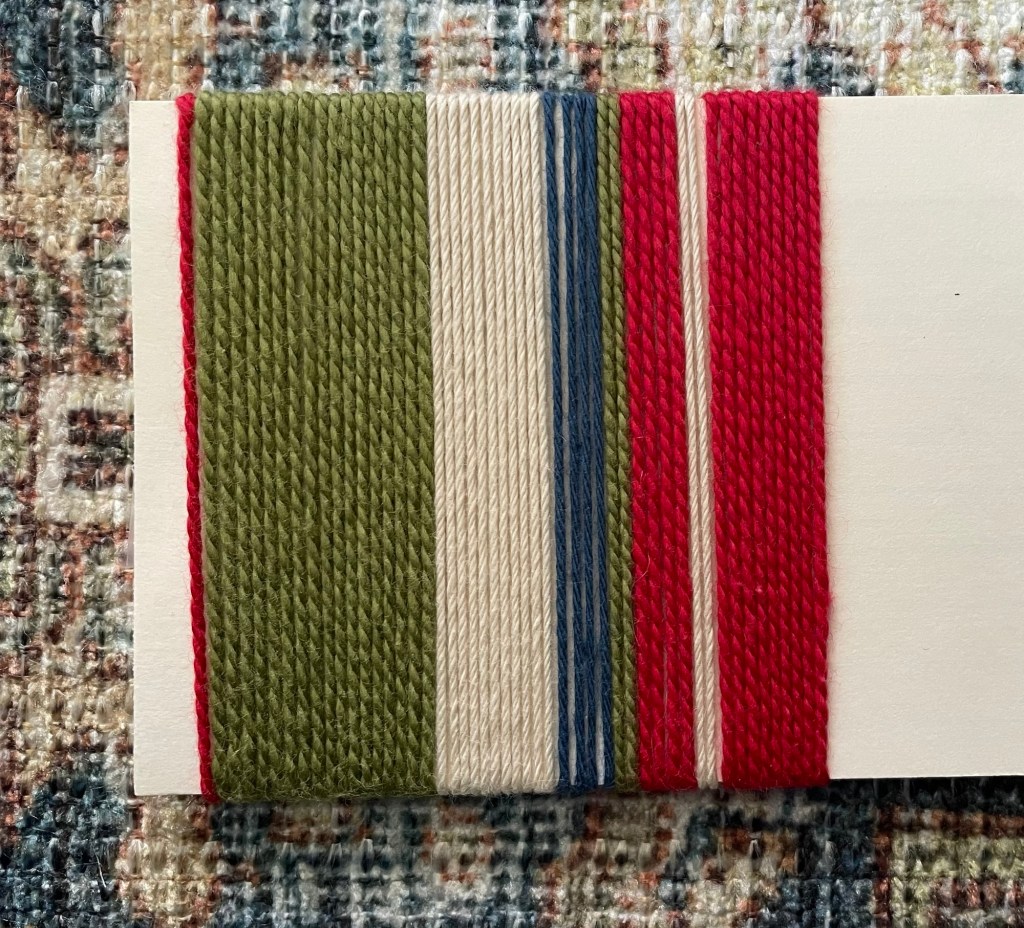
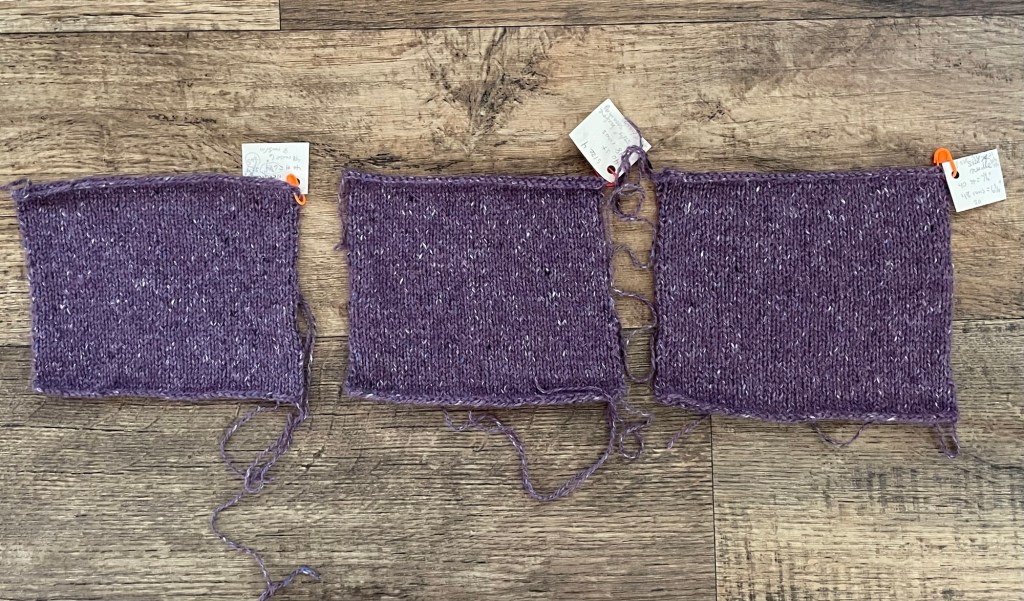
I stressed about the gauge differences between my machine knit panels, my hand knit swatches, how they compared to the gauge expected by the pattern, and when and how to do the blocking. Eventually I felt better after realizing that this was a practice sweater, that did not have to be perfect, and I could do some blocking after it was complete to make small adjustments. Really the only decision was what size needle to use for hand knitting the yoke. Following is a photo of the swatches knit in needle sizes 3, 4, and 6.
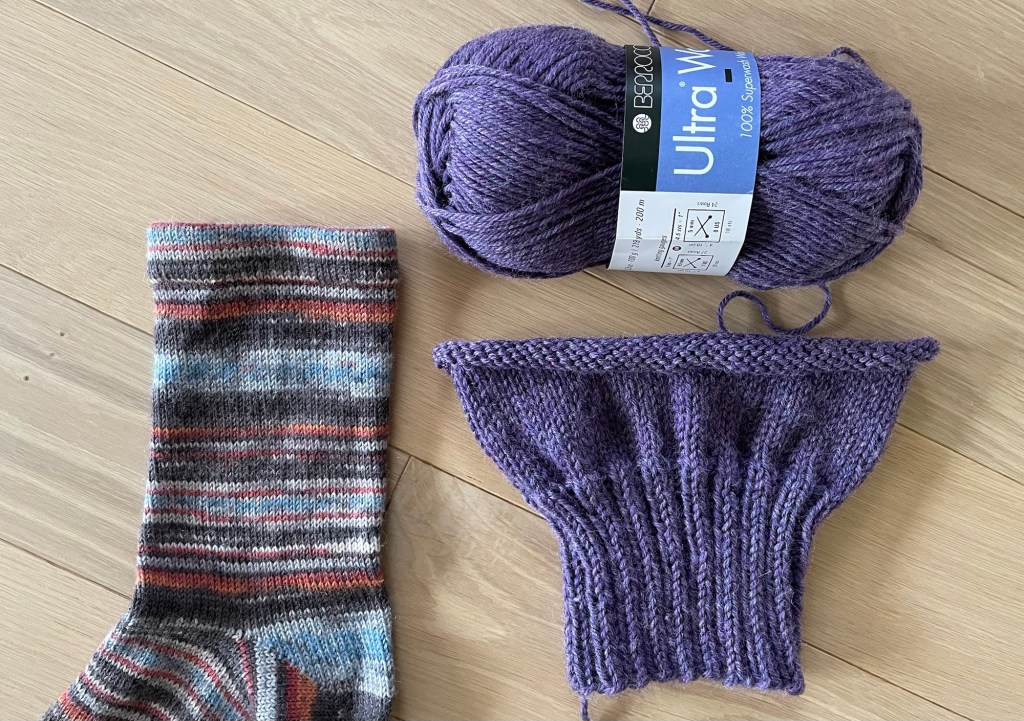
Before we left for Arizona, I made time to steam the machine knit panels to get the sides to lay flatter, so I would be at a good stopping point. The next photo shows all four panels looking much better, after more steaming in the laundromat at the RV park in Arizona.

The next step was mattress stitching the sleeve seams together, and mattress stitching the front and back panels together at the side seams. The instructions I found for mattress stitching the baby sweater I made earlier said to go under one stitch at a time on each side. The instructions I found in a School of Sweet Georgia machine knitting hat class said to go under two stitches at a time on each side. I liked that better as it would get done twice as fast.
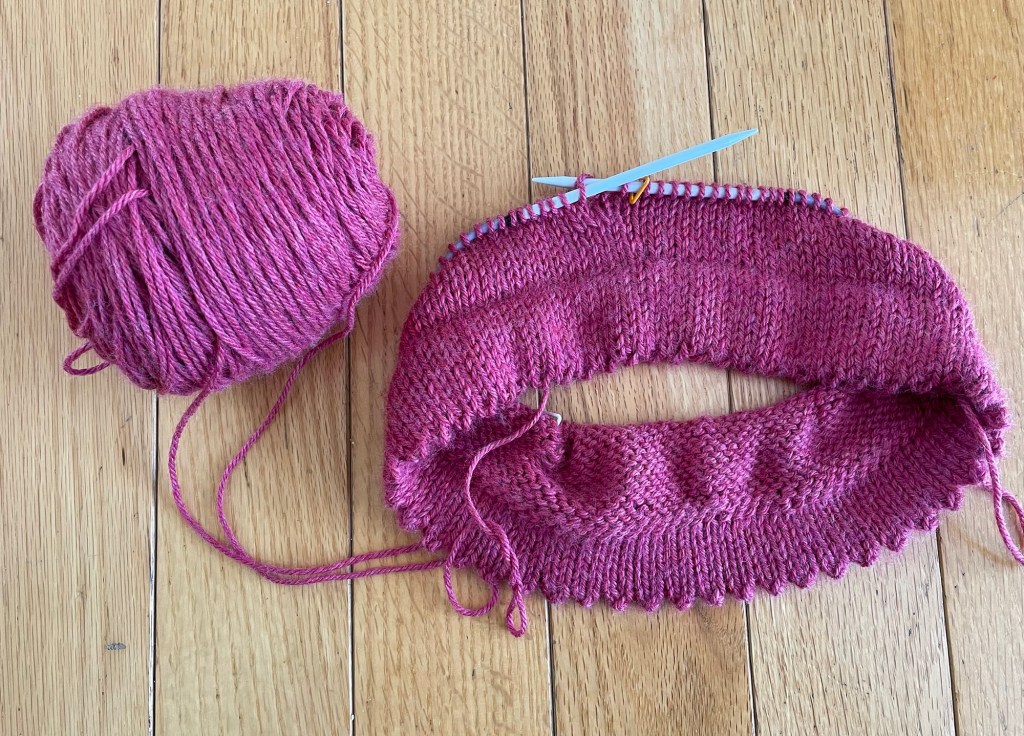
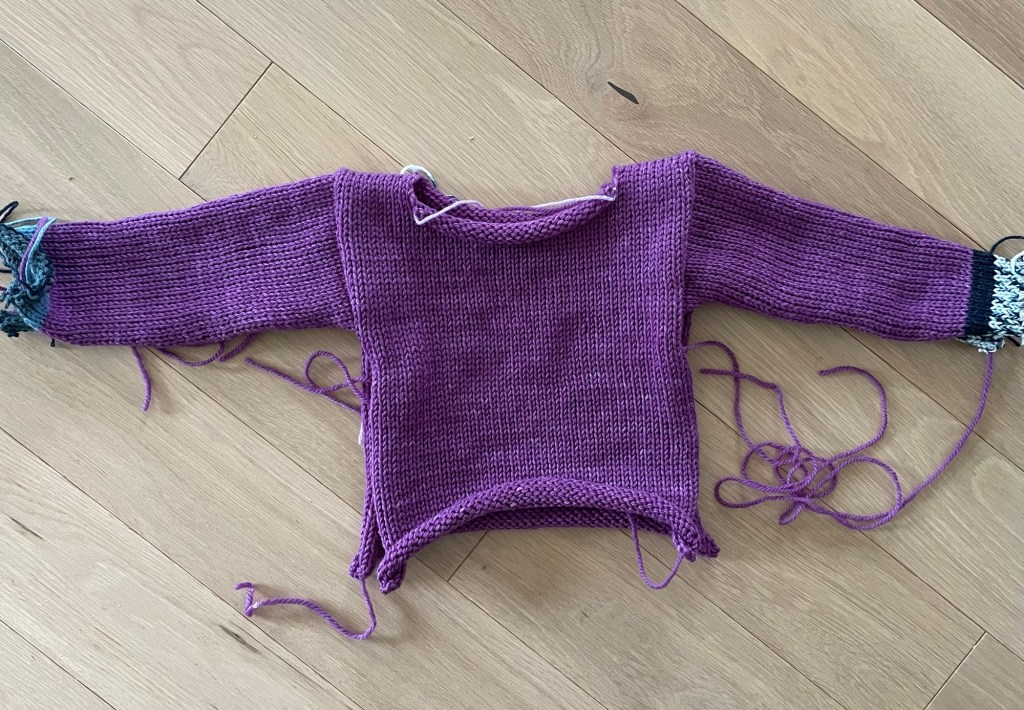
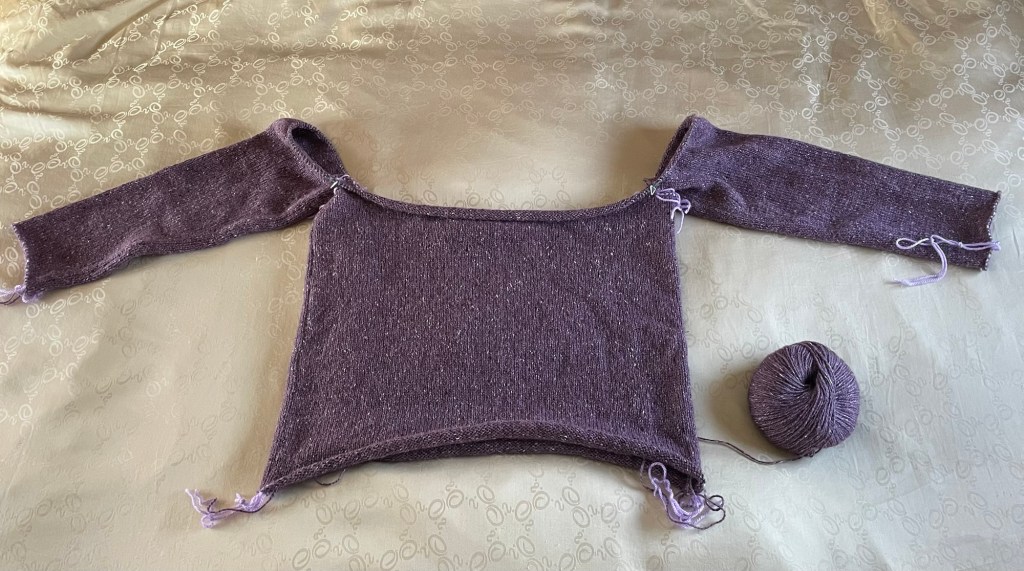
After seaming the side seams and the sleeves, all the parts were joined on a long circular needle to begin the yoke. It looked very wide and short, but seemed about right compared to one of my sweaters.
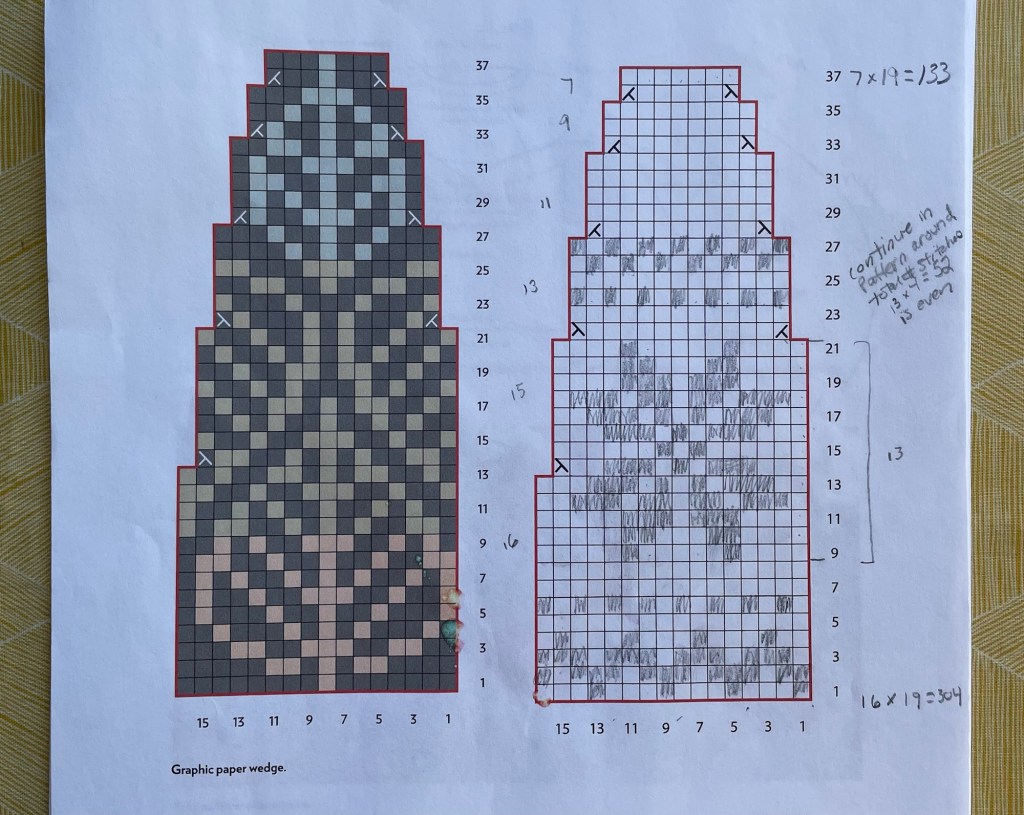
The colorwork design of leaves on the pattern is nice, and there are instructions for knitting that exactly as shown. There are also instructions for designing your own colorwork. I wanted to do a different pattern for the colorwork on the yoke of the sweater. I found some ideas on Pinterest including a snowflake looking design that had the same repeat count as the design in the pattern, so it would be easy to substitute.
In the designing your sweater workbook there was a chart to fill in your own pattern.
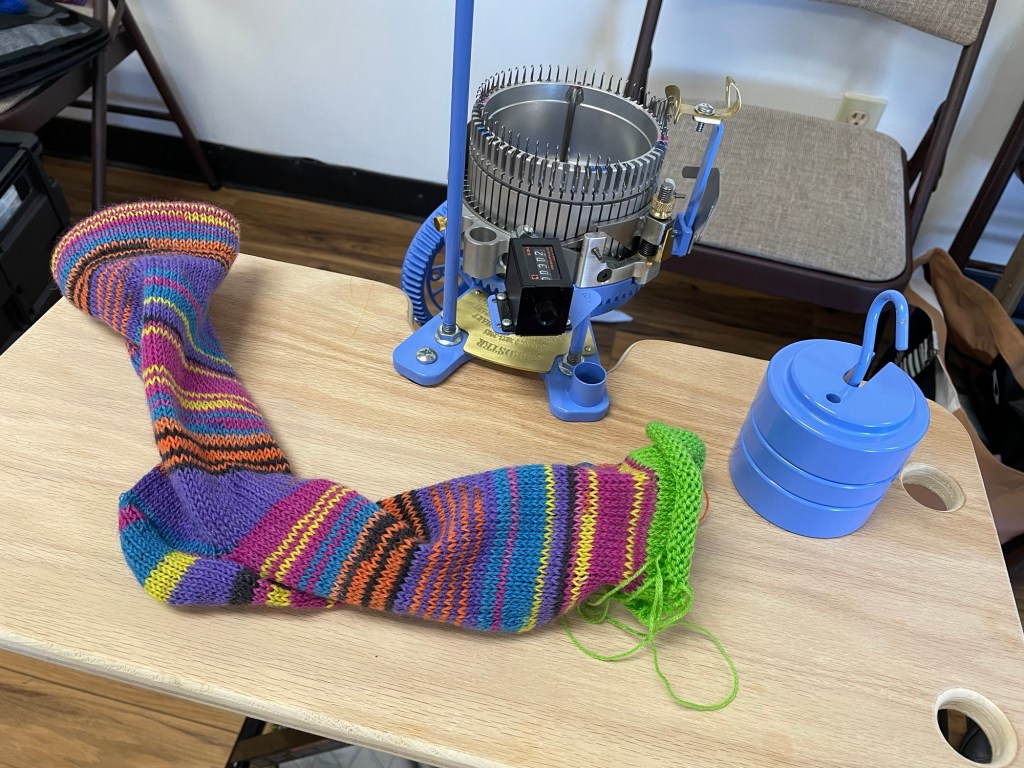
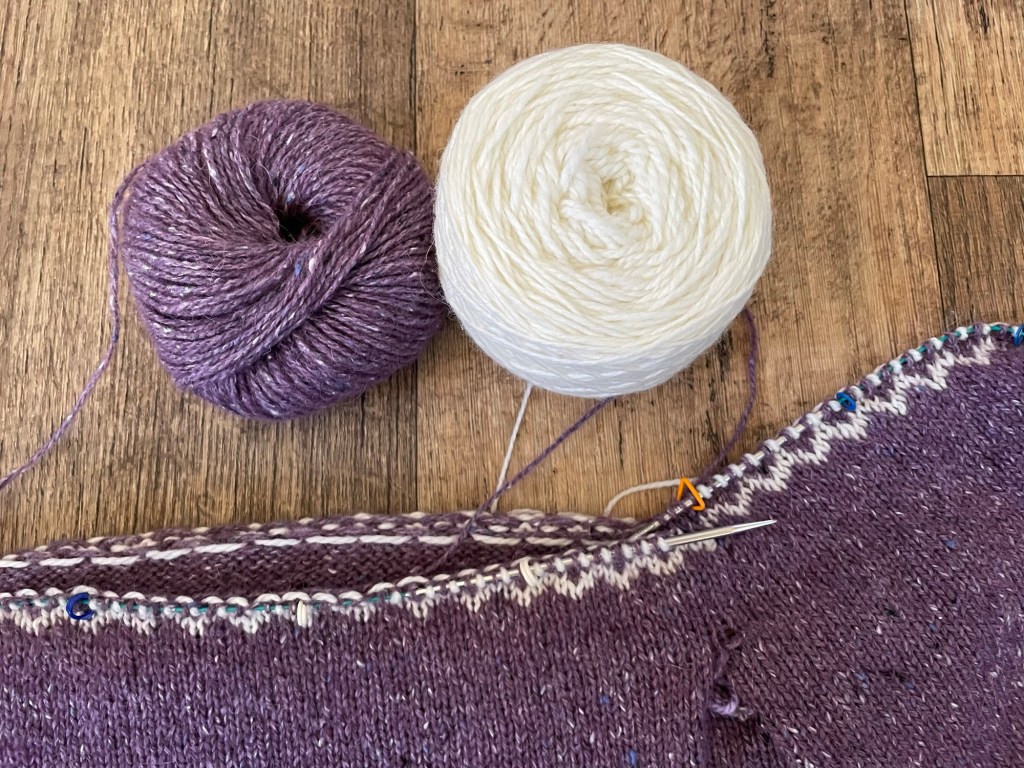
After joining the body and sleeves there were 10 even rows of knitting followed by one row with some decreases, and then it was time to start the colorwork. I had not had a chance to get white yarn for the snowflake colorwork while we were still in Minnesota. In January, we went to Prescott, Arizona, for a sock machine crank-in that was held at a Fiber Creek LLC, a very big nice yarn shop. I was able to buy the white yarn there.
We also had an early dinner with a couple we know who live in Prescott. It is not a big town, the kind of place where everyone knows everyone. While we were eating, an acquaintance of theirs stopped by to say hi. After he left, we were told that he was the nephew of Don Knotts, on his way to do comedy shows on a cruise ship.
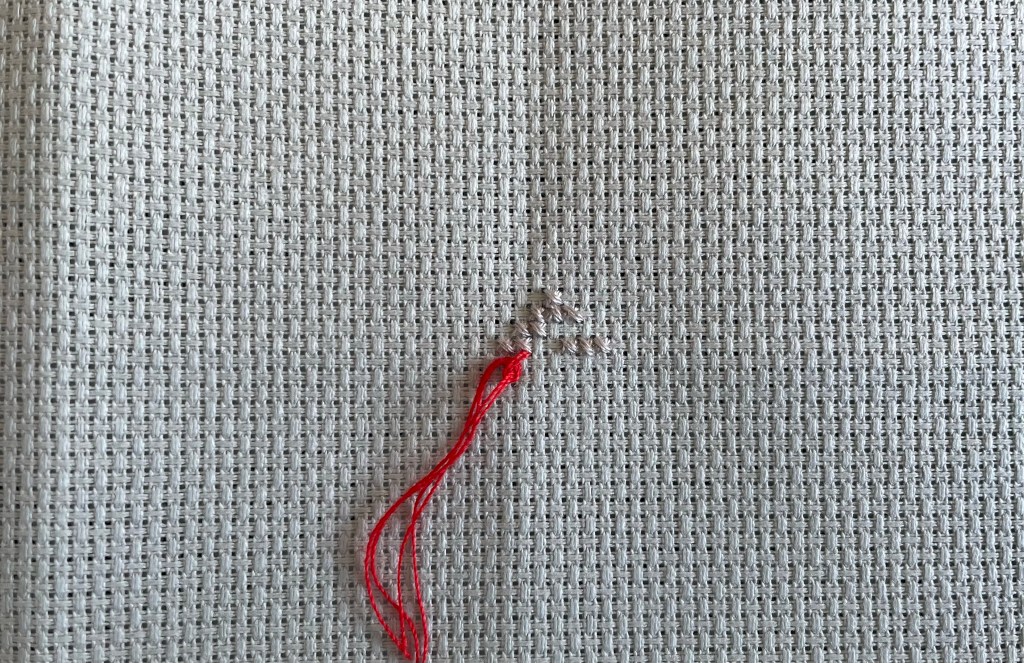
I watched another School of Sweet Georgia class on Stranded Colorwork before I started the first colorwork row. Included are instructions for several ways to hold two different yarns so that the floats on the back stay tidy and the tension stays right.
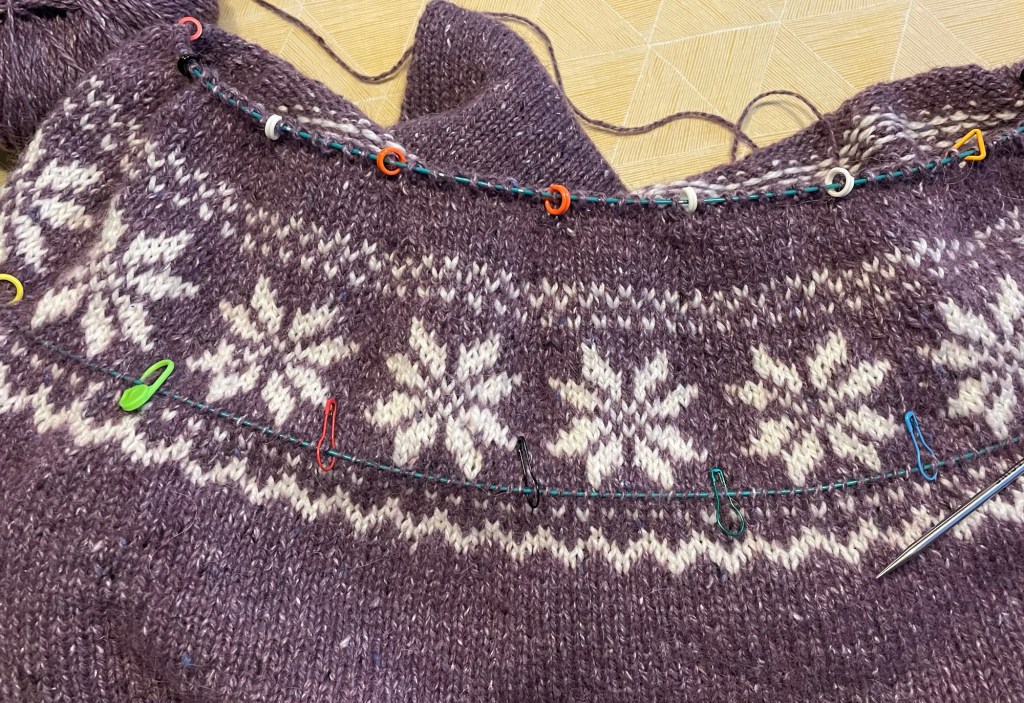
There are tips on how to make sure the knitting does not pucker where the big floats are tacked on the back. I thought I was doing a decent job as I was going along. The knitting was going pretty fast, and soon I was on the last decrease row of the yoke. There are stitch markers to easily mark the pattern repeats. When I got to one section, there should have been nine stitches in between the markers but instead there were 10 stitches. I could have just knitted another two stitches together and problem solved. I like to know where I made the mistake, so I spent some time examining the knitting. I found the mistake about 6 rows down, where I must have forgotten to do one of the decreases on that row. ARGGGHHHH.
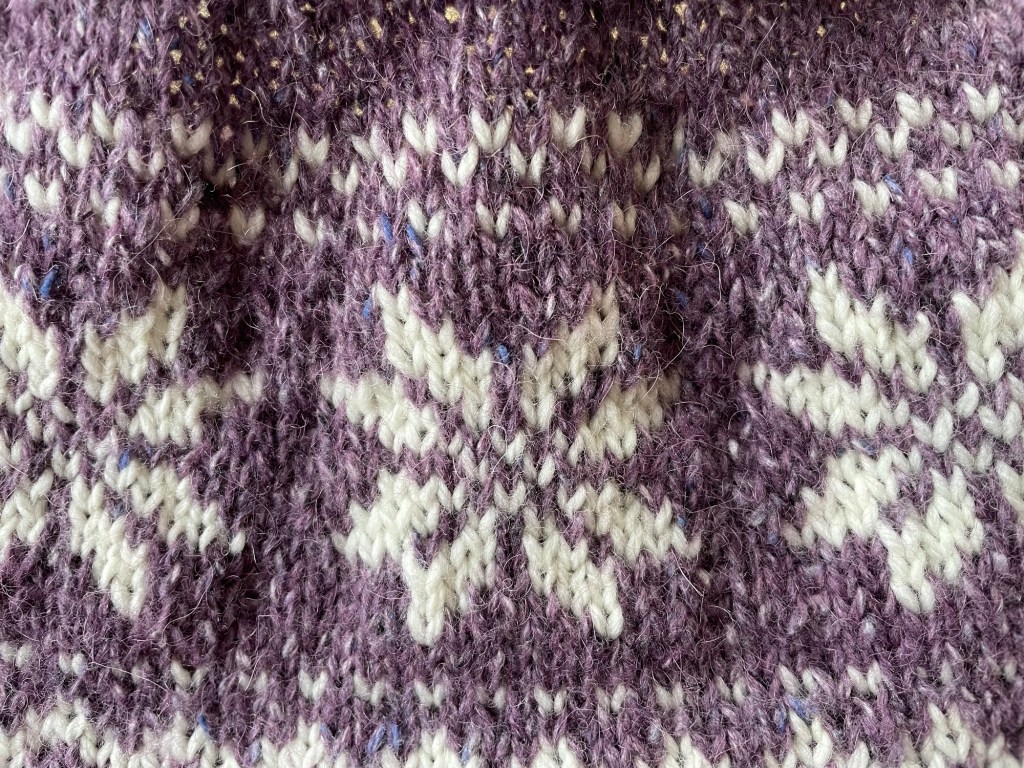
I was now thinking that the upper part of the colorwork should be symmetrical with the bottom, with the zig zag pattern repeated above the snowflakes. Also, I was not very happy with the puckering that was obvious where the floats were tacked on the back. I had not done as good a job on that as I thought.
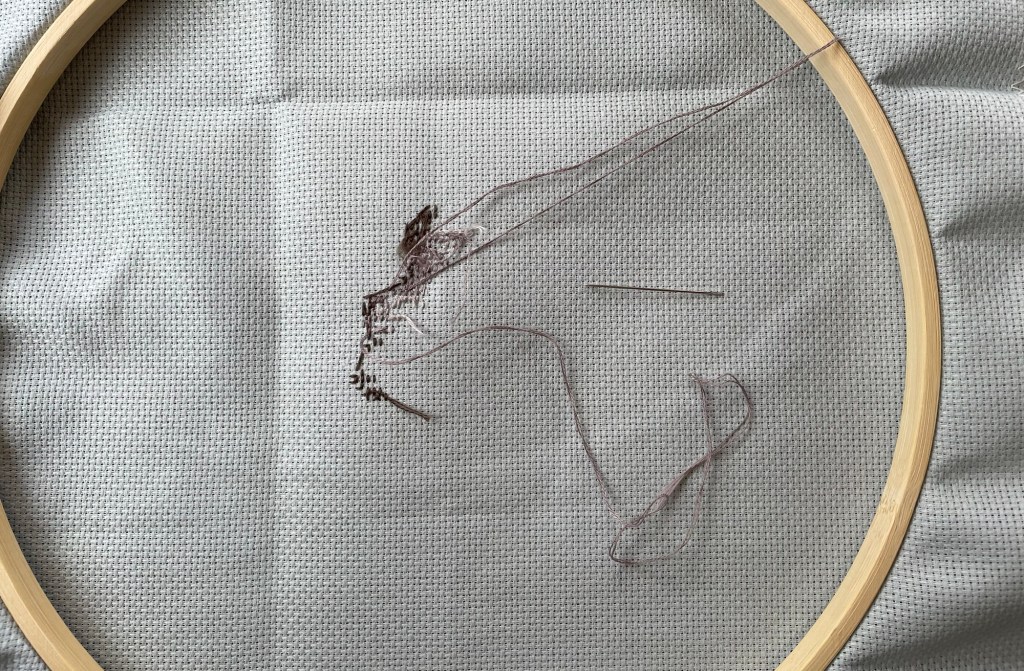
With all of these issues, I made a big decision to rip out all the rows of the snowflakes and try again. It was a bummer to do that, but it is part of learning and I knew I would be happier with the end result.
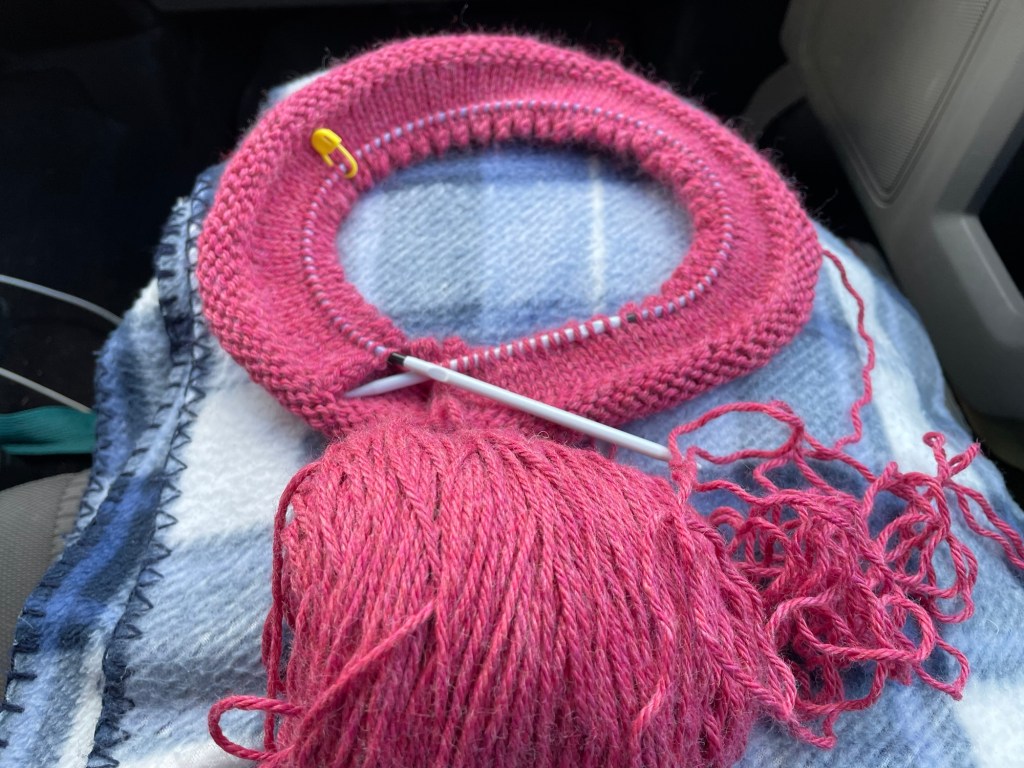
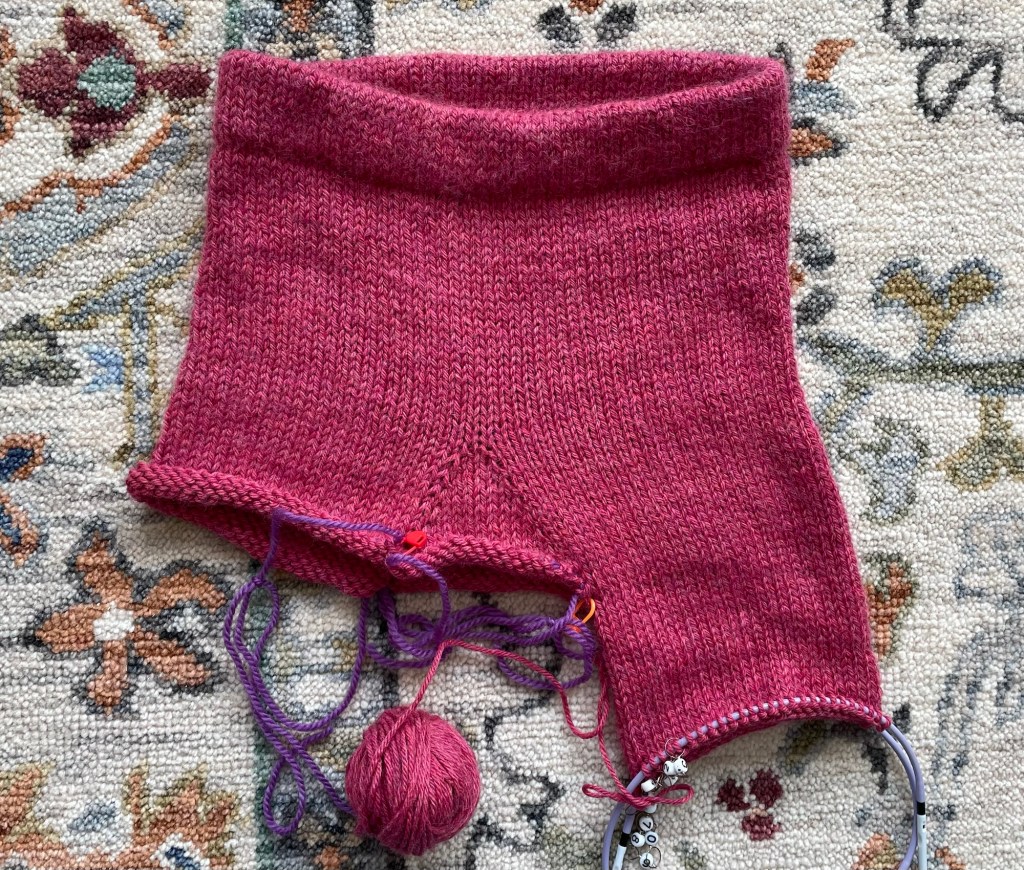
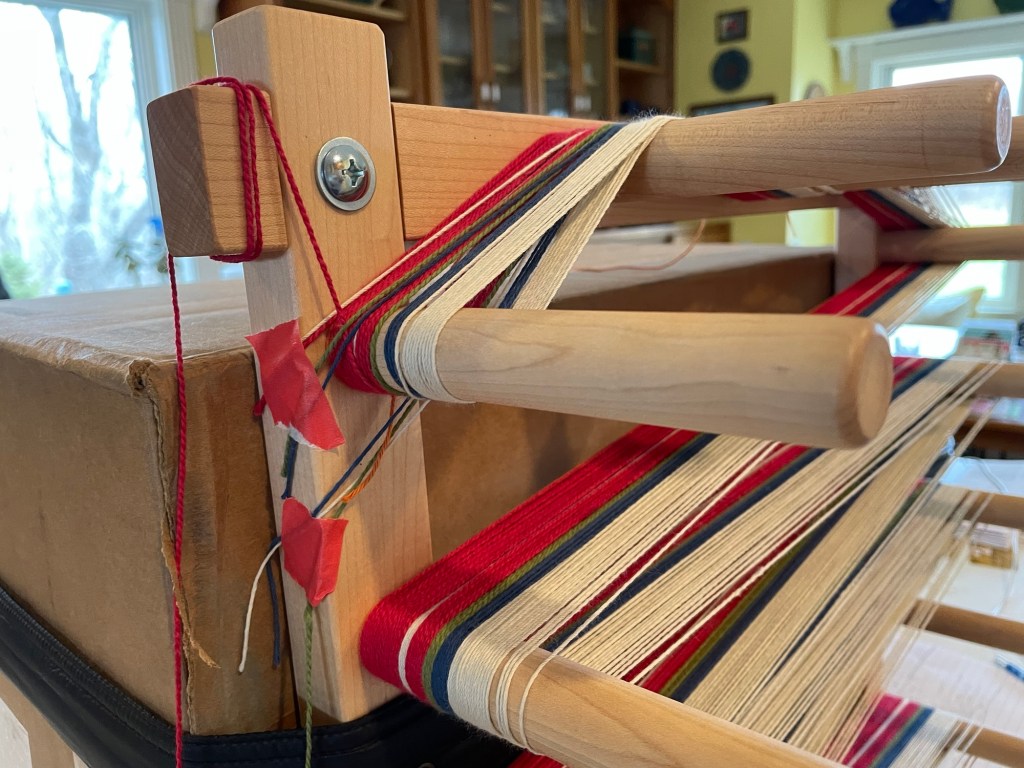
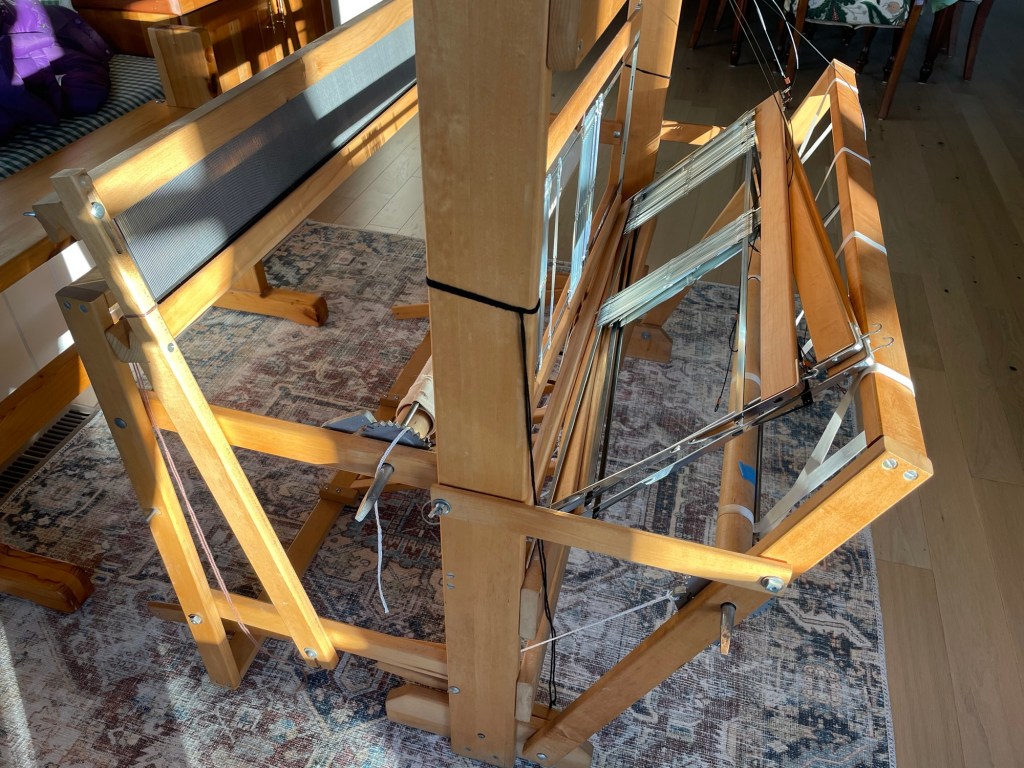
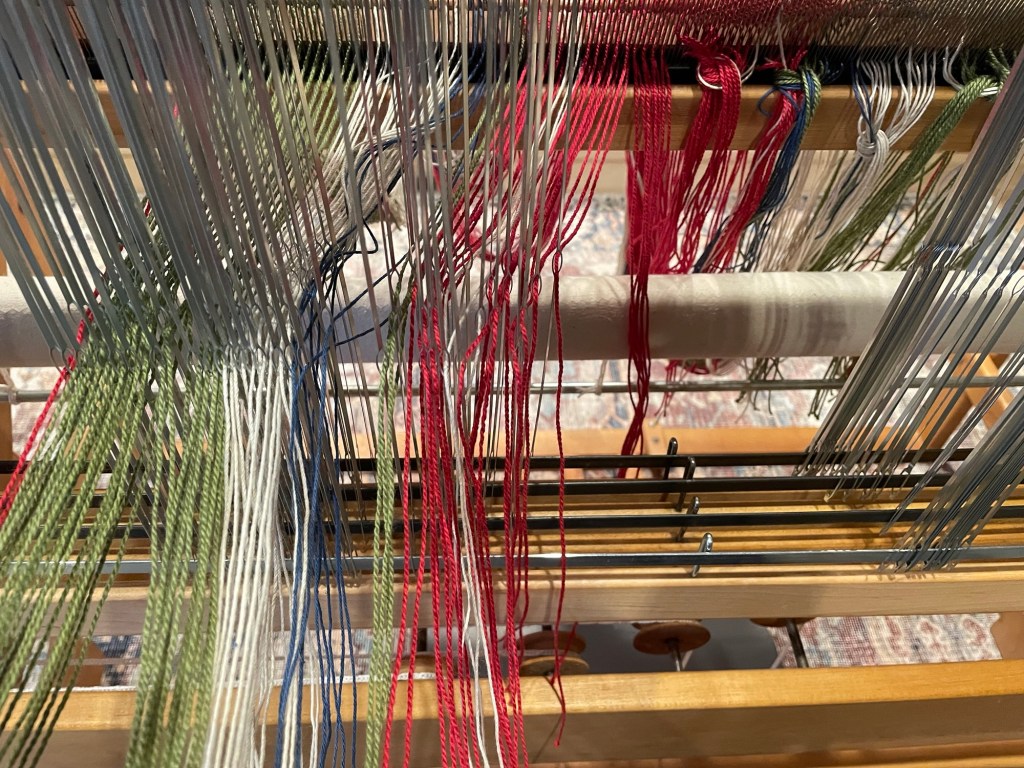
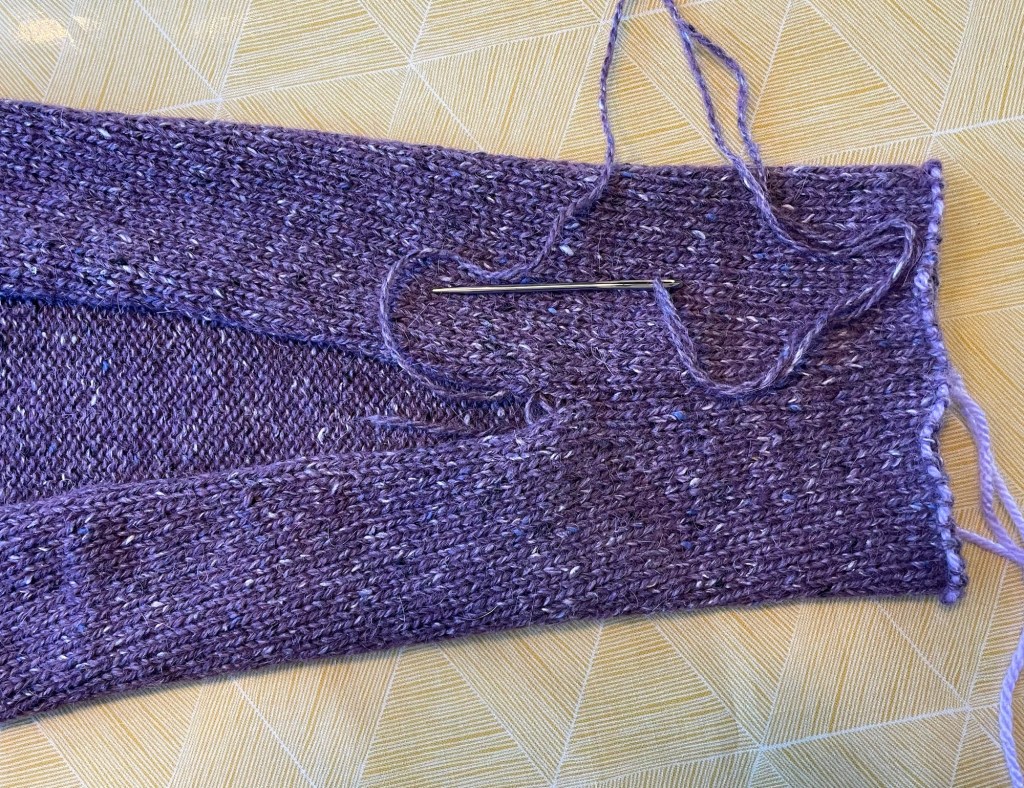
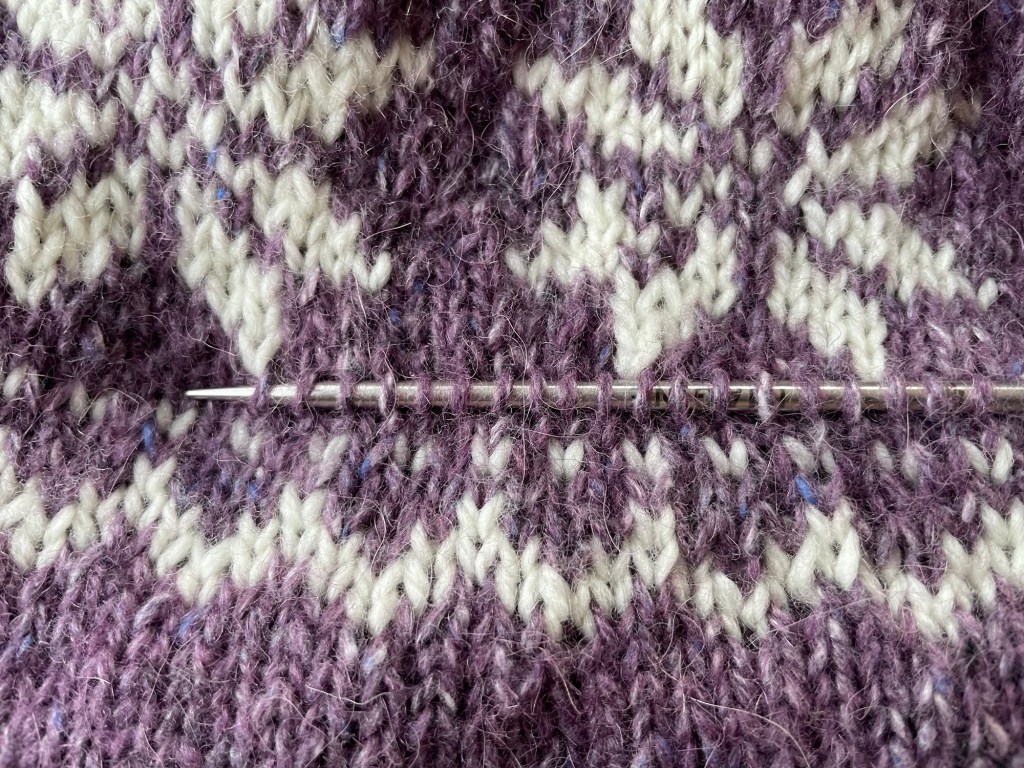
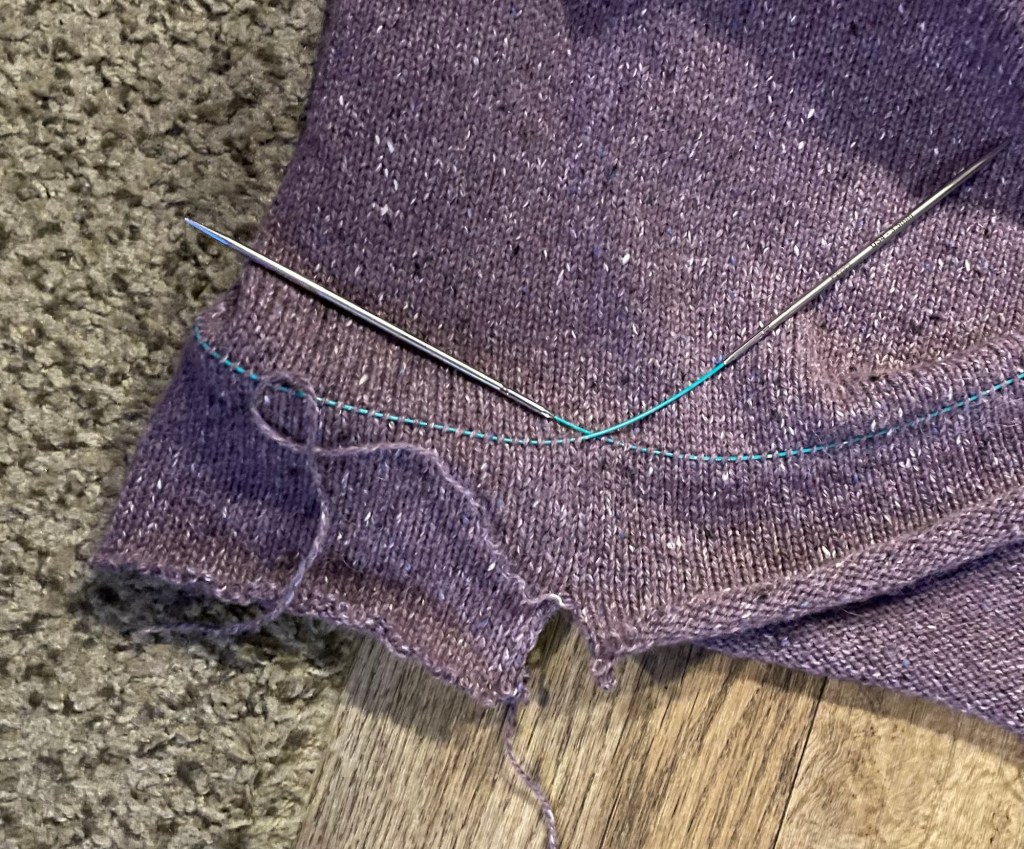
The following photo shows where I started picking up stitches just below the snowflakes with an extra long circular needle. Doing that allowed me to quickly rip out all the stitches above that point, and then be ready to continue on without dropping any stitches.
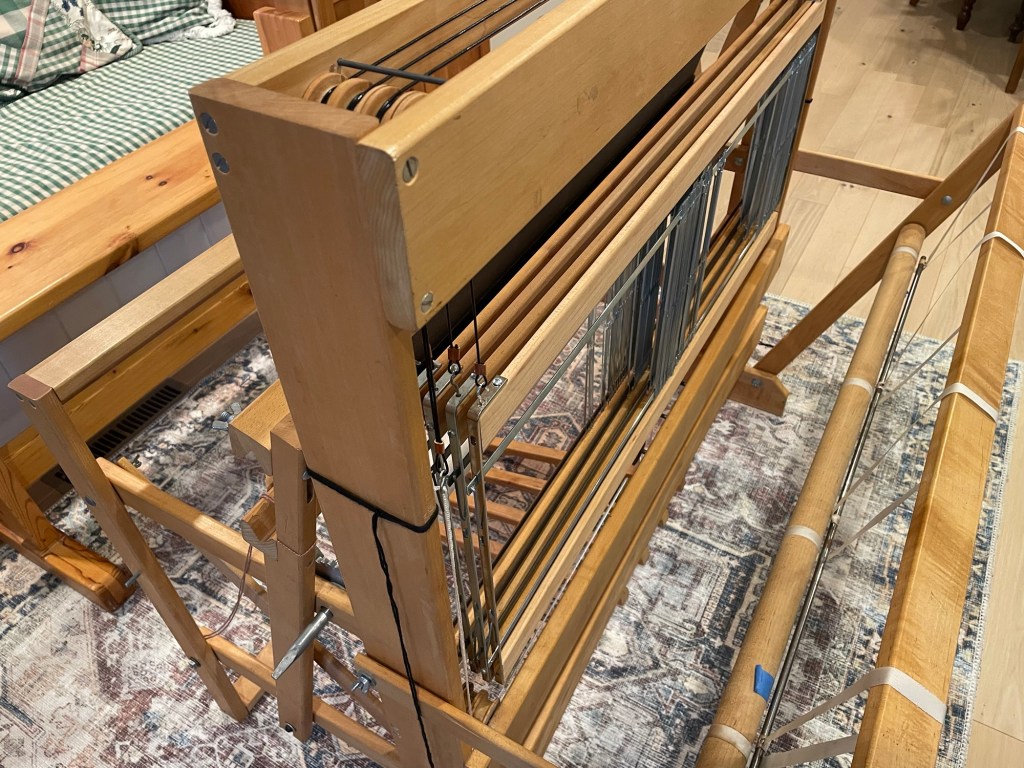
The next photo shows all the stitches picked up below the colorwork, with the repeats marked.
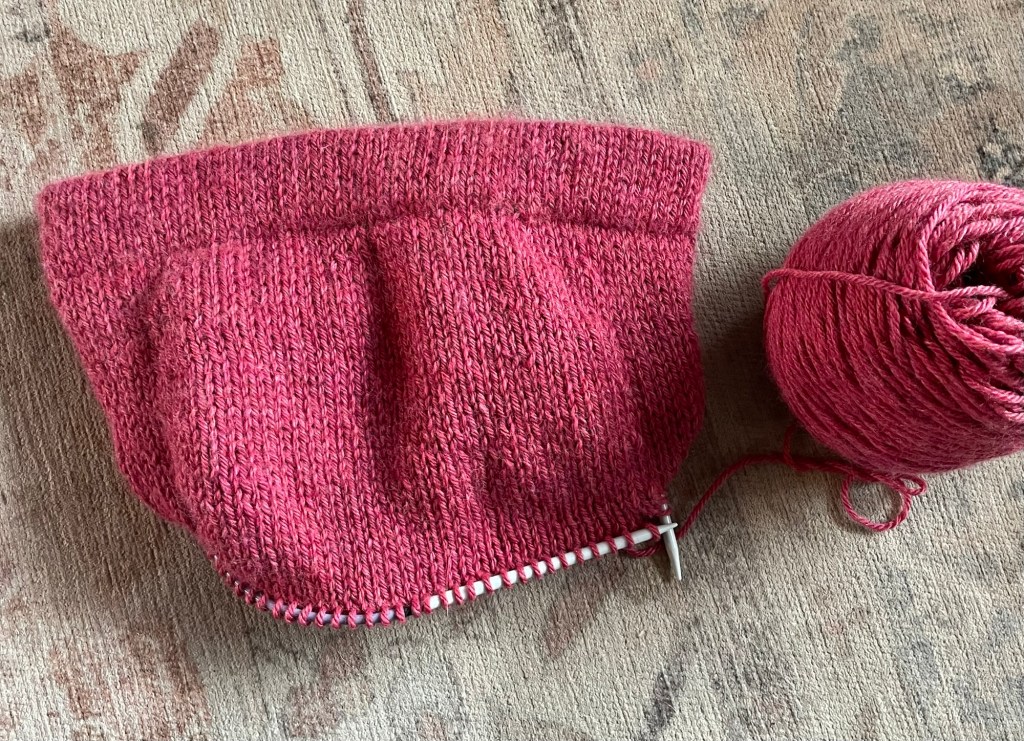
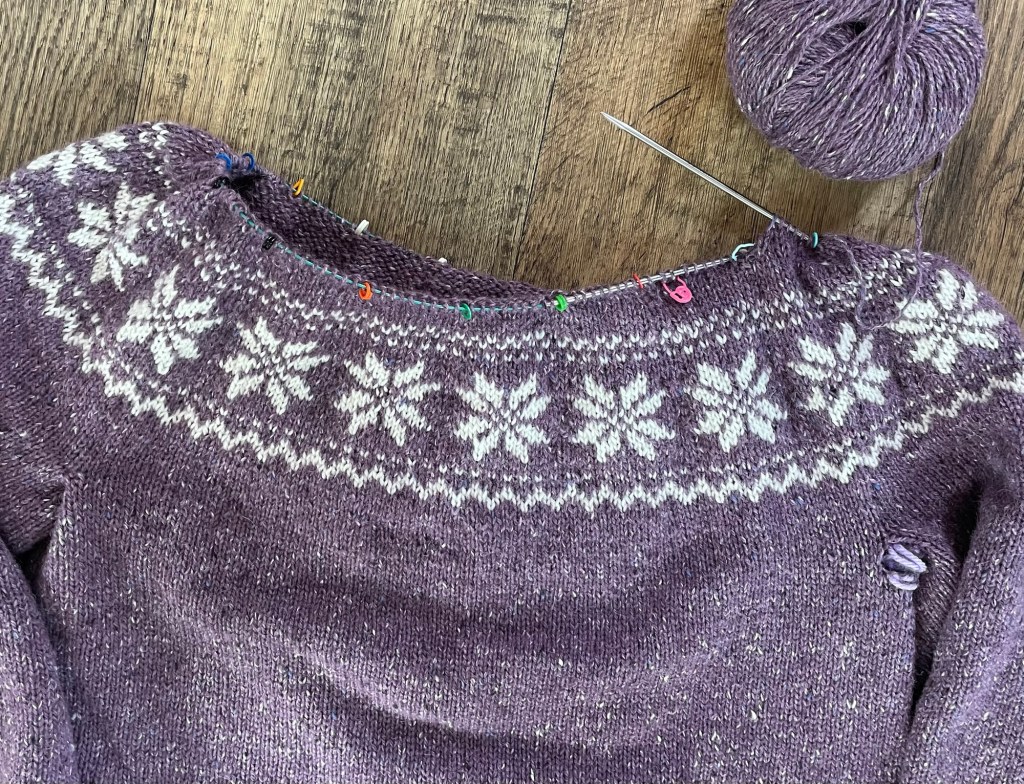
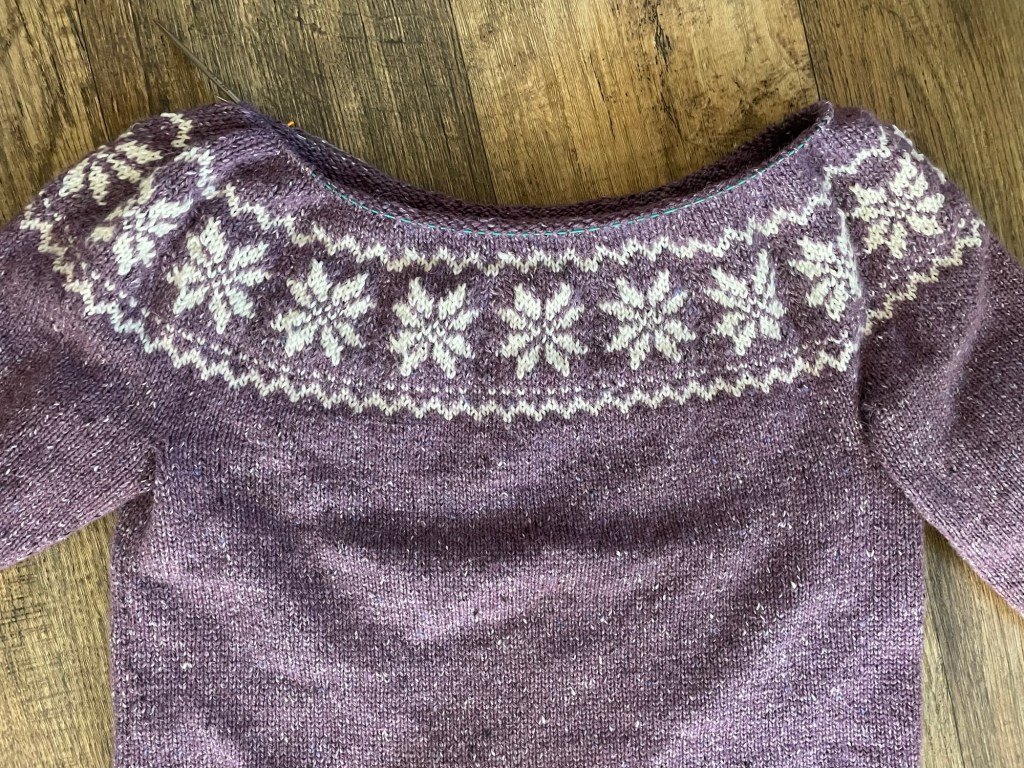
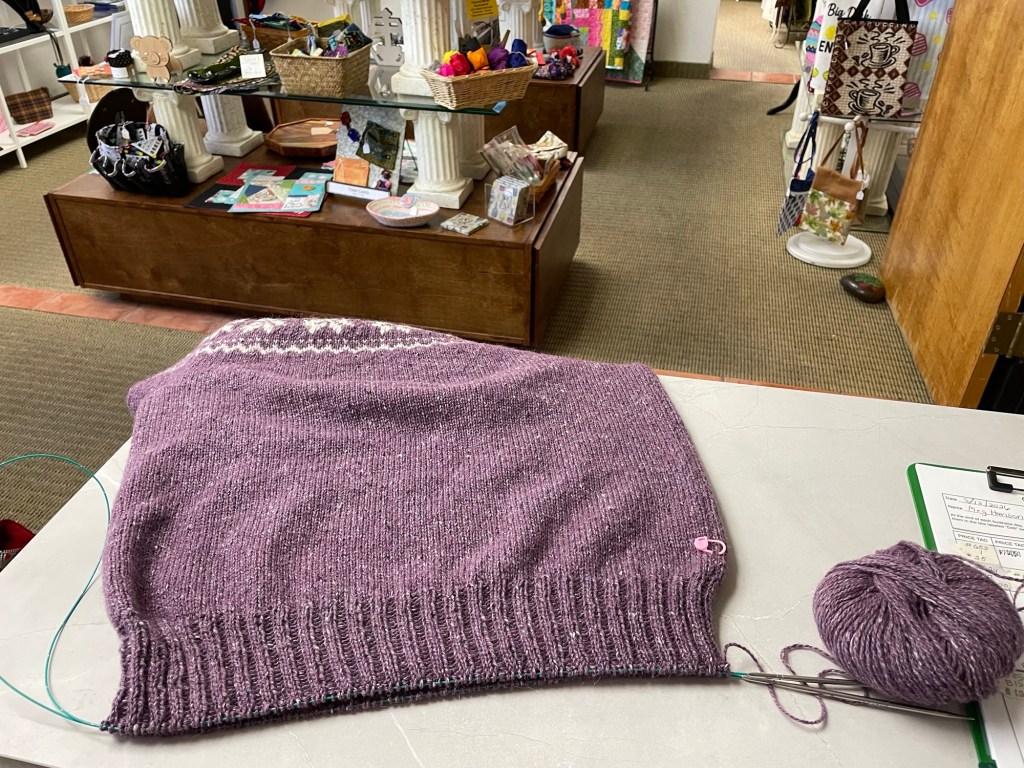
One suggestion for successful colorwork is to use a bigger needle size which I had not done the first time, so I tried that on the second try. The next photo shows the sweater after I ripped out the colorwork and redid it with the revised pattern and larger needle size. The zig zag above the snowflakes does not match exactly due to having an odd number of stitches in each repeat instead of an even number.
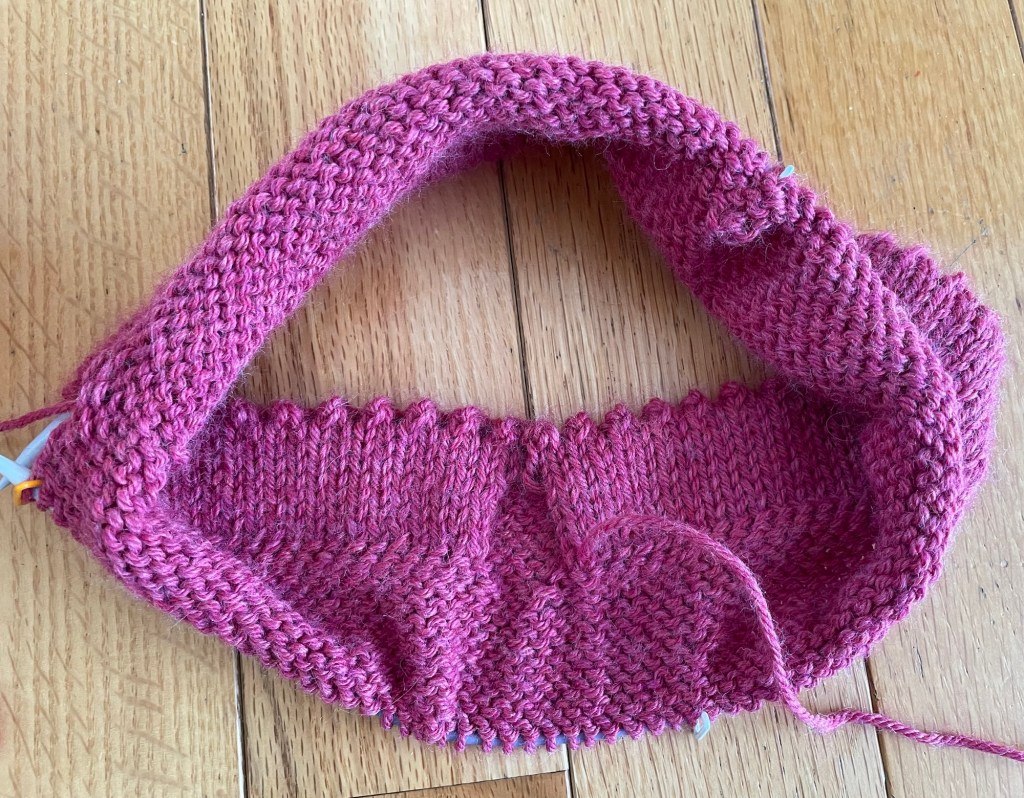
After the colorwork and continuing to the neck are some decrease rows, some short rows on the back, and one inch of ribbing.
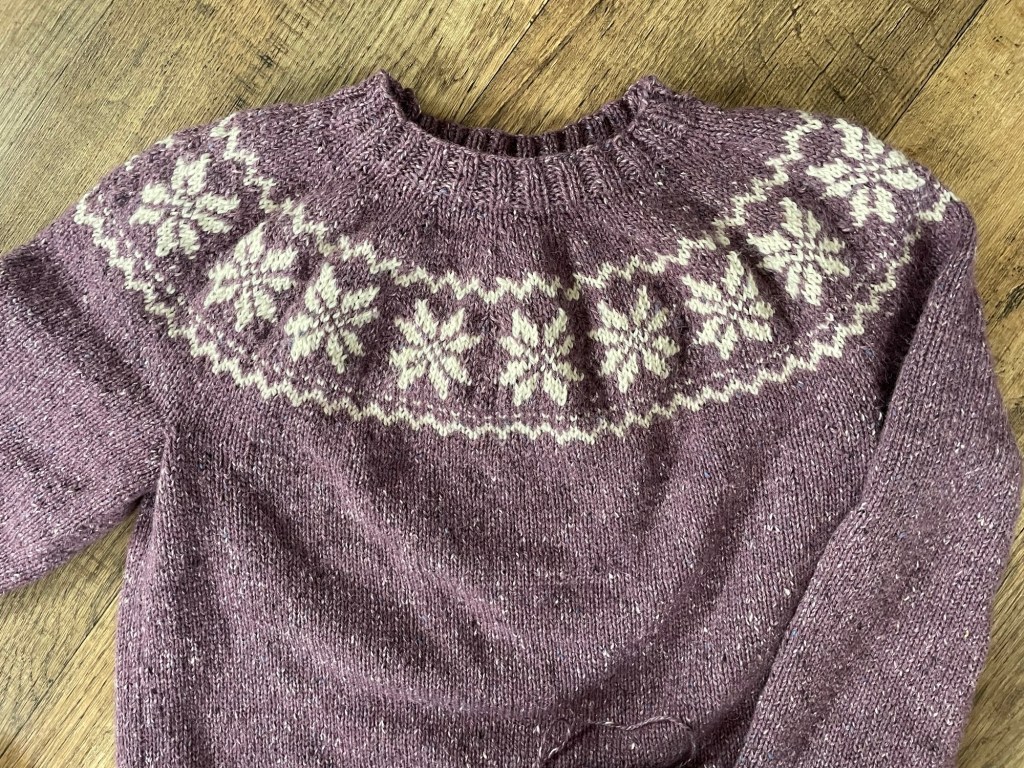
When I started knitting the ribbing at the bottom, I thought the sweater was maybe too long. Earlier when it was the pieces off the knitting machine, I thought it was too short. This is a mystery.
I considered finishing the ribbing and wearing the sweater as is for a time, knowing I could rip it back later. After knitting a couple more rows and trying it on again, I decided that I really did not like the long length and went ahead with frogging it back. First I picked up stitches three inches back, where I wanted to restart the ribbing.
Ripping out the ribbing knit in the round was easy. Frogging the main body of the sweater was not easy. First I had to undo three inches of mattress stitch on each side seam. When starting to rip out the rows of flat knitting done on the knitting machine, I realized that each row was somehow looped so that you could not just rip it out back and forth the way you would if it had been hand knitted. I had to cut the yarn a bunch of times.
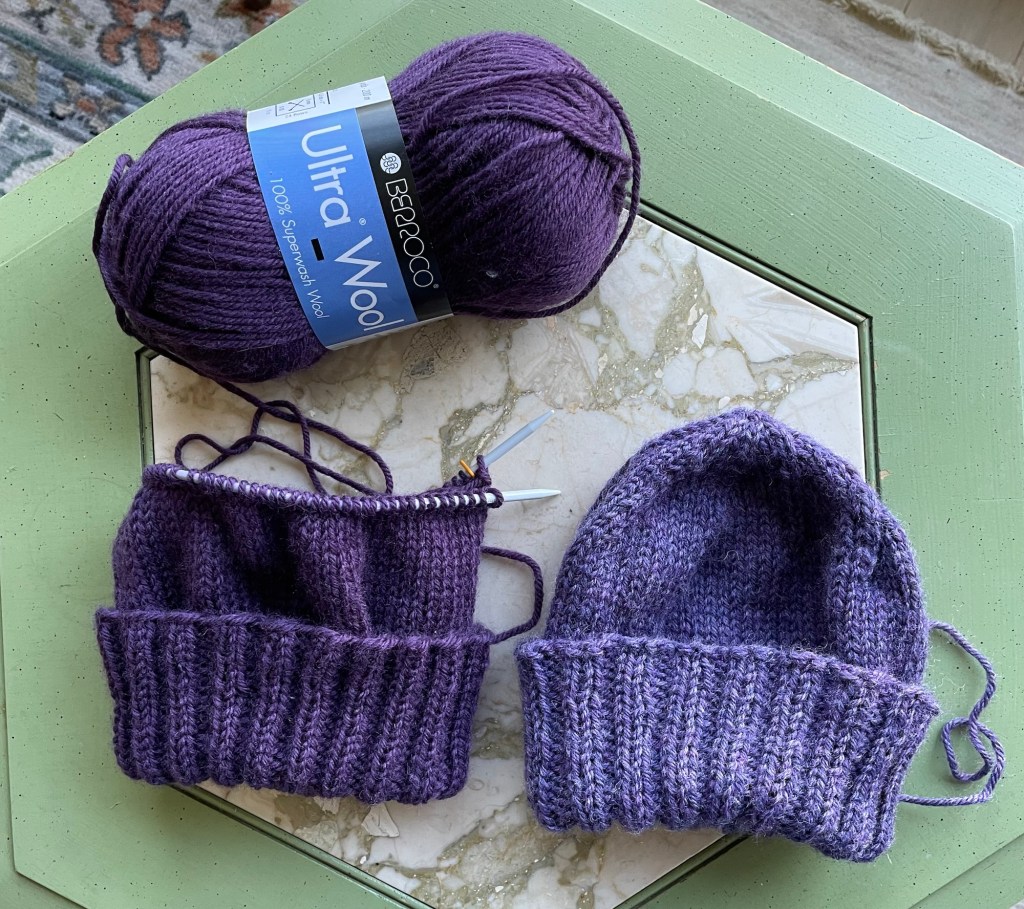
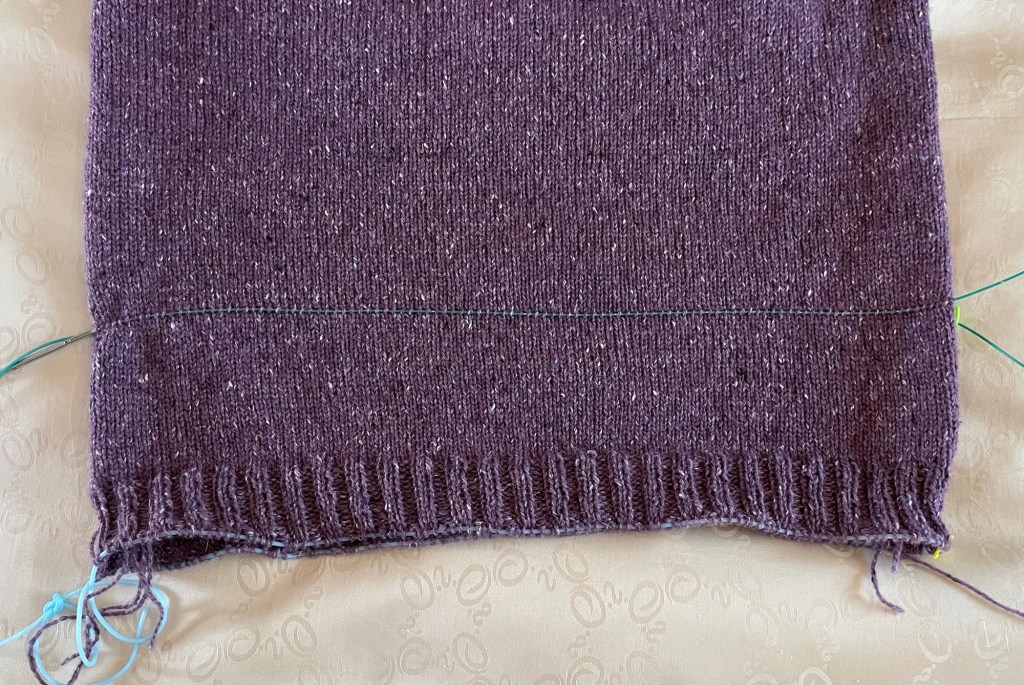
Once the extra rows of knitting were removed back to where I had picked up stitches, there were some adjustments needed. I had unintentionally picked up stitches from different rows. In the process of fixing that, I ended up with a bit of a gap on one side where the front and back panels met. I thought it would be ok, but after knitting an inch or so of ribbing, I decided it was not ok. I pulled out the needle and picked up the stitches a row up, got it lined up correctly at the sides, and started the ribbing again, for the third time. Following are photos of the sweater with the ribbing just about done. I worked on the last couple of rows in the car while out and about, and while working in the gift shop at the resort.
As written for hand knitting, the pattern starts at the bottom with a tubular cast on, followed by the ribbing and then the main body. Instead, I added the ribbing on last, after using my knitting machine to make the front and back panels. I used a normal bind off for the neck ribbing, but I was worried that might not be stretchy enough for the bottom. I happened to get a link with instructions for Ruke bind off that is stretchy, works for two by two ribbing, and has a similar look to tubular cast on used in the pattern. I went with that and it worked out well.

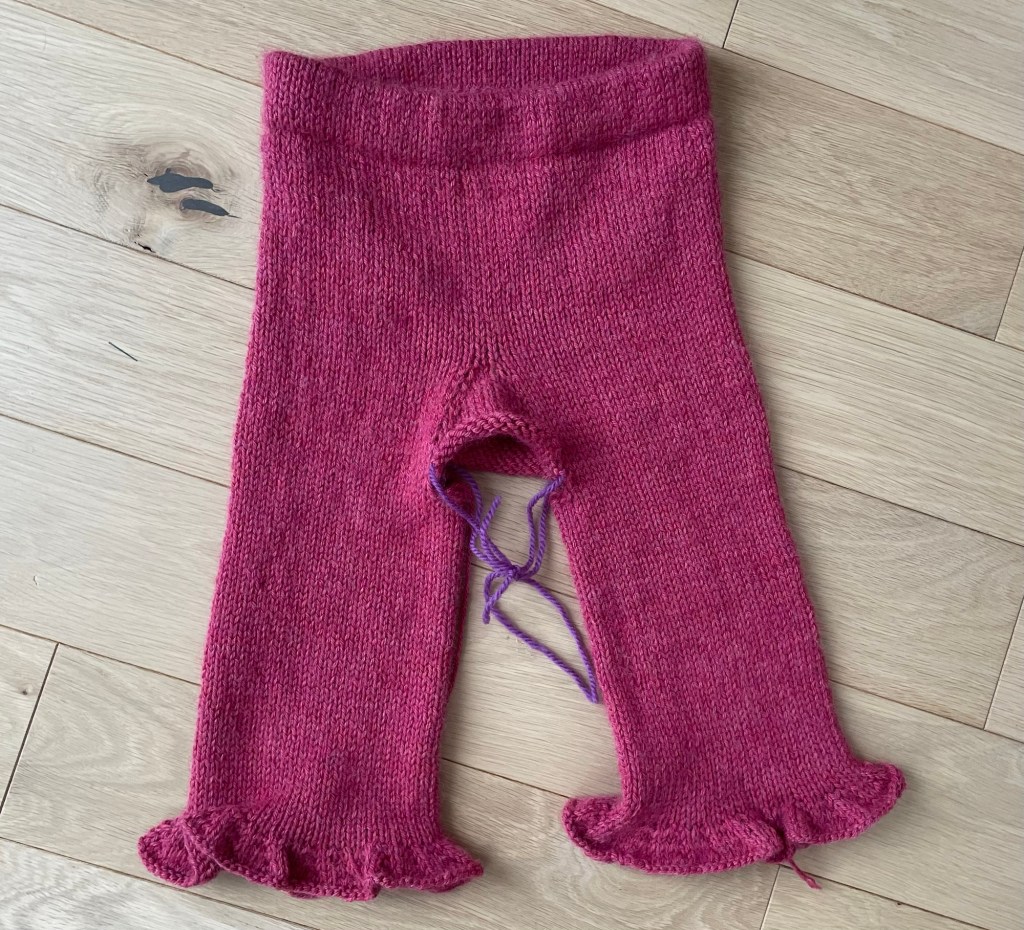
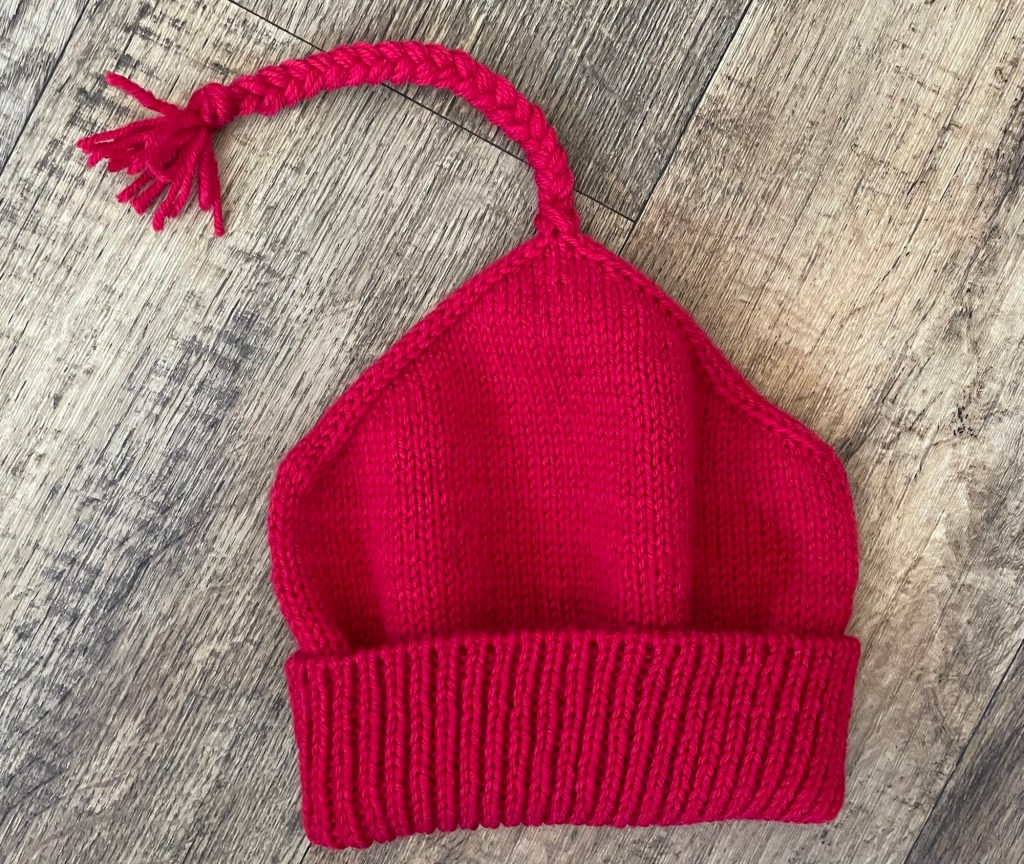
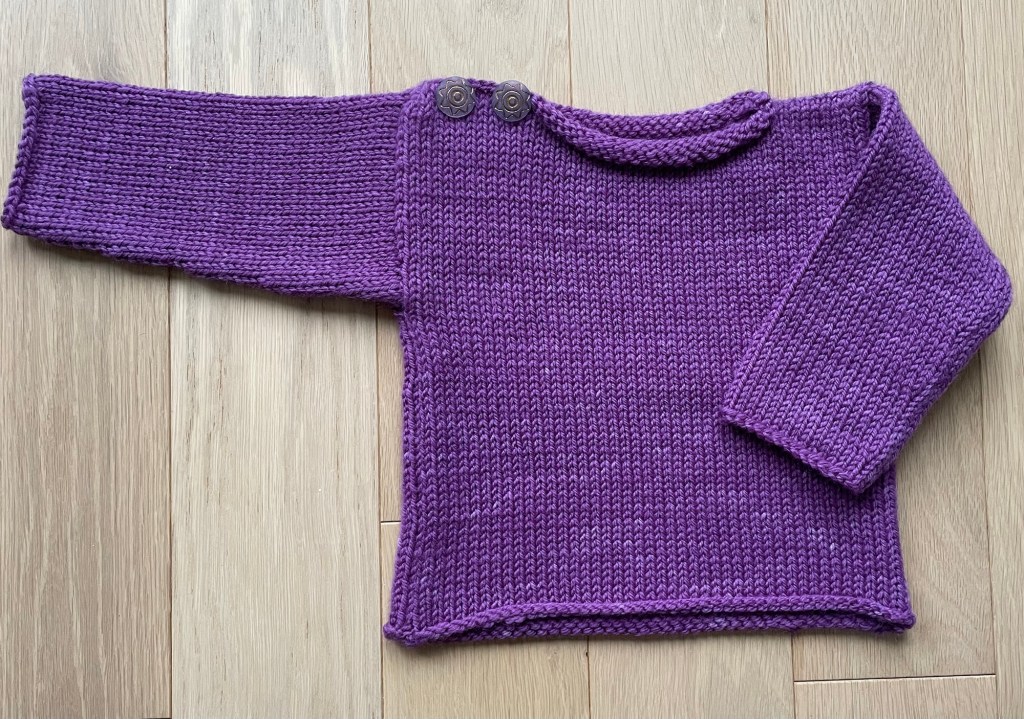
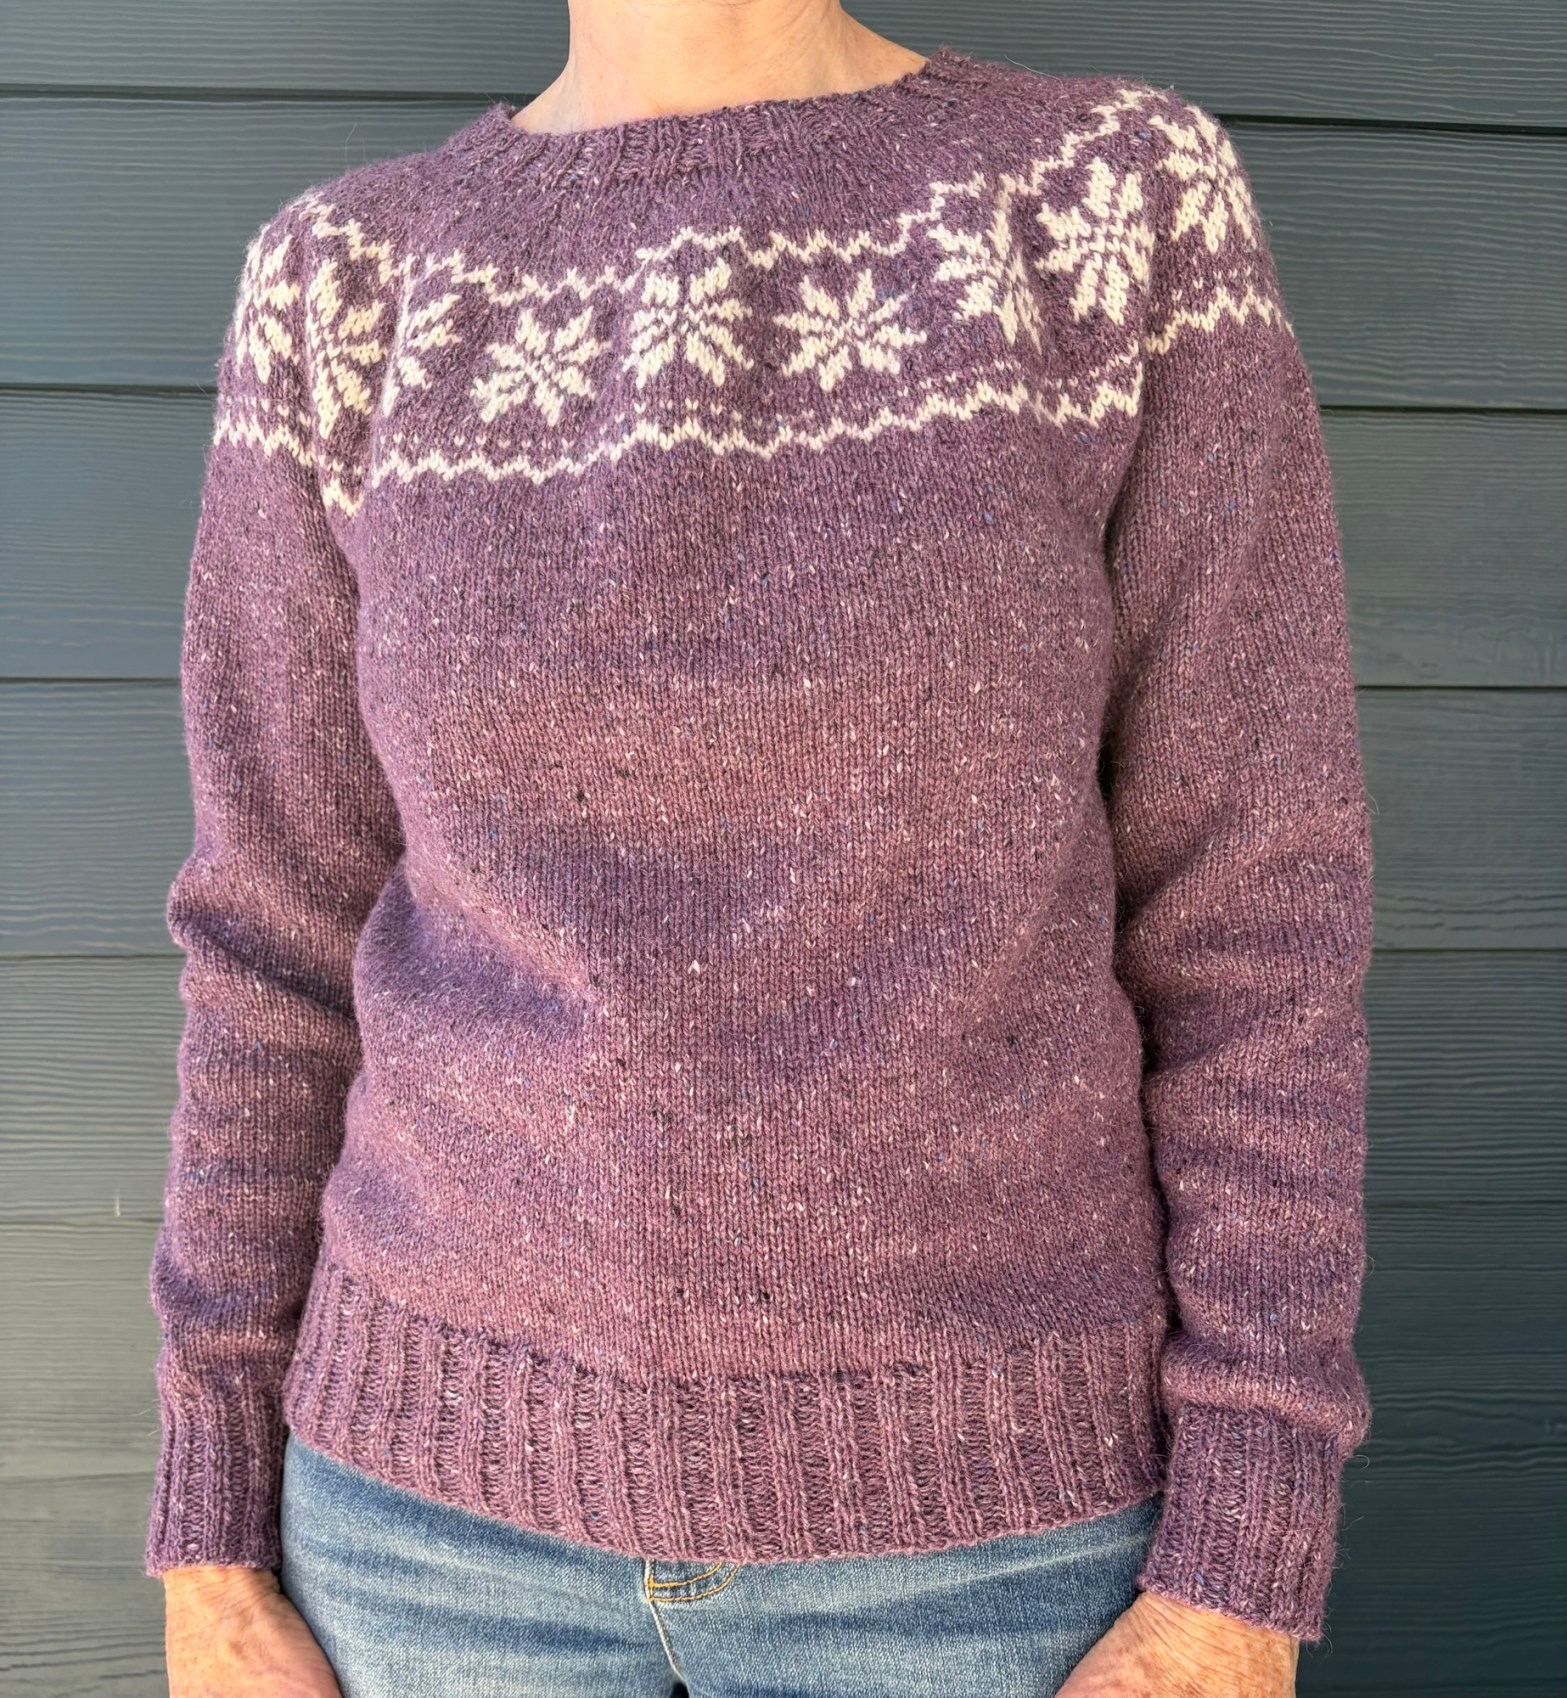
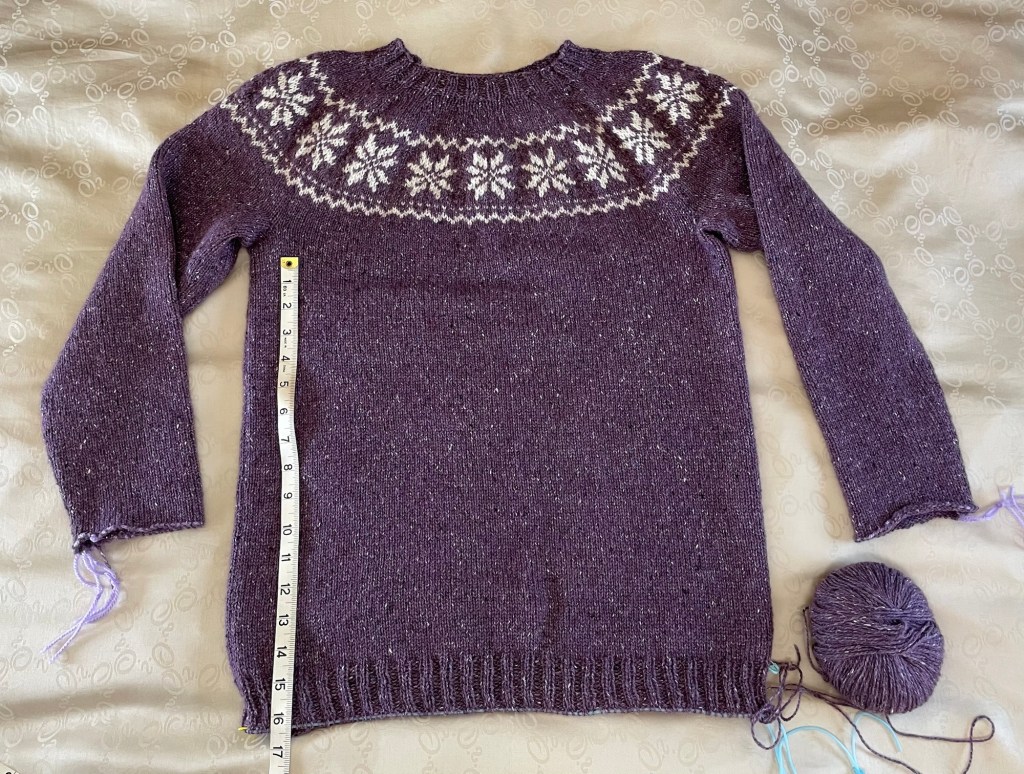
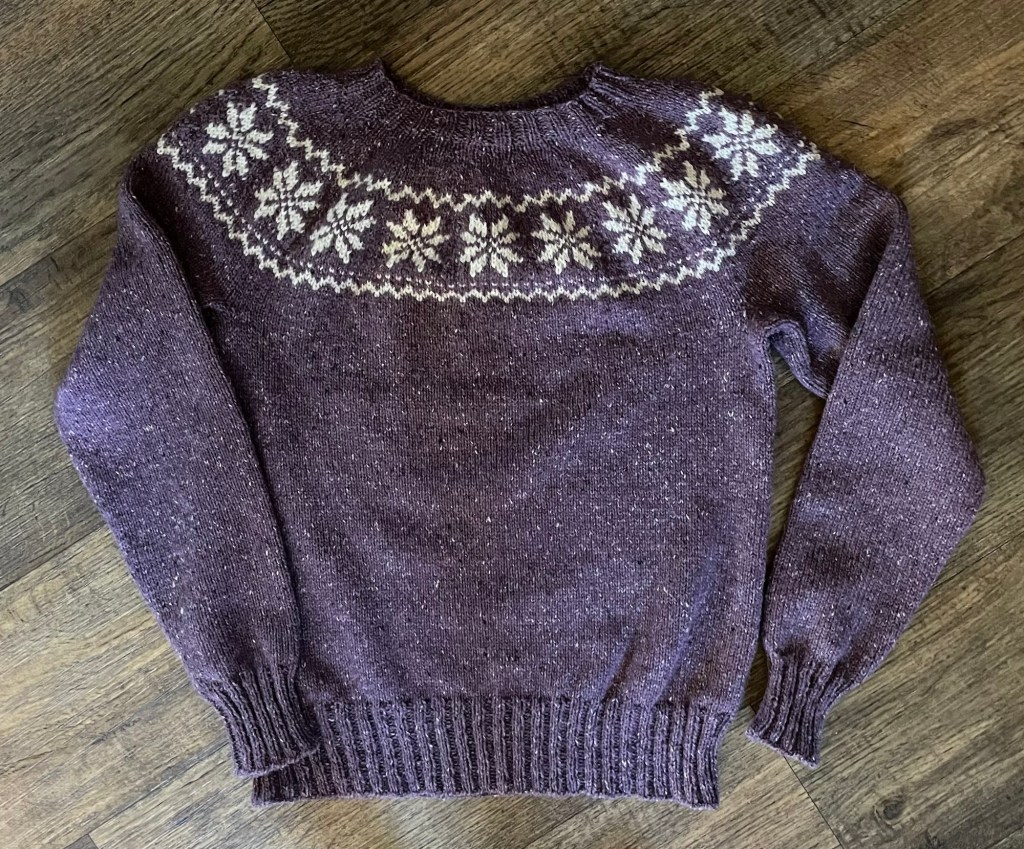
I knitted three inches of ribbing and the Ruke bind off at the bottom, and at the end of the sleeves. Following is a photo of the sweater completed, but before blocking.
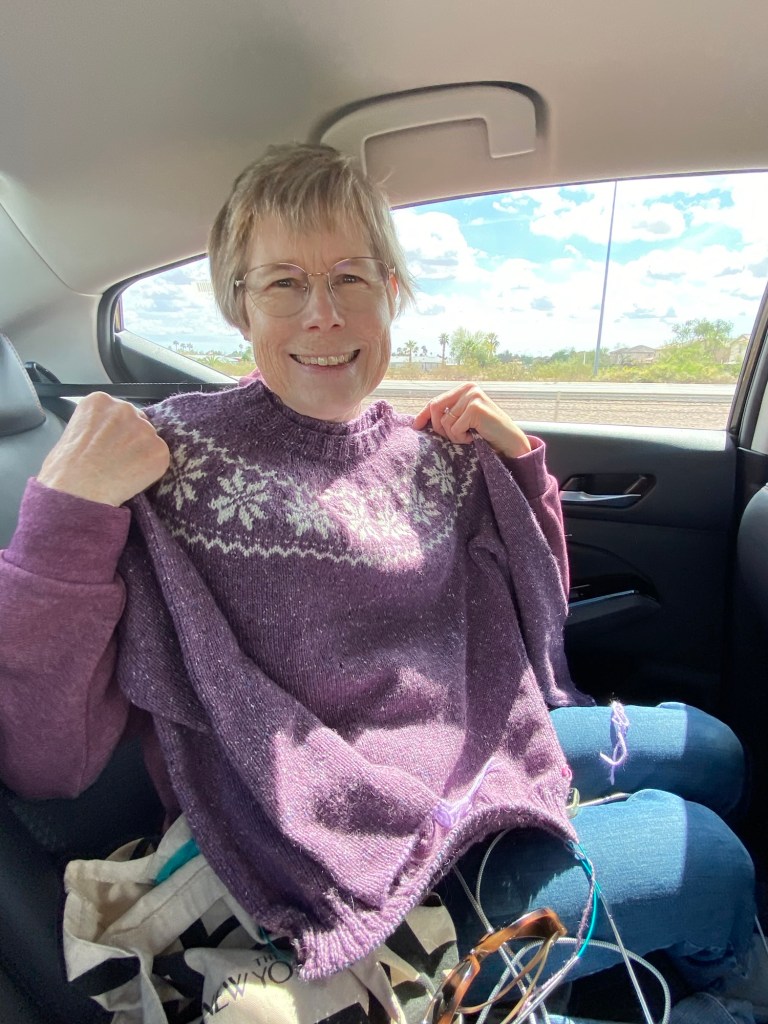
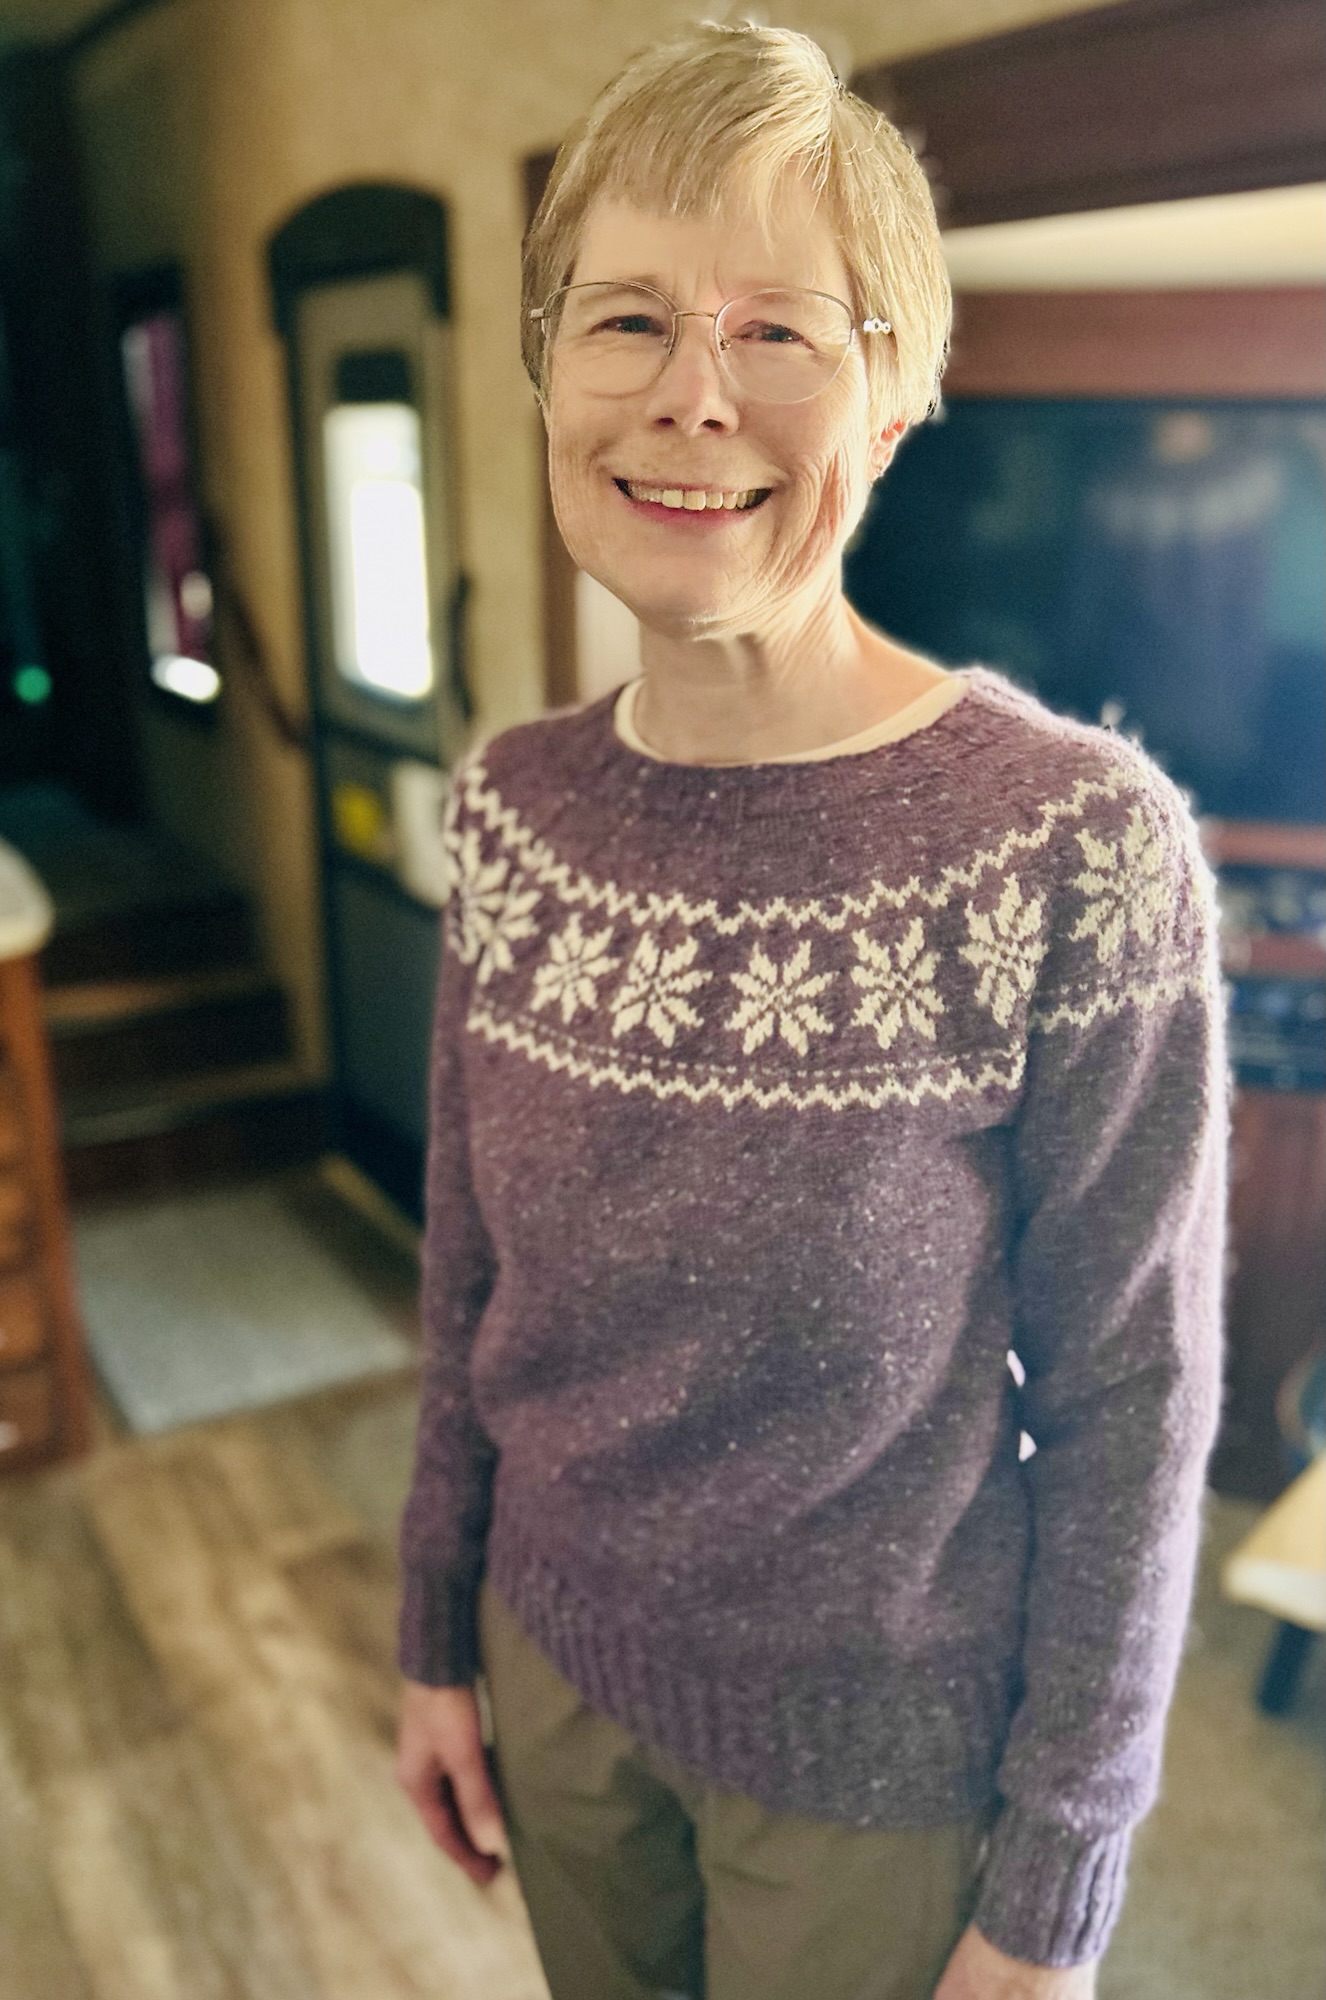
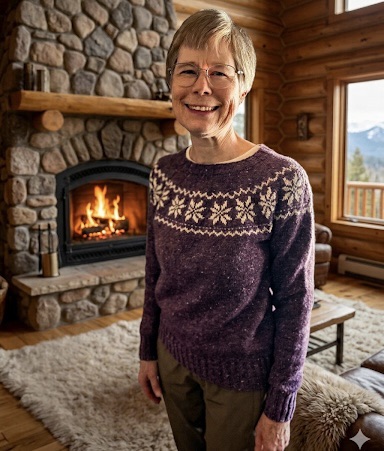
I finished this wool sweater just in time for the 104 degree Fahrenheit record high temperature for March in Arizona. We had never used the air conditioning in our RV until this year. We are grateful it works. I was planning on having Wayne take a photo of me wearing the sweater in the community building at our resort, where the the lighting is good, the air conditioning is on, and there are nice background options. He did not want to walk over there in the middle of the day in the extreme heat. He said he could get a good photo inside the RV despite the poor lighting, with some editing. Following are the before and after photo taken inside the RV. I am not really a fan of photoshopping in a different background, but it was fun for Wayne to try.
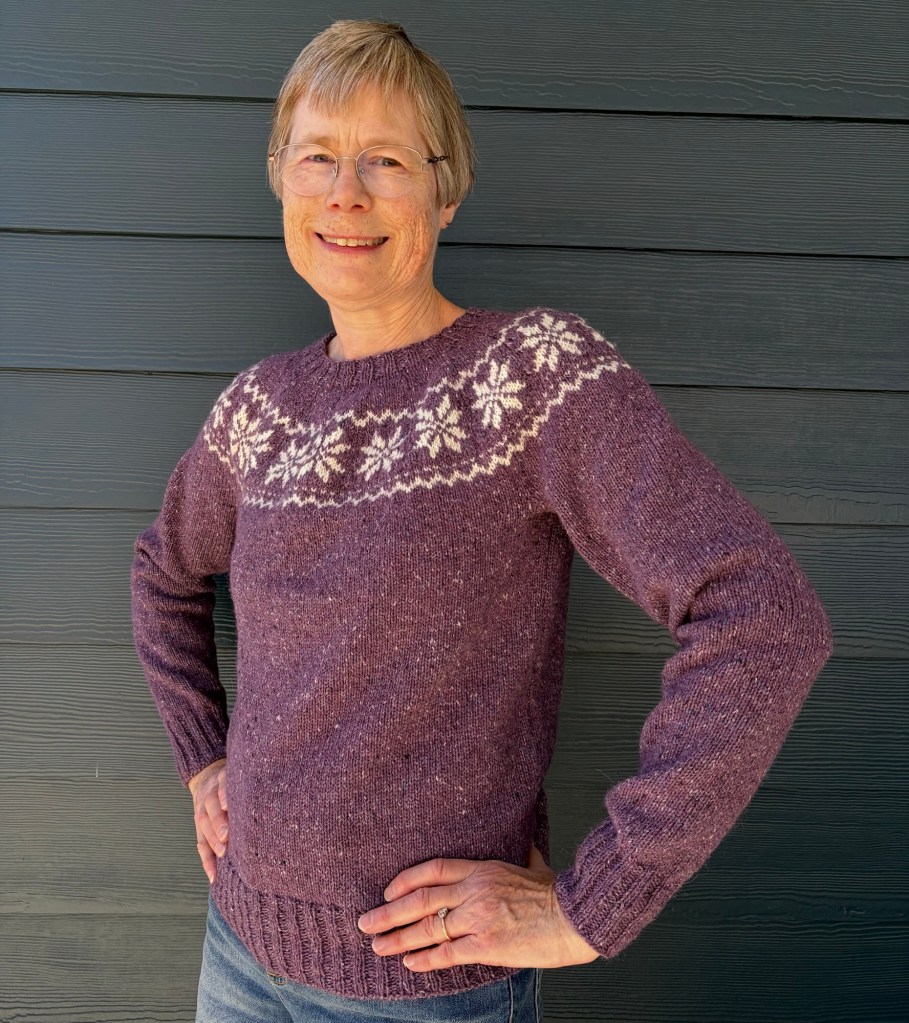
My sister-in-law Marlene took a couple more photos in natural light outside, with more focus on the sweater.

I am very pleased with how the sweater turned out. I will wait until we are back home in April to block it. I had a bad experience blocking a sweater once by getting it completely wet, so I am hesitant to do that. I need to do more research on best methods of blocking for different types of yarn.
I plan on making another combination hand and machine knit sweater with the same pattern, using the more expensive Sweet Georgia yarn. I will probably use the colorwork design of leaves as written in the pattern. In the meantime, for something different, I am knitting a stuffed animal bunny.