
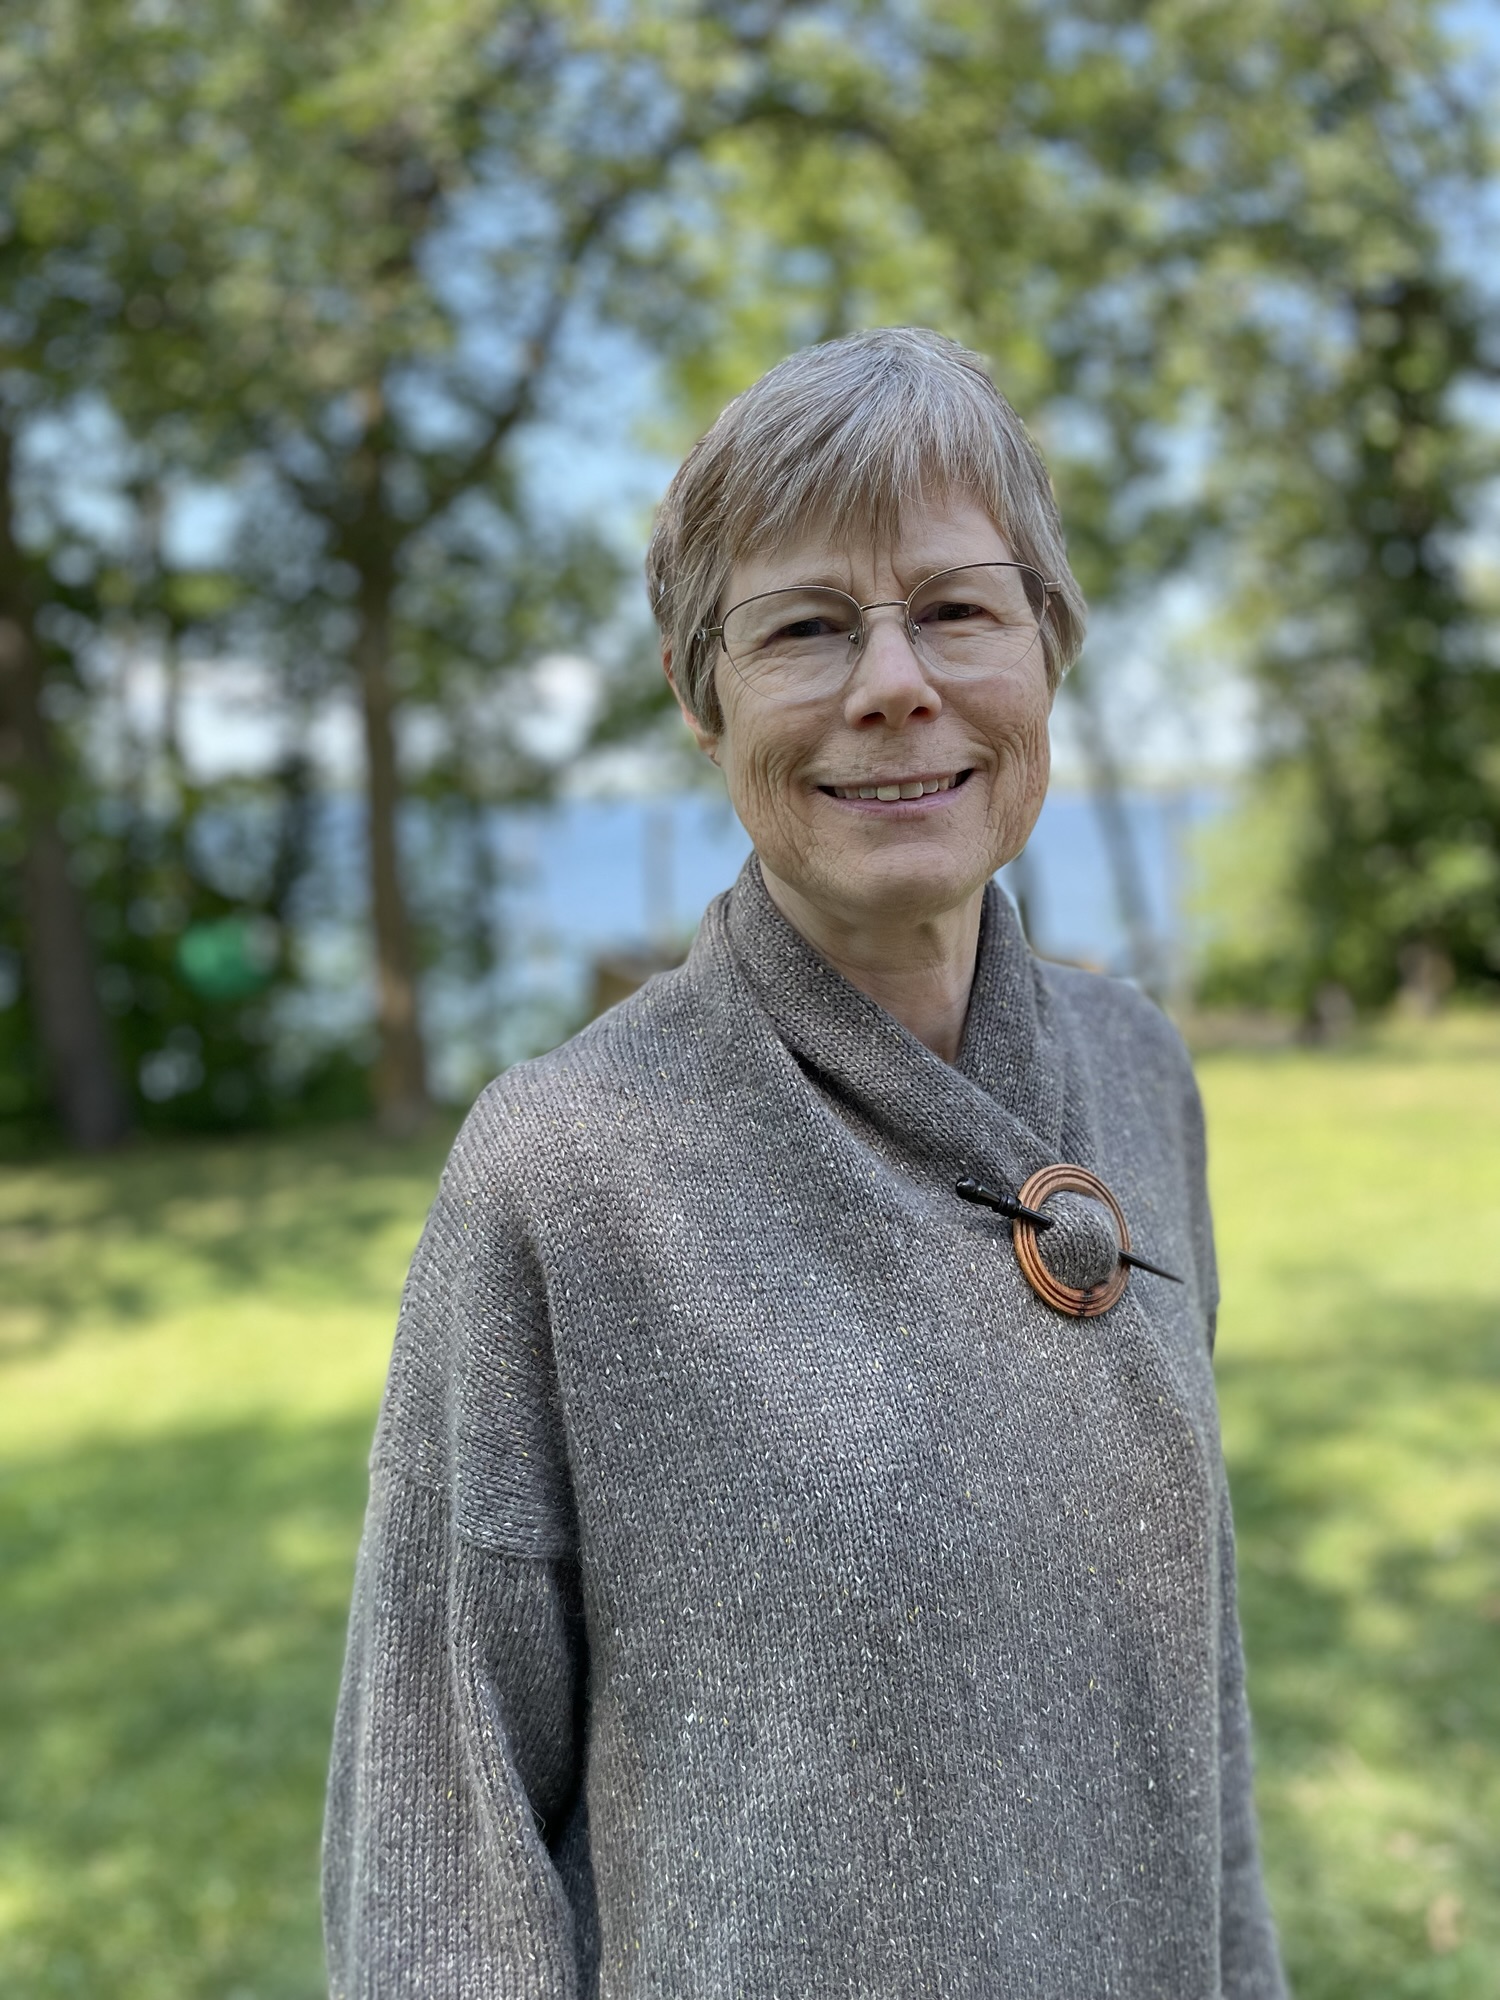
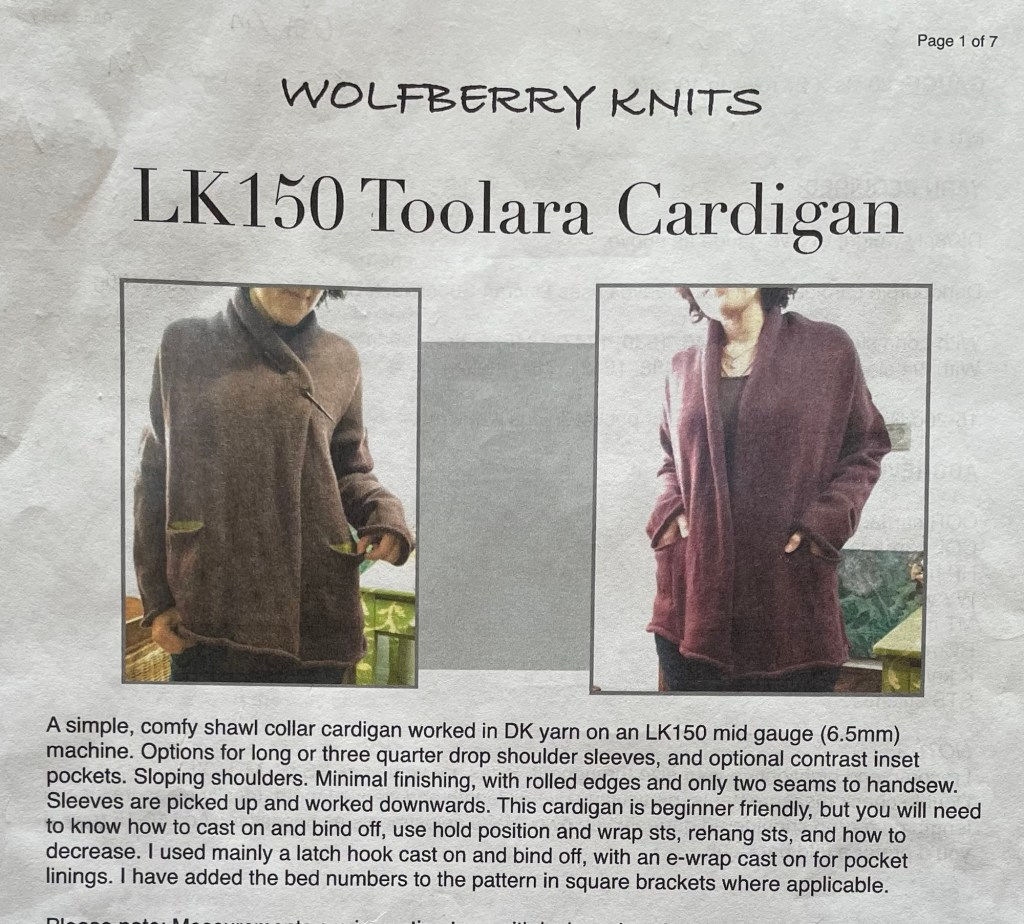
I found a sweater pattern that would be good for practicing with my flat machine machine. The instructions are for the specific machine I have, the Silver Reed LK150. It looked cozy and practical. I thought this would be “easy” because it was all knitted on the machine, with no hand knitted parts as on the colorwork sweater I made last winter. The only hand work would be the side seams joined with mattress stitch.
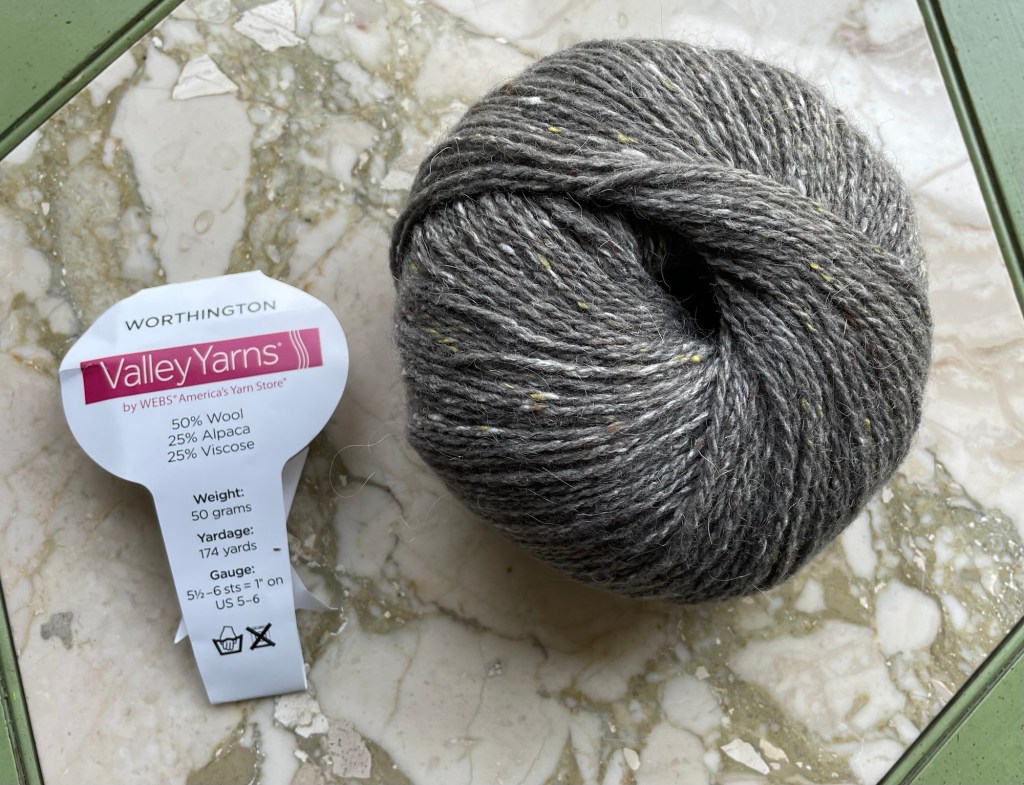
I planned to use the same yarn as the other sweater I made using the knitting machine, but in a different color. I liked that yarn a lot, and I had already figured out the gauge and machine settings to use. The pockets are cute, but that was too much fuss for my purpose this time. I ordered the yarn online in a color called “Acorn”. The color turned out to be more gray than I expected.
It was easy enough to figure out adjustments for the stitch count, using the gauge from the other sweater. It turned out to be more challenging than I expected to adjust the pattern for rows per inch.
The pattern had a schematic chart with measurements in centimeters. There is one back section, two fronts, and two sleeves. I copied that out by hand, and figured out the number of stitches and rows based on my own gauge in stitches/cm and rows/cm. I kept getting confused between pattern gauge and my gauge, the stitch and row gauge, and between inches and centimeters, but eventually I was comfortable with my calculations.
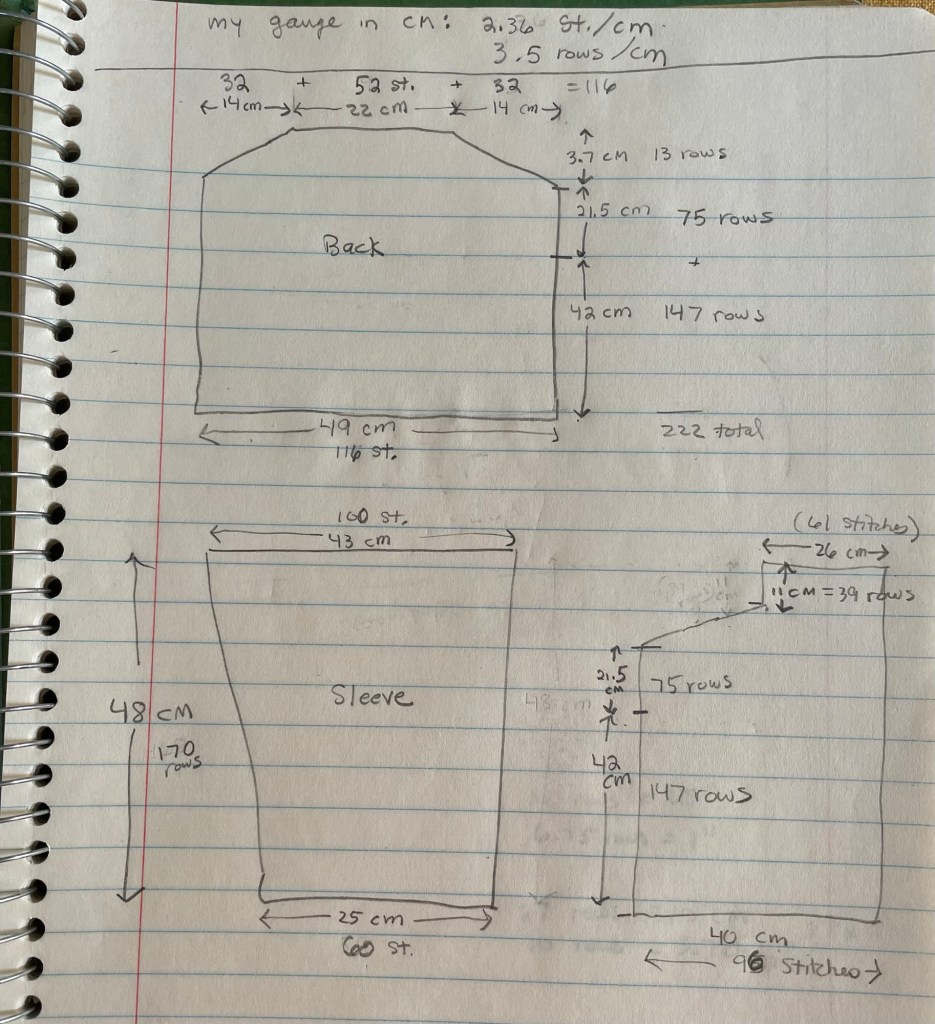
Determining the number of rows to get a certain length for the sleeve or main body is straightforward, but the short row shaping on the shoulders was tricky. I figured it out after first making various mistakes. In retrospect, it might have been easier to use a different yarn that gave me the same gauge as the pattern. But oh well, once I had it converted the rest was straight forward.
The following photo is the back section hanging from the machine. It is very stretched out. The blue yarn at the bottom is two “cast on rags” used to cast the project yarn on to and hold weights.
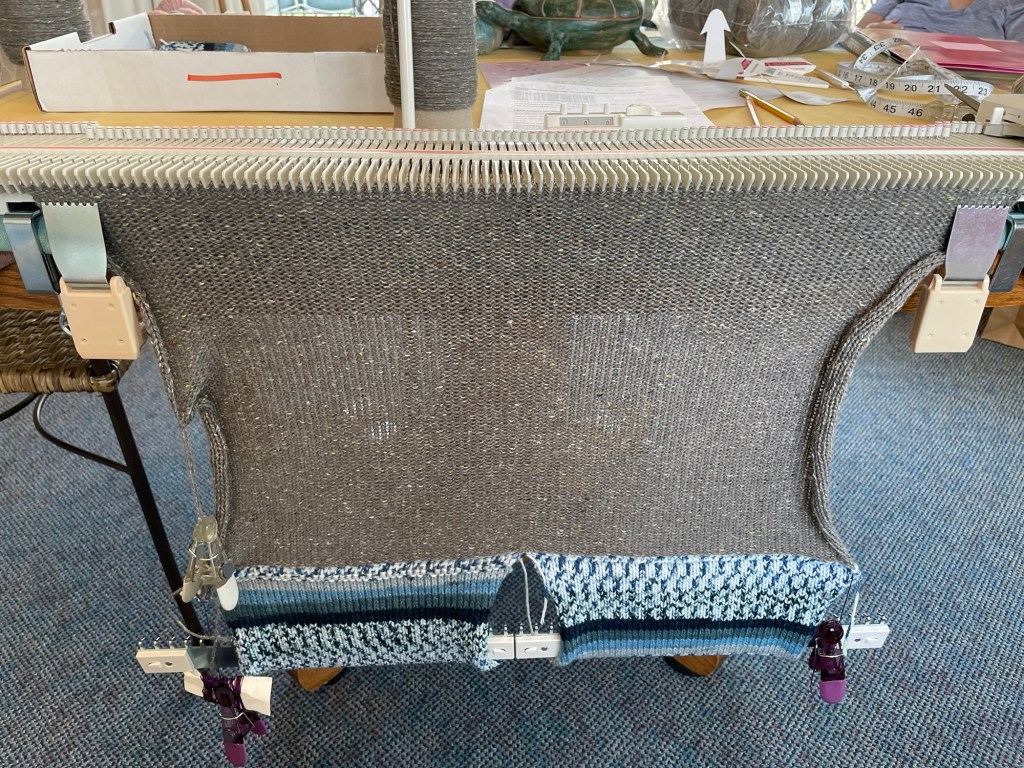
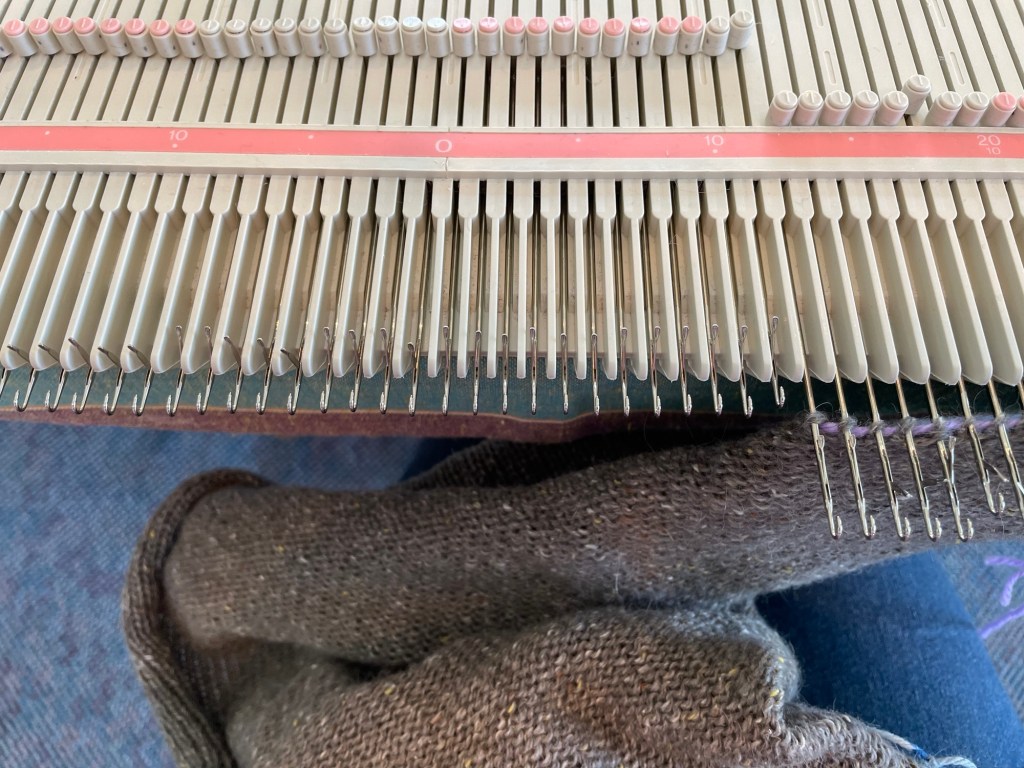
I was knitting along with everything going smoothly until the cone of yarn ran out in the middle of a row. BAD. Knitting without any yarn causes the stitches to drop off the needles. I noticed pretty quickly and only dropped about eight stitches. I was able to get the carriage off (not easy in the middle of a row) and restore the stitches manually back to what it was at the beginning of the row.
After finishing the back section in one day, I started on the two front panels. I ran out of yarn again on the first front panel, dropping off almost an entire row. I rehung that row and continued on. Not a disaster, but took up some time.
The second front panel went smoothly without any dropping of stitches, but when it was done I realized I had put the rolled collar extension on the wrong side. Oops.
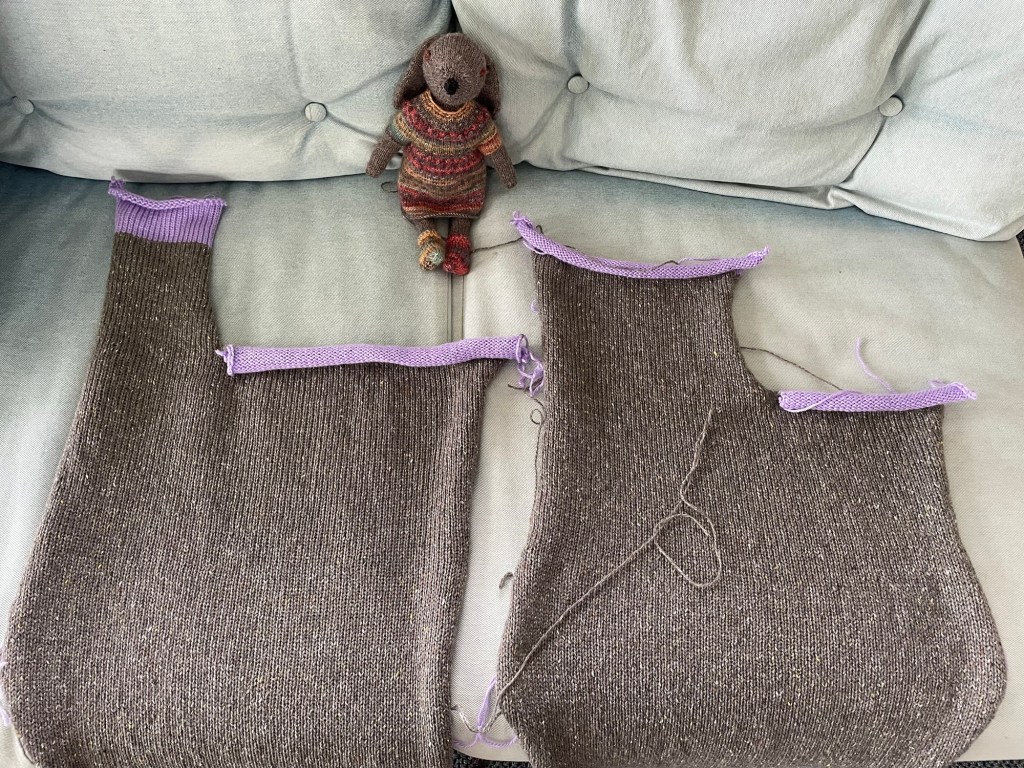
I was able to unravel the incorrect rows and reknit them on the other side, so that they mirrored the opposite front panel. The purple at the top is waste yarn to hold live stitches that will be used later for joining the fronts to the back.
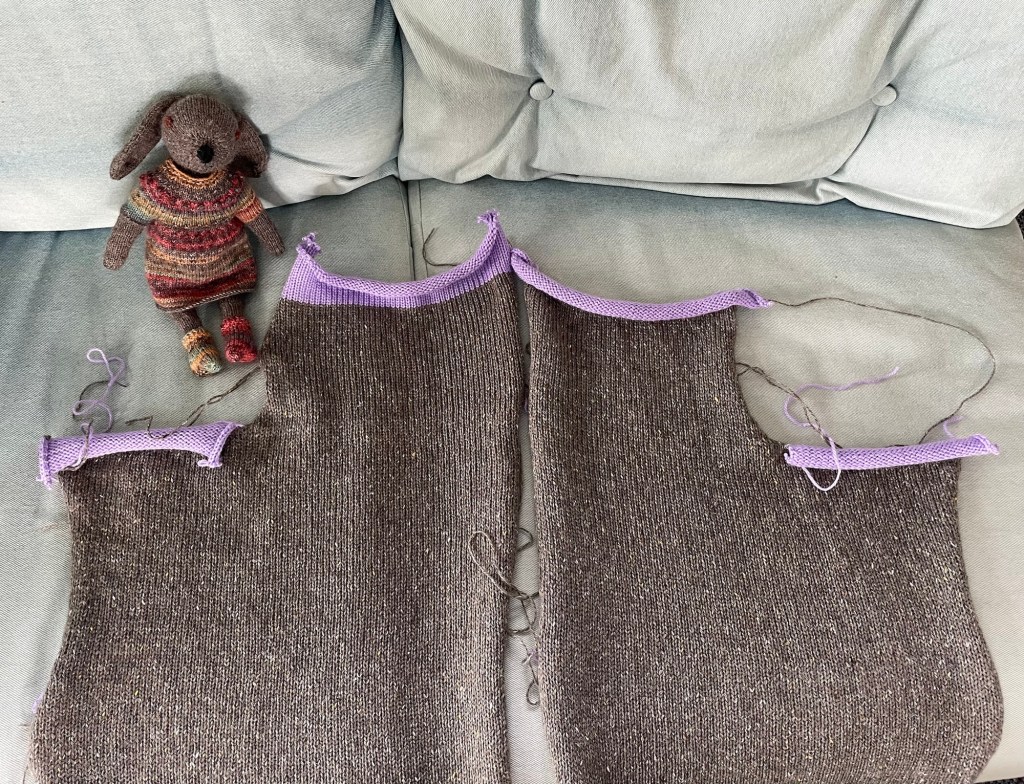
The next step was joining the rolled collar extensions on the two front pieces at the back of the neck. I wet blocked the two front sections first. The only other time I wet blocked a sweater it was a disaster, but I decided to go for it. I found some instructions in a School of Sweet Georgia class called Fundamentals to Finishing Knits. I had bought the blocking mats last winter, but not used them yet. It felt like I had to really squish the panels to fit in the target measurements, based on my gauge and stitches. It looked better after it was dry.
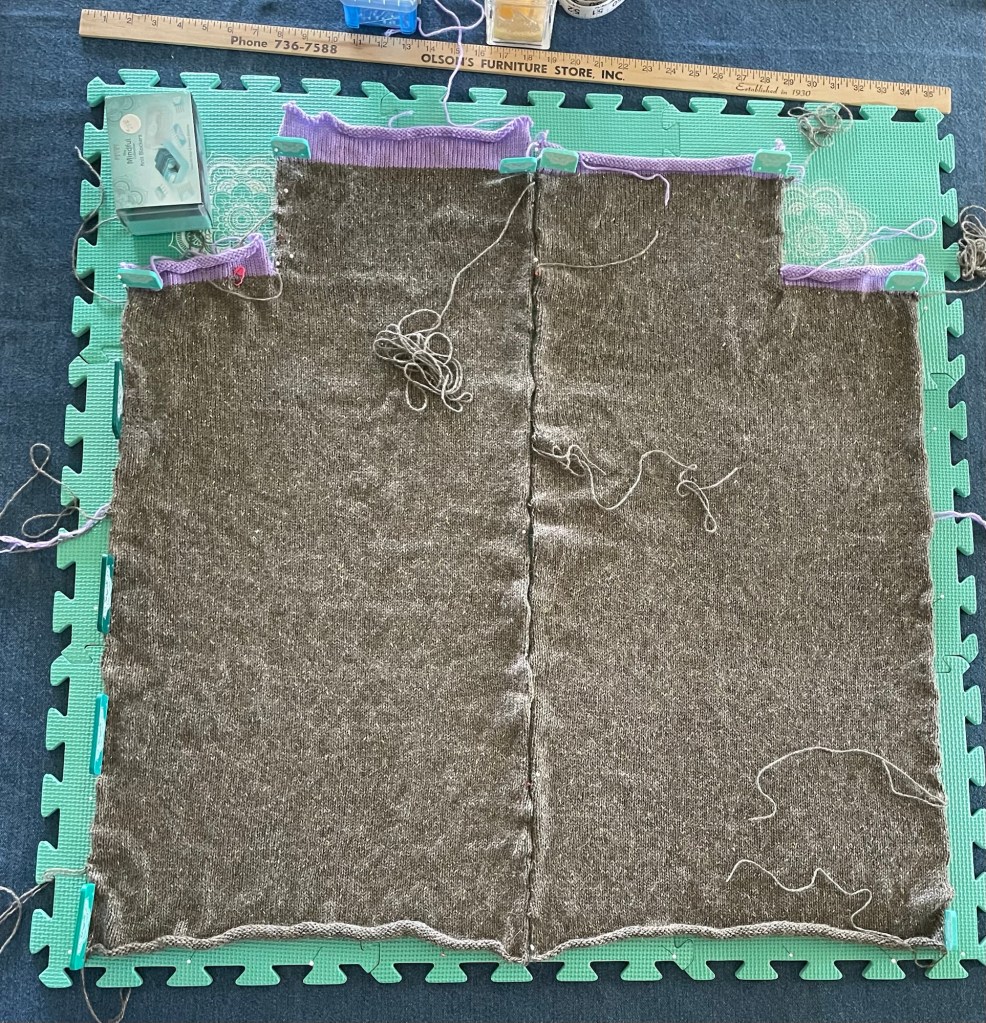
The pattern included instructions for hanging the rolled collar extension on the machine, knitting them together, and then binding it off. That would work, but leave a lumpy seam. Instead I used the kitchener stitch I use to graft the toe of circular sock machine socks. It worked beautifully and make a smooth join.
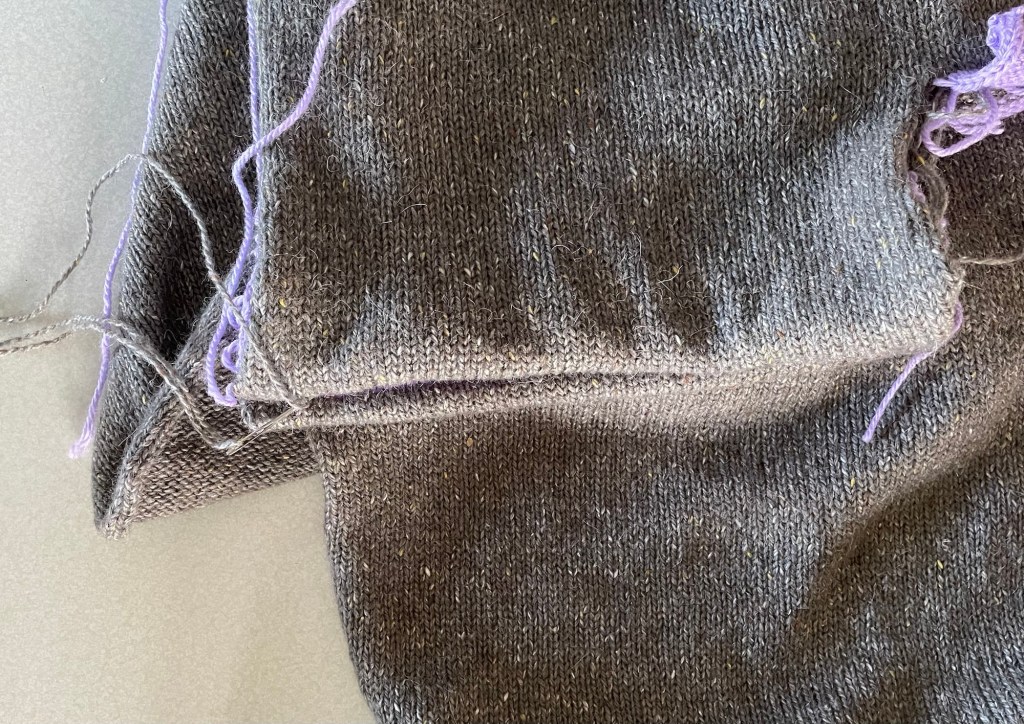
The next step was joining the fronts to the back at the shoulders on the machine. That involved first “hanging” the stitches from the shoulders across the machine, and then hanging the stitches across the top of the back on top of the stitches from the front. Once both the front and back shoulder stitches were on the machine, I knit a row using the largest stitch size, according to the instructions. The stitch size turned out to be too loose. When I showed my friend this photo, she said it looked like a piece of modern art.
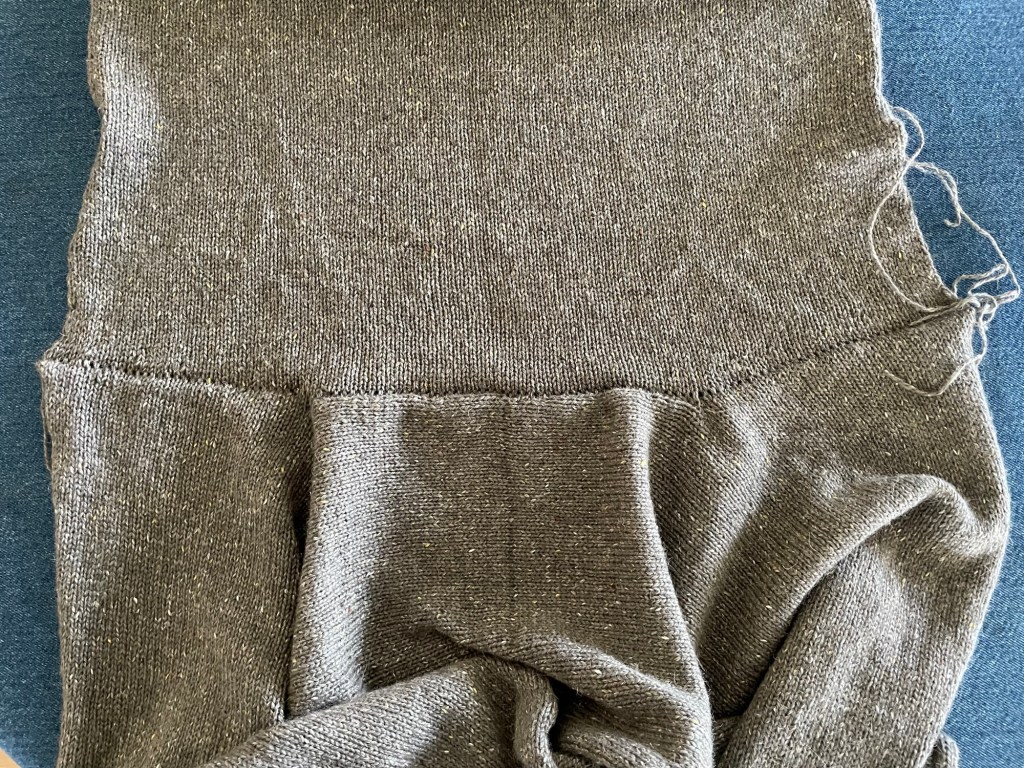
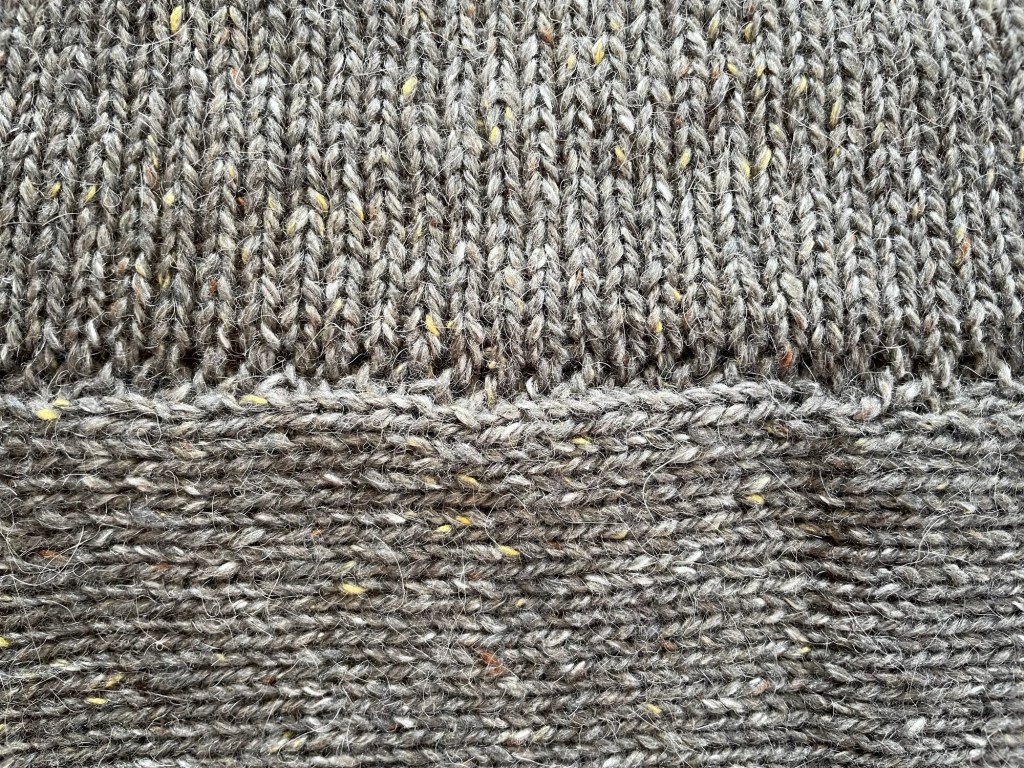
I tightened up the joining row manually, starting in the middle and pulling each stitch tighter.
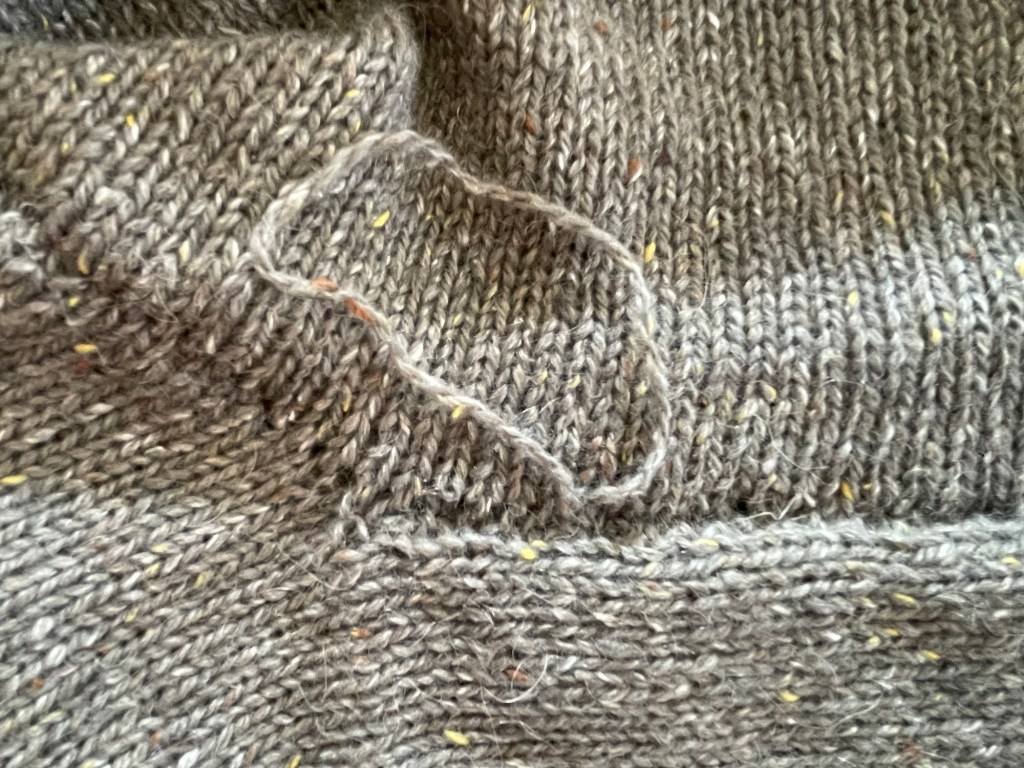
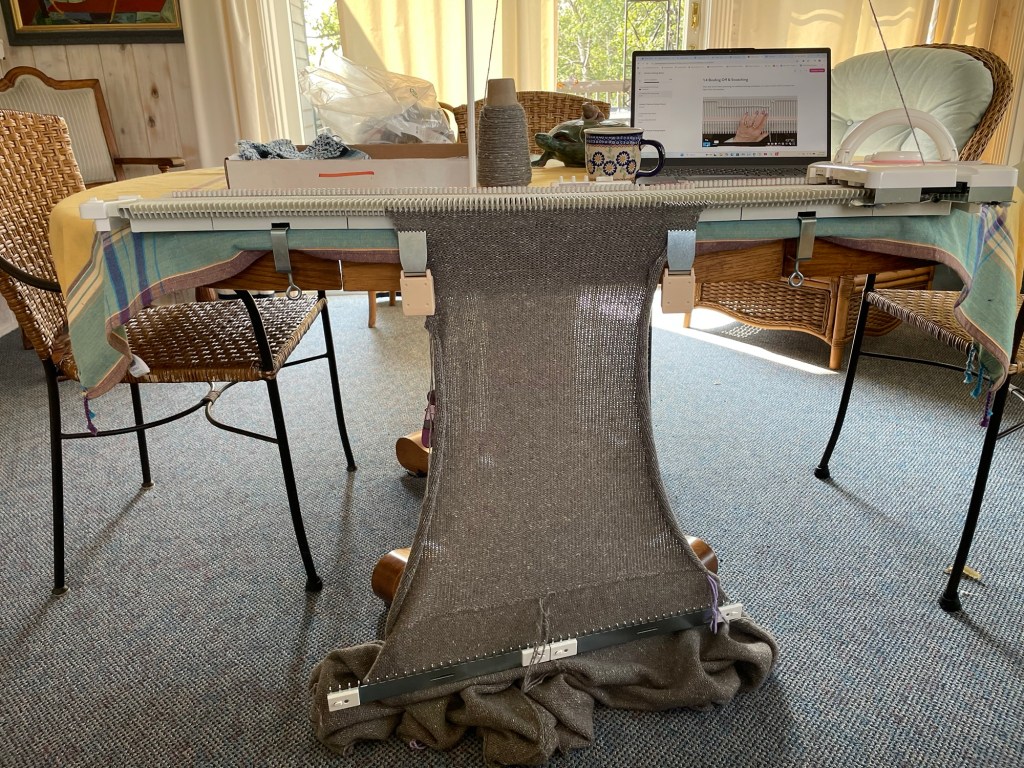
The seam looked better after tightening up the stitches. The sleeves were made by hanging stitches from the side, and then knitting on rows with decreases to made it narrower as you got down to the cuff. In the following photo near the bottom, you can see a ridge where the sleeve stitches start. The stitches hanging on the machine needles are the cuff ready to be cast off. As always, it looks unnaturally stretched out. My laptop is open to a School of Sweet Georgia machine knitting class showing how to do the castoff.
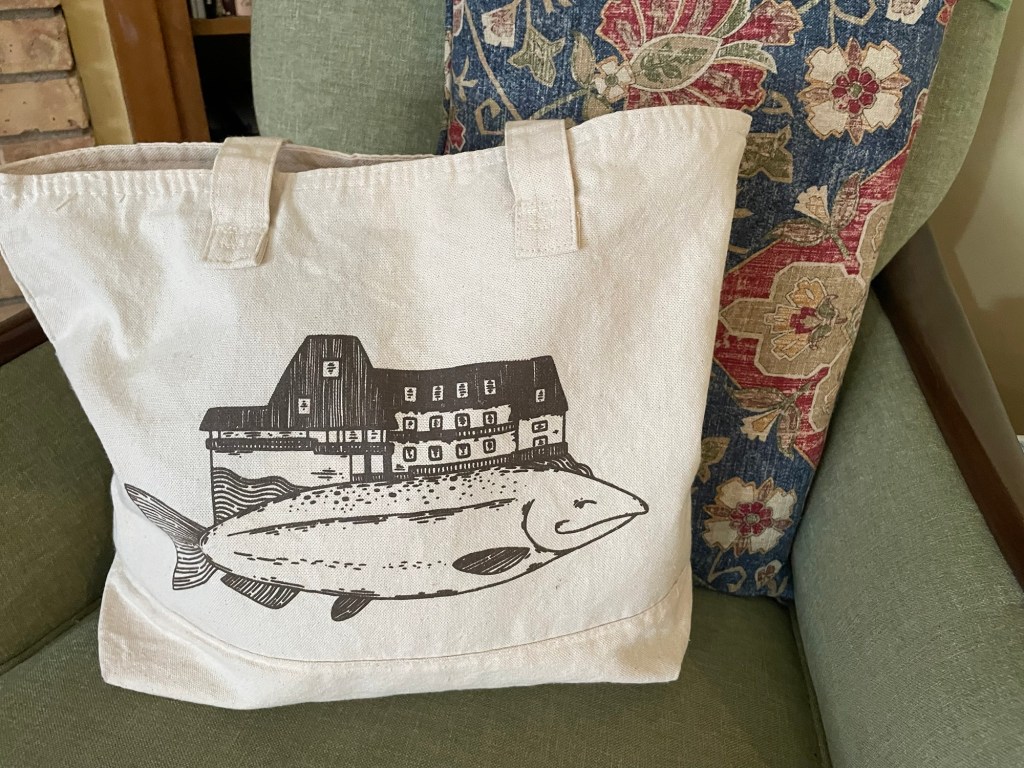
I finished the machine knitting before we left on a short trip to the Twin Cities for a wedding. This project is not very portable, but I planned to work on joining the side seams by hand while away from home. Good thing this was a car trip, not an airplane trip. For a project bag I used a tote I got from my niece, with the logo from their business in the Traverse City area of Michigan, Falling Waters Lodge. It is a fun and unique hotel. Check it out if you are in the area.
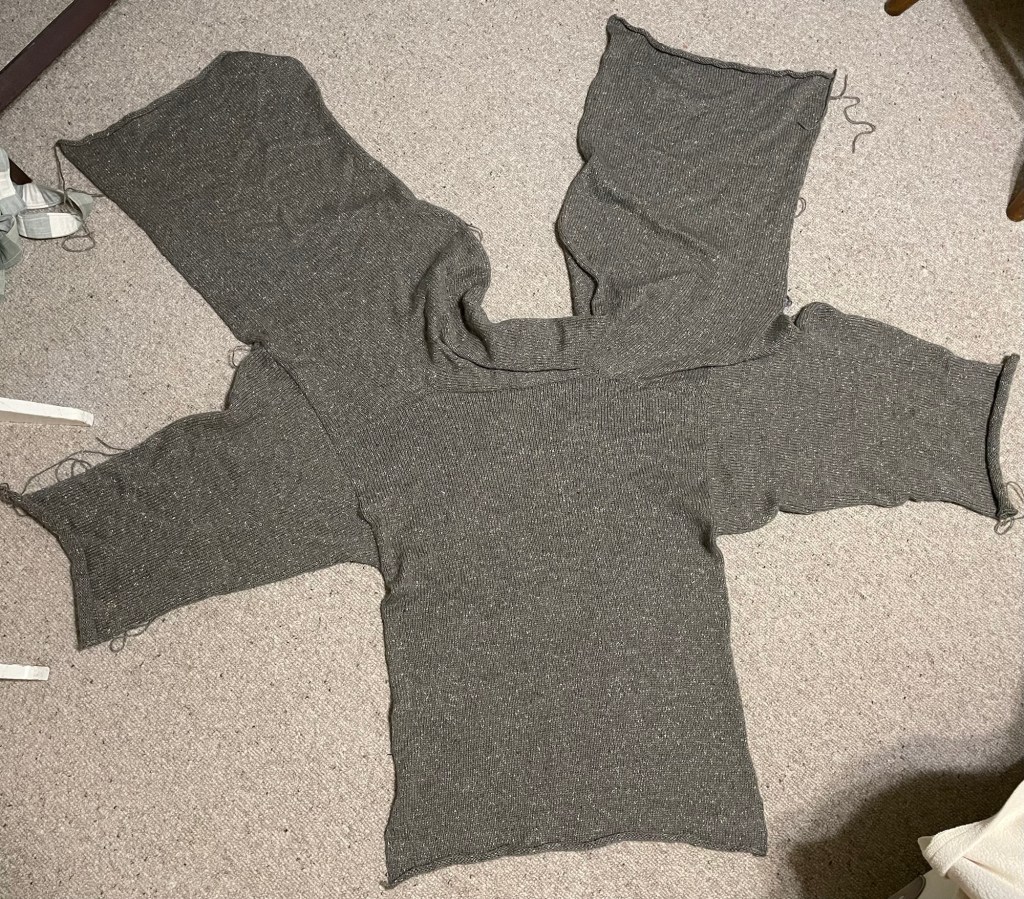
We had my sister’s house to ourselves for the weekend, while she and her husband and friends were at the cabin. I spread the sweater out on the carpet there to take a photo, before starting the first side seam join.
Following is what it looks like when the fronts are folded over the back.
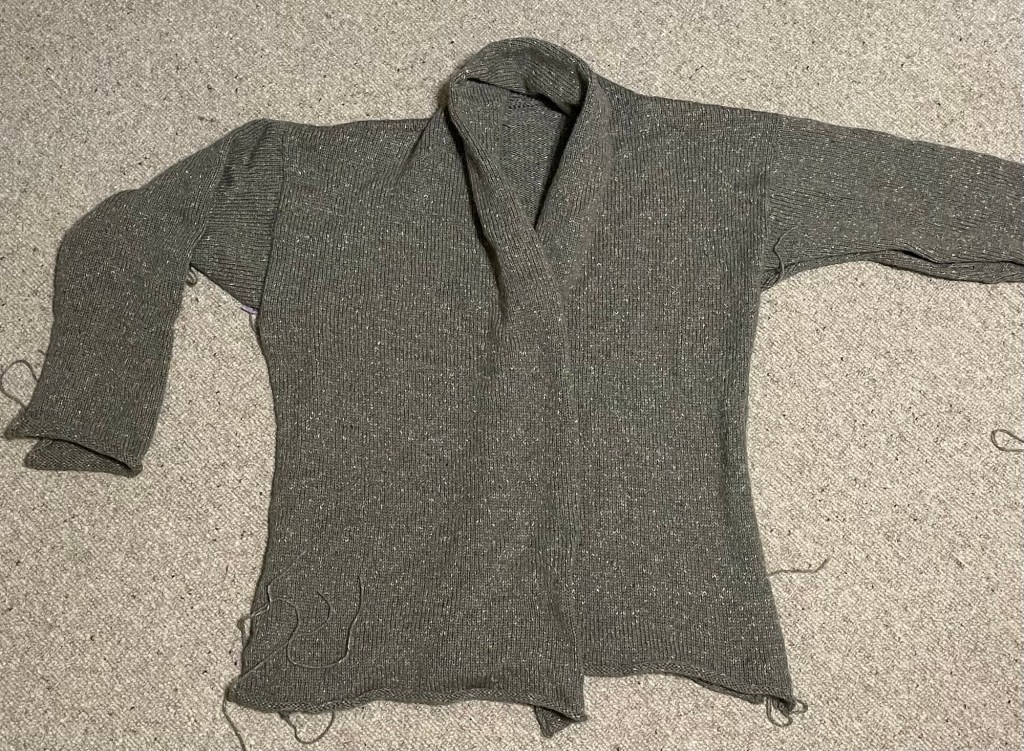
I got one side seam done, and about half of the other side joined over the weekend.
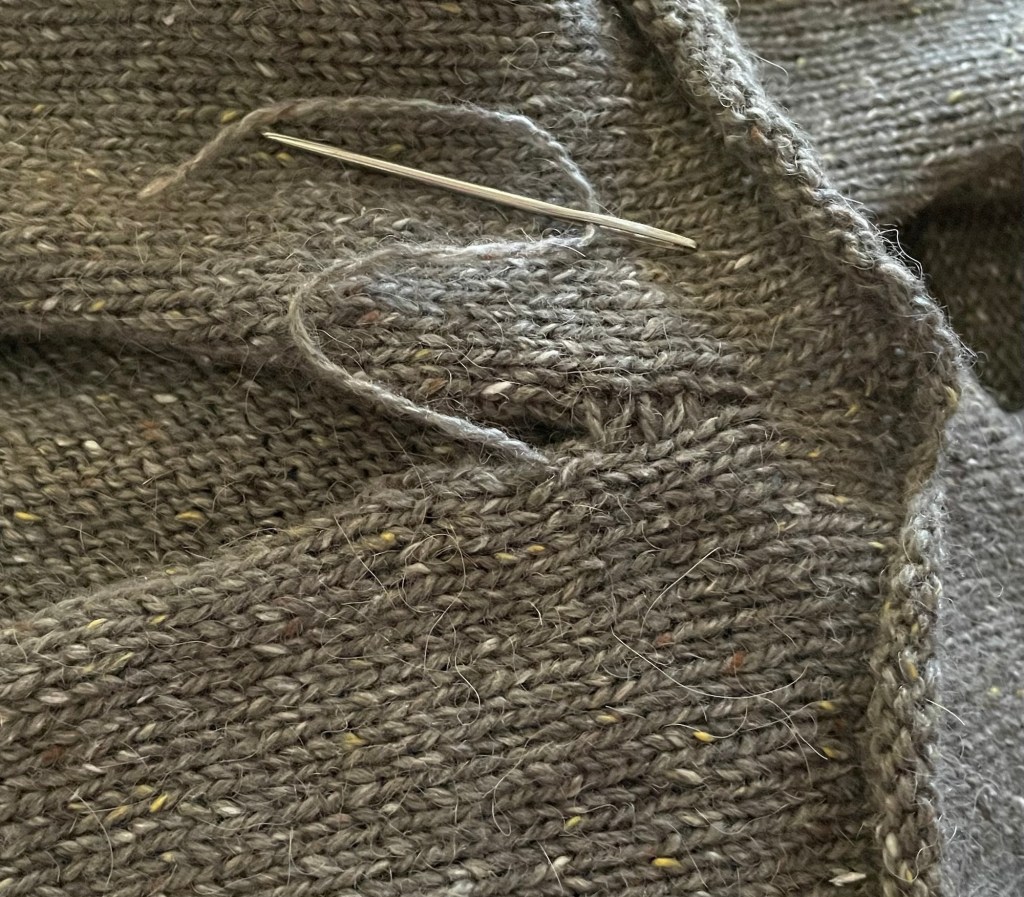
After we got back home I finished the rest of the side seam, and wove in many, many ends. My sister Betsy and our friend Mary Lou were still at the cabin, so I modeled the sweater for them. I found the closure in a box of stuff that came with my purchase of The Yarn Shop inventory in 2018. The following photos are curtesy of Betsy and Mary Lou. I still needed to do some blocking, especially on the sleeves.
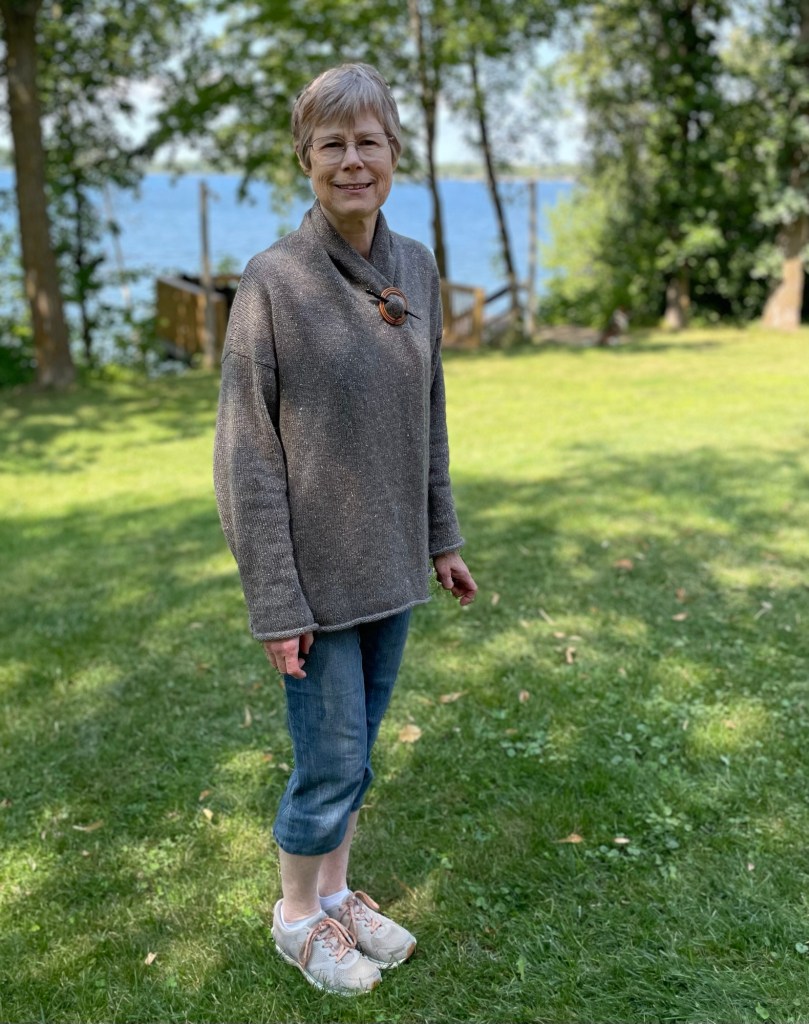
It seemed very big, and not the color I had in mind. But looking at the photo on the pattern, the style is intended to be loose and comfy, not fitted. This is a watching TV sweater, not a going out sweater.
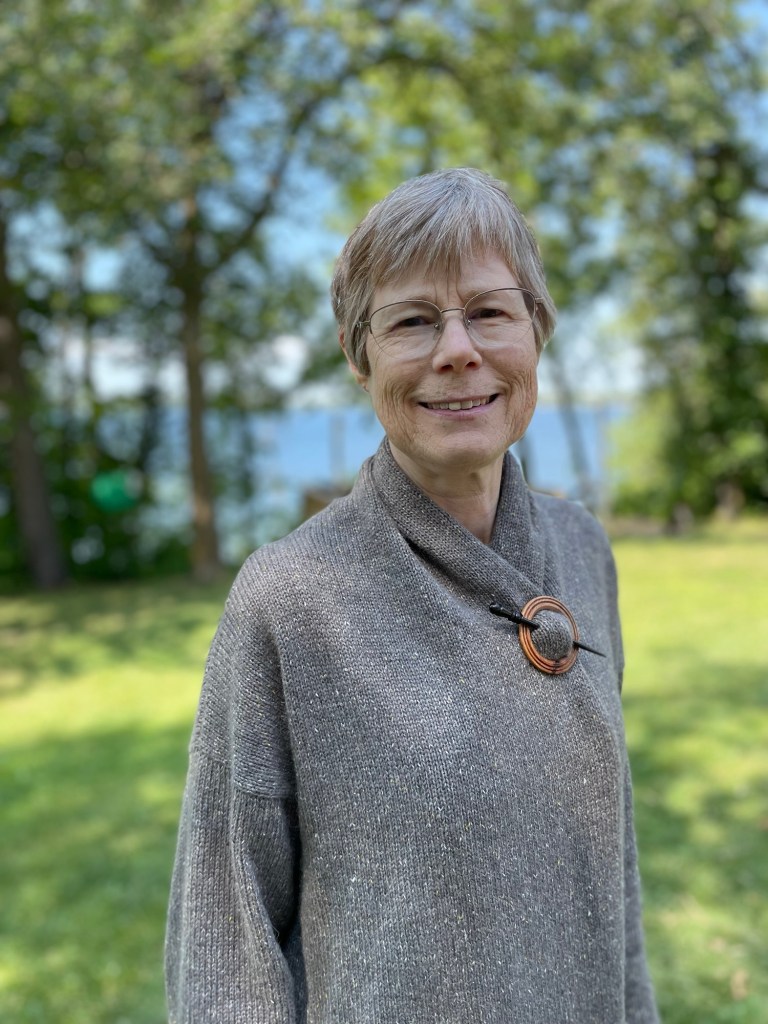
Another look is putting the closure closer to the bottom rather than near the neck.
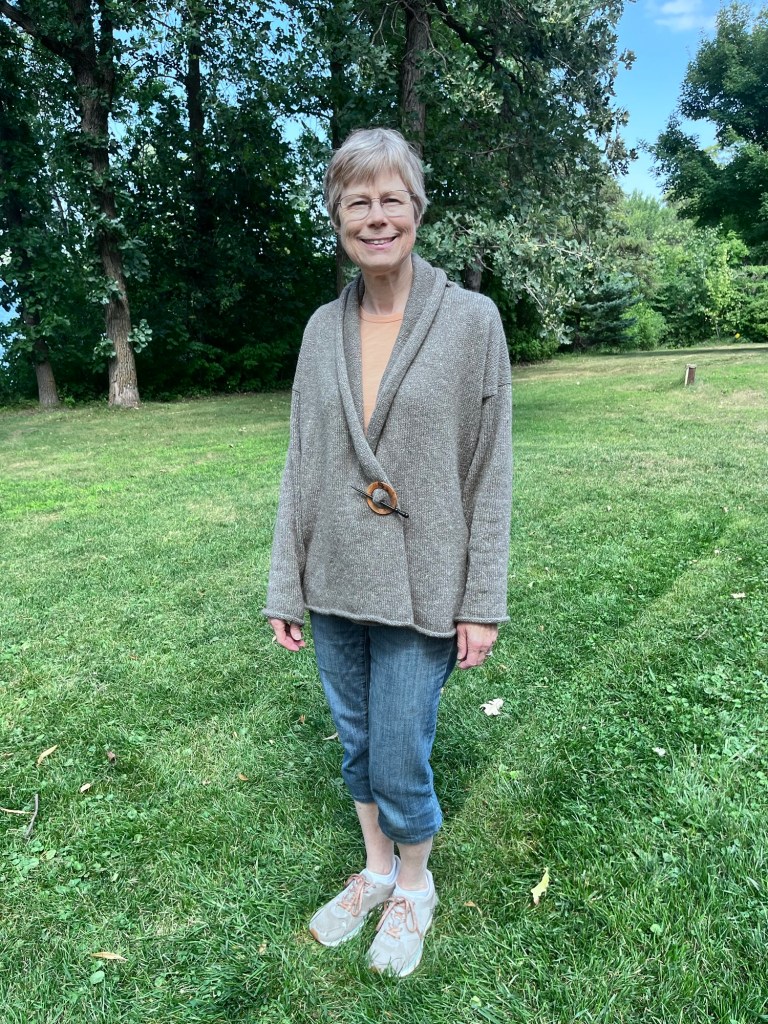
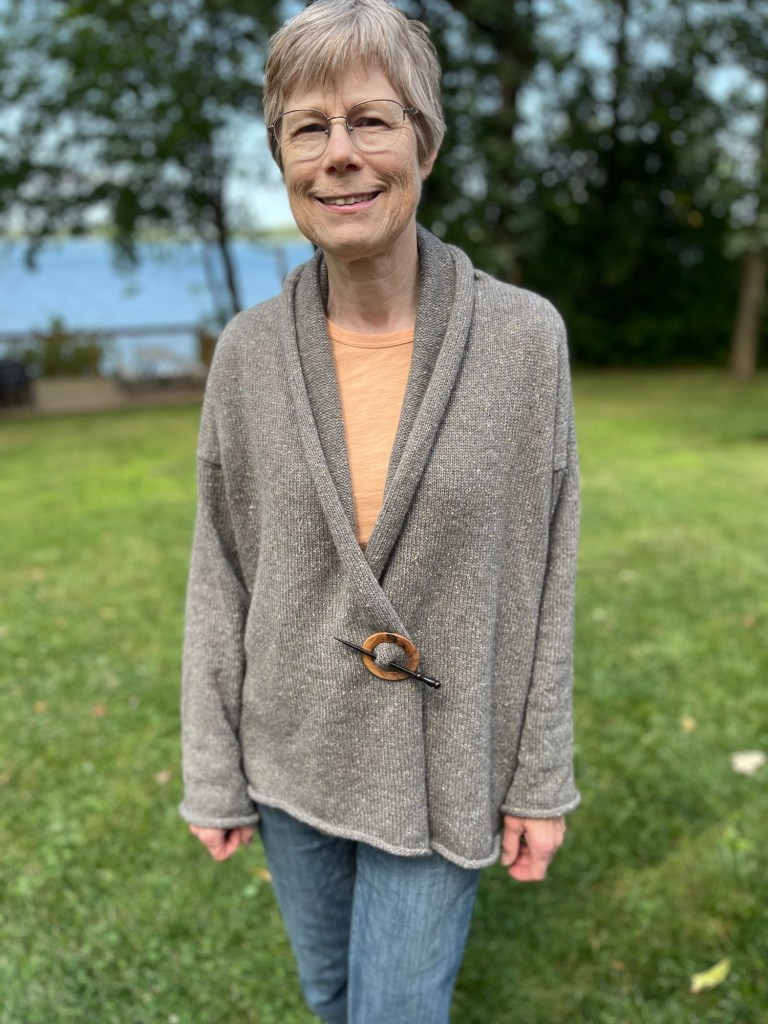
After more blocking using my steam iron, I measured the gauge and final dimensions. Amazingly, they were all close to the original targets.
Even with all the mistakes I made and parts I had to do over, knitting this sweater on the machine was way faster than it would have been by hand. I achieved my goal of practicing with and feeling more comfortable using the knitting machine. I may end up giving this sweater away to my daughter or niece, or someone else who wears this color and fills the sweater up better than me.
My next knitting machine project is going to be another colorwork sweater. I have other things to work on first, including a weaving project and finishing some other hand knitting projects already in progress.
 Yarns from the Lake
Nicely done! I really like the drape of the finished sweater. Is the knitting machine noisy?
LikeLiked by 1 person
Thank you! The knitting machine does make a noise, but it is not loud or offensive. The carriage is moved back and forth manually.
LikeLiked by 1 person
I agree with you. That color doesn’t look like acorn to me, not even the caps! If it was oak bark, then it would fit.
The sweater pattern looks great. I enjoyed seeing it laid out in 5 points.
LikeLiked by 1 person
Thank you! I thought it would be interesting for people who are not knitters to see the construction of the sweater by laying it out. My daughter expressed interest in the sweater, she looks good in gray.
LikeLike
You did very well! To me, it seems like such a complicated process. But it is good for our brain to figure out stuff like this. I think the sweater could be a going out sweater if you wore dressy slacks and a bit of jewelry. Either way, it’s a lovely sweater!
LikeLiked by 1 person
I agree we need to have activities to work our brain. There are many things that can accomplish that goal. The sweater seems complicated, but I started by making other very simple things on the machine and built on that. Yes, it could be a going out sweater with the right outfit and accessories.
LikeLiked by 1 person
That would be my “travel sweater”. Handy for the car and moving from car to hotel!
LikeLiked by 1 person
Yes, great idea!!
LikeLiked by 1 person
I was thinking you could put a 3 inch ribbing fir cuffs and around the bottom to add a little shape. It surely took a lot less time than making a sweater by hand!! I think it is a very nice sweater…
LikeLiked by 1 person
Thank you! My daughter expressed interest, so I may give it to her. I also thought it could work to try the pattern again with a much smaller rolled collar, or no rolled collar and knit on some ribbing. If I made it again for myself, I could make it a little smaller. Hope you are doing well!
LikeLike
I love the sweater Meg! I would definitely wear it out. It’s just the perfect thing to wear when the weather is cooler. I have a couple of similar ones that are longer and like that you can leave it open or wear with a pin. Well done!
LikeLiked by 1 person
Thank you for the compliments! I may end up giving it to my daughter as she expressed interested and I think it will fit her better.
LikeLiked by 1 person
love the sweater and applaud your bravery in machine knitting!
LikeLiked by 1 person
Thanks. It is still a little scary and has it’s positives and negatives. I am going to start another combo colorwork sweater soon (knit the body and sleeves on the machine, knit the yoke/colorwork by hand). The more I use the machine the more comfortable I will get.
LikeLiked by 1 person