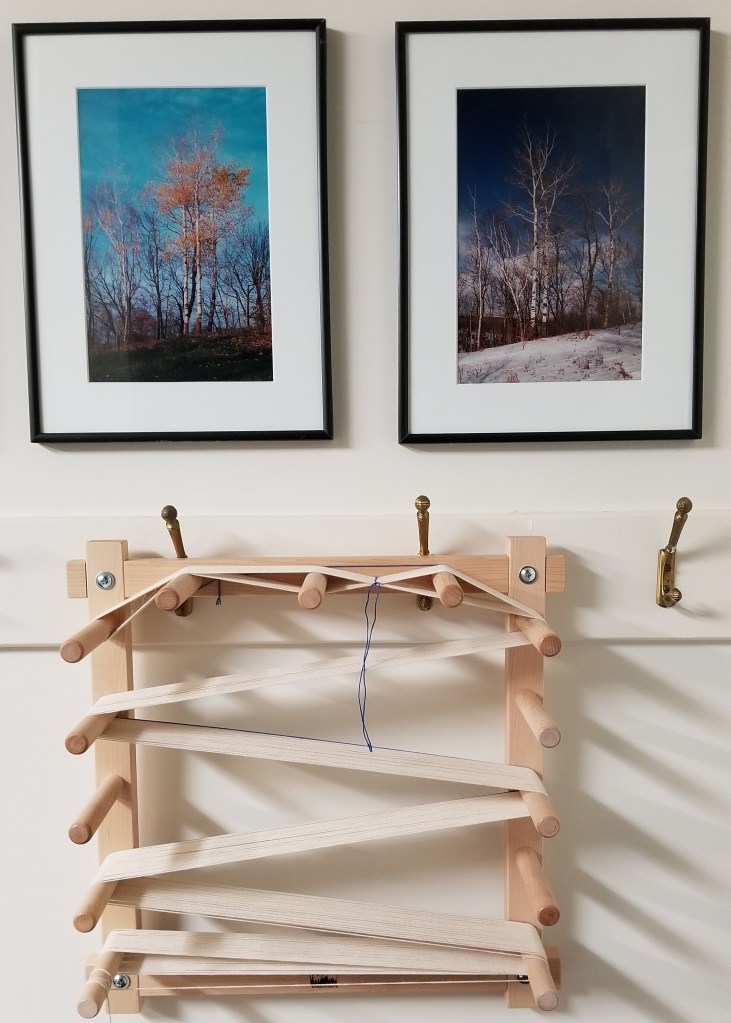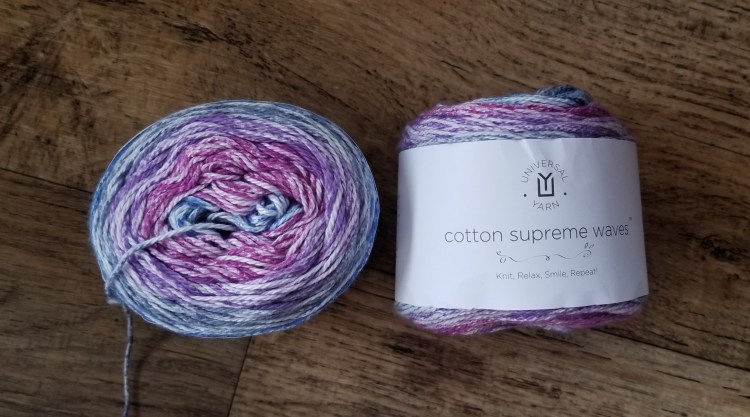
After I finished knitting a cotton baby blanket for our granddaughter there were two skeins of yarn left. I thought it would be fun to weave a blanket with the remaining yarn, which would result in a different look and feel, with a flatter texture and the colors interacting in a different way.
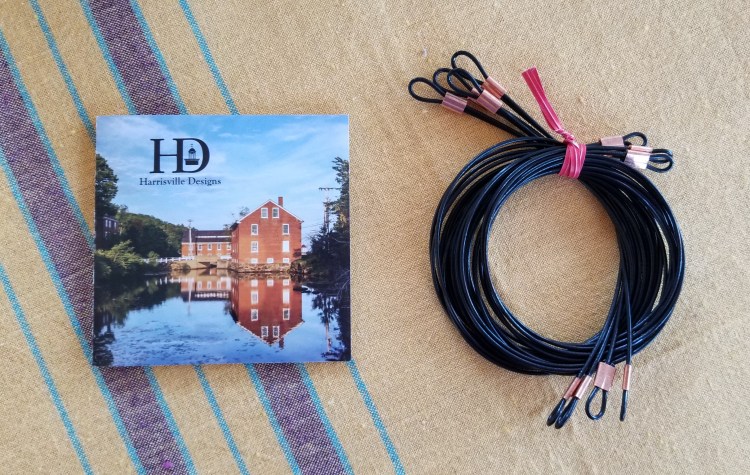
There wasn’t quite enough so I ordered three more skeins of the same yarn in a solid color instead of the variegated colorway I used for the knitted blanket. I thought I was ordering lavender, but it turned out to be more pink than I was expecting. This is often a problem when ordering yarn online. Colors can look different depending on the lighting and what device you using. My photos of the yarn and project in this post vary from pink to lavender.

There are options for how to use the plain and variegated yarn to get various looks in a woven product. I could alternate sections of the solid and the variegated in the warp for stripes. If I did that for the warp but also alternated sections of plain and variegated in the weft I would have plaid. I decided to keep it simple and warped the loom with the solid color (the long way), and wove the weft (back and forth) with the variegated multicolor yarn. Since the variegated yarn changes color at random intervals, I got random horizontal stripes.
I also had to decide how many ends per inch to use, which would determine the density. Torri, my weaving friend and mentor, recommended 12 ends per inch. Research from different sources indicated that 8 or 10 ends per inch might be appropriate for this yarn. Torri suggested weaving a small sample and washing it in order to see what the final product would be. Since she was suggesting 12 ends per inch I made a sample with that. There is not a right or wrong answer, it depends on what result you want.
I found some instruction online for making a cardboard sample loom. Later Torri told me I could have used a five inch square of cardboard and less yarn, but oh well.

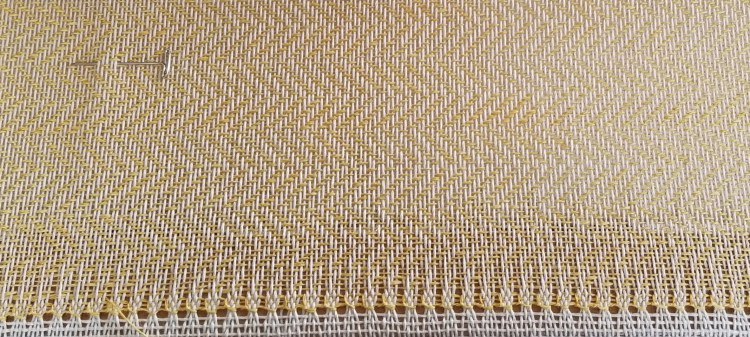
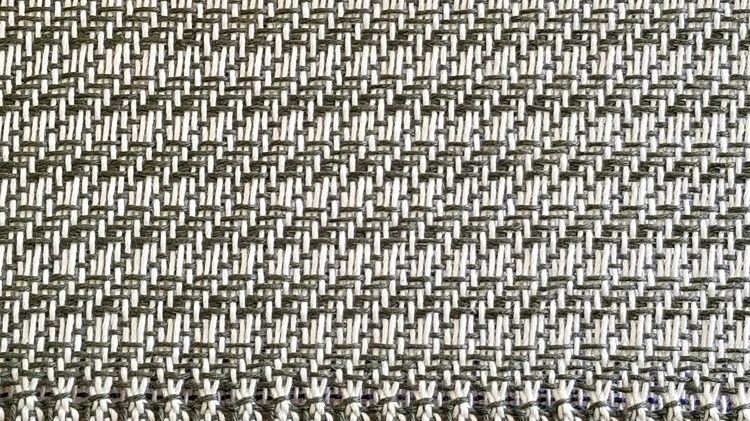
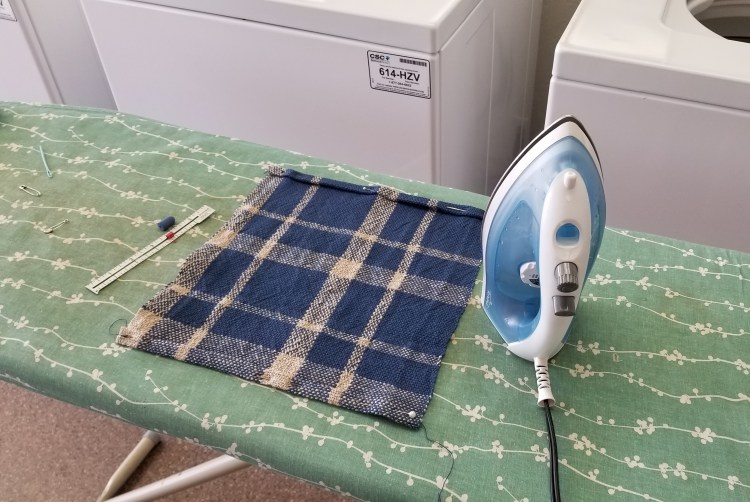
Following is the sample after washing. It is only finished enough so the ends would not come unraveled in the washing machine.
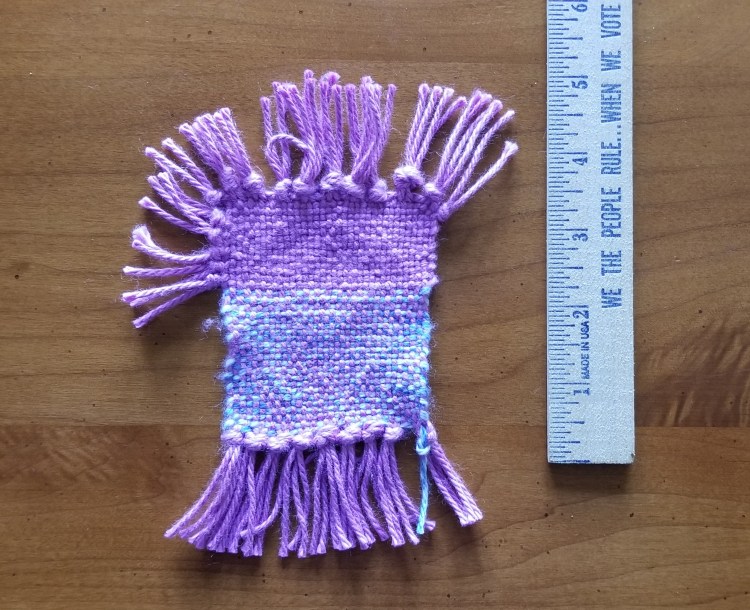
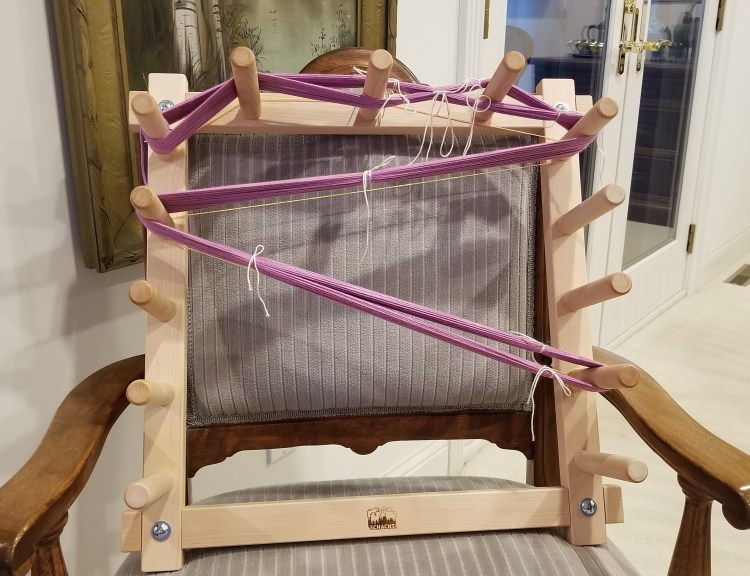
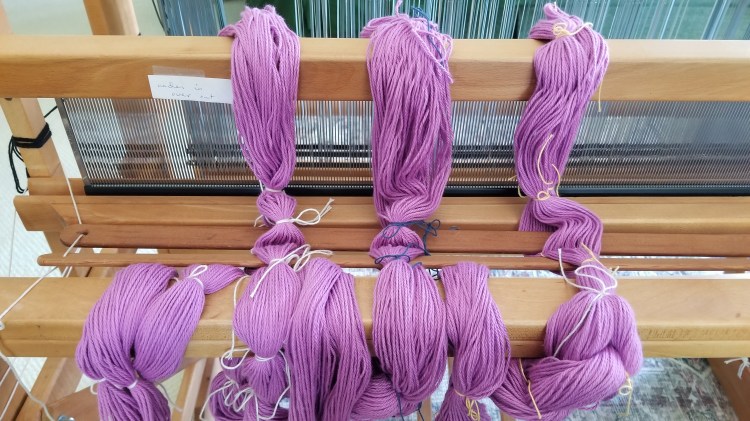
My swatch was pretty dense. It was a valid option to make the baby blanket with this density. I had in mind something a little looser, so I decided to go with 10 ends per inch instead of 12, which also meant it would not use as much yarn. Given the tension problems I had with my last weaving project of crooked towels, I decided to start measuring out the solid color yarn for the warp in town at Tangles to Treasures where Torri could supervise. She gave me some good tips as usual, and then I finished at home. This time I propped the warping board on a chair at my house. It worked but I am still looking for the perfect spot for this step.
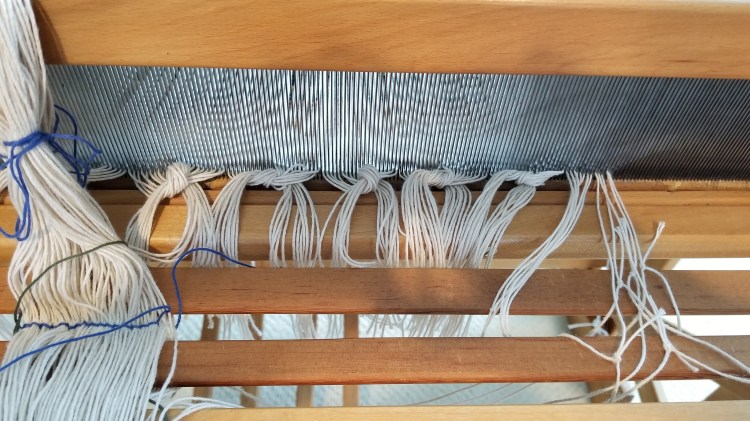
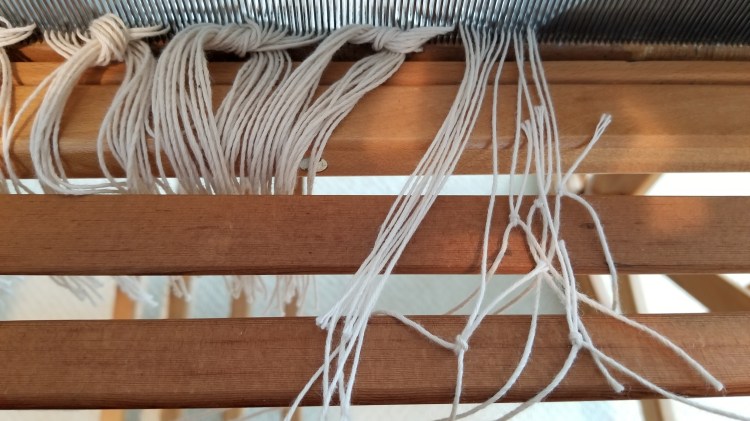
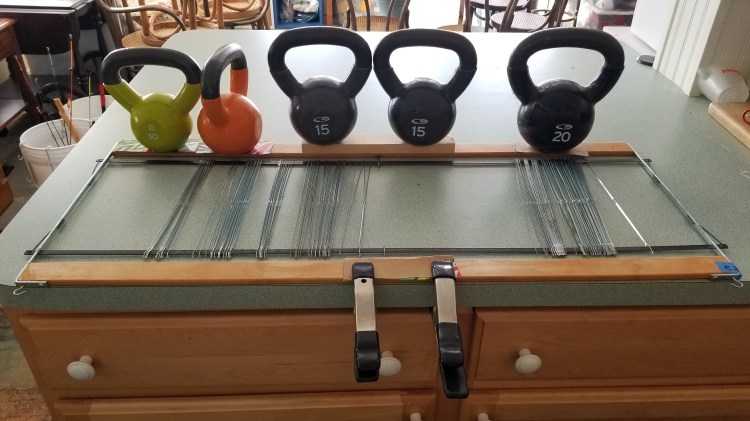
I made three bundles of warp yarn (a “warp chain”) instead of one big one, to avoid having some of the ends longer than others. The next photo shows the warp yarn ready to be threaded on to the reed (“sleying the reed”).
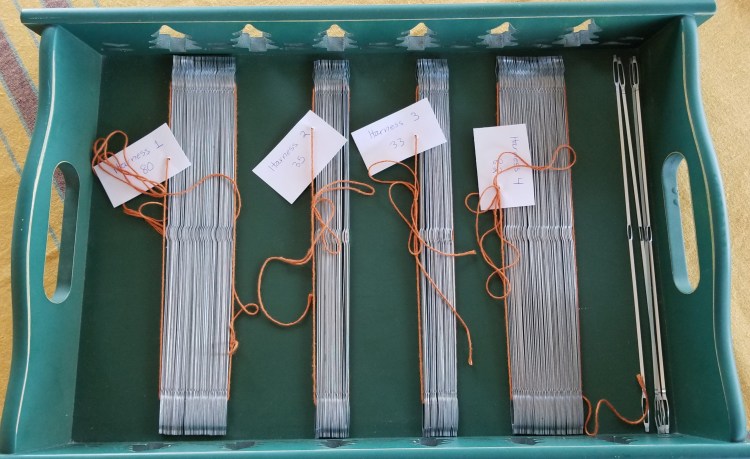
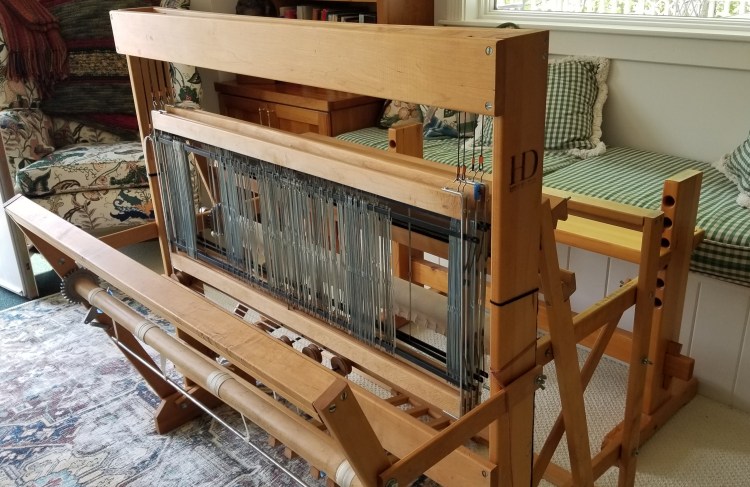
I invited Torri to come out to my house on a Sunday when her store is closed to help me wind the warp on to the back beam. It seems hard to get this part right and after the problems I had the last time I needed some reassurance. I had all the ends “sleyed” through the reed and heddles and tied on to the back by the time she came, so it was ready to wind the warp ends around the back beam.
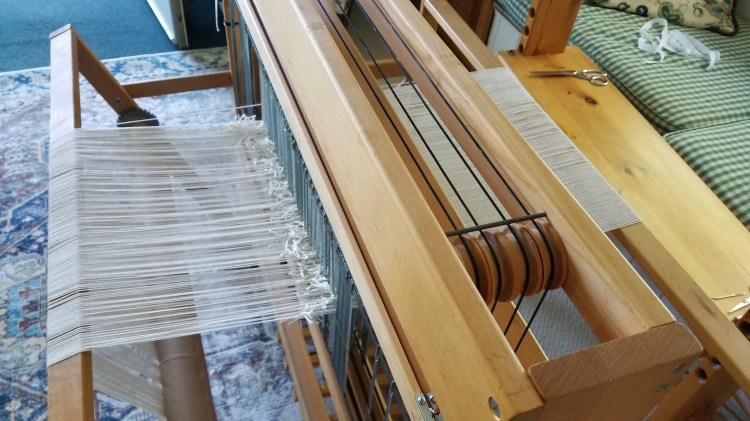
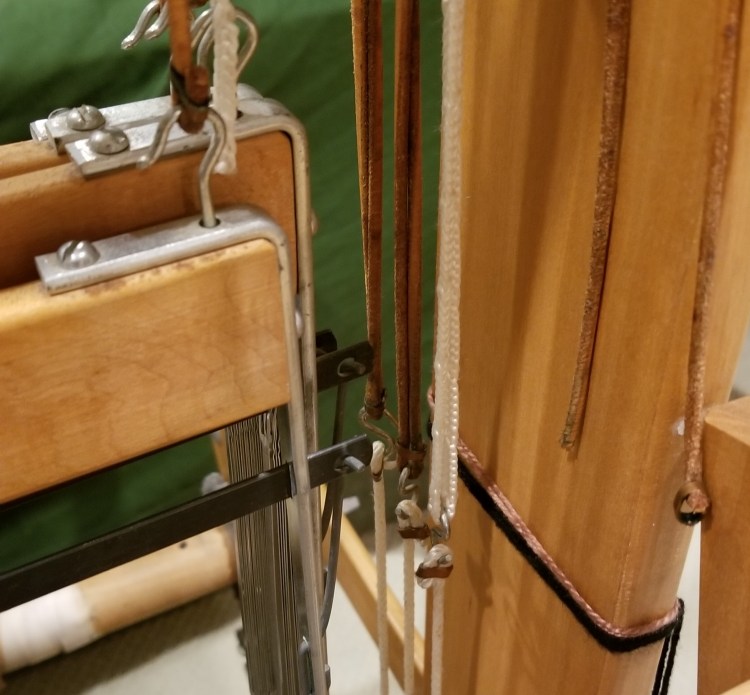
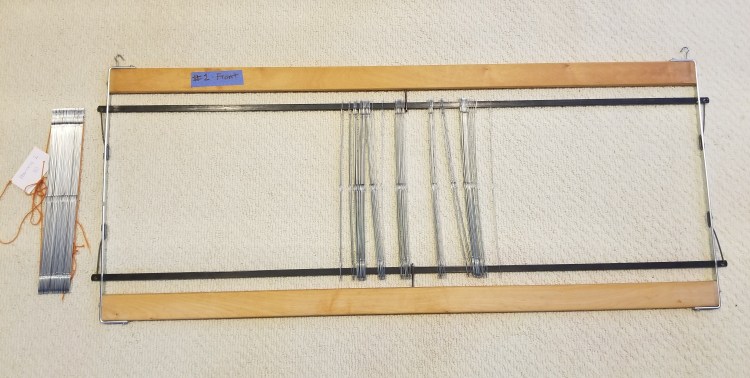
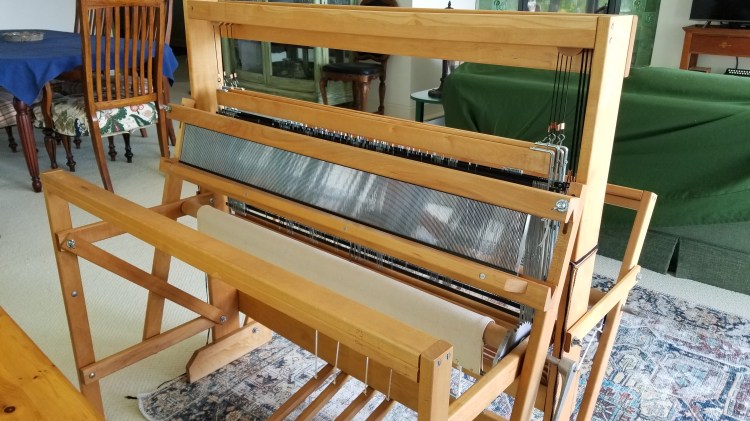
The first thing we did was some checking to make sure all the yarn ends were in the right places. We found one yarn end that was threaded through a heddle on the wrong harness. Torri showed me how fix this problem by putting a temporary heddle using a piece of string in the right place on the correct harness. You can see the white string in the middle of the next photo amongst the metal heddles.

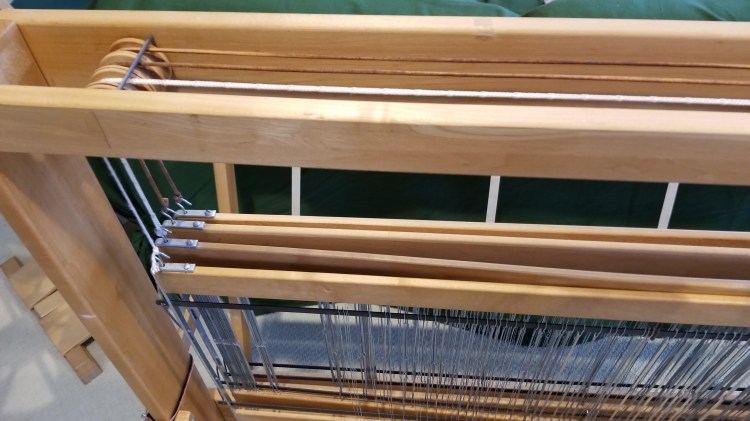
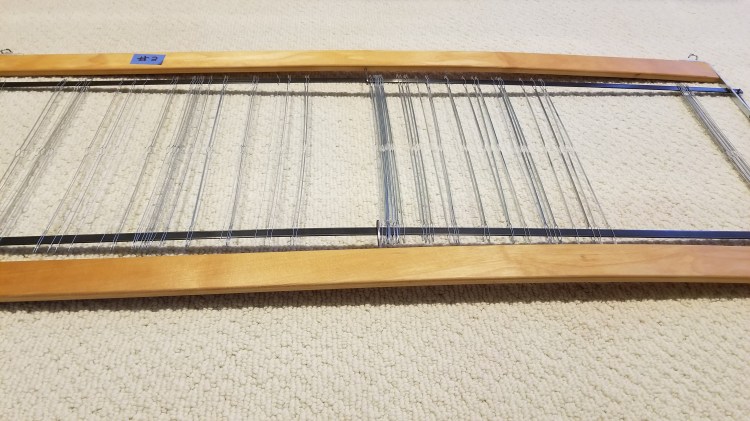
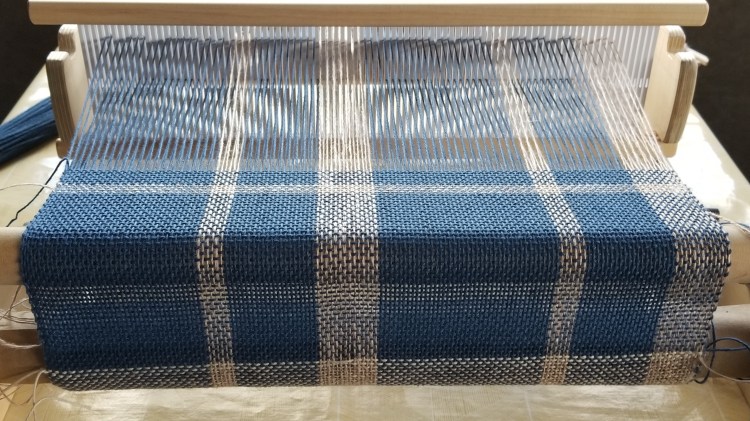
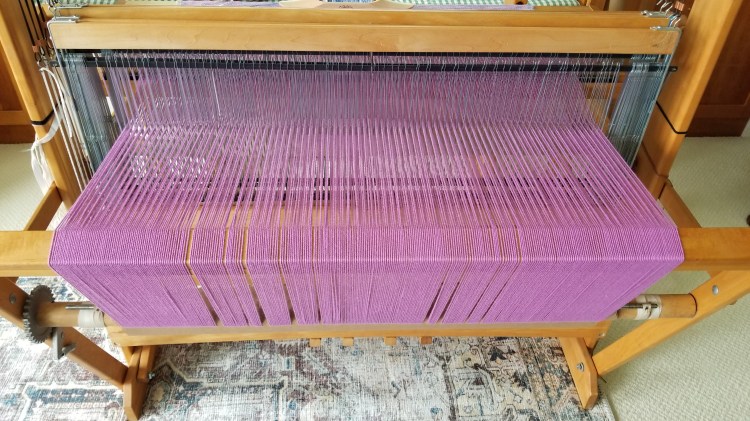
You can also see the white string heddle in the next photo, near the left side, taken from the back of the loom. This project is the widest by far of anything I have made at 32″. My loom has a maximum weaving width of 36″ but I was worried about trying to use every inch.
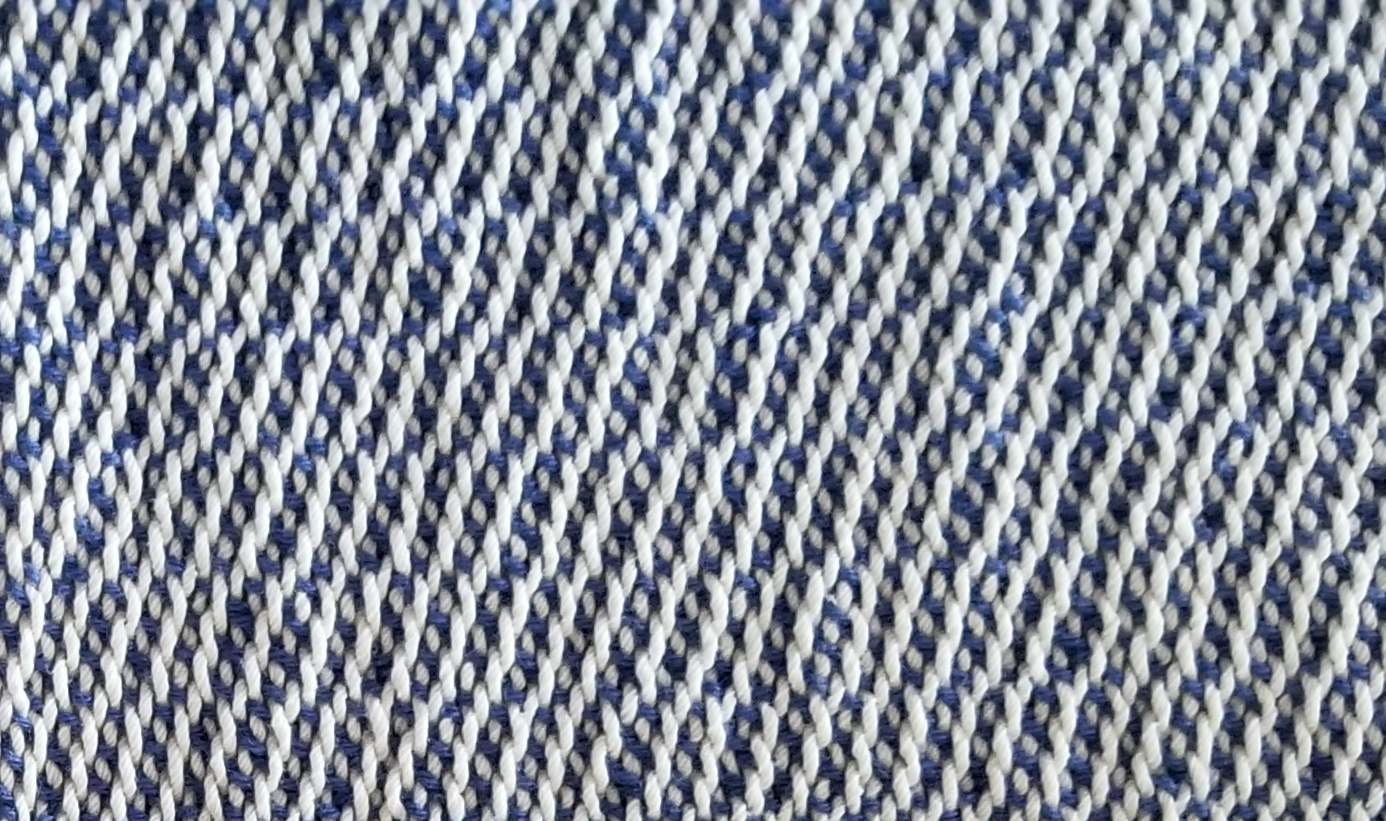
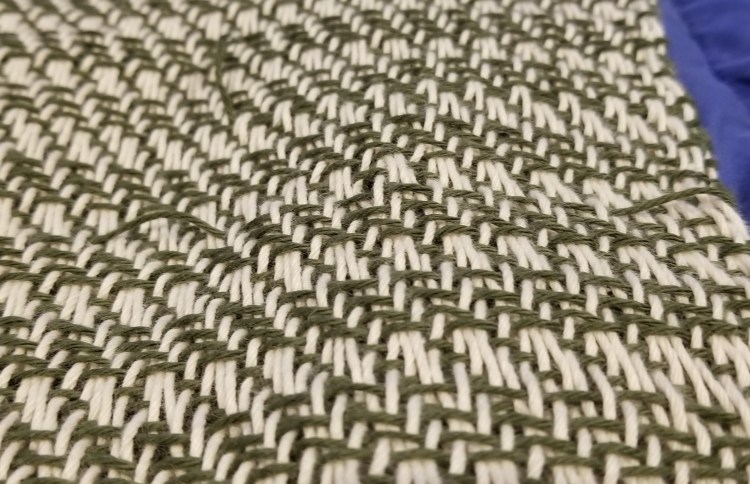
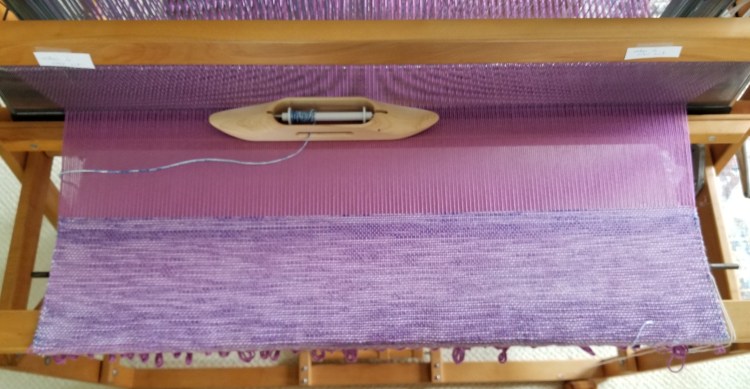
After all the setup was complete and I finally got started with the actual weaving it went fast. The variegated yarn for the weft caused random stripes going across.
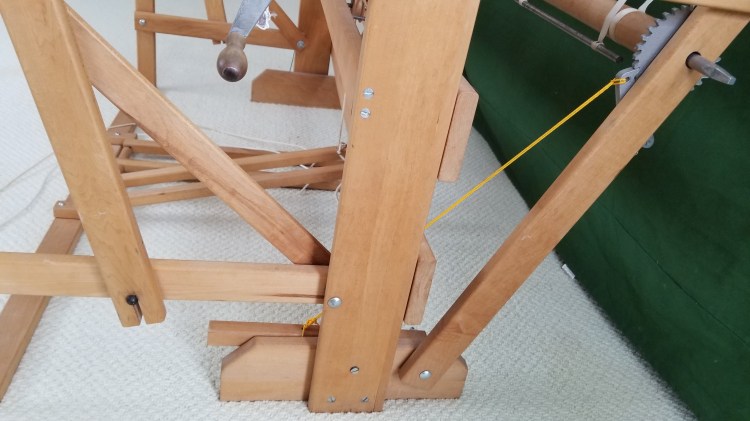
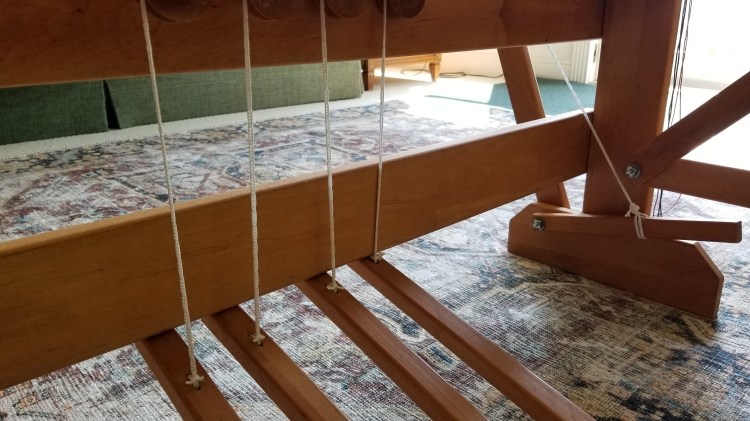
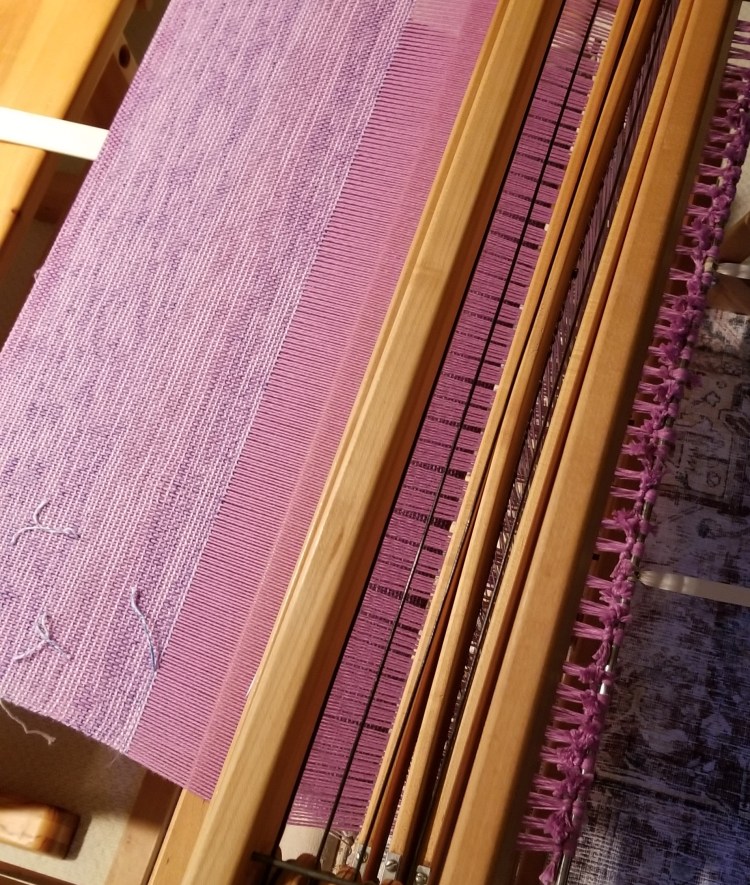
My goal was to have the blanket be about 36″ long. I cut a piece of string that long that I looped on the side about every four inches, so I would know when I had woven that much. What is always hard to remember is how much less you end up with than what you started with due to “take up” and because the warp yarn is under tension. By the time I got to the end of the string, I barely had enough warp yarn left. I should have allowed for more waste by measuring out my ends longer than I did. I had trouble weaving the last couple of inches because the ends were too close to the harnesses. In the photo below you can see the end of the completed weaving on the left, and the other end of the yarn tied to the back very close to the harnesses.
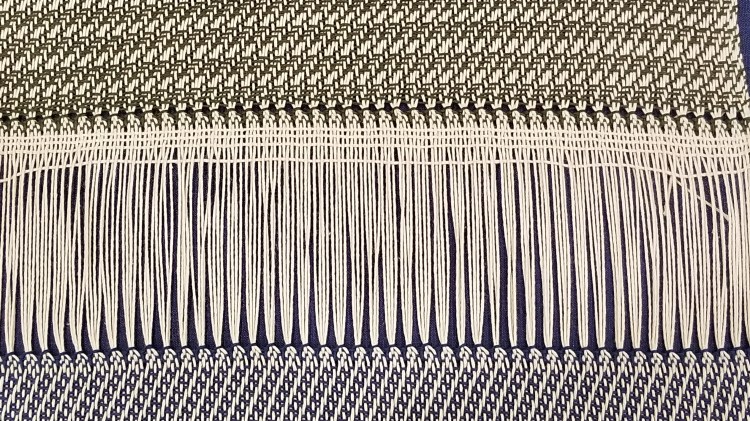
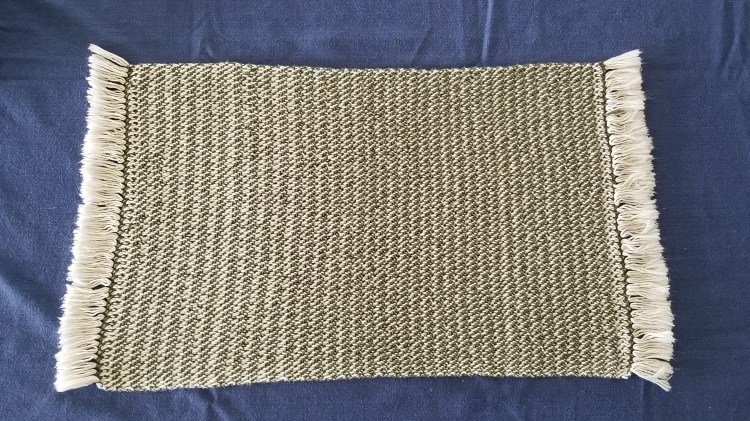
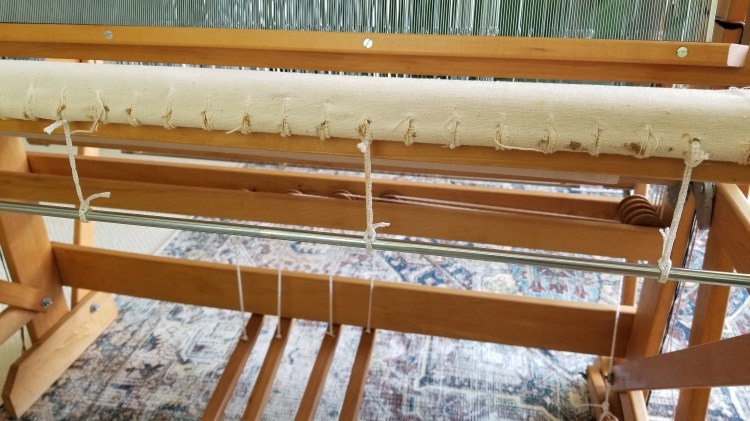
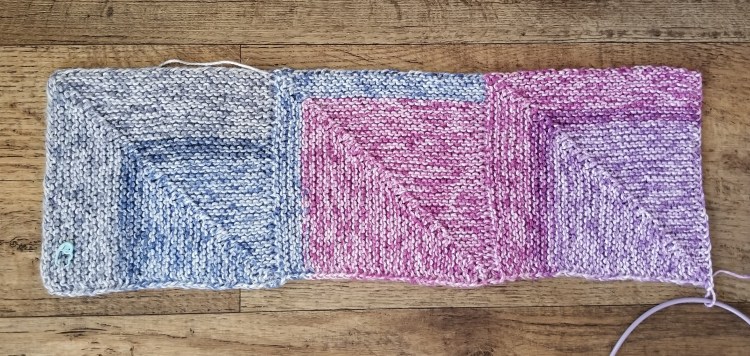
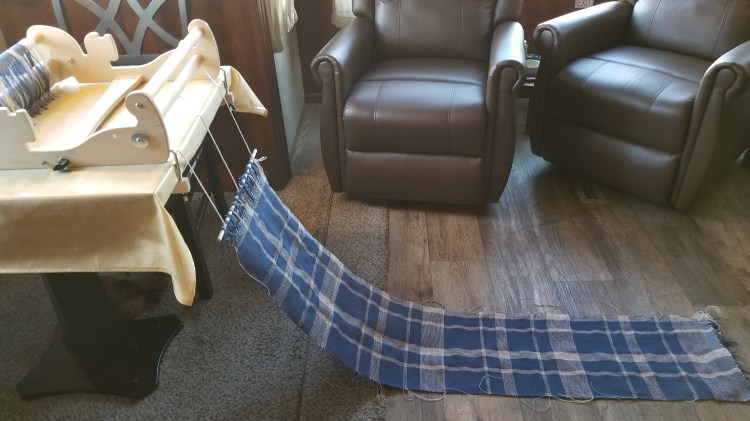
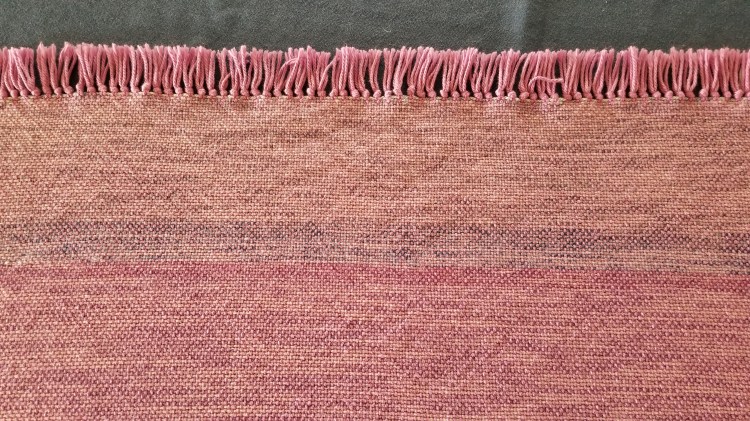
Following is the weaving straight off the loom. It measured about 32 inches long, even though I got close to the end of my 36″ long piece of string. I think that is because the weaving was under tension on the loom, but relaxed when I took if off.

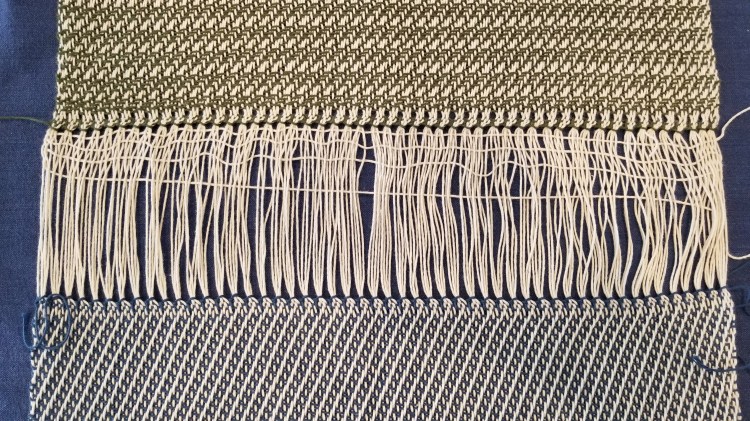
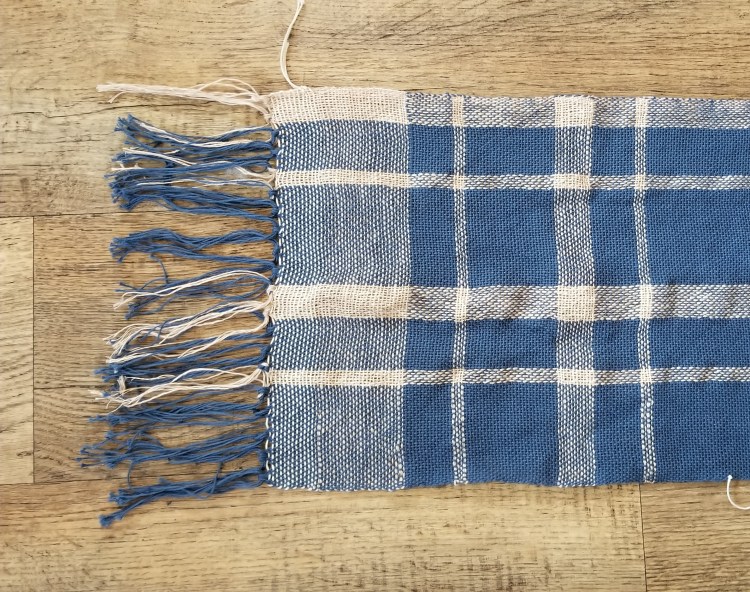
Instead of hem stitching the ends, I took groups of four ends and tied an overhand knot.

I trimmed the fringe to about 1 1/4″. After washing, the blanket was about 28″ x 28″. I love the way this project turned out. It is soft and has a nice weight and can work as either a small blanket or a baby bath towel.

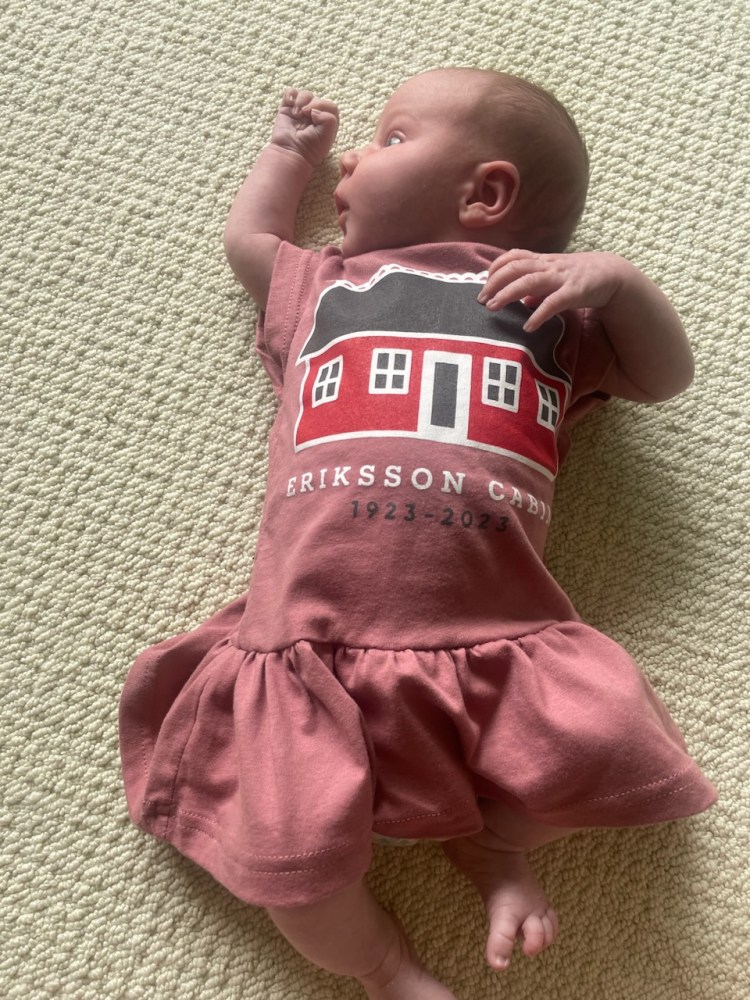
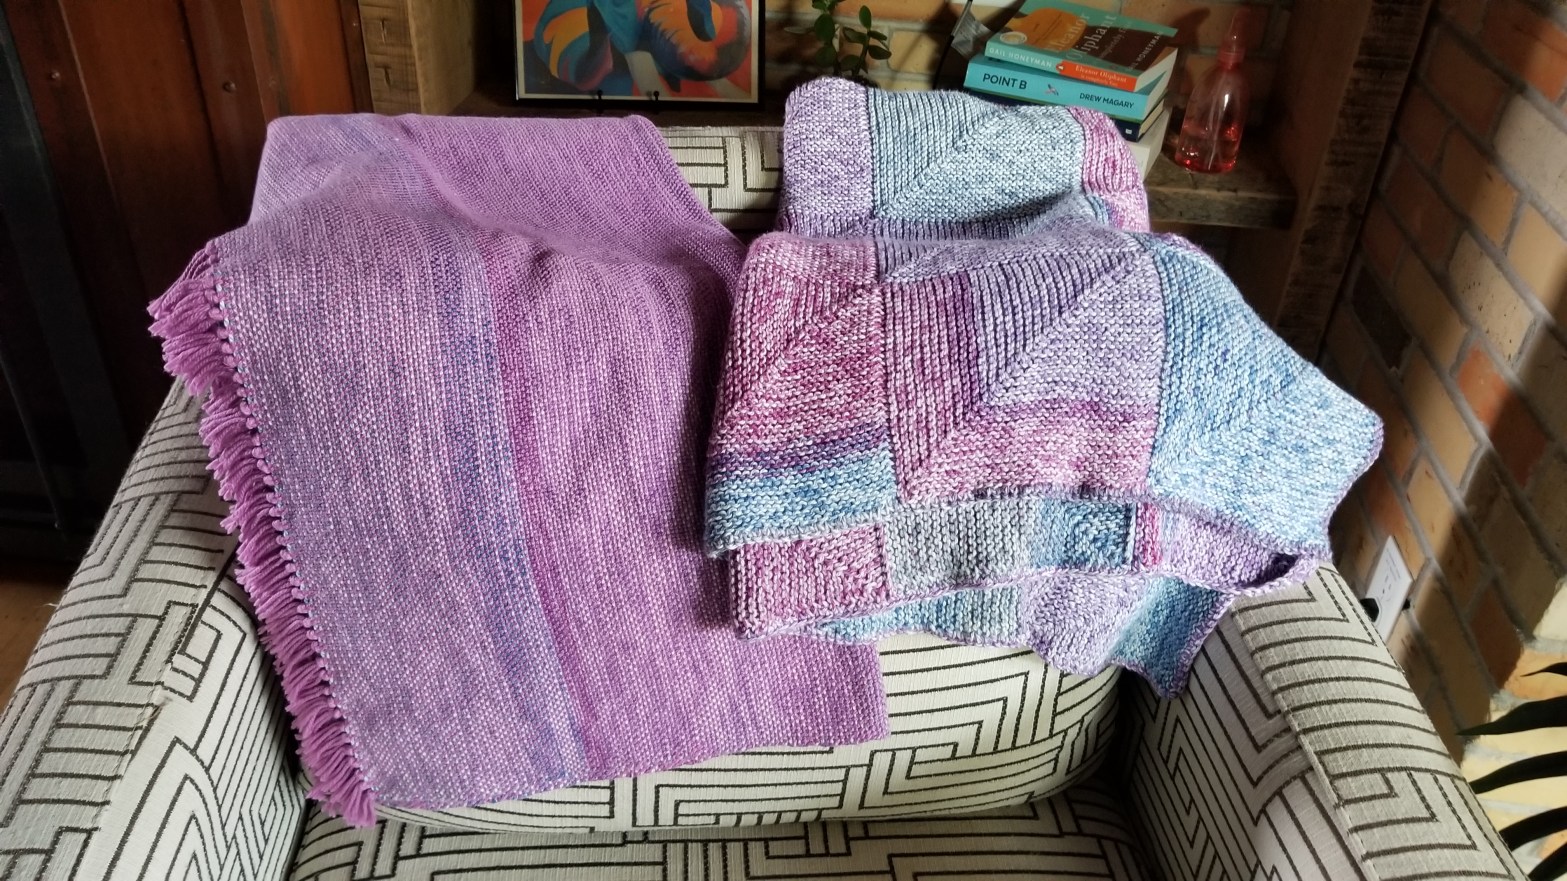
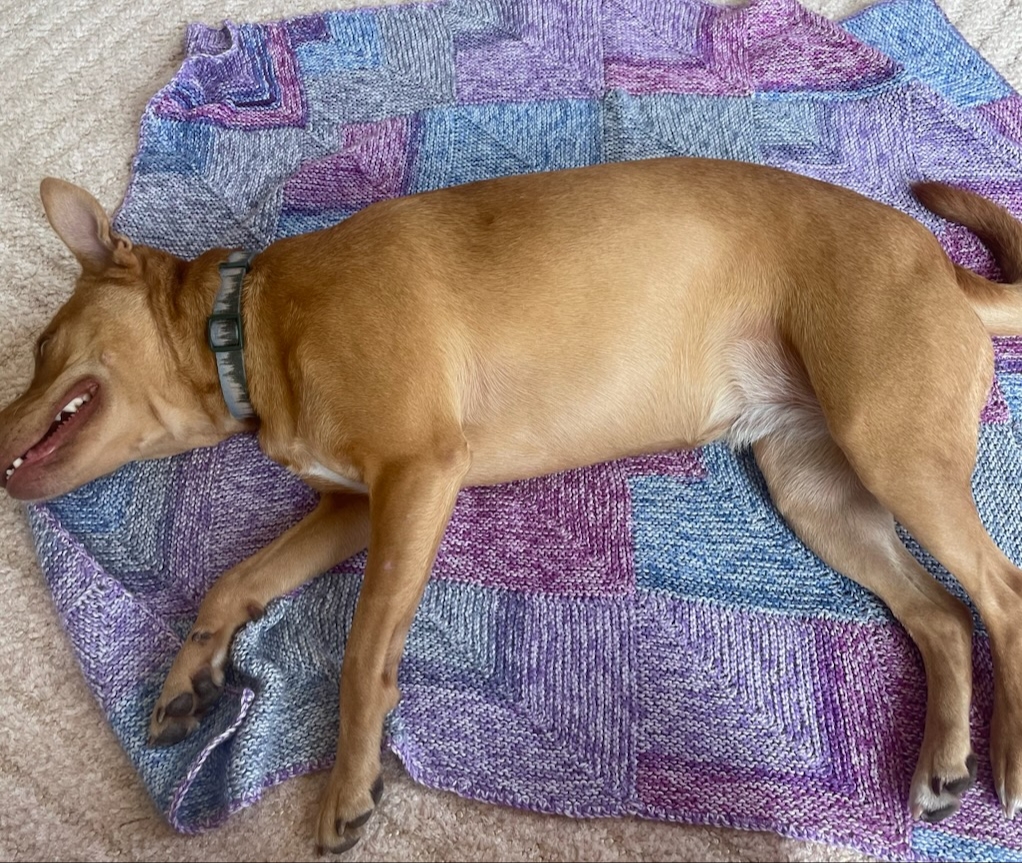
My daughter-in-law sent me photos of the baby on the two blankets. The first photo is on the woven blanket. The next two are on the knitted blanket. Their dog Winnie is checking out the baby and the blanket, and then Winnie has taken over on the blanket.


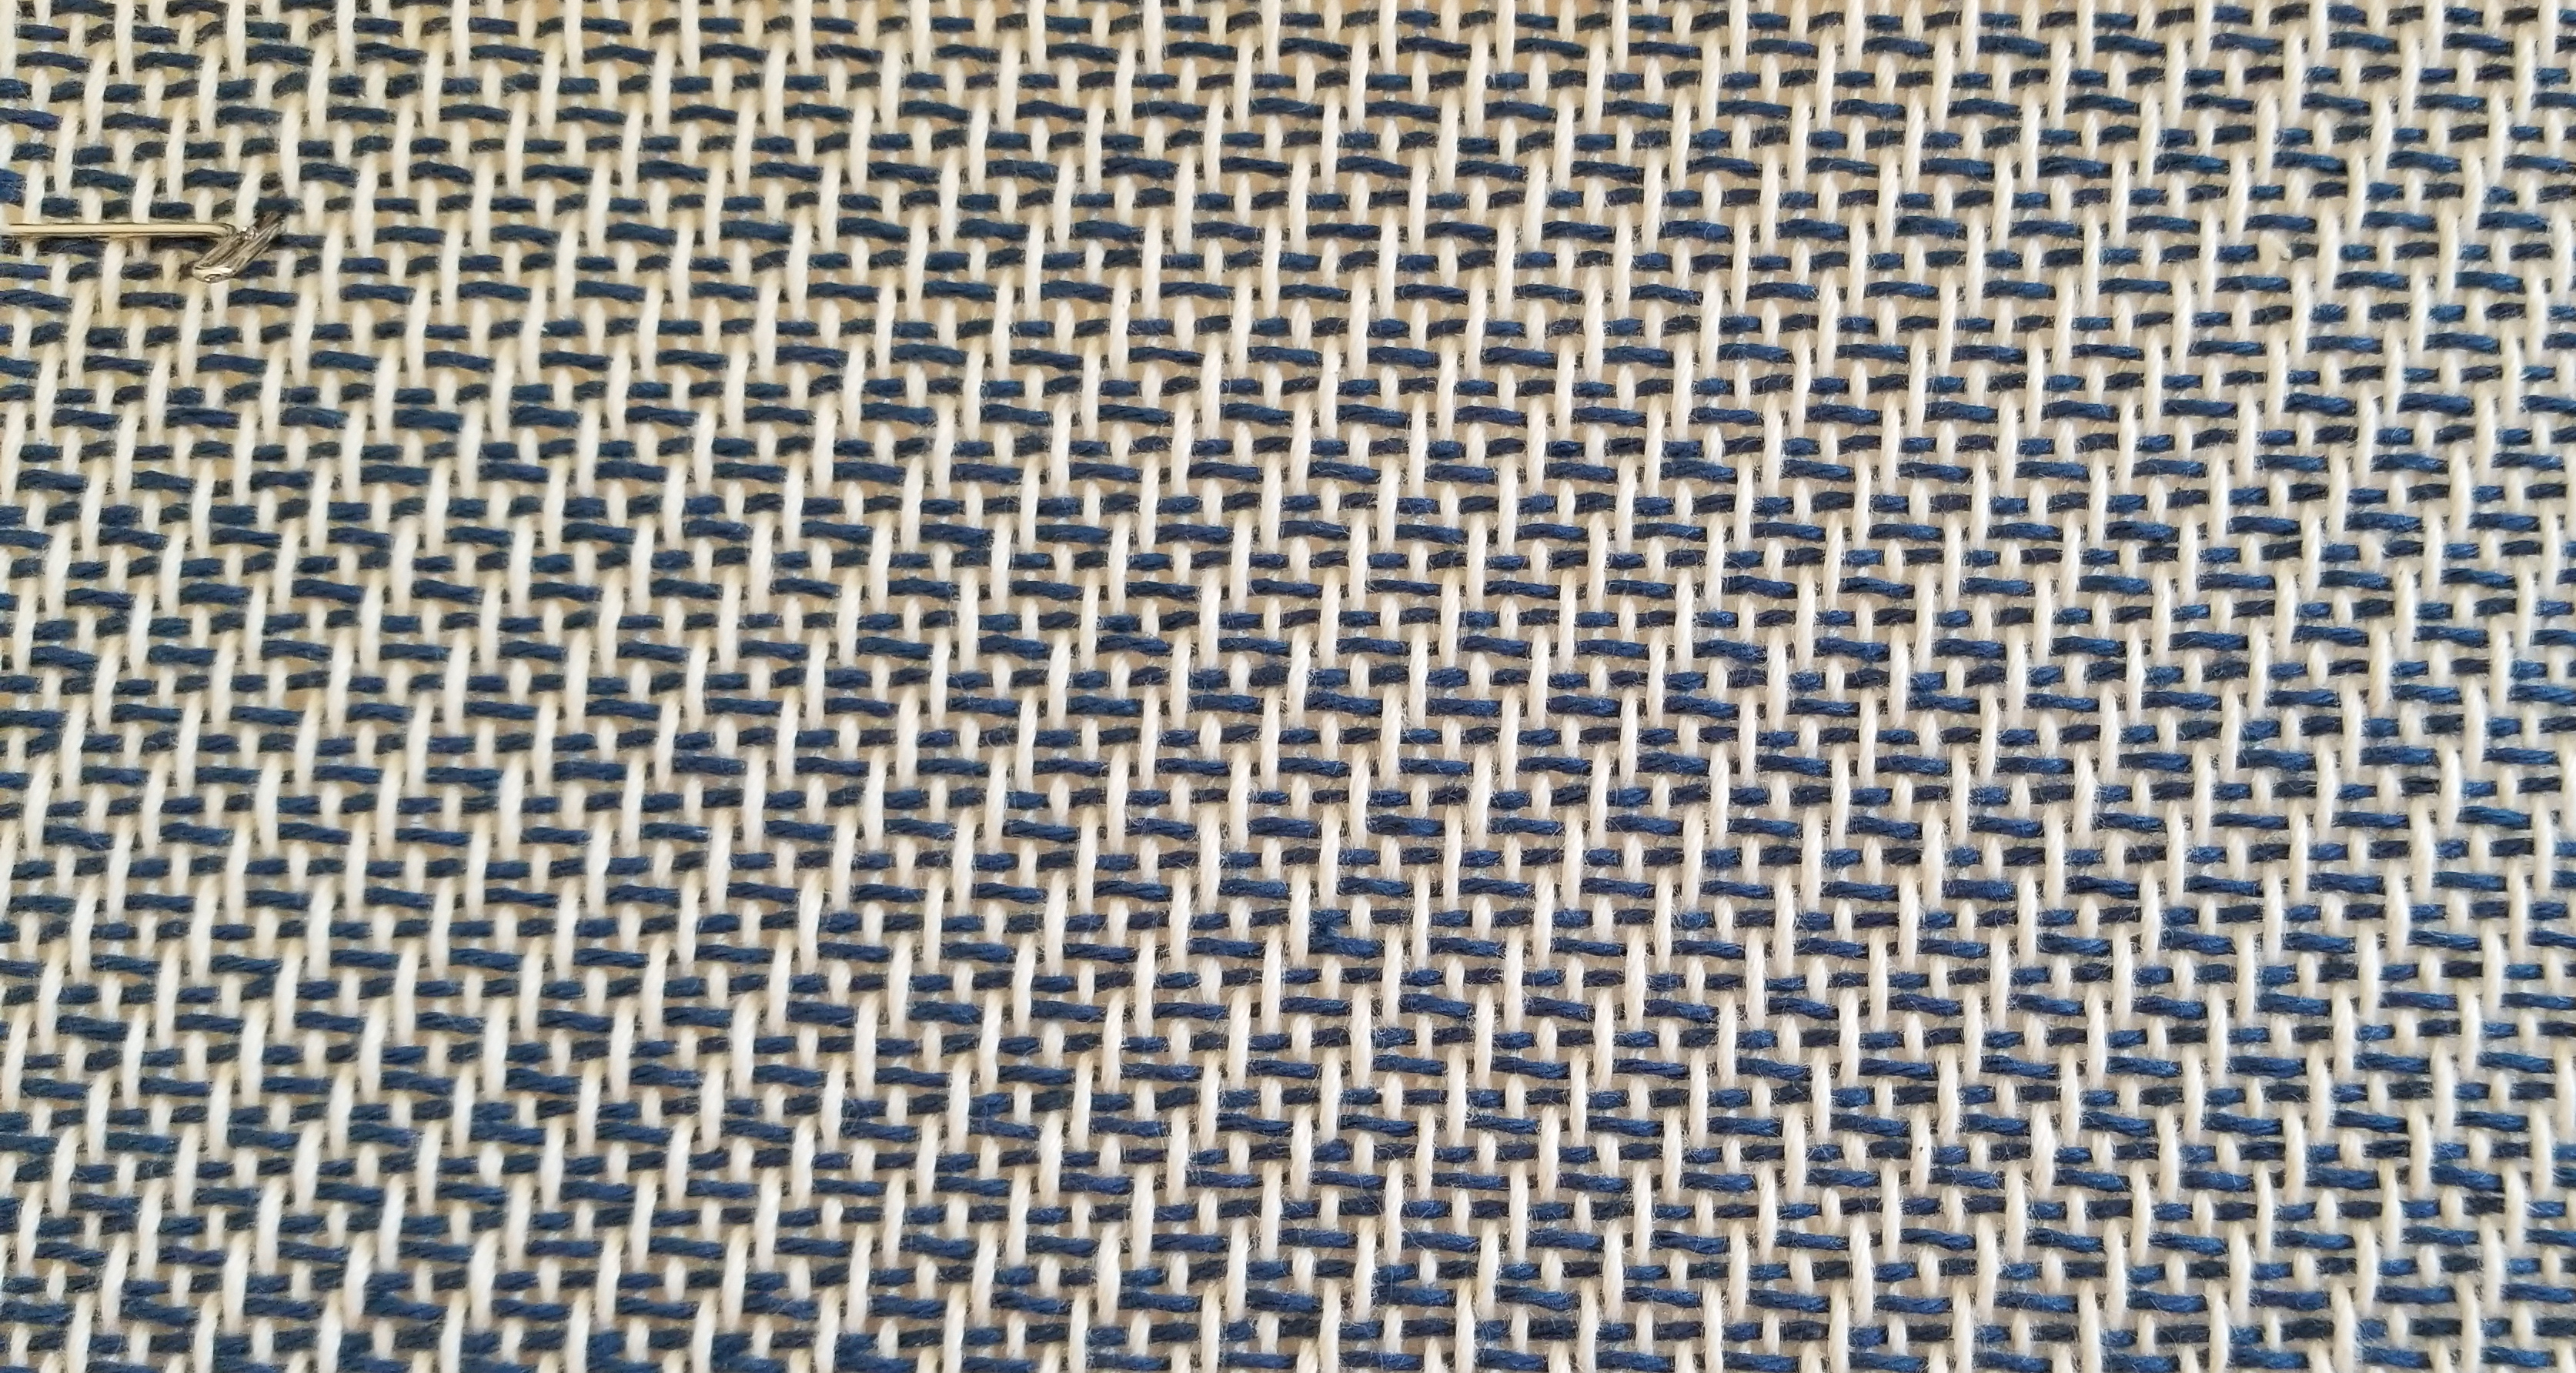
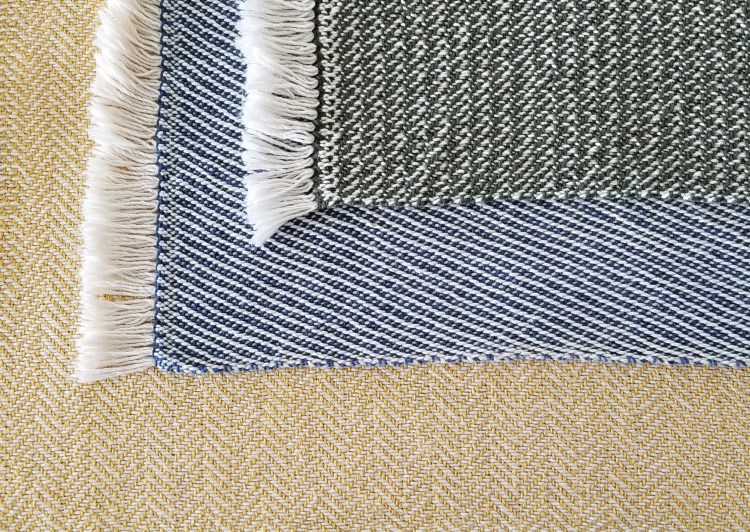
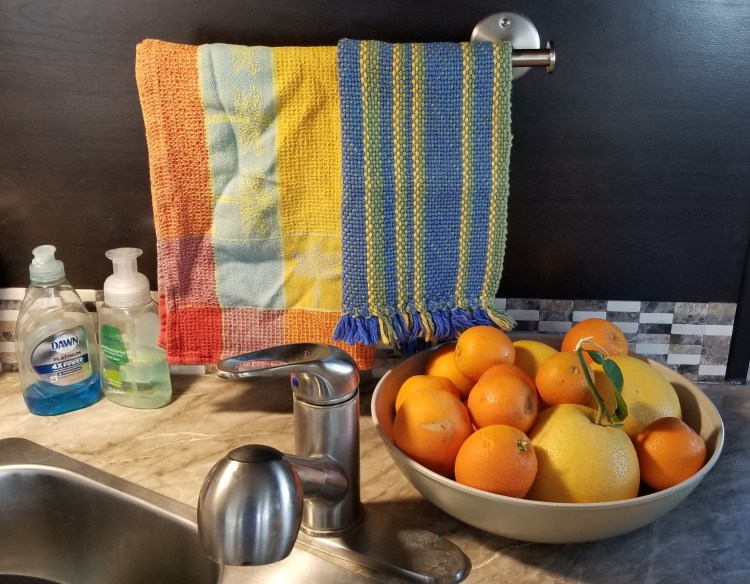
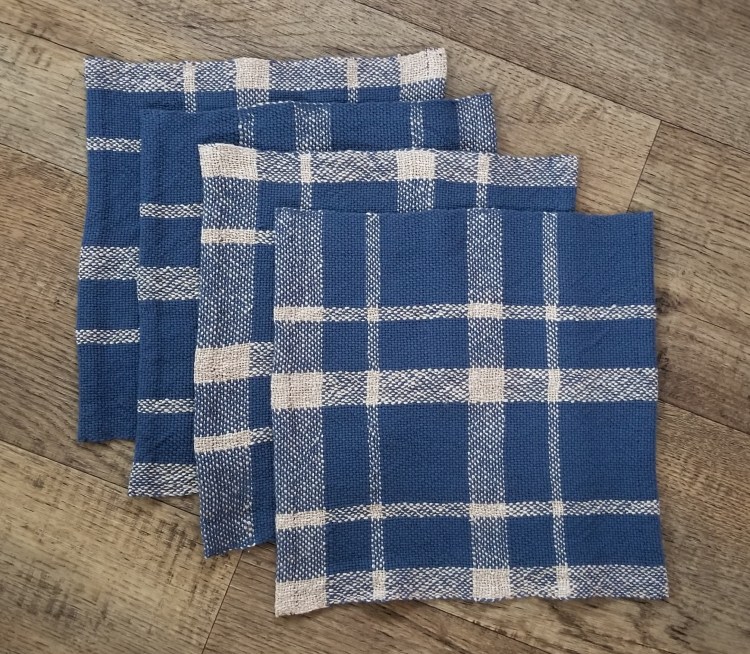
There was yarn leftover after I finished weaving the blanket. It is kind of like when your leftovers are not quite enough for dinner, so you cook more food, and then there are leftovers again after that. There was still enough yarn to weave two hand towels on my 15″ rigid heddle loom. This time I used the variegated yarn for the warp and the plain yarn for the weft. The next photo shows the completed hand towels, with the stripes going the long way instead of the short way for a different look.

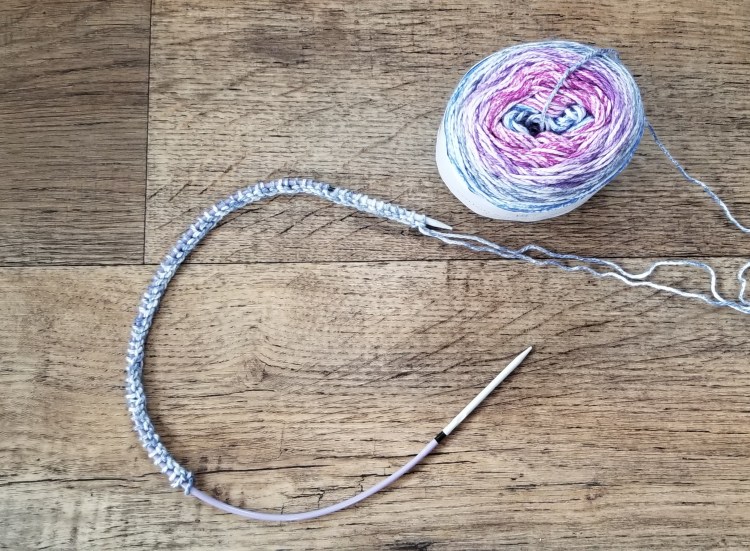
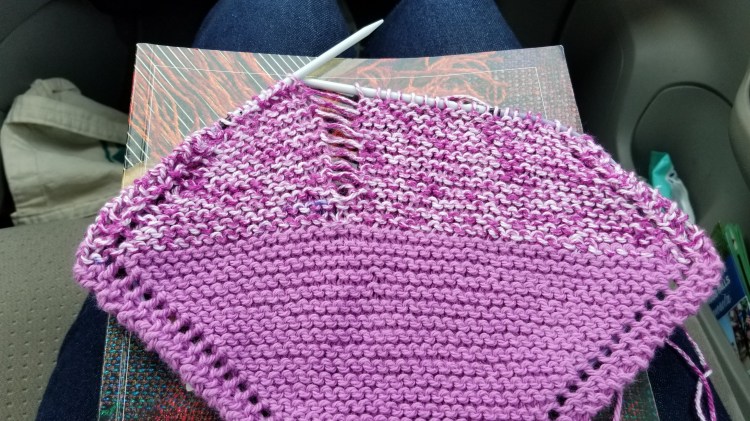
After finishing the hand towels, there was STILL some yarn left. I knit a washcloth with half plain yarn and half variegated yarn. This pattern is all knitting with some yarnovers, but no purl stitches. Somehow I got one purl stitch in the middle that I fixed by undoing all the stitches in that column and re-doing them back up with a crochet hook.
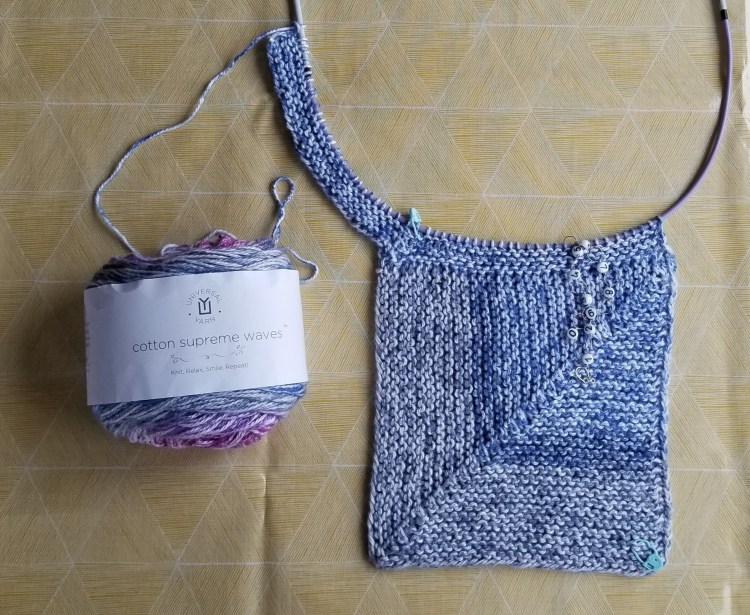
Following is the finished wash cloth, next to the remaining unused yarn.
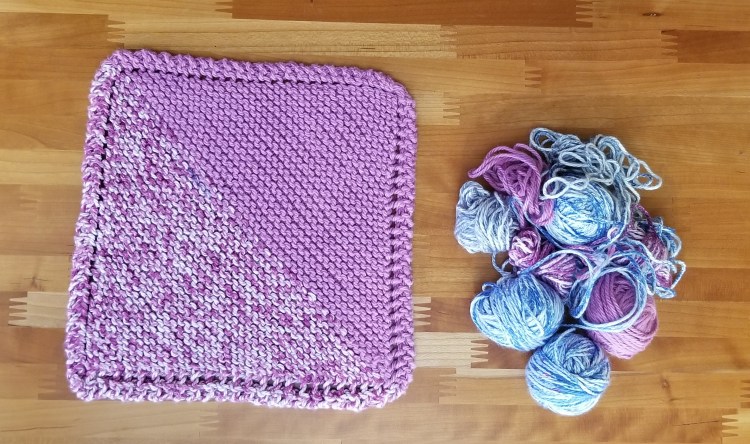
There is probably enough yarn left for another wash cloth. I noticed that the solid color yarn is on sale….noooo I will not buy any more. I think I have had enough of this yarn for now.