This post is the second in a series about our Danube River Cruise vacation that happened this June 2024. Click here for the link to Part 1: Planning and Getting to Munich. Part 2 is about our day in old town Munich.
Our trip included two full days in Munich before the cruise (which meant that we were not eligible for the free transfer to the ship). The first day we walked around Old Town Munich on our own, taking in the sights and getting in 20,000 steps. The second day we had purchased a tour ahead of time to see a castle and a medieval town. The morning after that we made our way to the ship via train, bus and taxi, which turned out to be a bit more of an adventure than we had expected.
Our cell phone company, AT&T, has a couple of options for international phone service. Wayne used the $12 per day International Day Pass plan. We used his phone for navigating, phone calls to our travel companions, looking up information, etc. I had my phone on airplane mode the entire trip, but with the option to make calls or texts for emergencies with a reasonable per use fee. When we got to the ship later there was free (sketchy) wifi, but at least I could send and receive emails and texts. I tried to stay off my phone as much as possible, but I did not want to have 1000 emails when I got home.
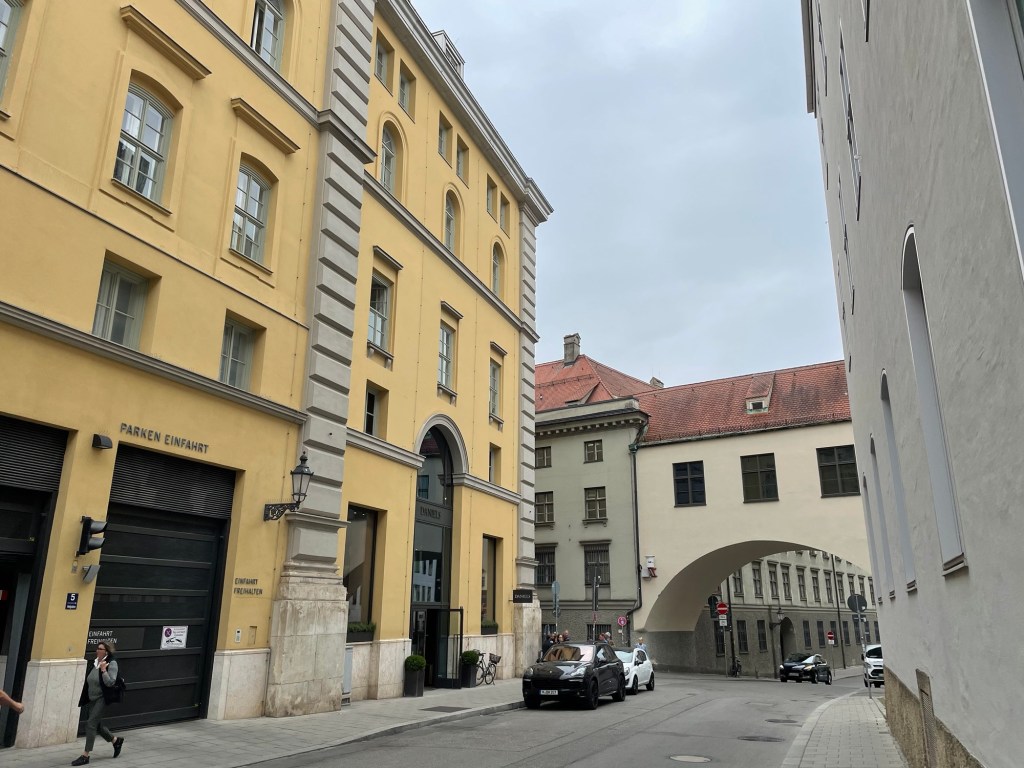
We thought it might be raining in Munich, but fortunately the very wet period of weather was over by the time we got there. Even though it was dry, I was glad I brought my hiking shoes as they are very comfortable for extensive walking. The temperatures were a little cool but good for sight seeing. As we walked around Munich there were so many interesting things to notice, in addition to seeking out the typical tourist sites.
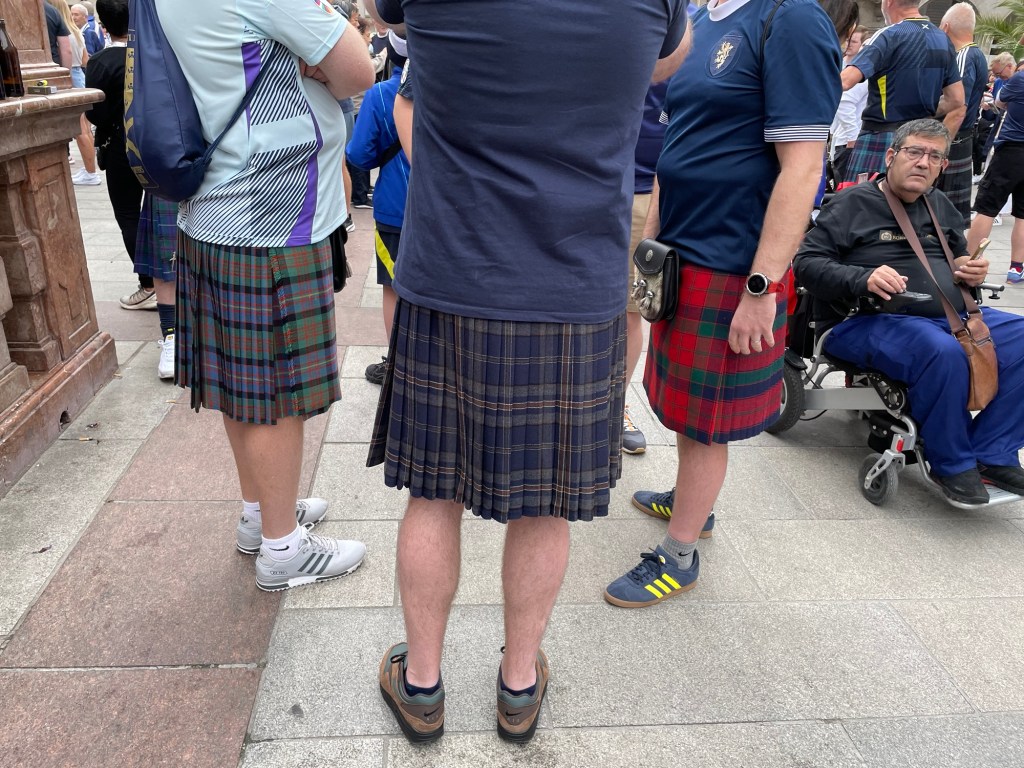
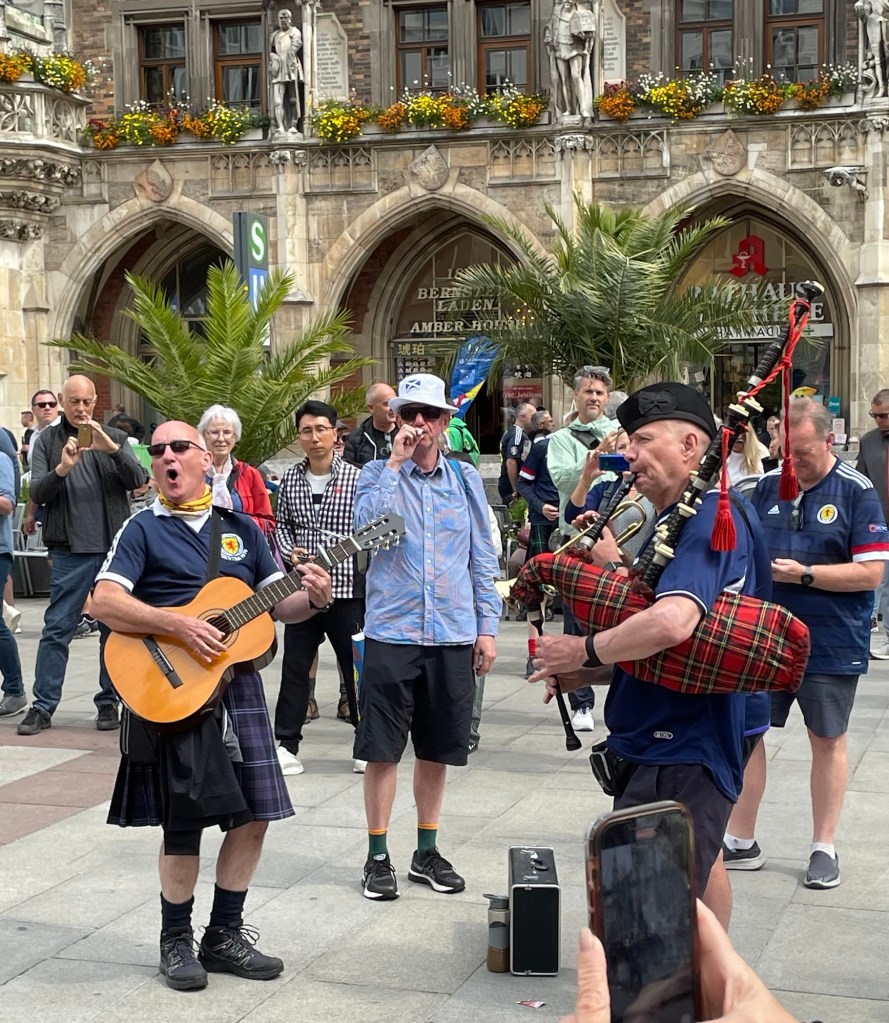
Our number one observation in Munich was that the Euro2024 soccer tournament was a huge deal. It was really fun to get in on the mania. There were thousands of soccer fans everywhere, including many from Scotland decked out in kilts and team shirts. Our son went to the University of Wisconsin at Madison, which is known for challenging academics as well as hard partying. One time when we visited campus on a football game weekend, many people were out drinking and being crazy starting at 10:00 in the morning. Munich on this Friday at the beginning of the soccer tournament was like Madison on game day, times 10.
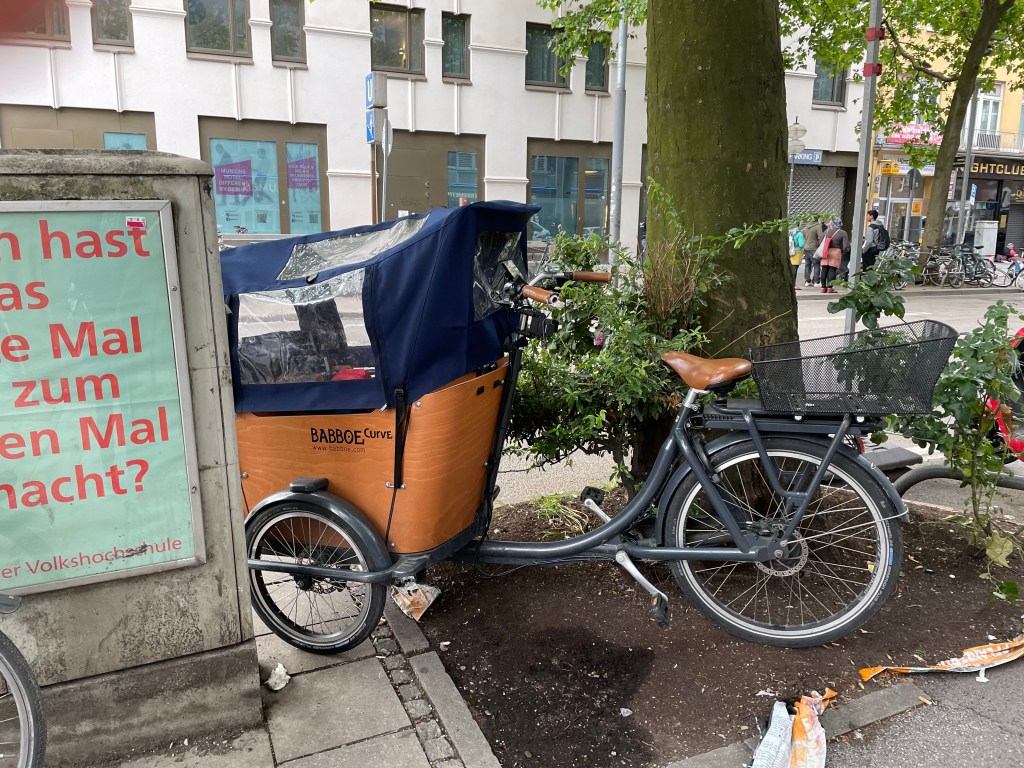
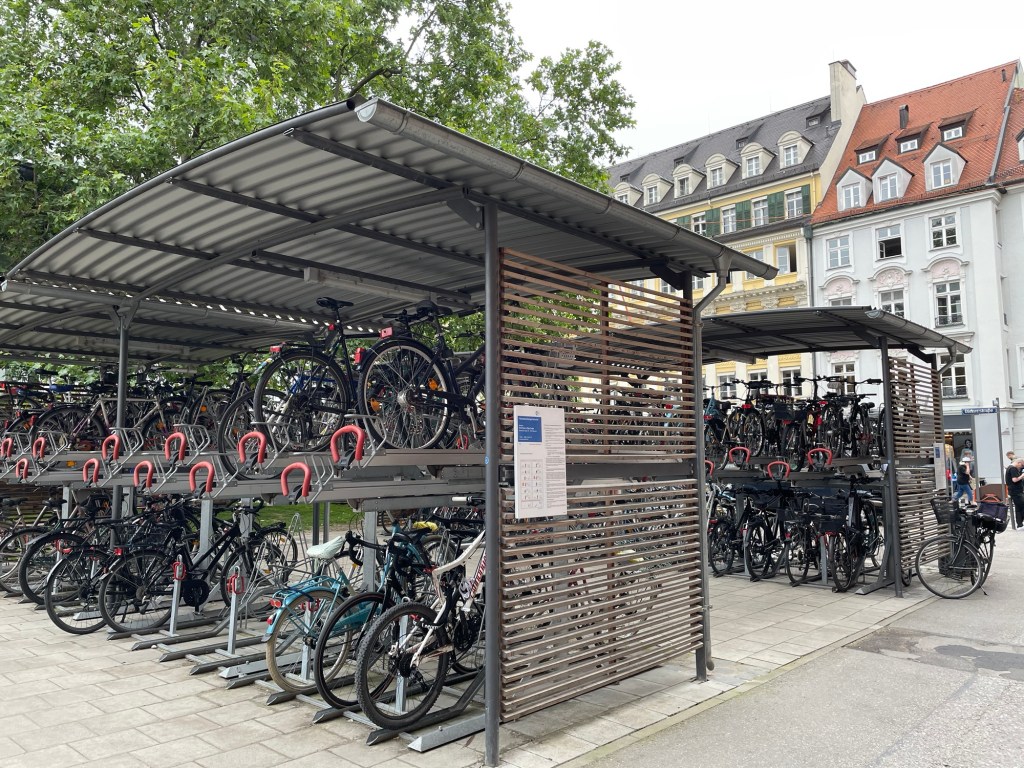
There were many options for public transportation to get around the city. Munich was also extremely bike friendly. Many of the streets we walked along had dedicated bike lanes that were designed as part of the sidewalk, rather than a marked off area in the street. In addition to many bike commuters, we saw a mini UPS delivery trailer towed by a bike, and several variations of cargo style bikes, some with a built in enclosed child carrier. We also saw a two decker bike storage rack.
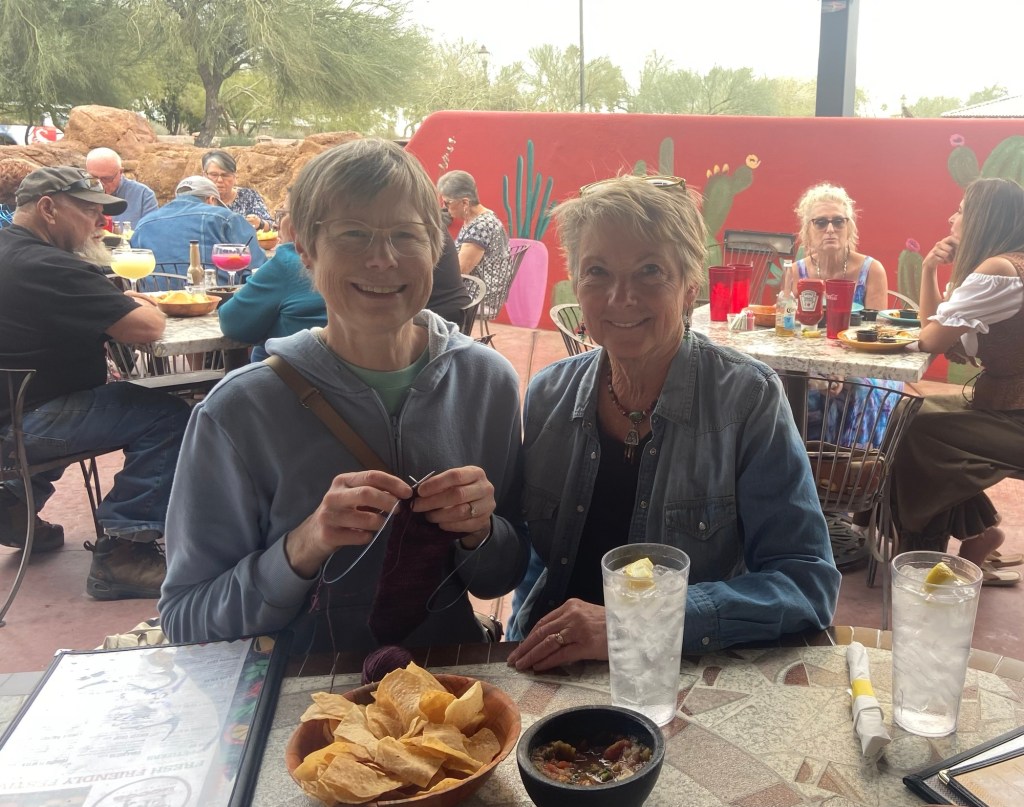
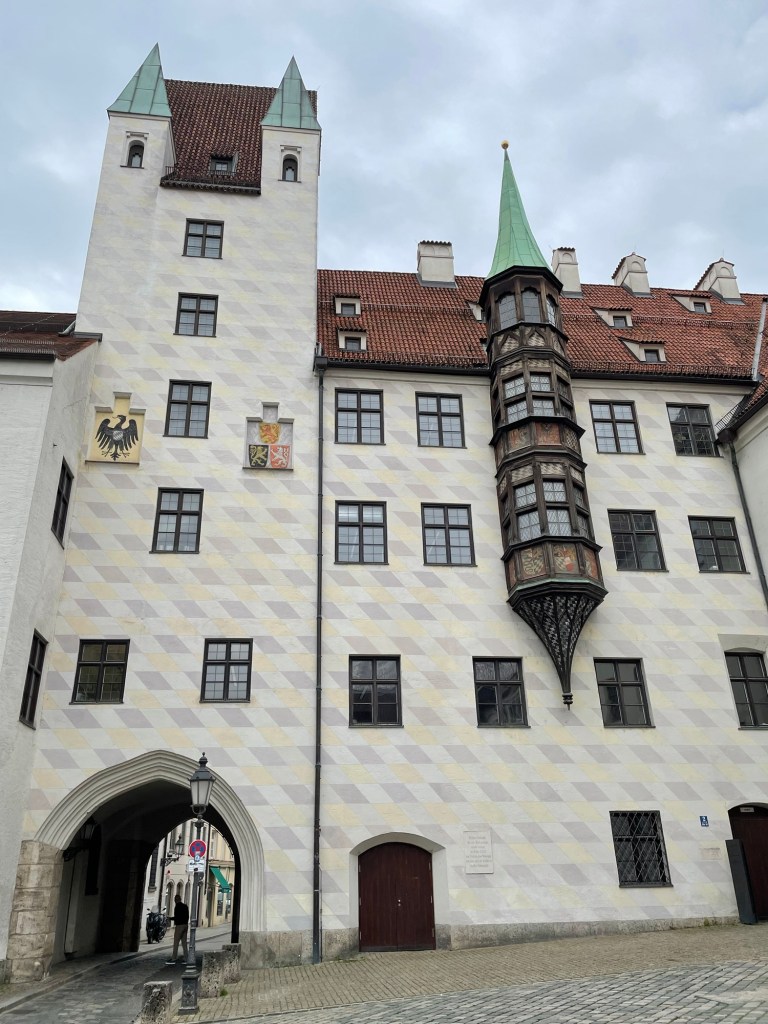
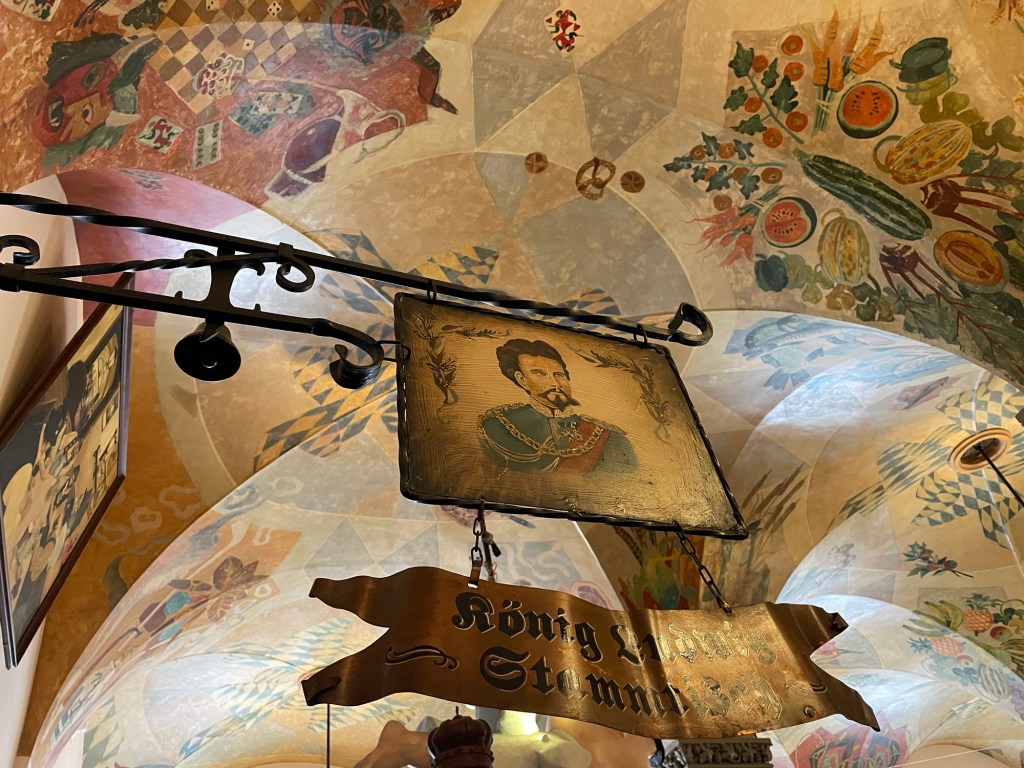
It is impossible to include enough photos or information to get a complete idea of all that we saw and did. I have included a few photos here that I took while we walked around all day in the old town area of Munich.

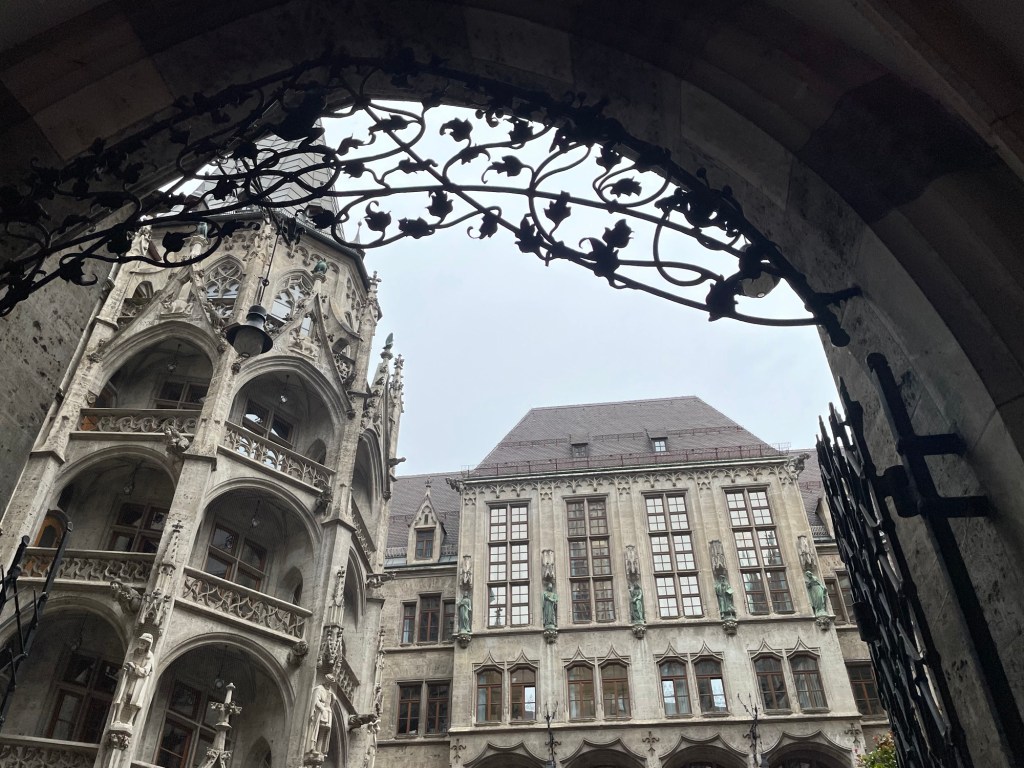
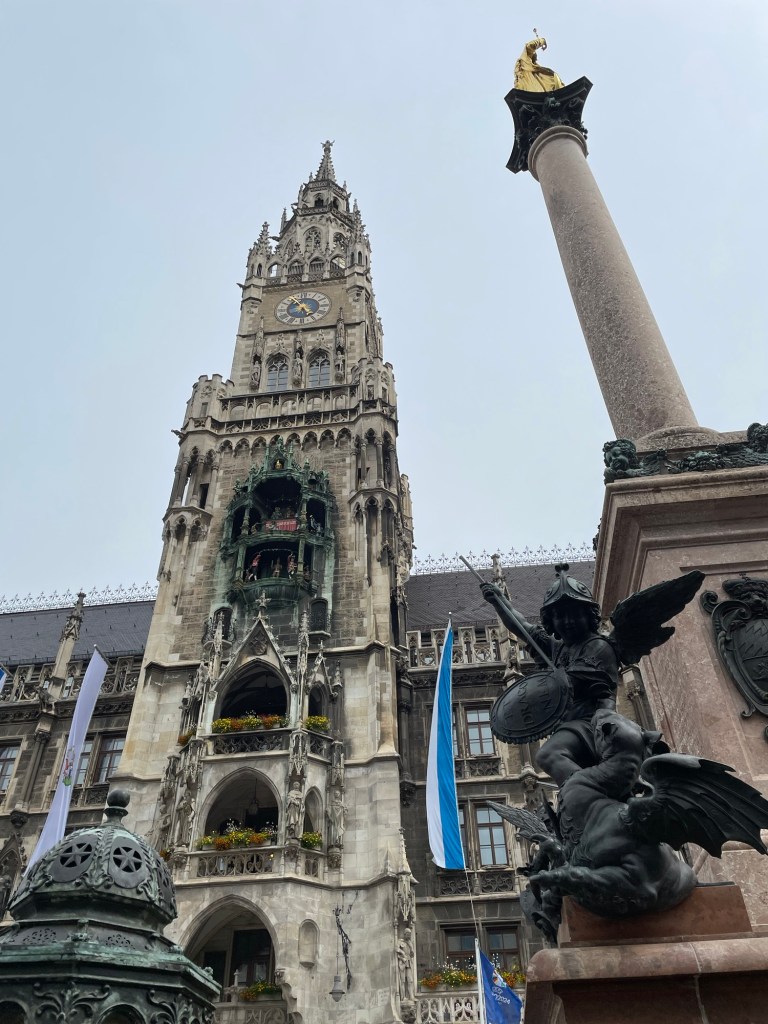
We made sure to be at Marienplatz, the main central plaza since the middle ages, at the right time to see and hear the famous Glockenspiel Clock.

The following photo is zoomed in a little closer to the life size characters on the Glockenspiel Clock on the tower that move and tell stories of Munich’s history several times a day.
Some musicians in their Scottish gear were performing in the square.
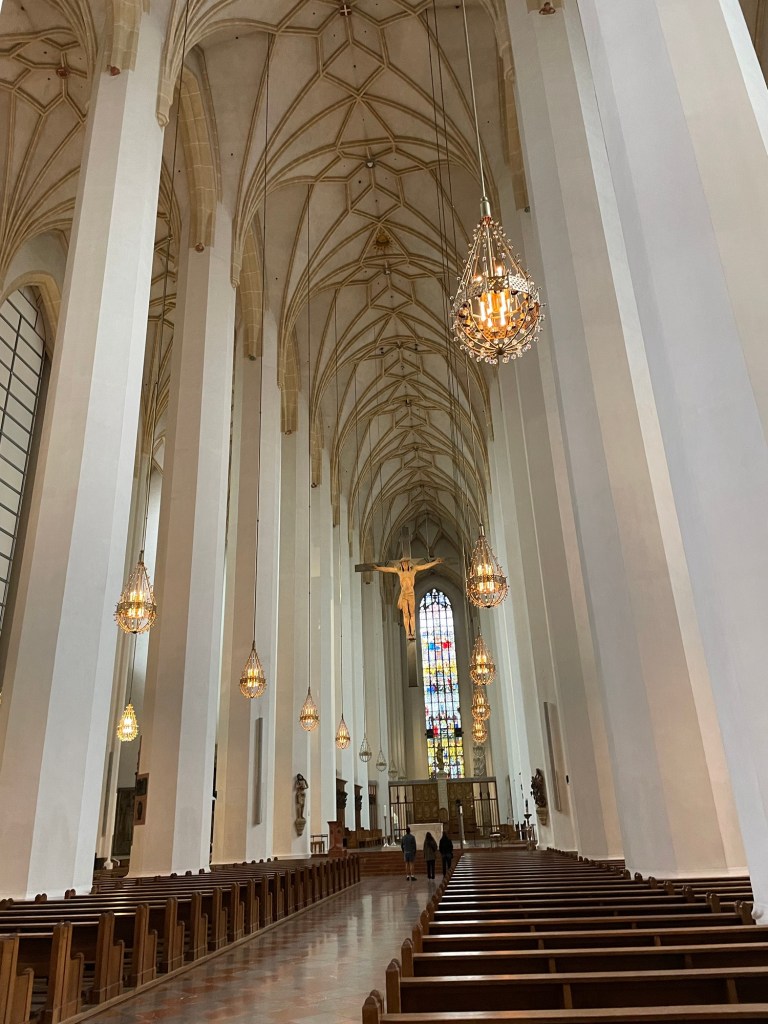
Every city we went to has a big Cathedral. Frauen Church in Munich is late Gothic style from the 15th century.
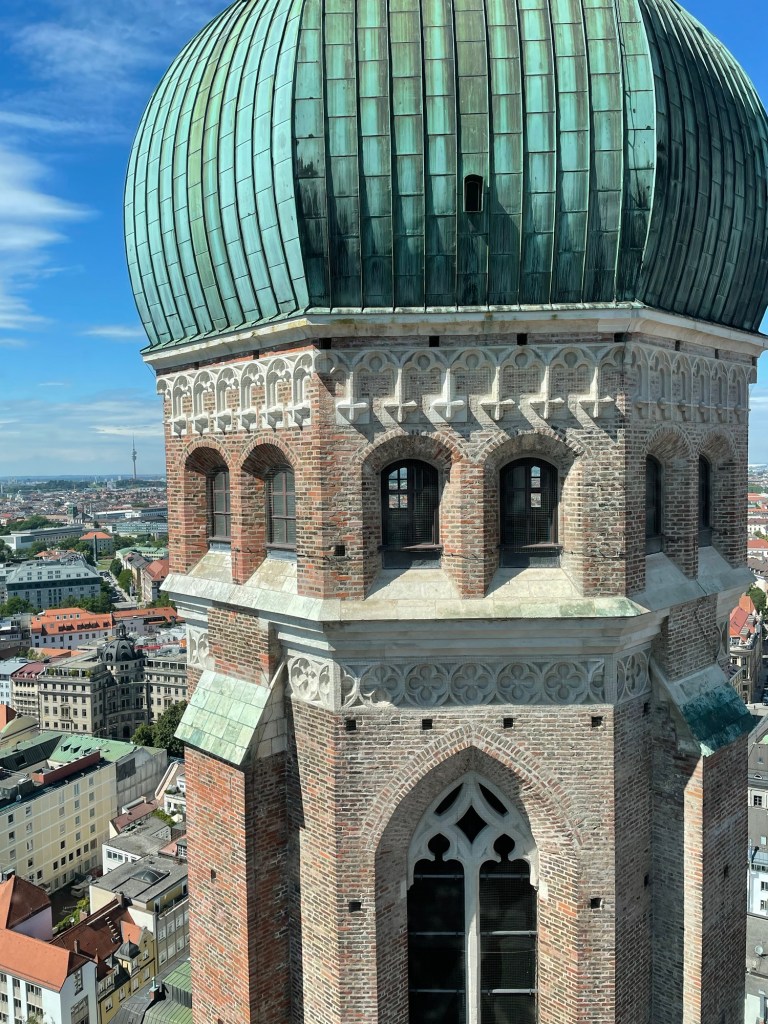
Frauen Church has two big towers that are landmarks in the city. You can go up inside one of the towers for an excellent view of the city. We did that, and following is a photo looking out from there to the other tower. We could see the Marienplatz square from above, which at this time was closed off for an event related to the soccer tournament. It was wall to wall people, so we were glad we had visited the square earlier.
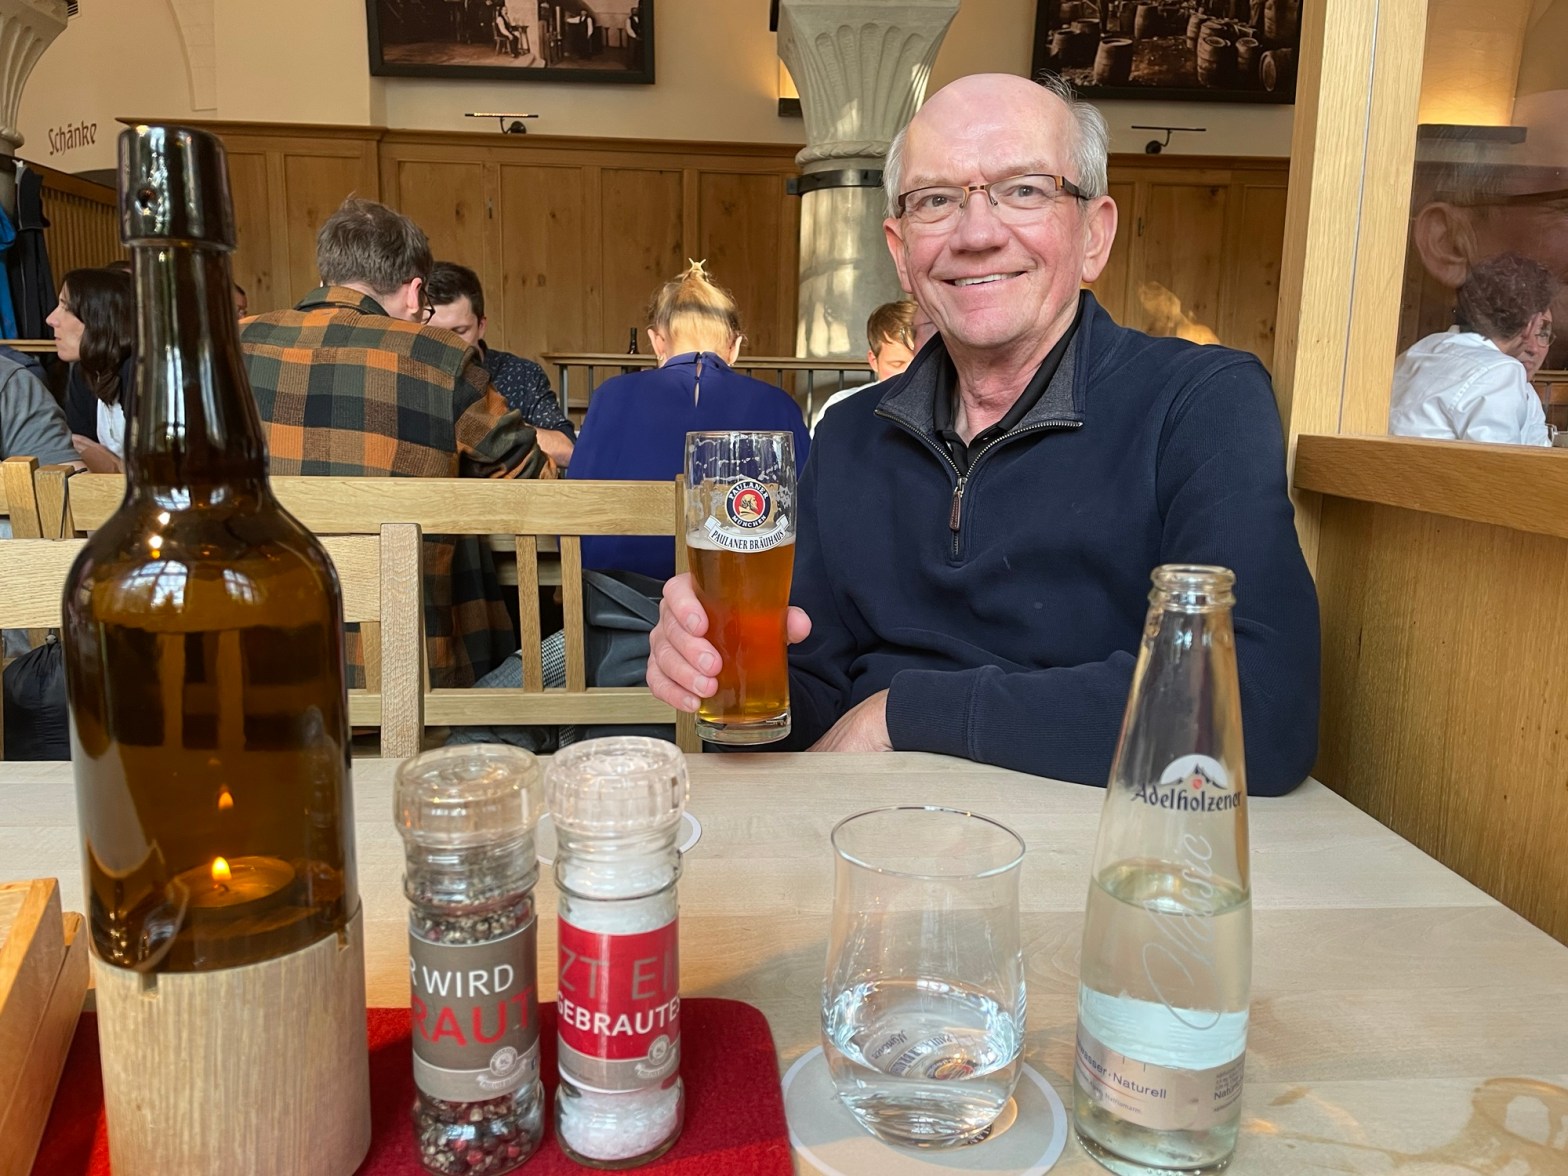
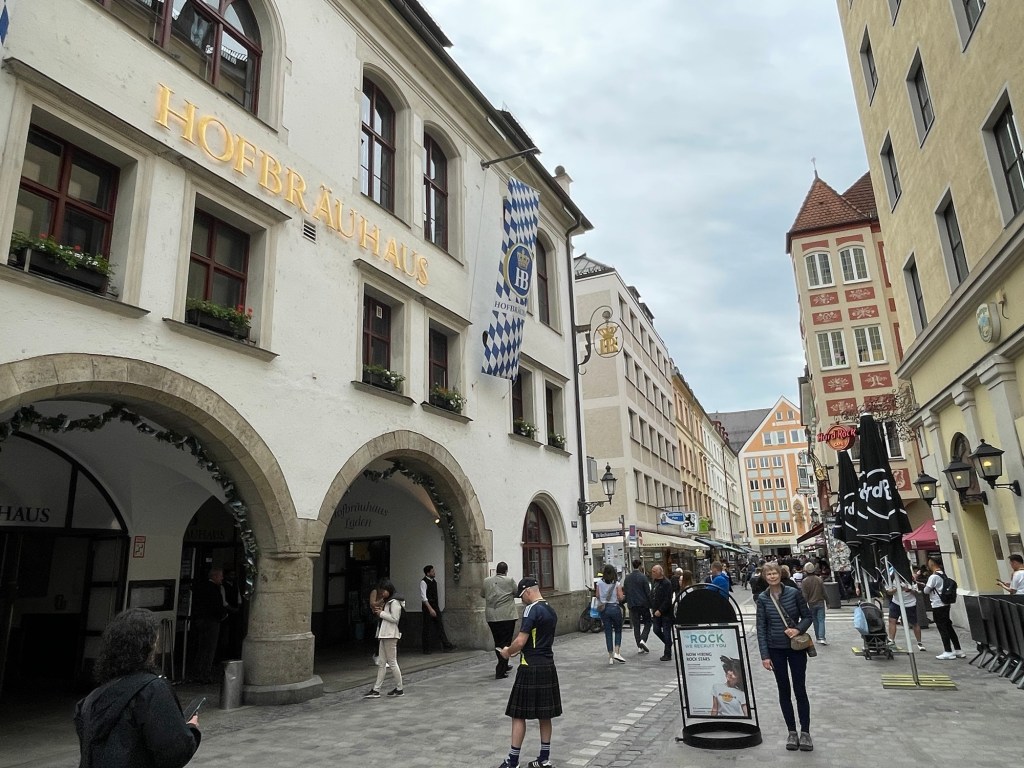
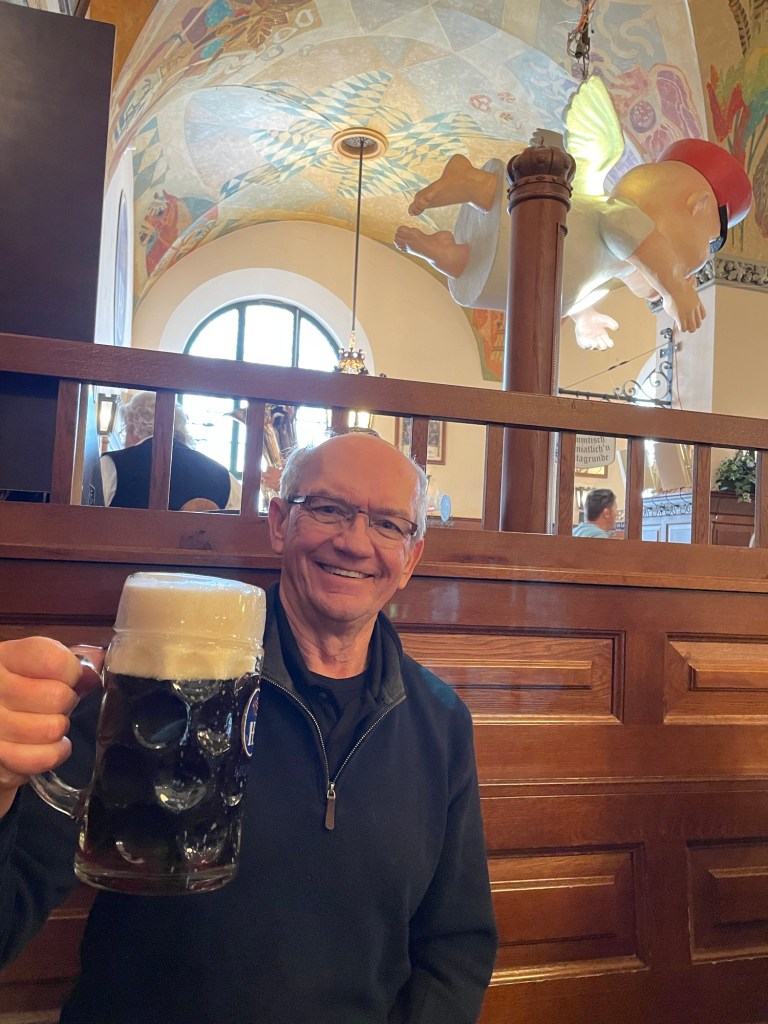
We had lunch at Hofbrau Haus, Germany’s most famous beer hall.
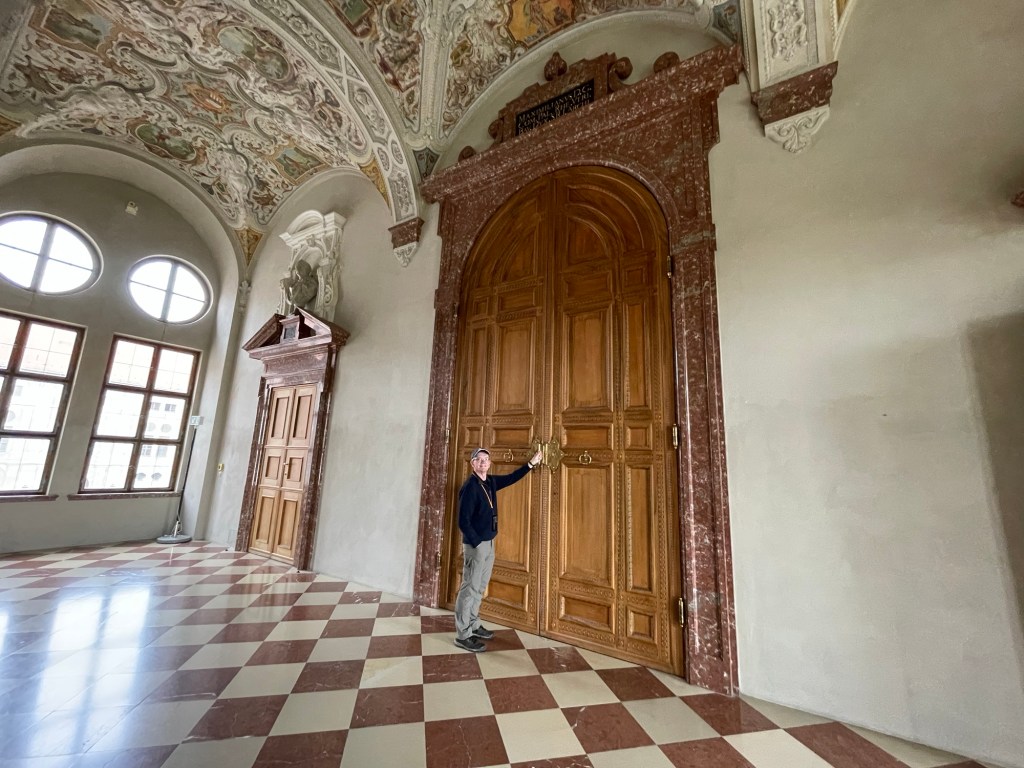
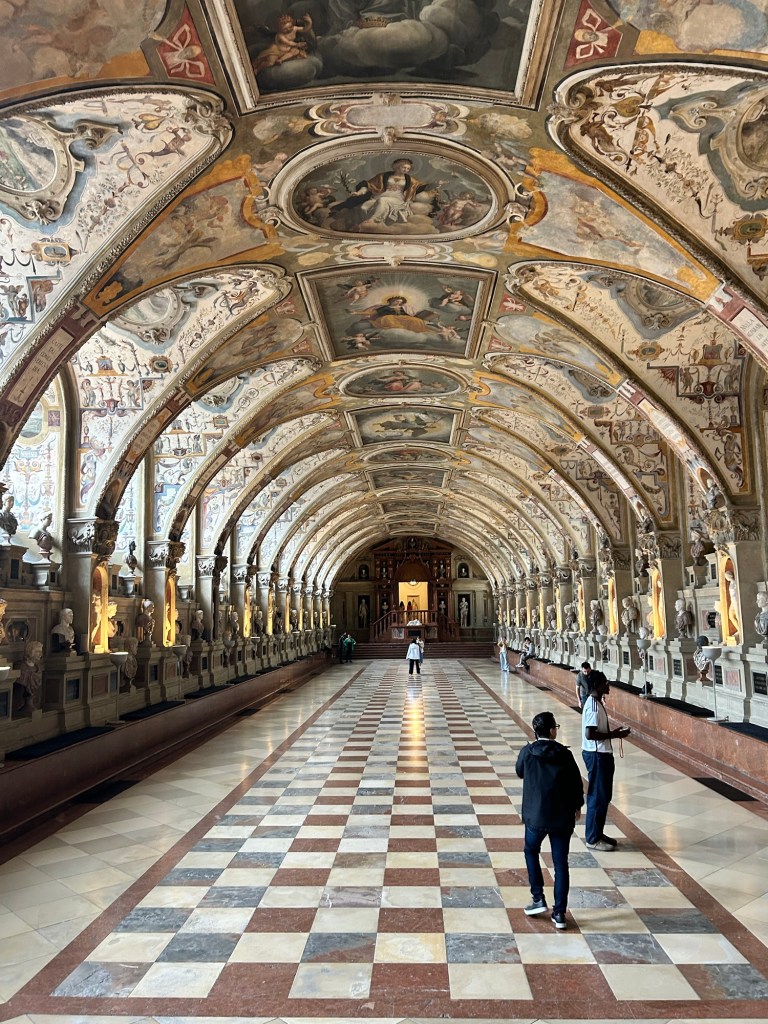
Following are a couple of photos from Residence, a huge ornate government building and Royal Palace complex used from 1508 to 1918.
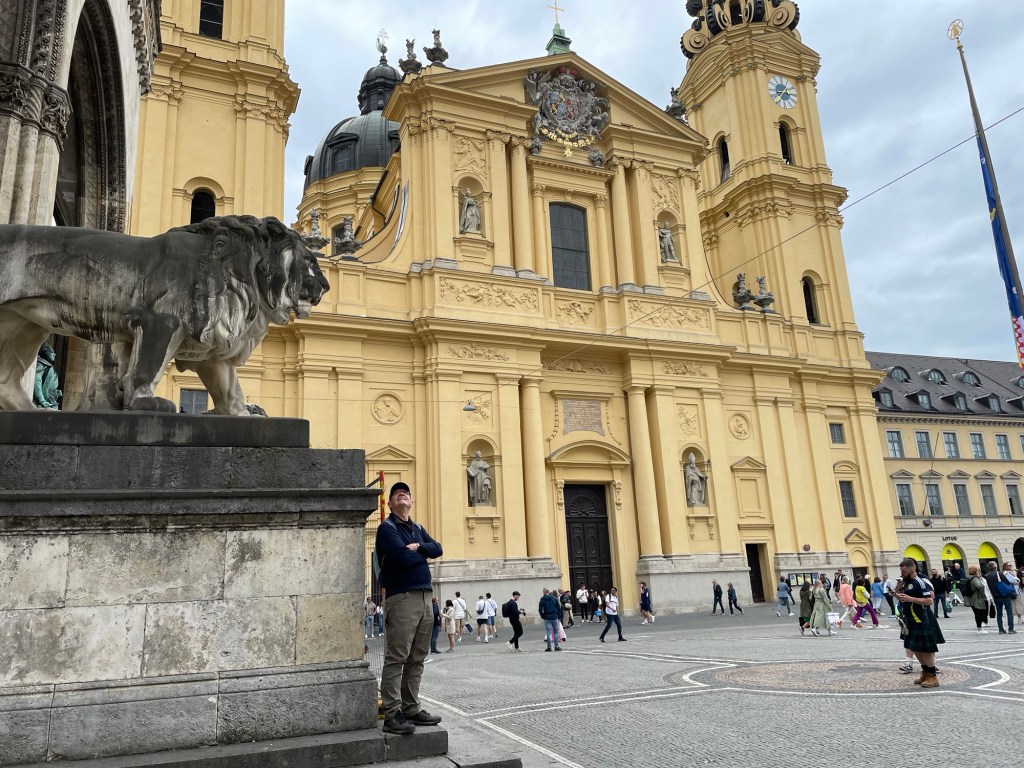
The next photo is Theatinerkirche St. Kajetan, known as “the yellow church”.
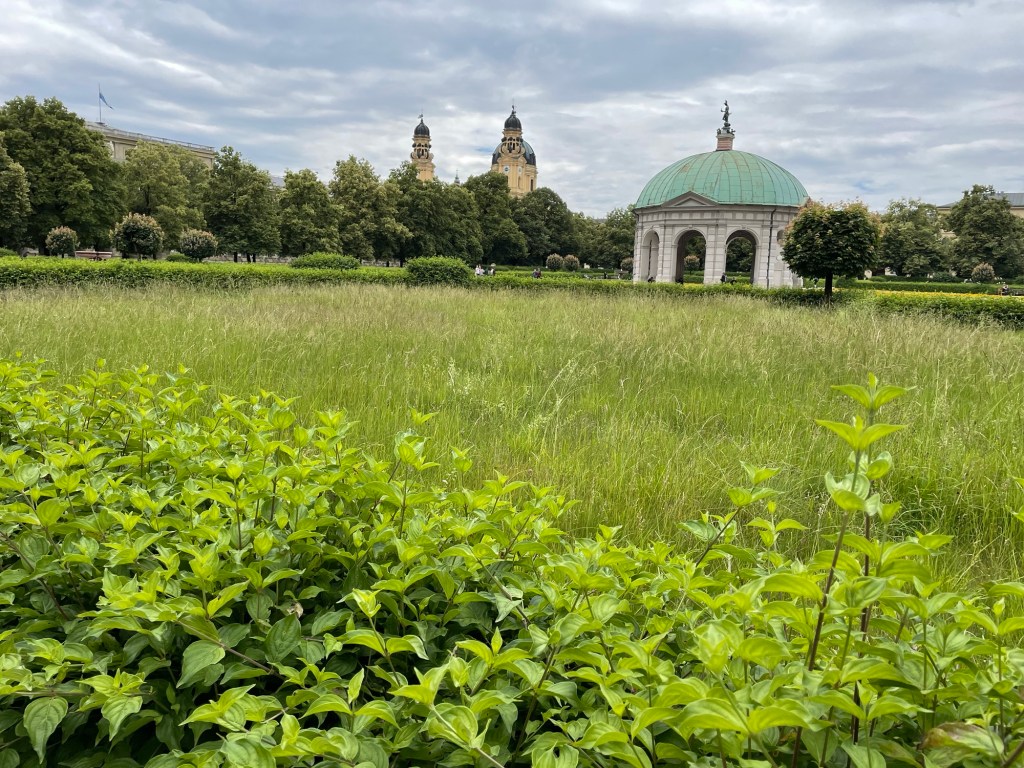
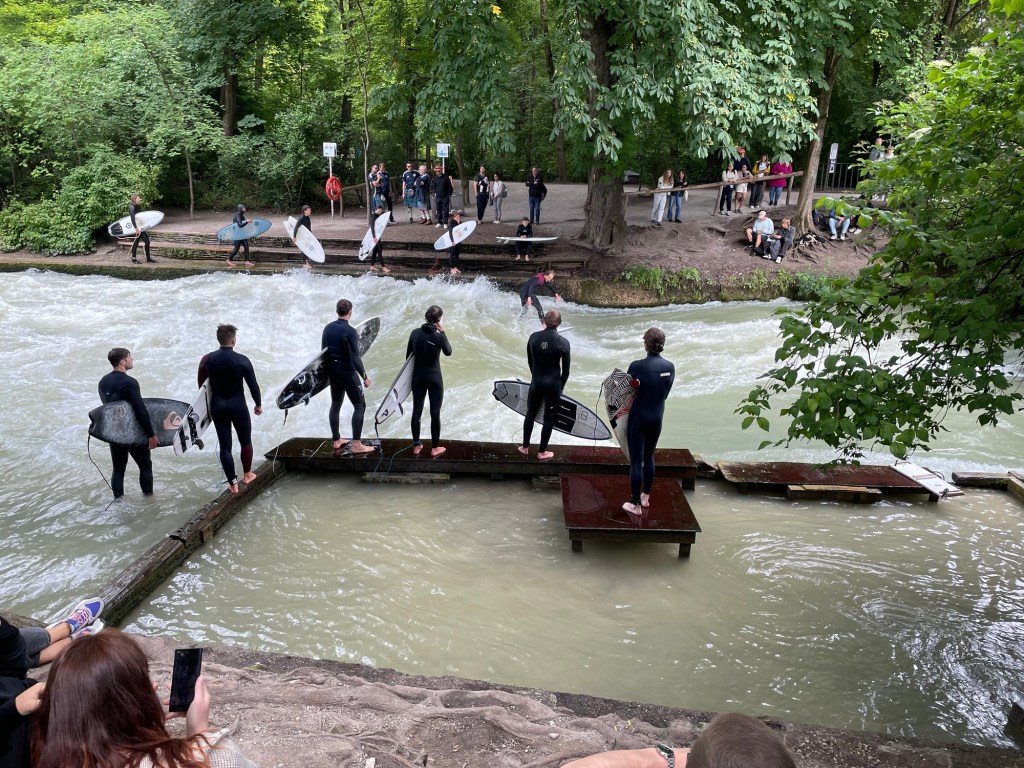
The English Garden is an urban park in Munich, even larger than Central Park in New York City. It is a beautiful green space with gardens and paths for walking and biking. We saw only a fraction of the place. One of the more unusual things there was a rapids area of the Eisbach river that is popular for surfing.
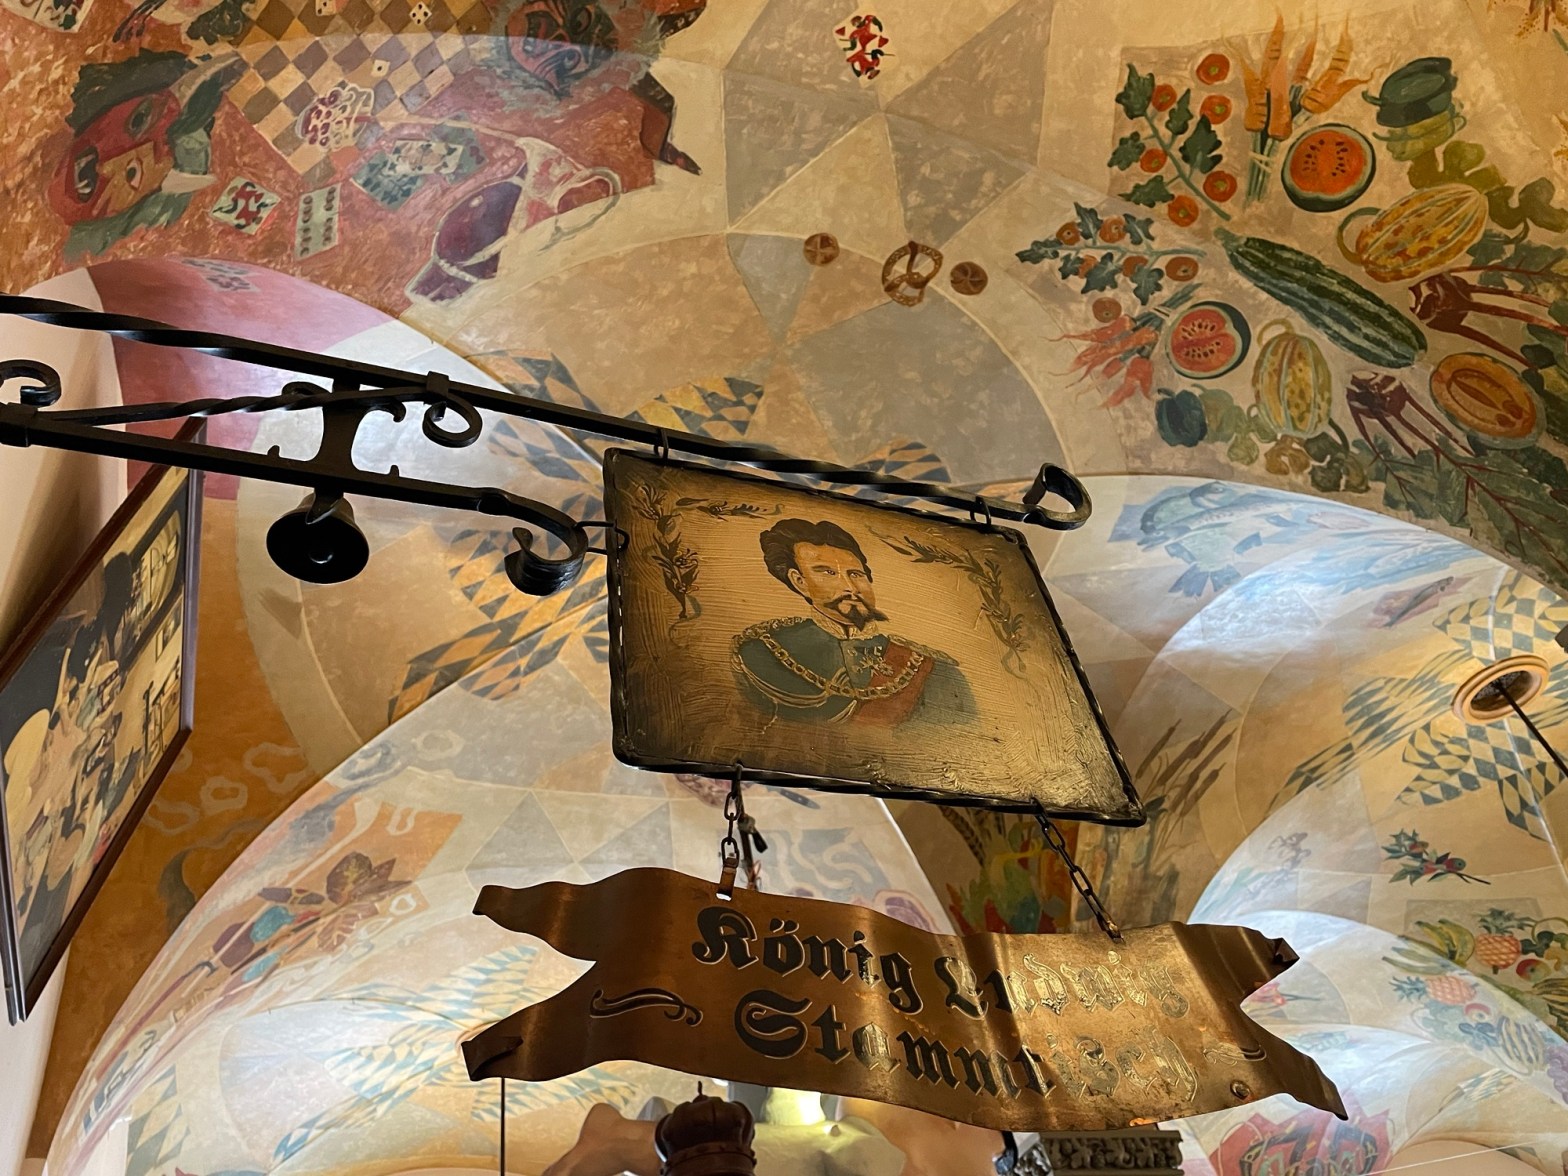
We happened upon a restaurant for dinner with access from inside a courtyard. It was pretty empty, which seemed unusual for a Friday evening. It turned out that all the customers that might have been there were either at the Scotland vs Germany soccer game, or watching it somewhere. There were big screen TVs set up in many locations for watch parties. Lucky for us, as we were able to have a quiet dinner with personal attention and conversation with the staff. At this restaurant and a couple of others later the staff apparently thought we were locals. I guess that is a good thing. Once they realized we were Americans they brought us menus in English.
That night at the hotel there were soccer fans partying loudly until the wee hours. Normally I would be unhappy about that, but it was all part of the soccer experience we did not even know we were going to have. We had to get up first thing the next morning for our tour to Harburg Castle and the town of Rothenburg. The tour, as well as getting from Munich to where the cruise started in Passau, is featured in the next post, Part 3.