I recently returned from a fun vacation to the Seattle area with three high school friends. Sadly, a fourth friend had to cancel at the last minute. Some people have no connections with high school friends, but I have kept up with several for 50 years now. We have also traveled together to Savannah, New Orleans, Quebec City, and Traverse City. This trip was supposed to happen last October, when we were looking forward to visiting Asheville, North Carolina. We knew that fall is hurricane season, but figured that Asheville is pretty far from the coast, so no need to worry about that. The dates we booked turned out to be three weeks after hurricane Helene. At first we thought we might still be able to go, but after a few days knew that was not going to be possible. It was disappointing, but we all got our money back for flights and lodging.
For the rescheduled trip to Seattle, Kris, Marla, Sheri and I stayed in a VRBO on Lake Ballinger, in Edmonds. This area on Puget Sound was inhabited by Suquamish native people before being settled by loggers in the 1870’s and 1880’s. Today it is a suburb on the northern side of Seattle. There were many flowers everywhere, and trees that were different from Minnesota.

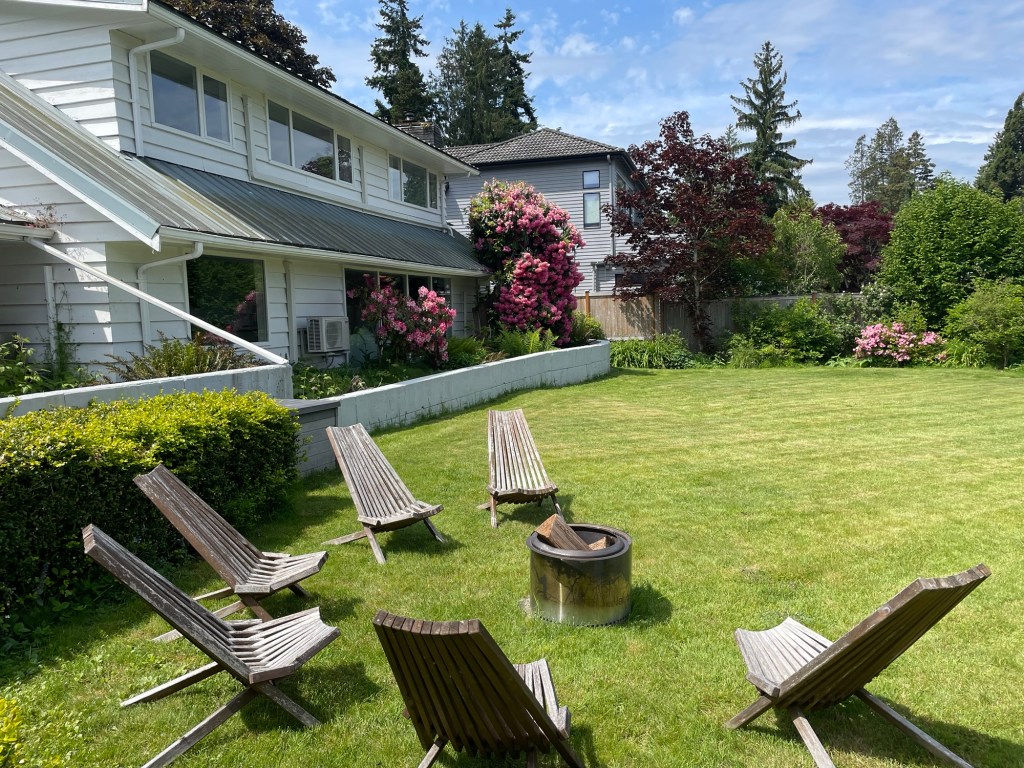
There was an inviting firepit with chairs and pretty views in the backyard of the VRBO. It was also right on a busy street, but that was not noticeable from the inside or lakeside of the house.
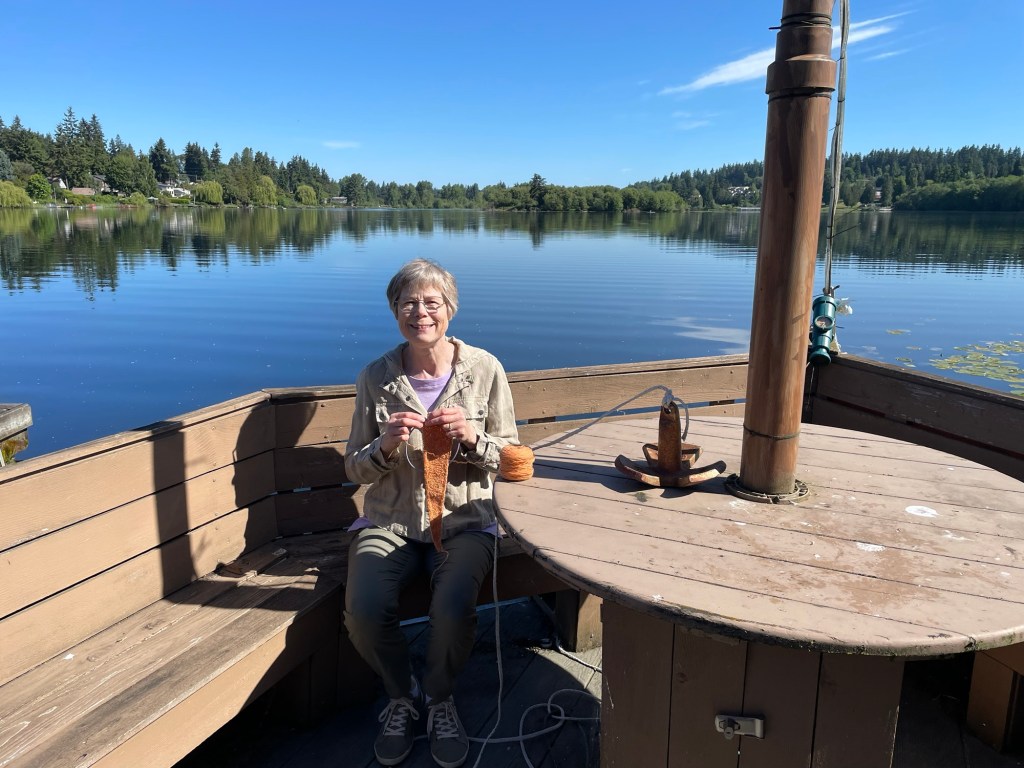
There was a boat anchored off the dock. We thought we might lounge on it while having happy hour, but that never happened.

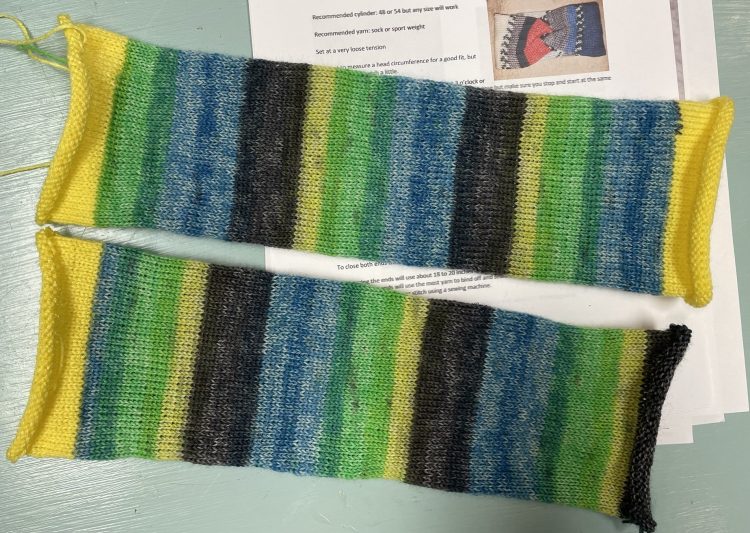
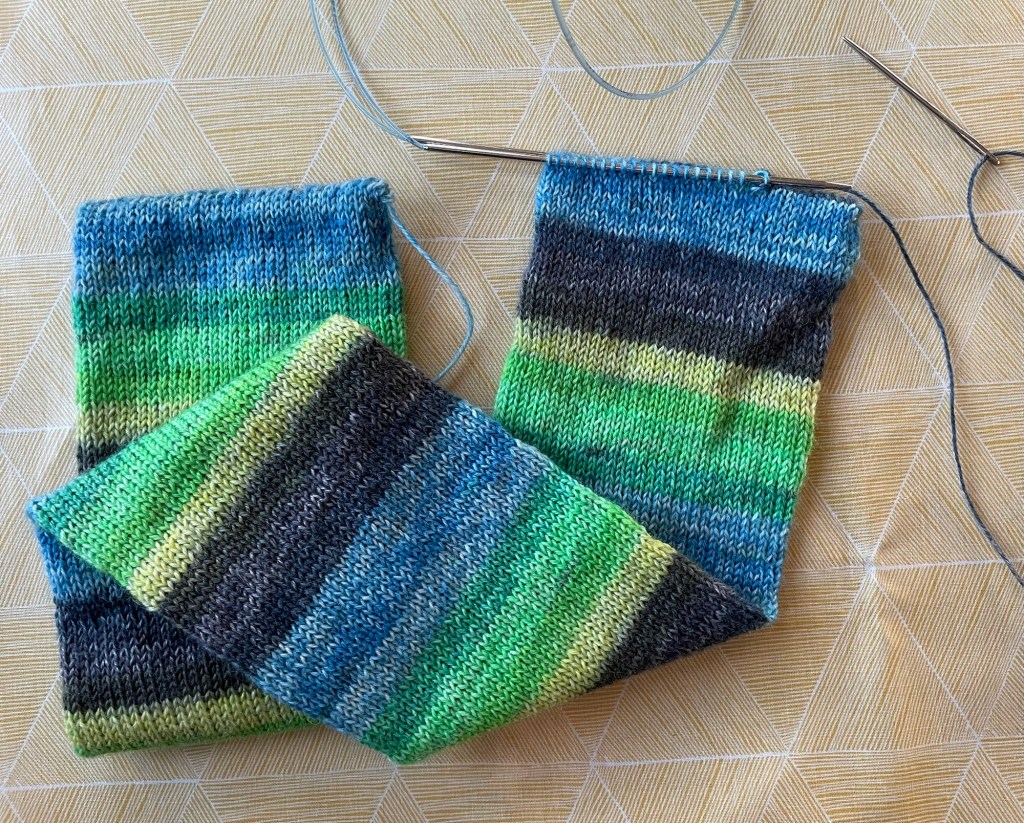
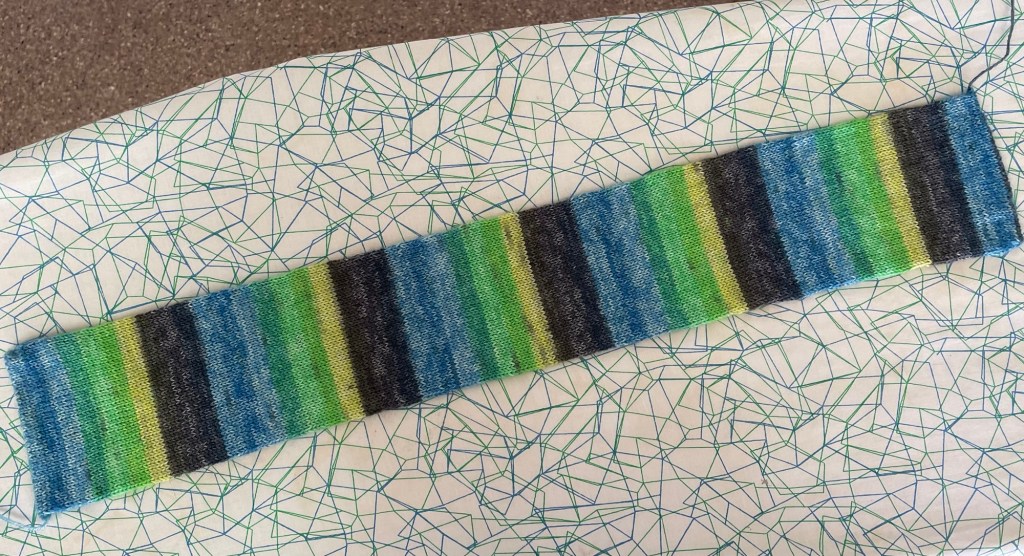
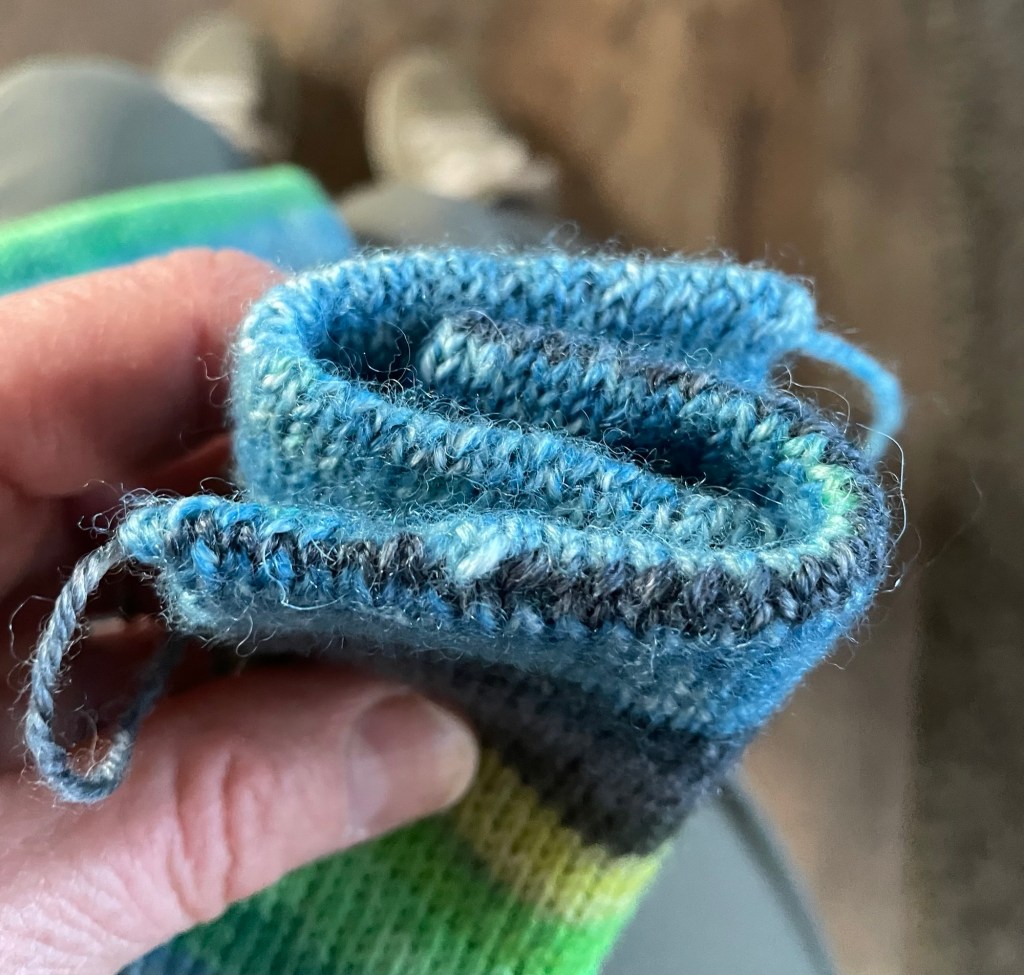
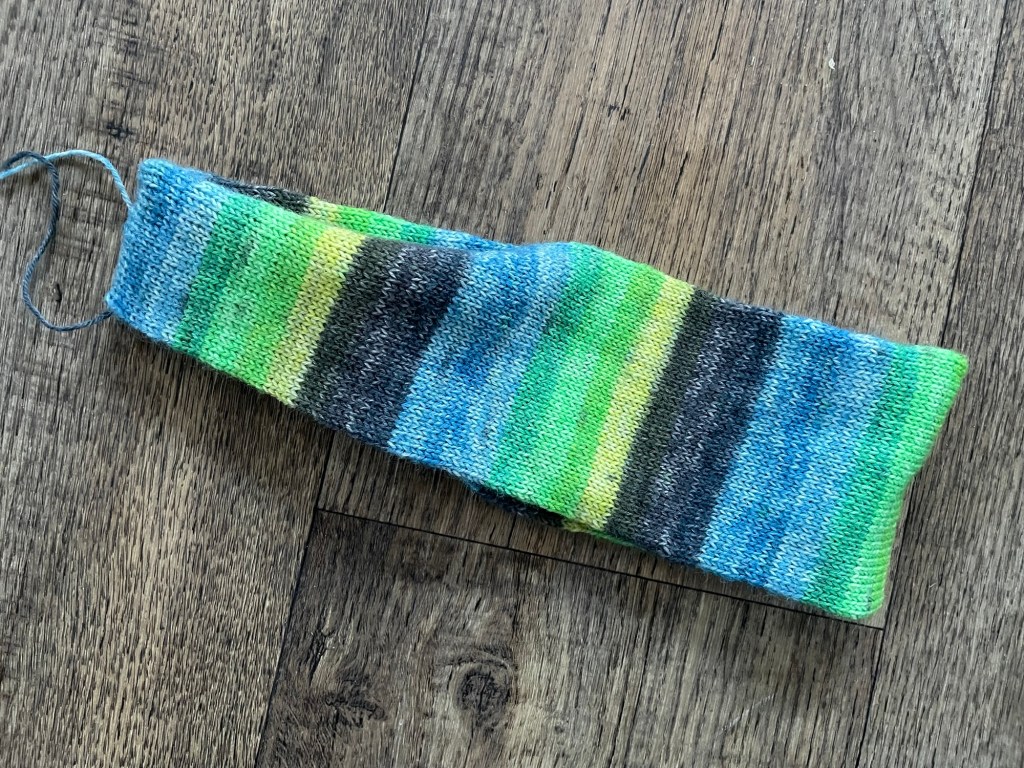
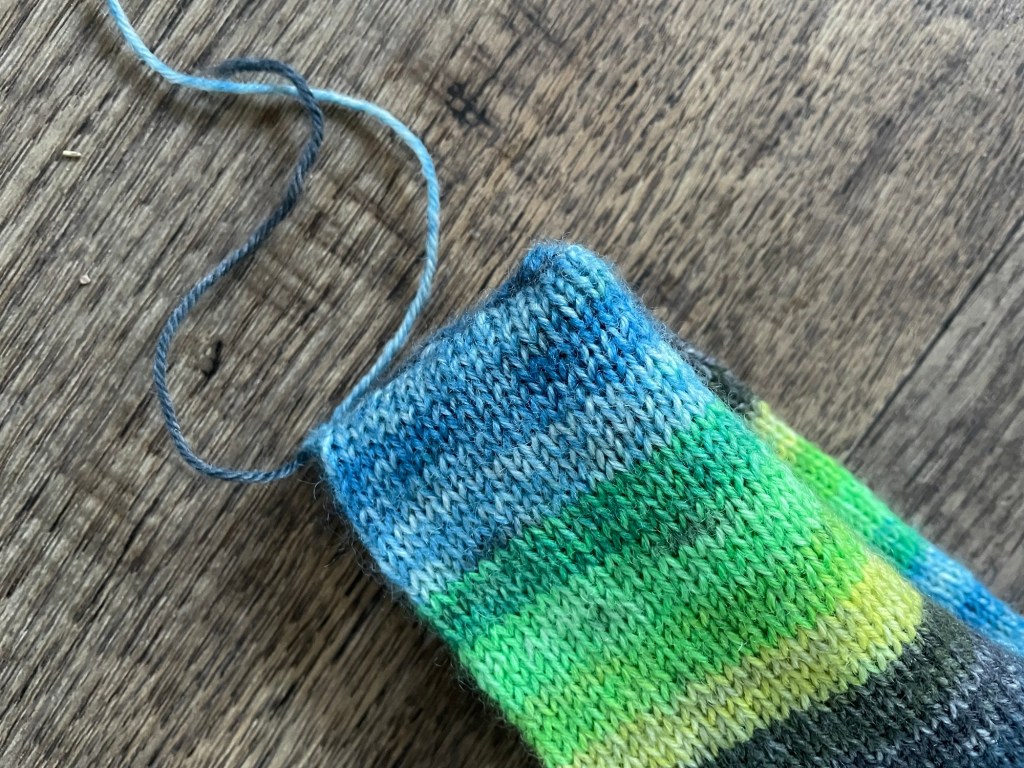
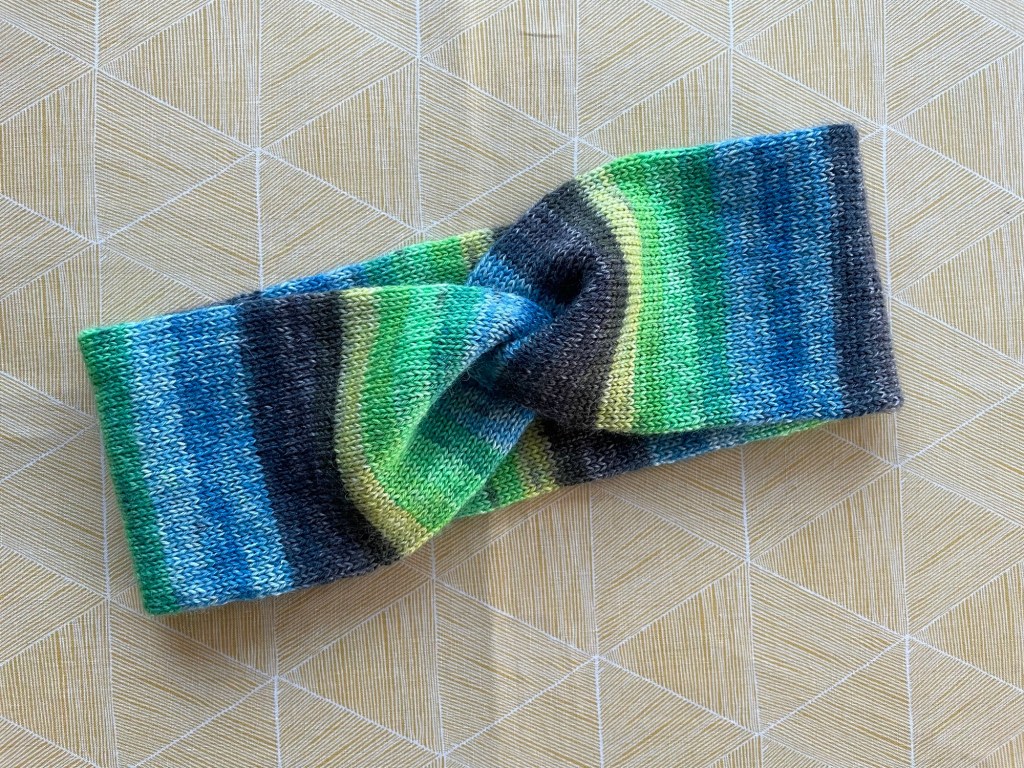
I did stage this photo of knitting while on the funny boat. If that scarf looks familiar, it is. I ripped out a Sophie Scarf I knit earlier so I could remake it narrower and come out the same on both ends.
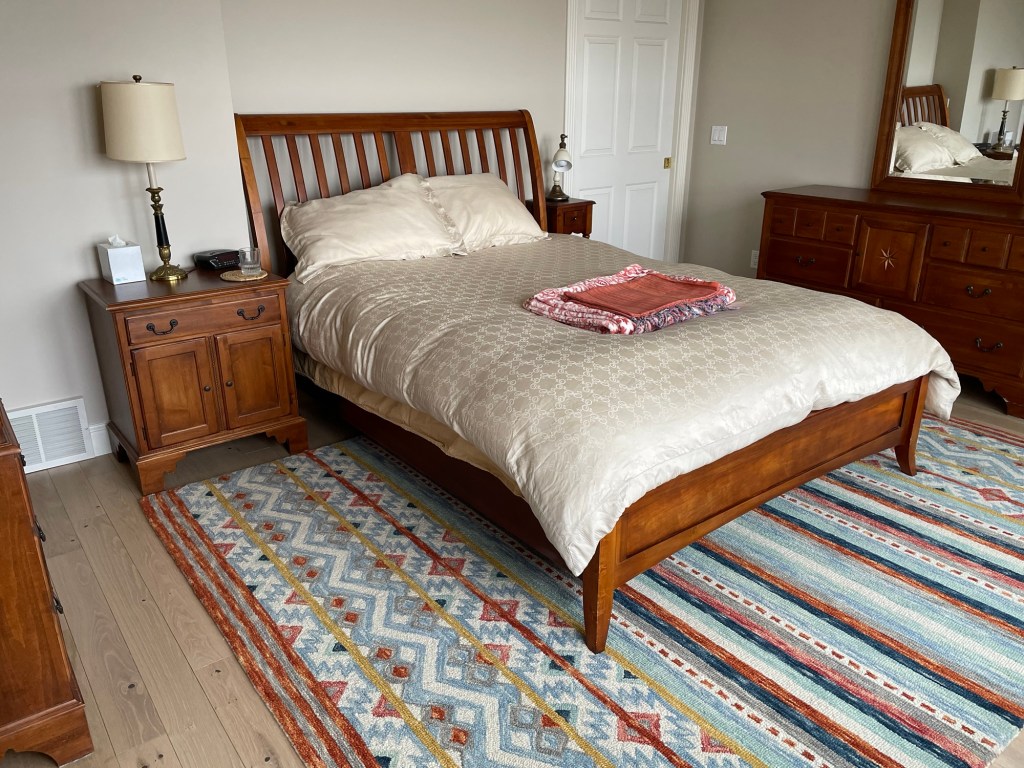
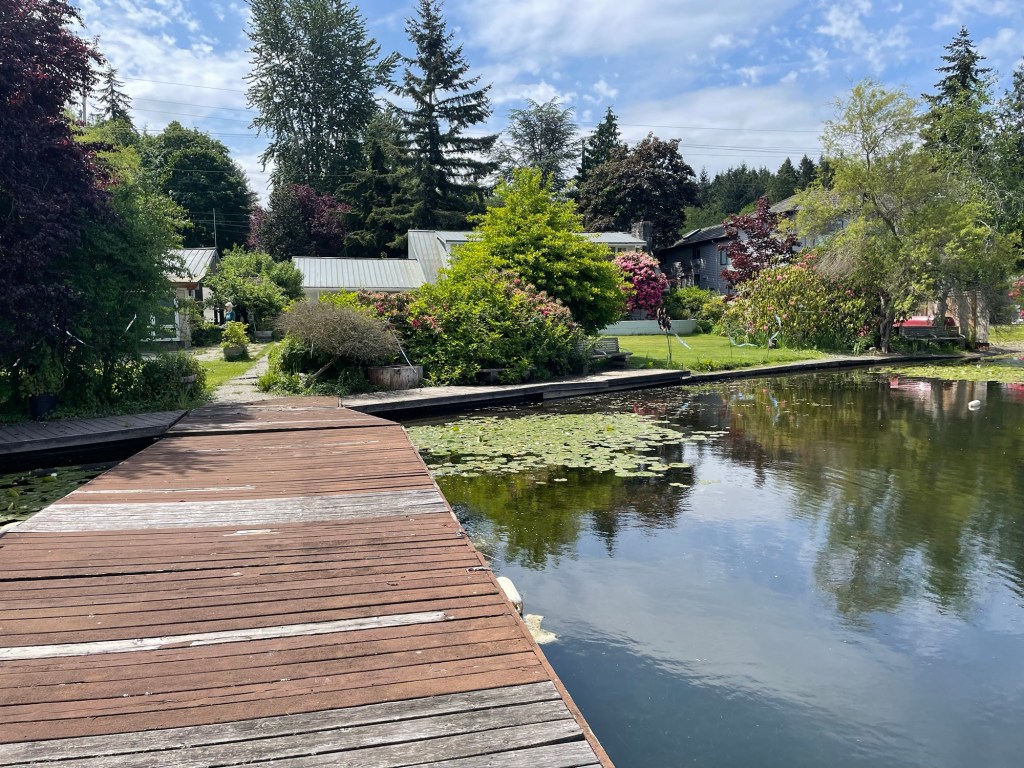
There was a nice view out my bedroom window in the VRBO.

The VRBO had some quirks. The floors were slanting so that you felt like you were on a boat as you headed to the second floor bathroom. Sometimes there was not any hot water for a shower, or maybe the faucets were finnicky. We had to wipe up big dead flies that collected near a big picture window in the dining room. Despite its oddities, the house met our needs.
A couple of the friends did research ahead of time on things to do in Seattle and the surrounding area. A person could be there for weeks and not do everything. I was prepared to just go with the flow.
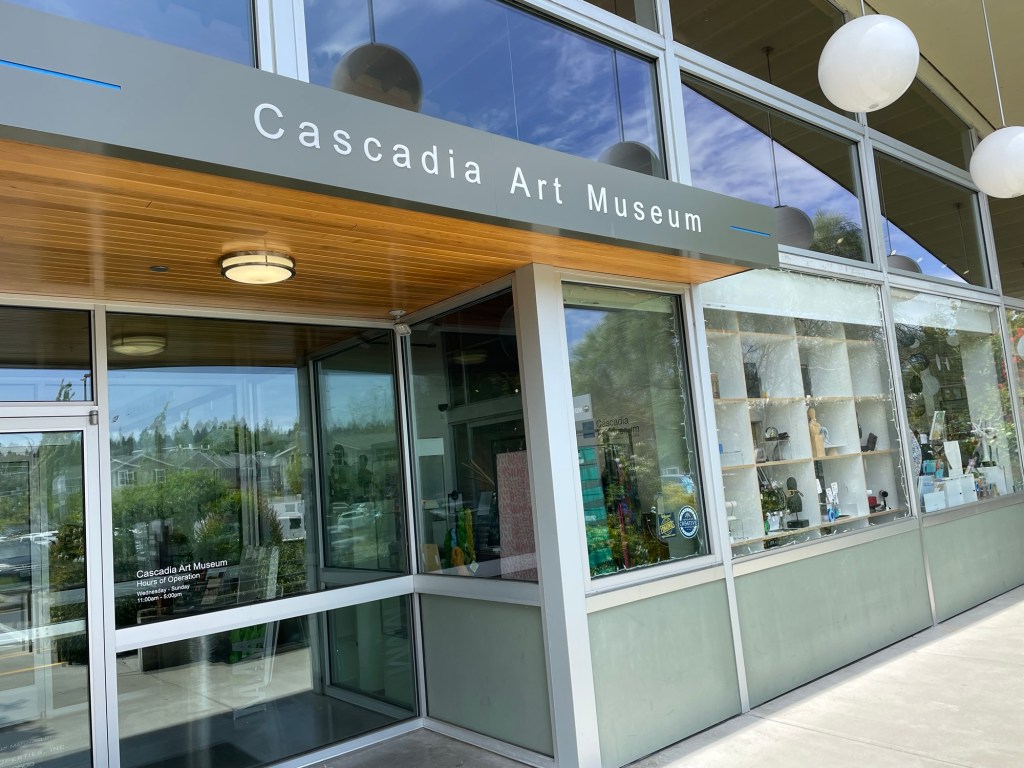
For our first full day we explored Edmonds, without any plan of what we were going to do. At my request the first stop was a yarn shop. No one else in the group is a knitter, so it was nice of them to oblige me. It turned out to be closed due to it being Memorial Day weekend. Just steps away was Cascadia Art Museum, celebrating art of the Northwest, so we headed over there.
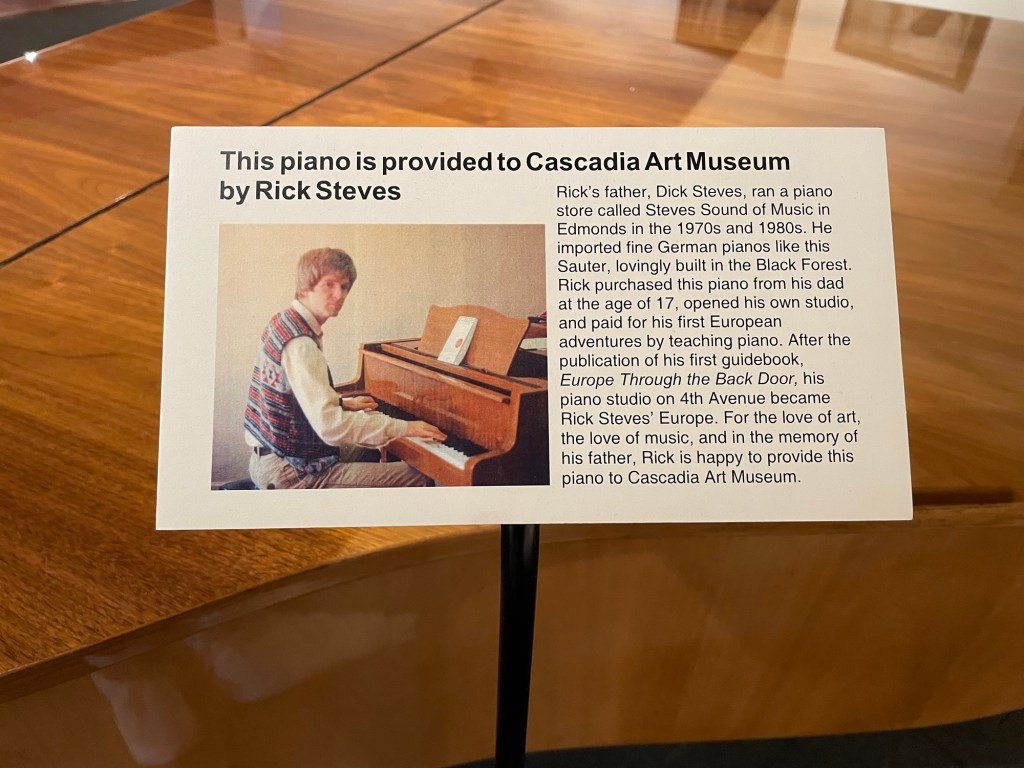
In a prominent place inside the museum was a grand piano donated by Rick Steves, the travel writer. He is from Edmonds and has his business based there.
At the museum we saw advertisements for a community theater play sponsored in part by the senior center, and also by Rick Steves. The play, “Drinking Habits”, is about some nuns at a convent who are secretly making and selling wine. There are mistaken identities, romances, and people going in and out of doors. It sounded fun and there was a showing at 2:00 that afternoon, so we decided to check it out after lunch.

When we got to the theater, we found that there were only three tickets left. After waiting around for a few minutes, someone turned in a ticket and we were able to attend. We are retirement age, but it seemed like we were the youngest people there. One of my friends, Marla, was talking with the woman sitting next to her during intermission. After the play was over, Marla told us that the woman asked her if she had paid for her ticket (she had). It turned out that the reason the seat had become available was that the woman who had originally purchased the ticket had died. It does not sound funny now, but at the time we all started laughing.
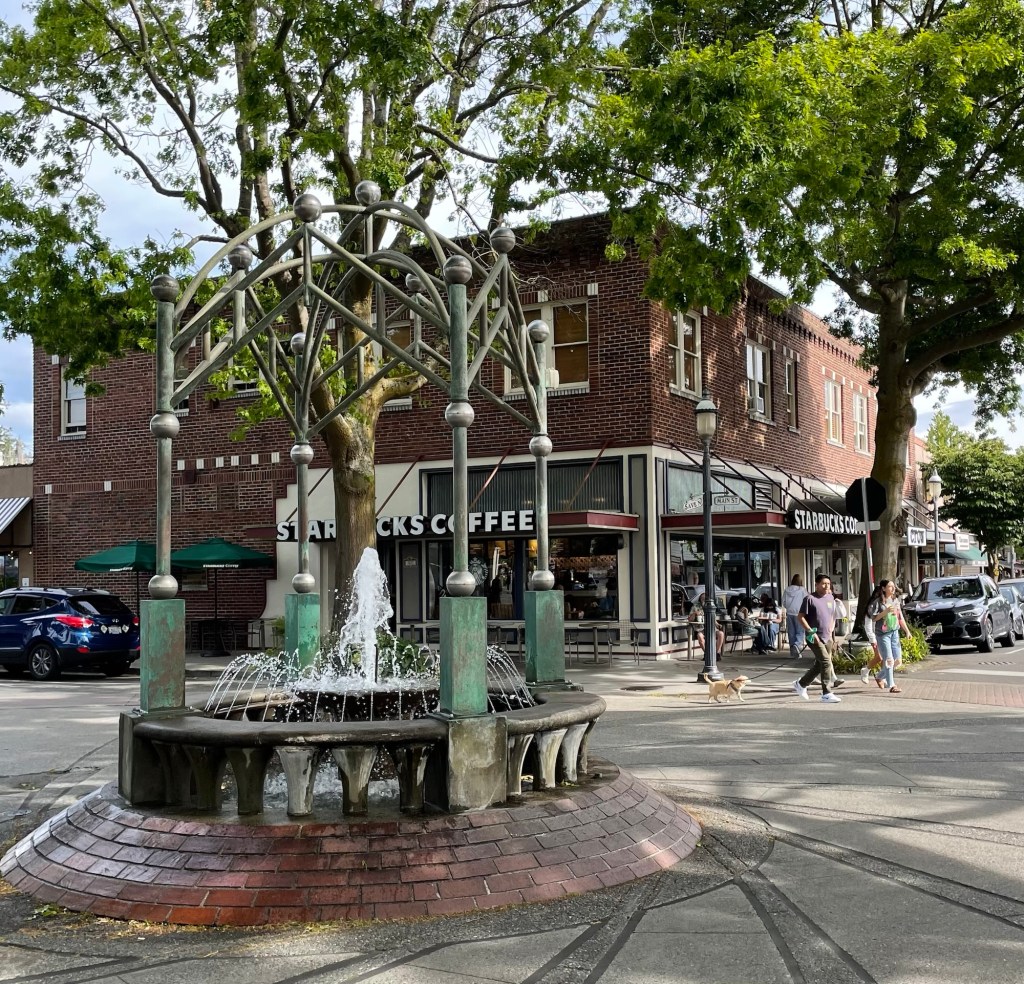
After the play was over, we walked around the cute commercial area of Edmonds.
Something I don’t see at home are racks of umbrellas available to use and return as needed, given it rains a lot there. Luckily the weather was beautiful during our visit and we did not need umbrellas.

There was a museum in an old Carnegie library building with more pretty flowers in front, but it was closed.

There are many towns and things to do on islands and across Puget Sound. We had considered several outings that involved taking a ferry boat, but knew that was a bit of a hassle and involves a lot of waiting around. We decided that whale watching would get us out on the water and it would be fun to see a whale. On day two of the vacation, Sheri dropped the other three of us off at the Port of Edmonds before heading off for a kayaking adventure on her own instead.

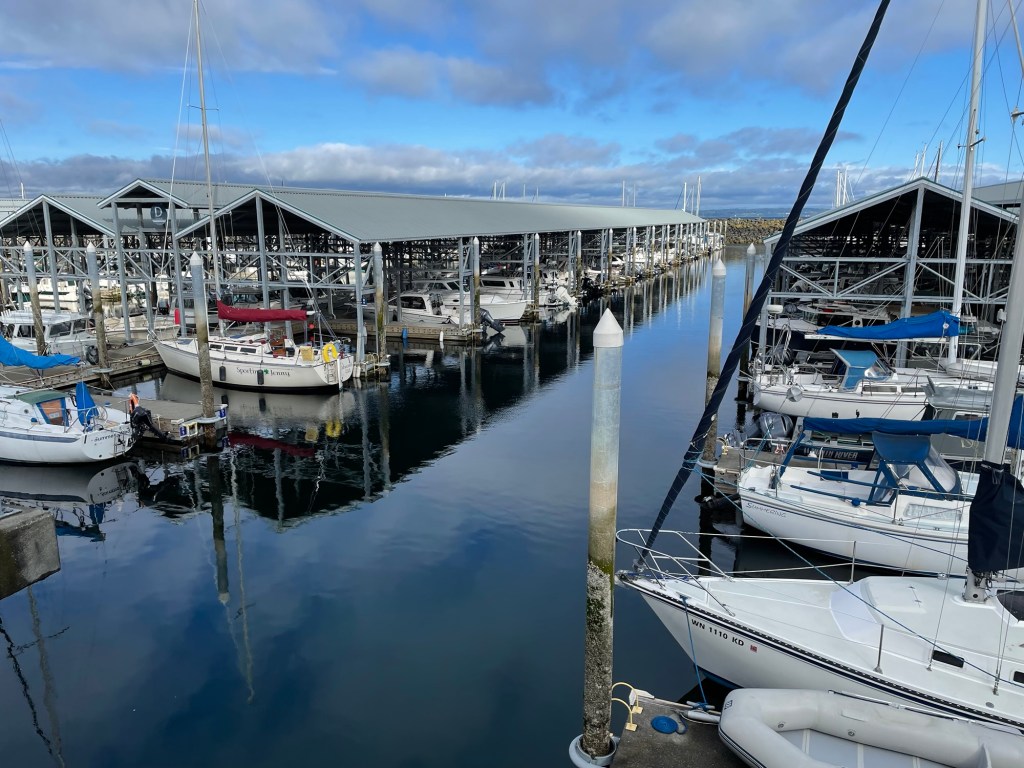
We had a few minutes to explore before it was time to board the whale watching boat. As everywhere, there were flowers and nice landscaping.


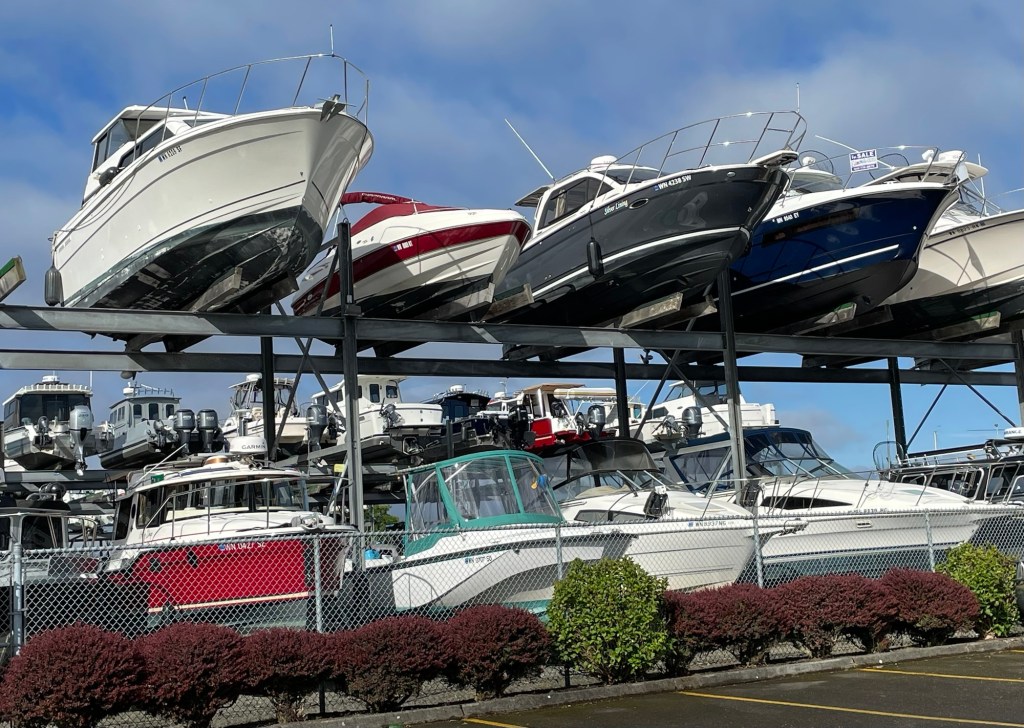
There were hundreds of boats waiting for someone to take them out for a ride.
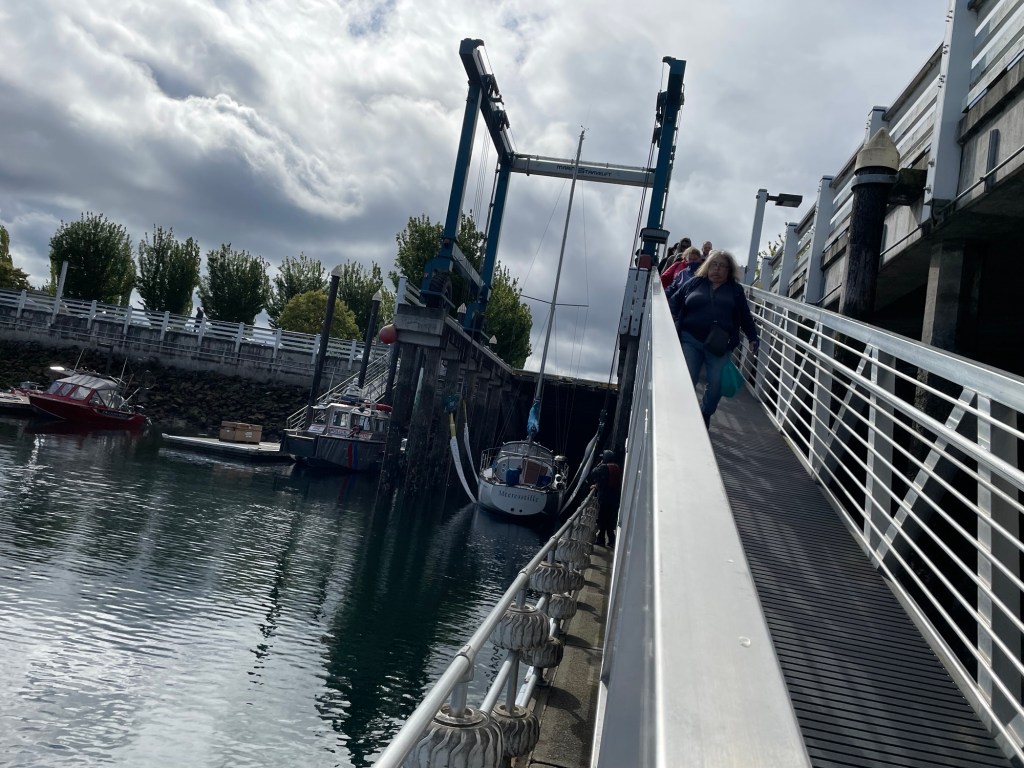
We saw a giant sling used to transfer boats into or out of the water.
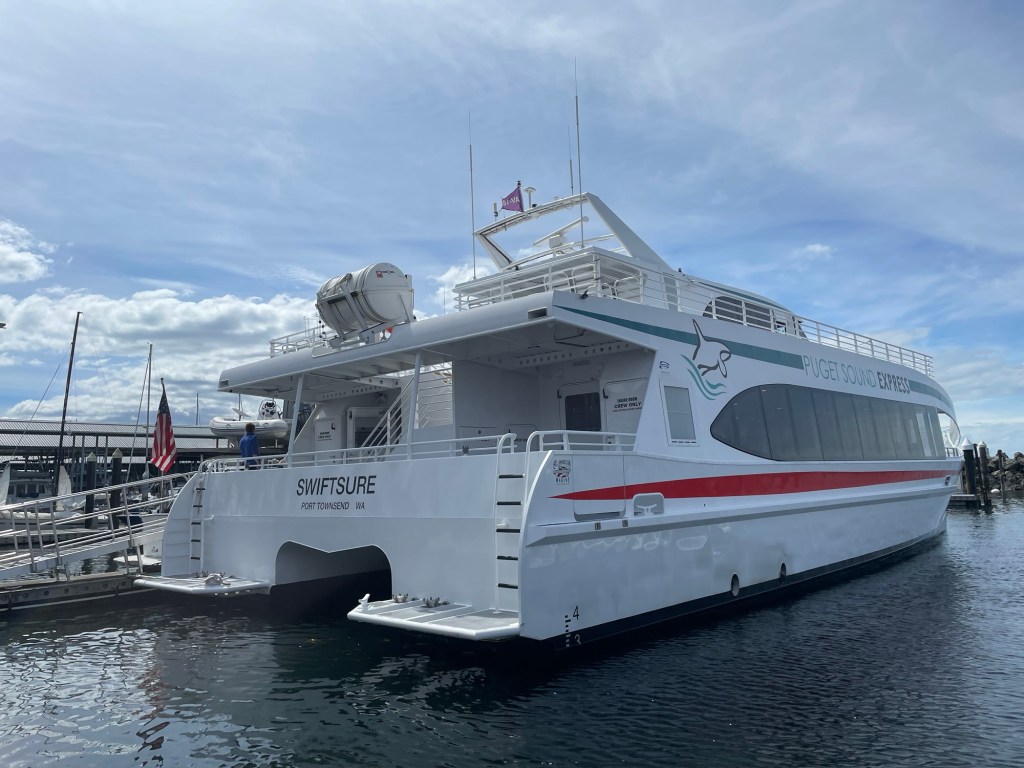
The whale watching company we used is a family business called Puget Sound Express, which has four boats operating out of two ports. The “Swiftsure” boat was built two years ago specifically for whale watching. It can go very fast and has stadium style viewing areas on the front so everyone can see.
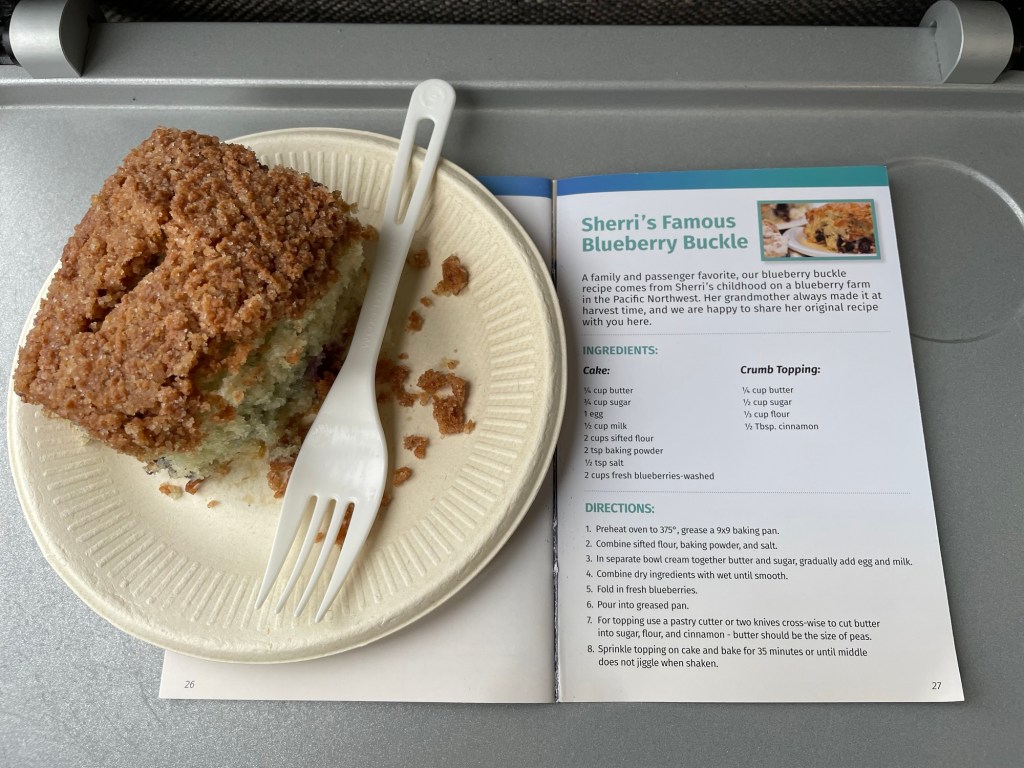
Freshly baked blueberry buckle from a family recipe was available for purchase on the boat.
The captain explained that he did not know ahead of time what direction, or how far we would go, to see whales. However all the whale watching boats communicate and let the others know if and when they find whales.
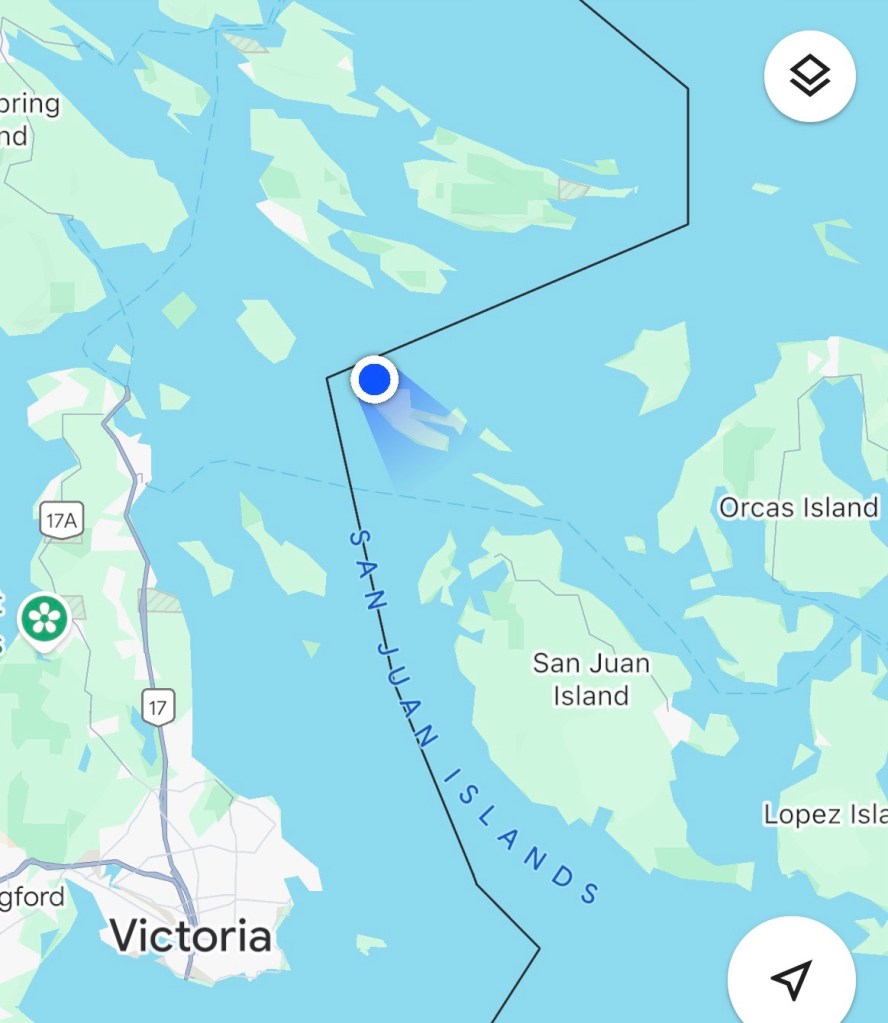
I took the following photo from the back of the boat as we headed north through Puget Sound, going very fast. Most everyone stayed inside the boat for this part as it was very windy outside.

We were north all the way to the San Juan Islands when we got to some Orca whales, also known as killer whales. I took a screen shot of the map on my phone at the spot where we saw the whales.
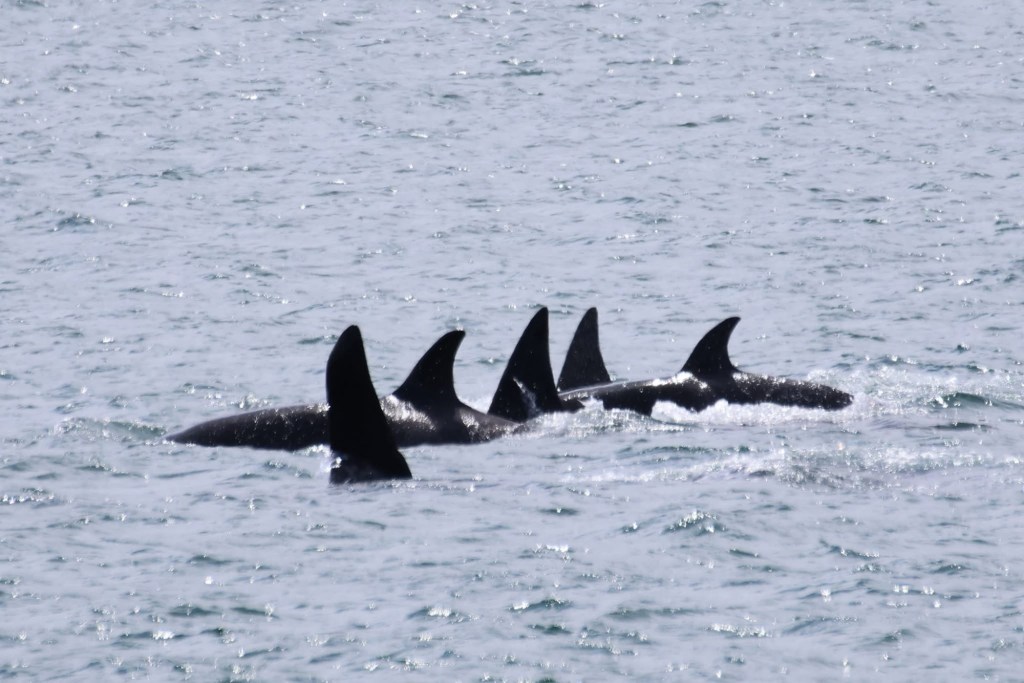
I have been whale watching before and know it is hard to get any good photos. Assuming you see whales, you see a back or maybe a tail if you are lucky, but only for a second before it goes under the water again. Unless you have a really good camera, any photos you do get look like a black blob far away. This time I focused more on watching for a whale, rather than trying to get a photo, but I did get a couple of decent photos.

The naturalist on the boat, Kyla, provided a lot of interesting information about the whales we were seeing, and also had a very good camera. Kyla took quite a few excellent photos that she posted on facebook a couple of days later. You can look at them here. I downloaded (with permission) the following two photos taken on May 26 during our excursion.
Kyla told us that humpback whales were practically gone from Puget Sound due to over hunting by the early 1900’s. Since around 1990 they have recovered from one to close to 1000.

The naturalists know all the individual whales based on their markings. Kyla told us the group of seven Orca whales together we saw were two family groups composed of a mother with her 11 year old daughter and 23 year old son, plus another family of four (she told us the relationships but I did not get it written down fast enough). The humpback whale in the photo is named “Strike”.
I have been to Juneau, Alaska, before. I know it is in the area called “Southeast Alaska”, but I had not paid attention before to the fact that it is really just north up the coast from Seattle and Vancouver. On the map it looks like it should be part of Canada rather than the United States. Before 1867 the land where Juneau is located was Russian territory. The land to the east that is now British Columbia was controlled by Britain. Russia did not want to sell the territory to Britain for political reasons. They sold it to the United States, which caused a border dispute between the United States and Canada that was not resolved until 1903.

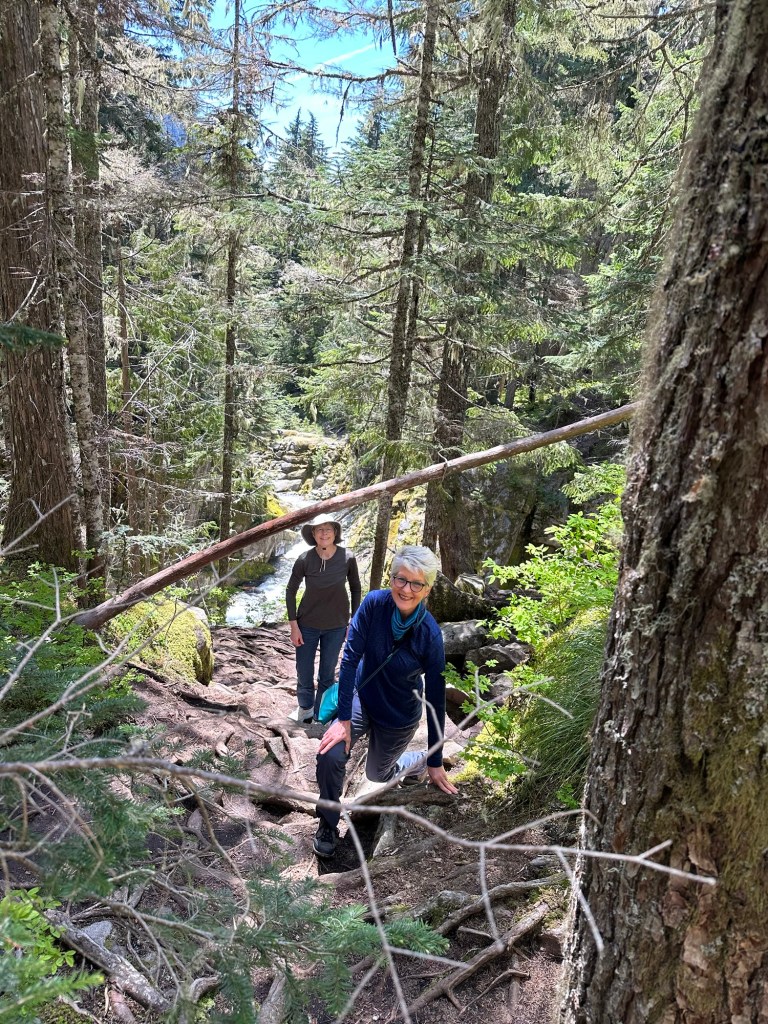
On day three of our Seattle adventure we drove a couple of hours south and a little east to Mount Rainier National Park. Interestingly that was not even on our original brainstorming list of things to do, but we were so glad we went. This is one of the earliest national parks to be established, in 1899. There is a road through the southern part of the park with amazing views, scenic overlooks, places where you can do a short or longer hike, see waterfalls, and stop at several visitor centers.
The architecture style of park buildings was copied by other national parks later. Following is a photo of the Longmire Wilderness Information Center near the Nisqually entrance in the southwest corner of the park.

Inside the information center was a 3D map of the mountain. You can see where the road goes through the park starting in the lower left corner.

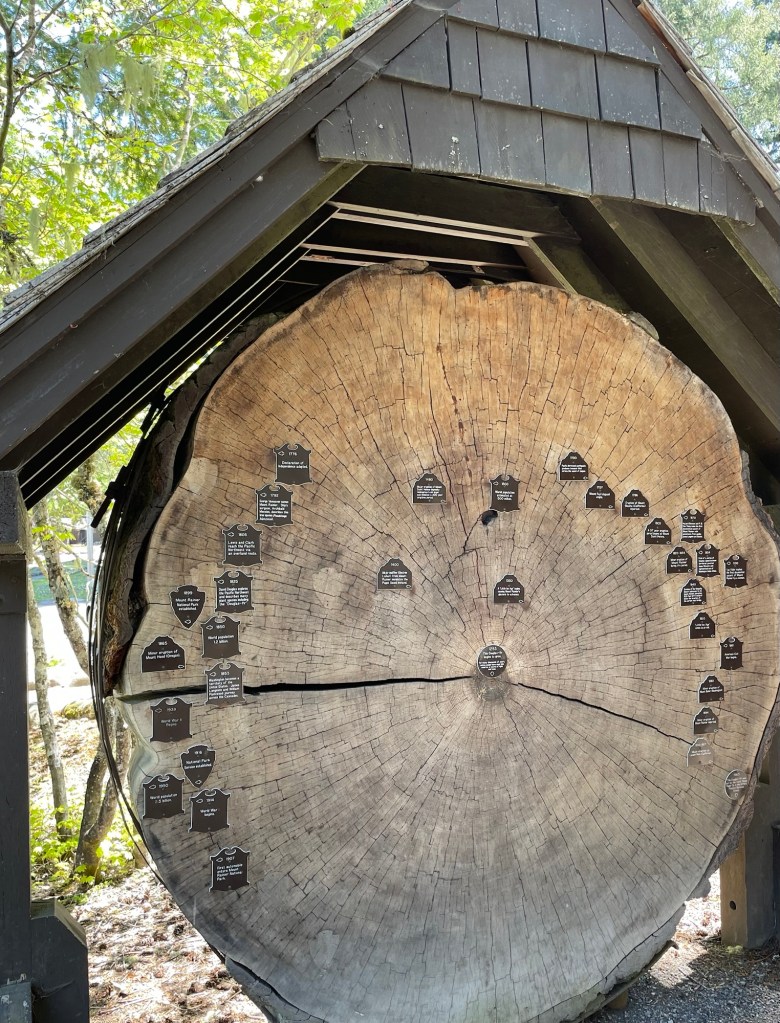
There was another smaller museum building at the Longmire stop with some history and information about the park, and quite a few taxidermy animals. Outside the museum building was a ginormous tree trunk with markers for certain years of note. At the very center is a marker for the year 1293. Oh my gosh.

Following is a photo of Fay Fuller, the first woman to reach the summit in 1890. Her outfit seems cumbersome, but at the time it was considered very scandalous.

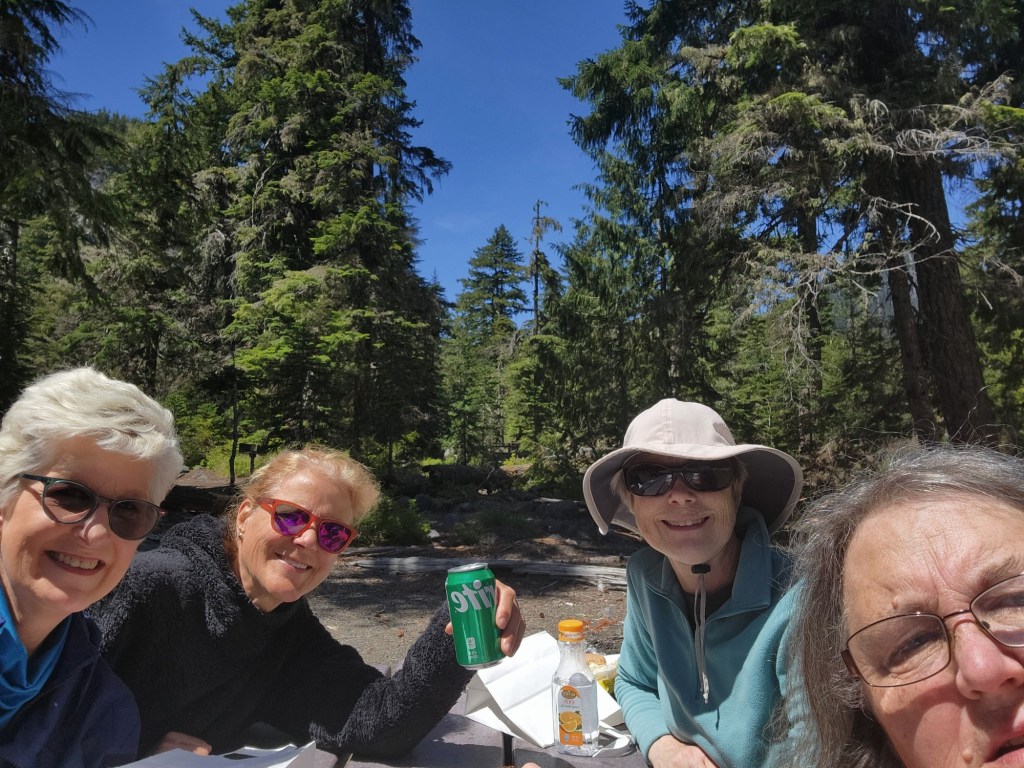
At one of the last towns before entering the park, we had stopped at a convenience store to get provisions for a picnic lunch. The sandwiches were practically the same price as the “sack lunch” they were advertising, so that was a no brainer. We found a place inside the park with picnic tables to eat lunch.
There were many scenic overlooks and places to get out of the car to gawk at the scenery or hike a bit off the trail.


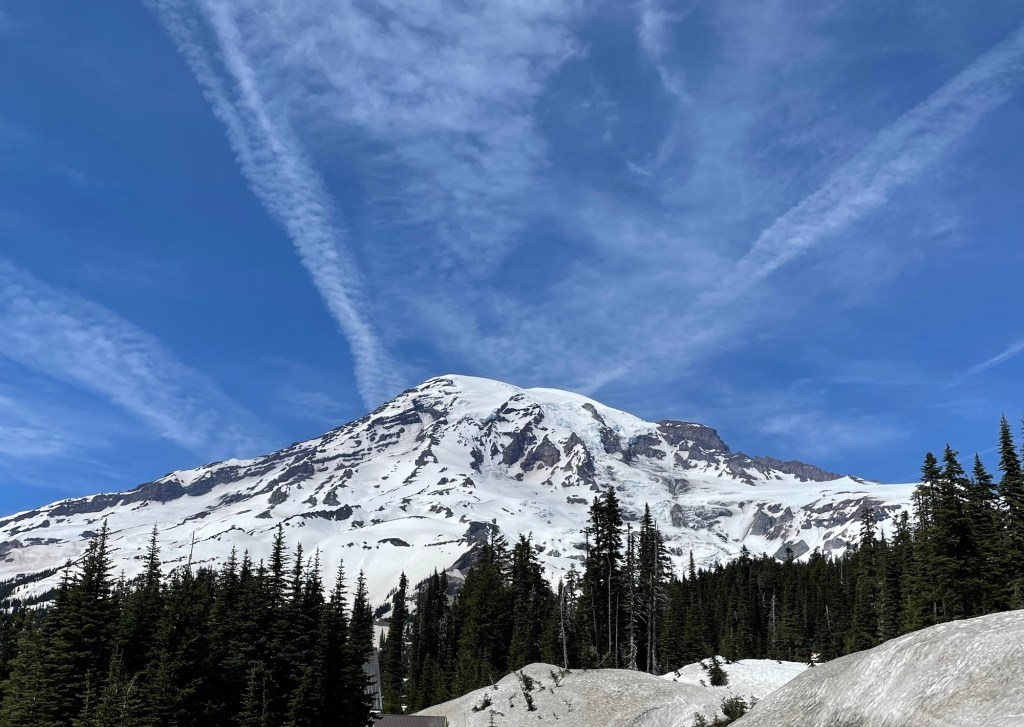
Continuing on the scenic drive, we came to the area called Paradise, where the large Henry M. Jackson visitor center is located. The following photo was taken looking a different direction than Mount Rainier. There are awesome views all around.

The temperature was warm, but there was still a lot of snow at the higher elevations. Mount Rainier is 14,410 feet above sea level. It is an active volcano, which I am glad I did not think about until after I got back home.

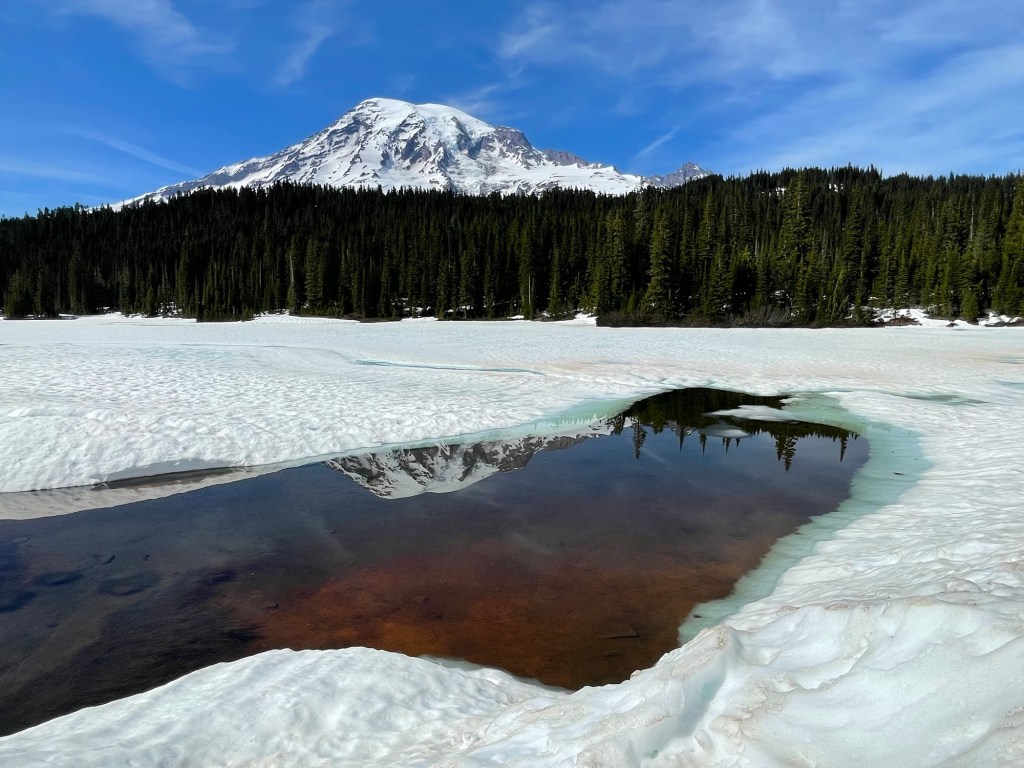
A little way east of Paradise is Reflection Lakes. This is a spot where people take cool photos with the mountain reflecting in the lake. The lake was mostly frozen and covered with snow, but there was a section of open water that was enough to get a reflection.

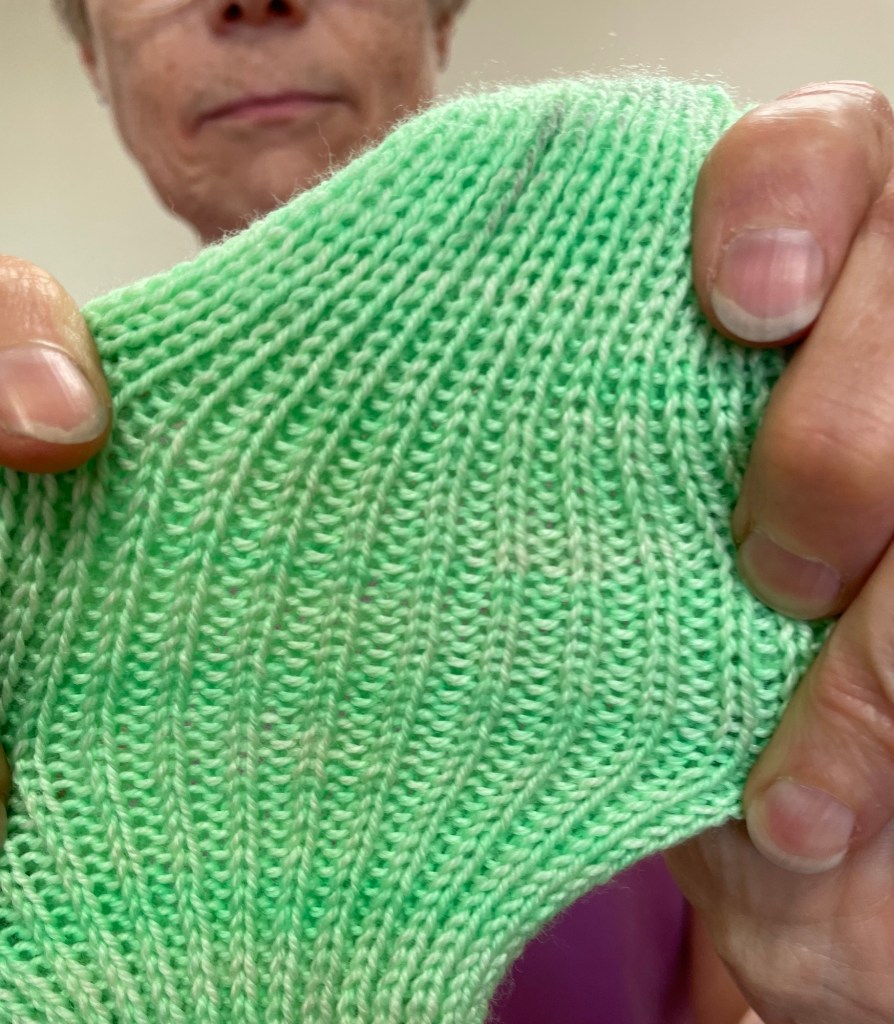
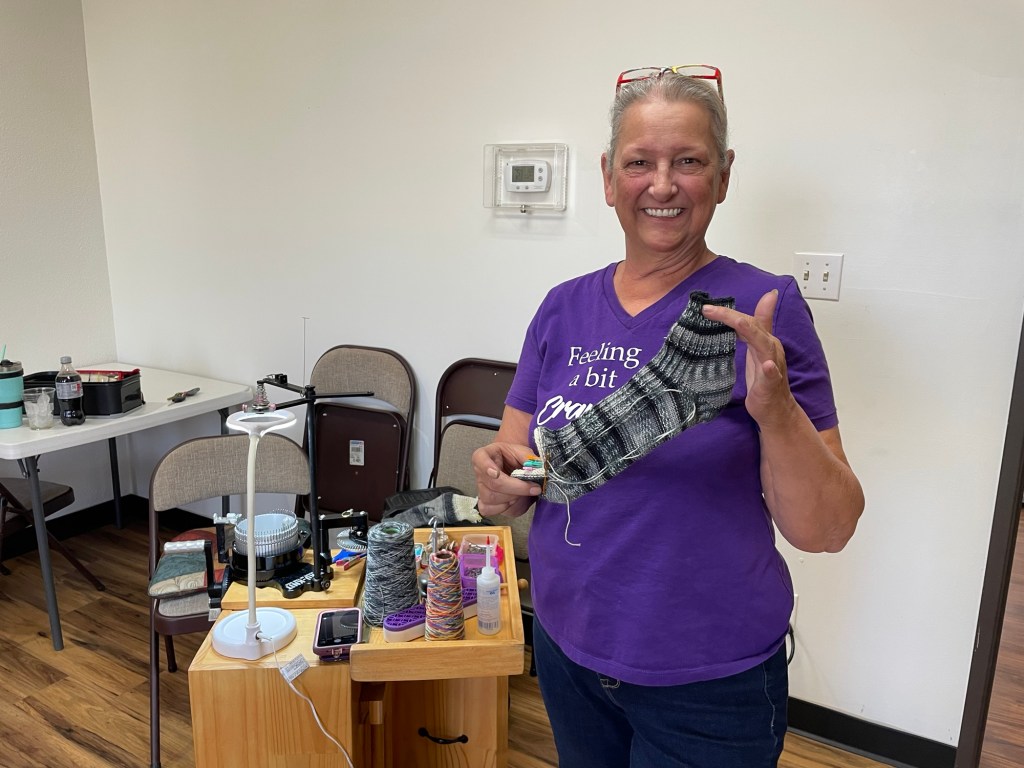
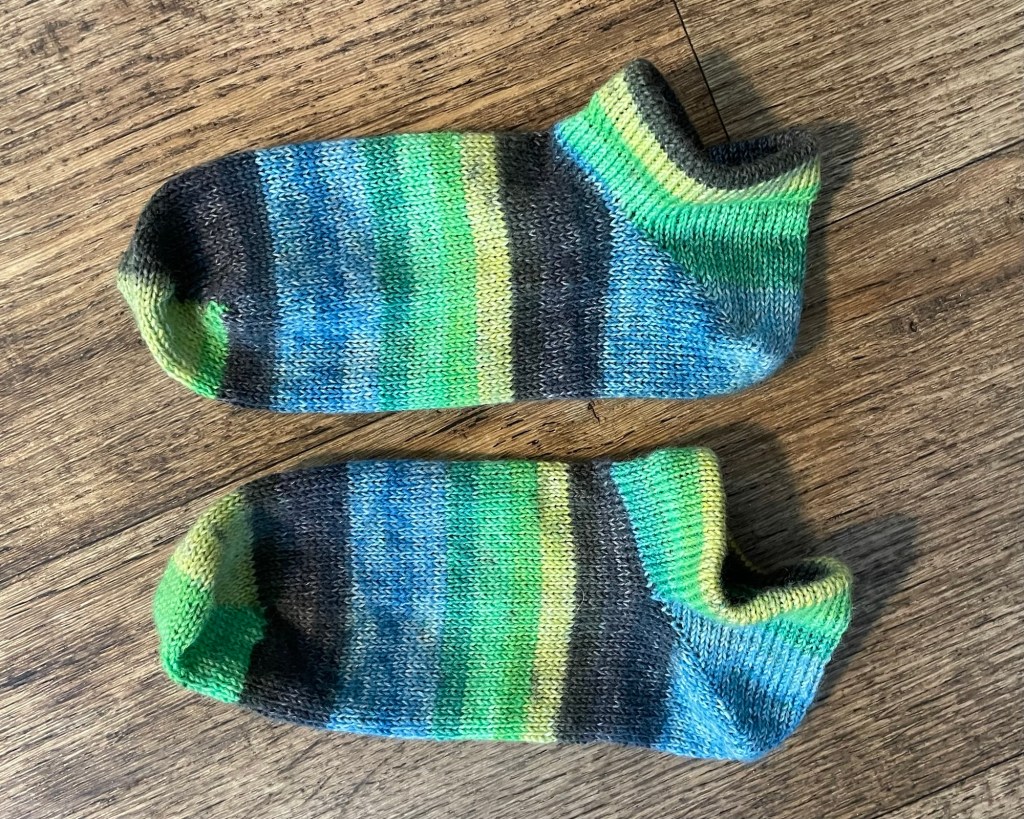
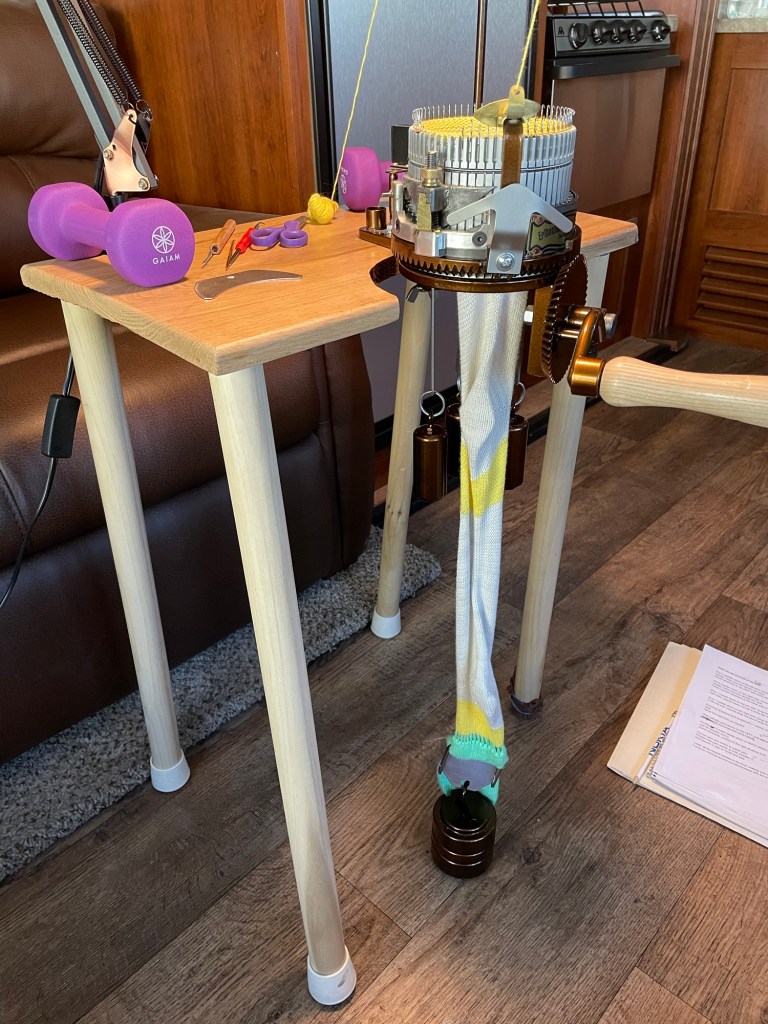
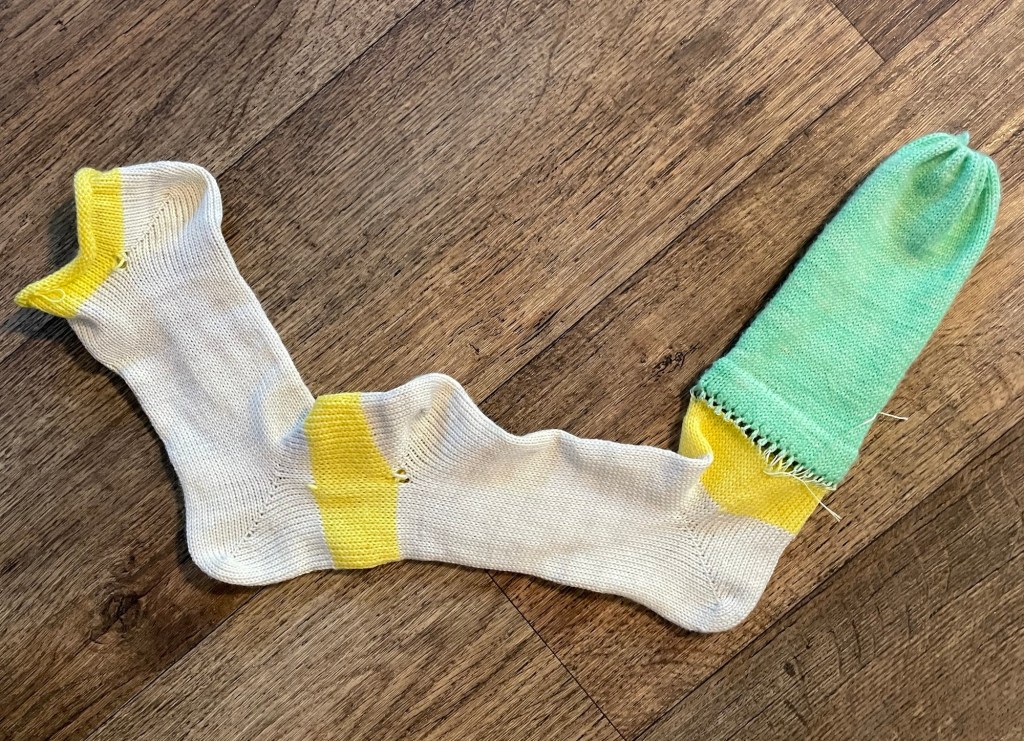
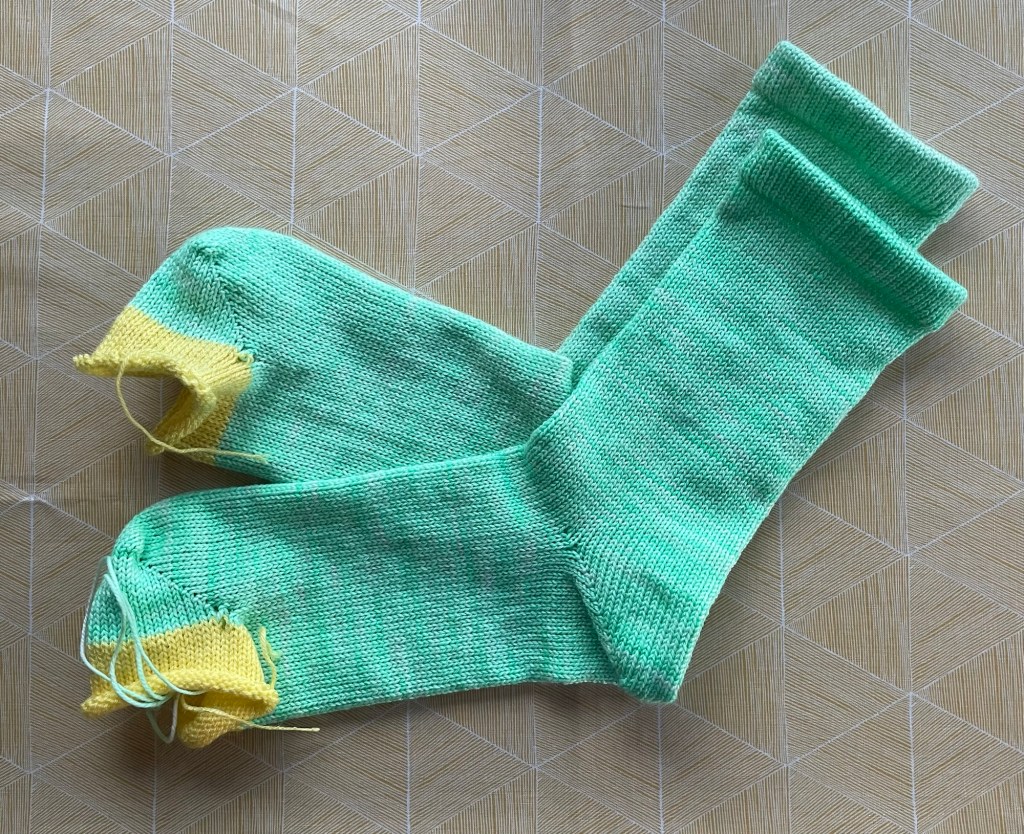
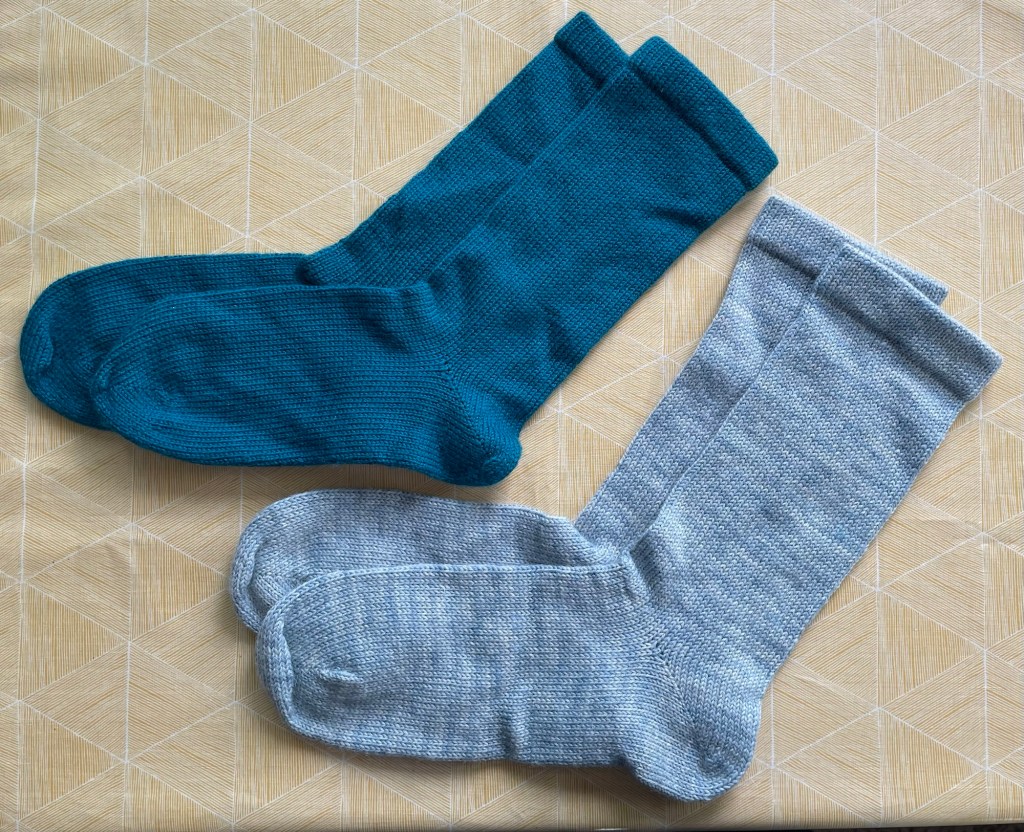
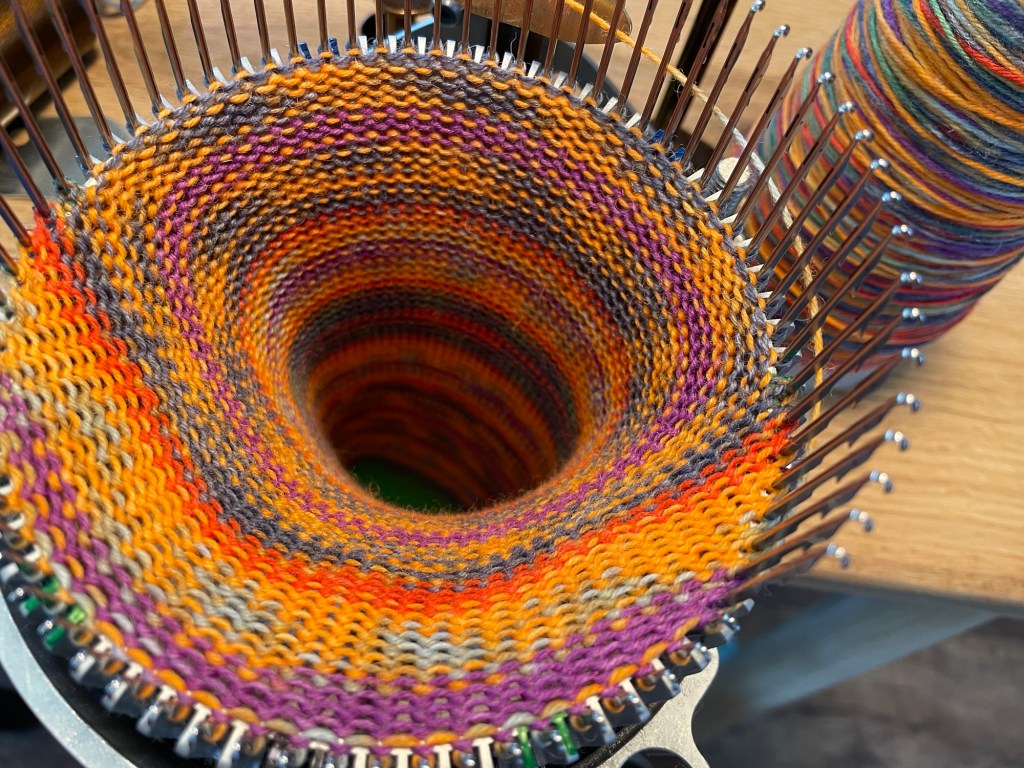
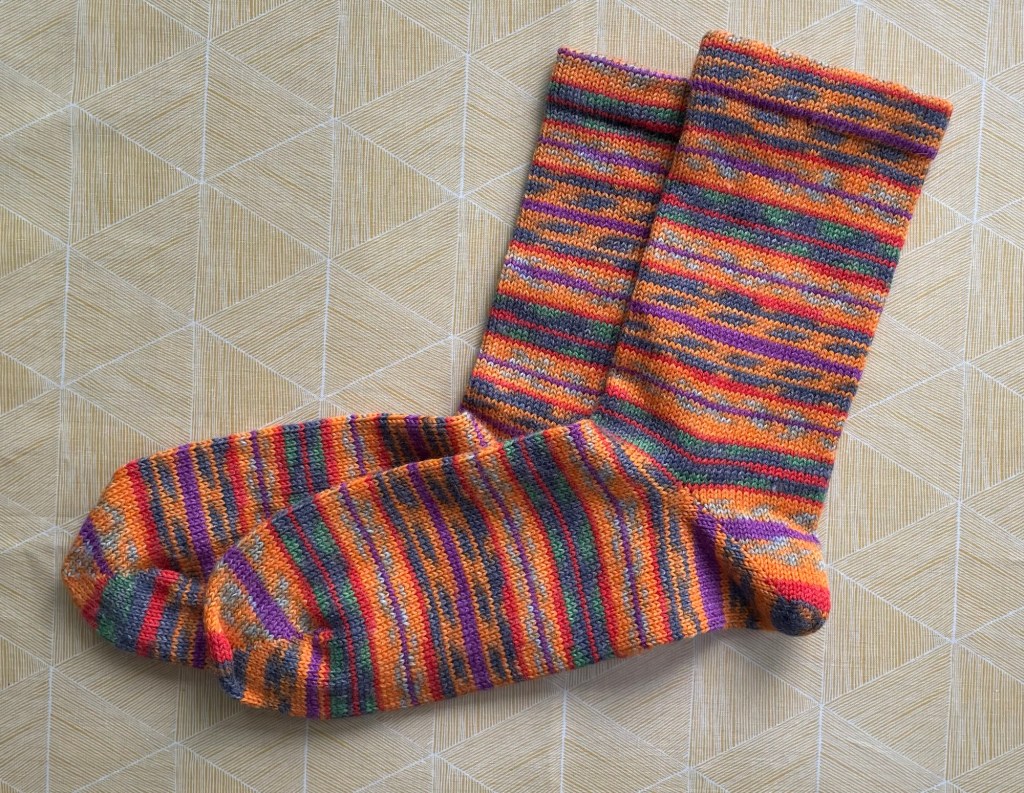
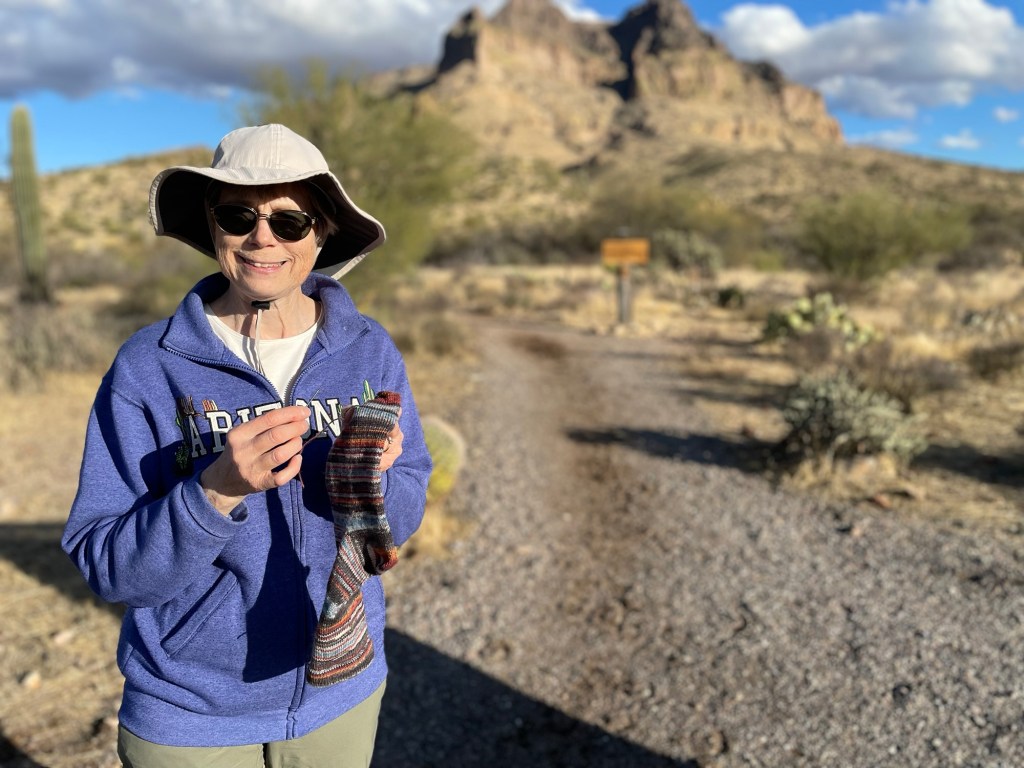
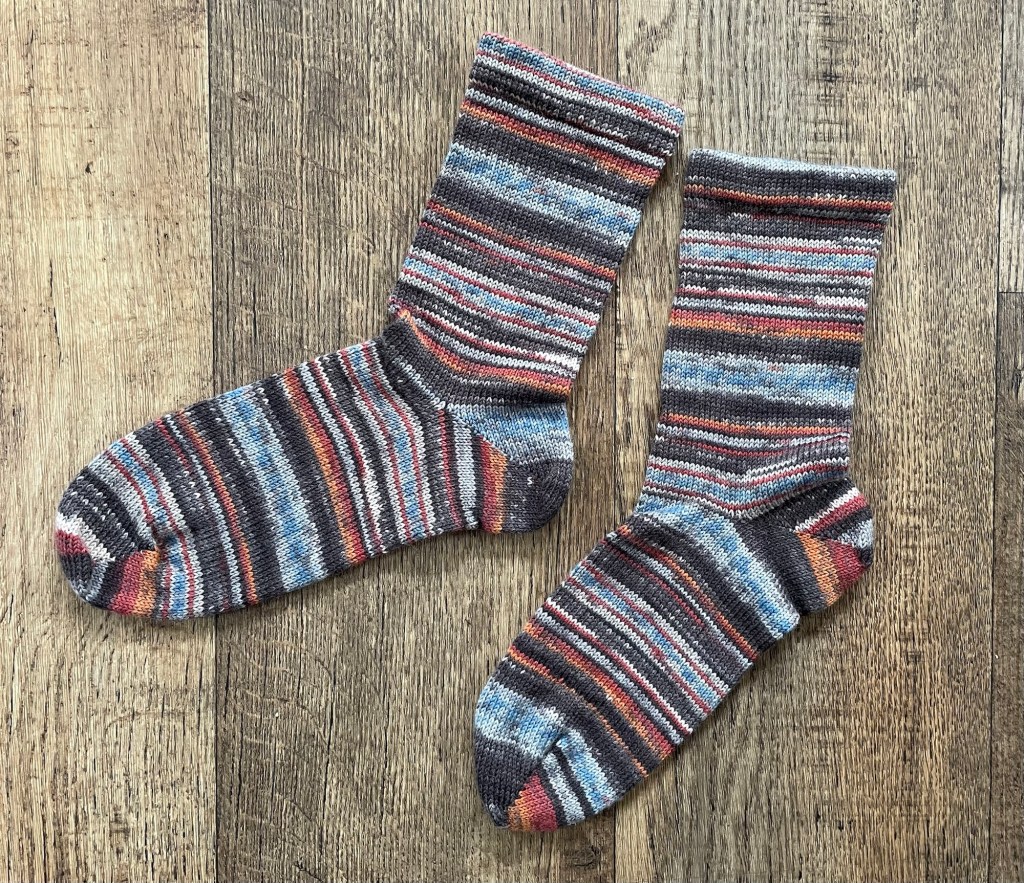
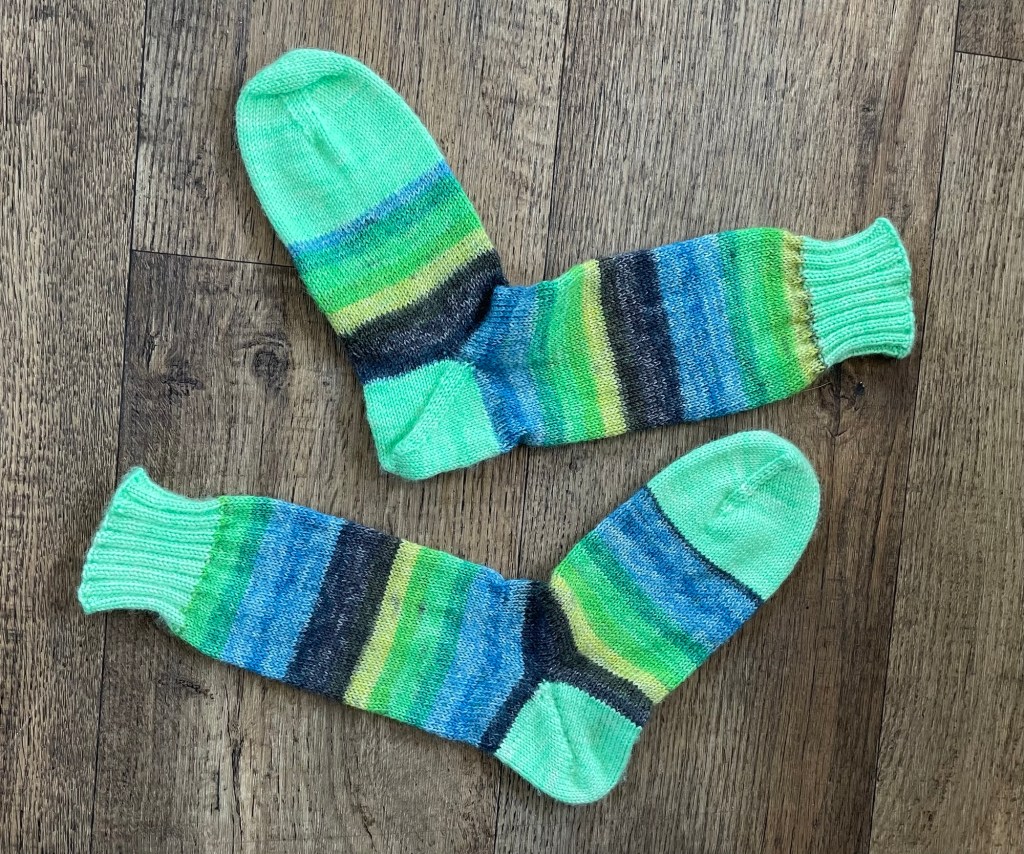
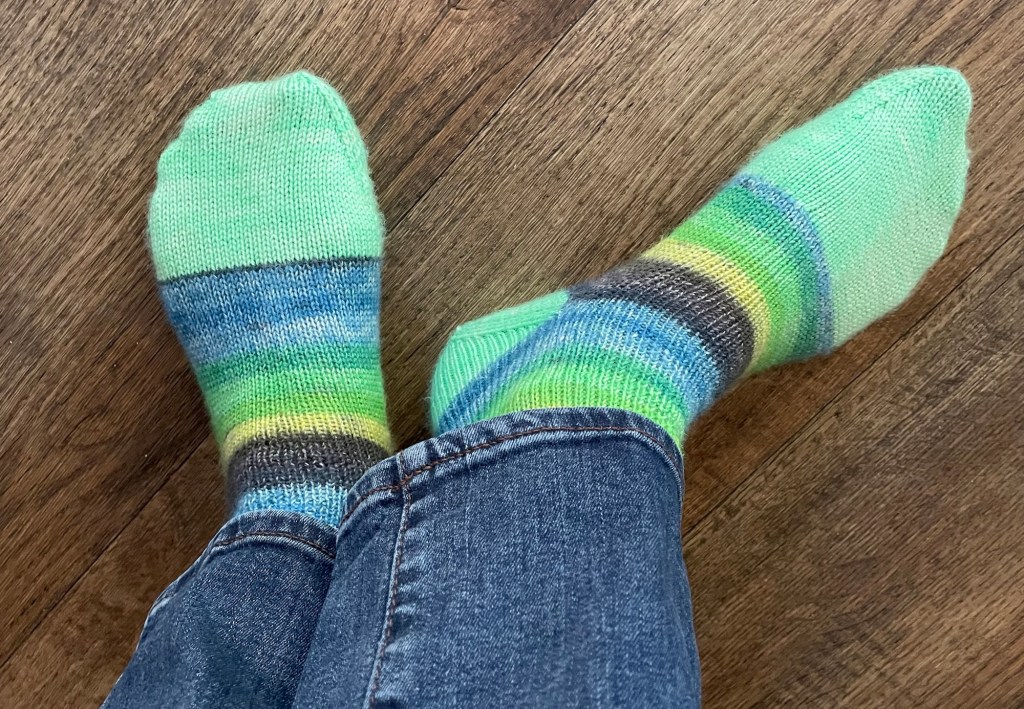
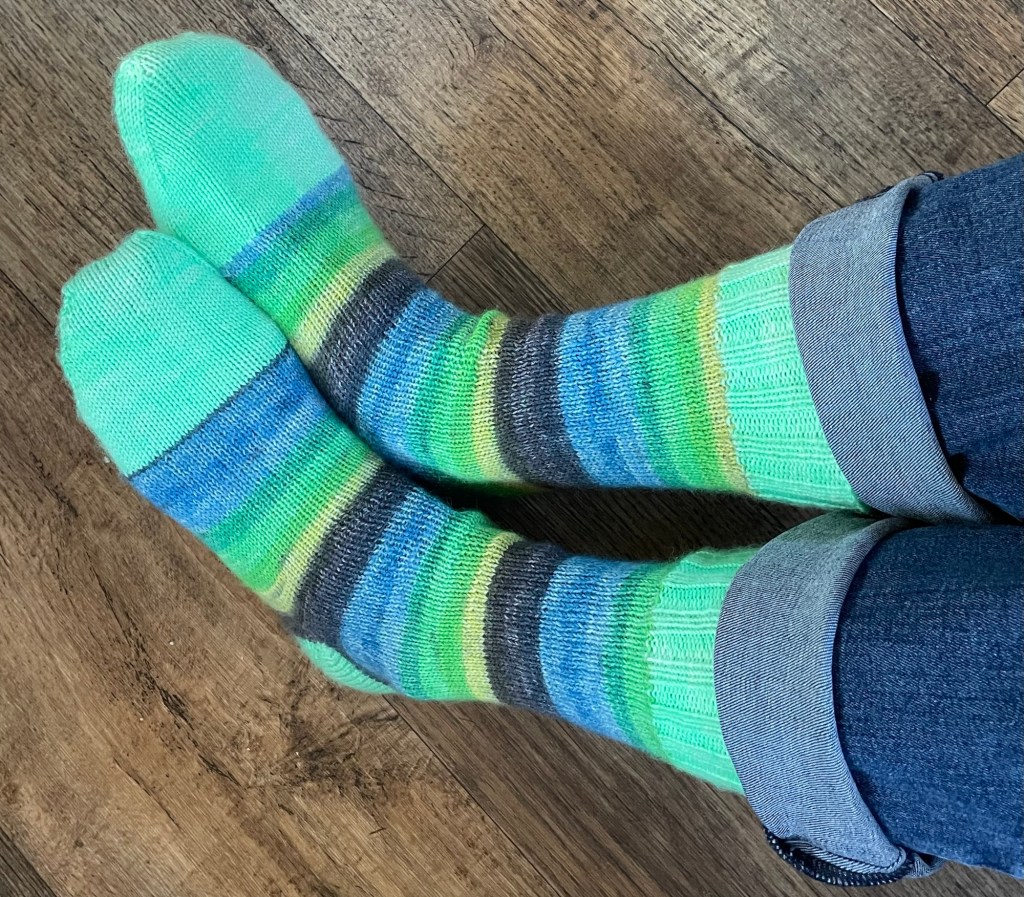
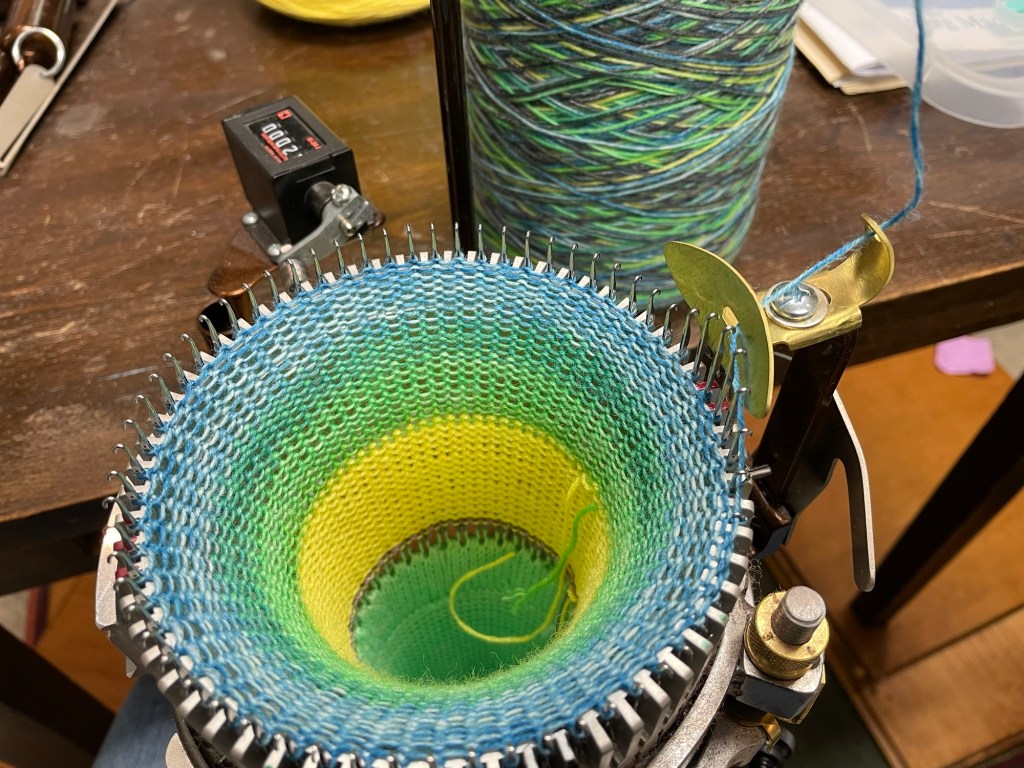
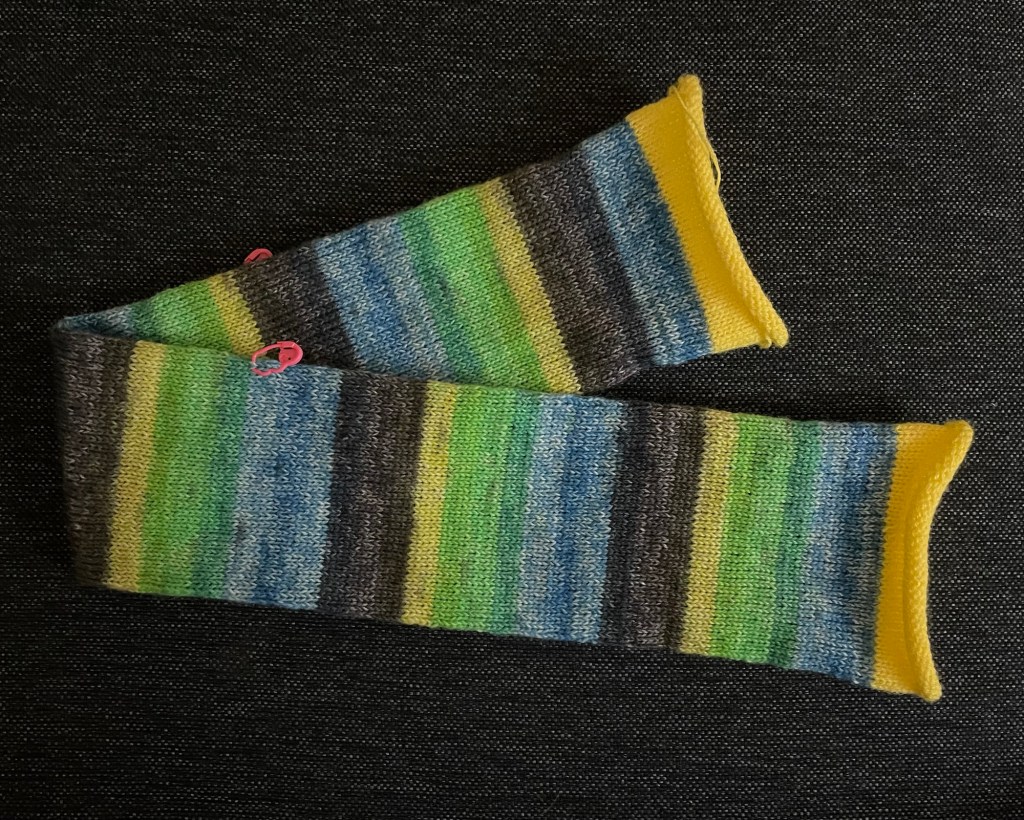
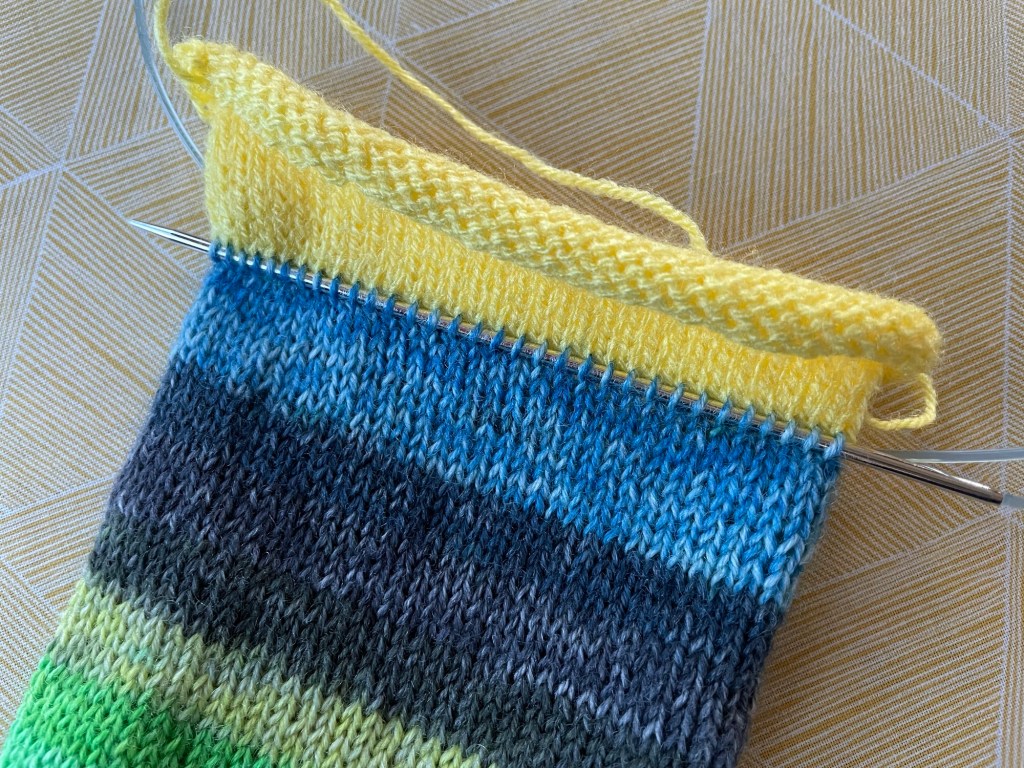
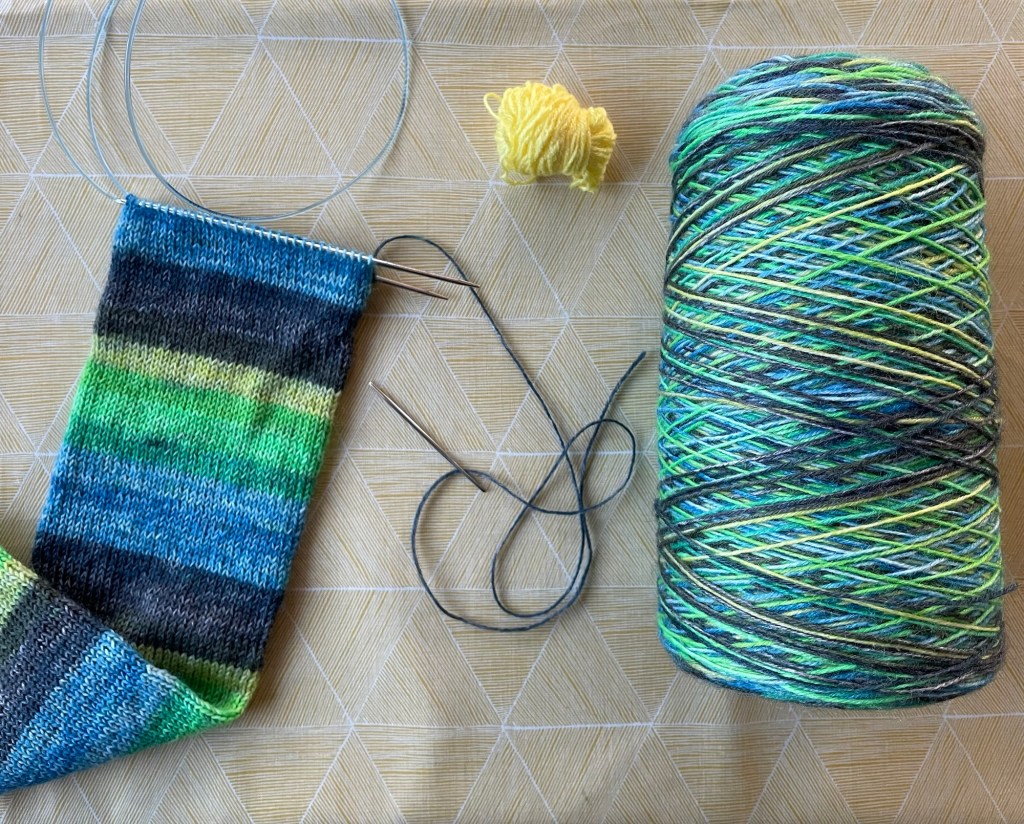
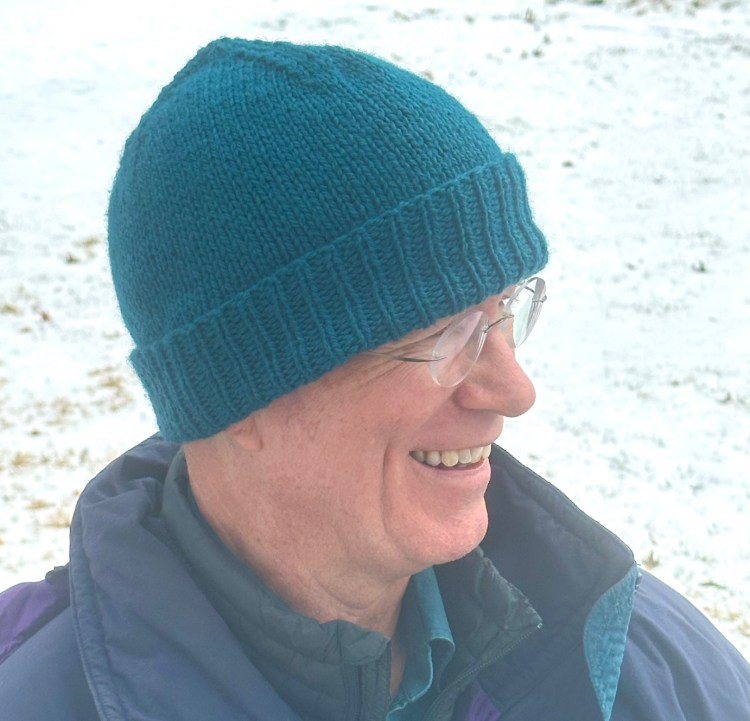
In the next photo I am wearing some socks I cranked out on my sock machine just before the trip.

We intended to drive further to a spot where there is a mile and a half long hike, but gave up on that idea. By the time we finished taking photos at Reflection Lakes it was getting late in the afternoon, we were tired, and it was a long drive back to Edmonds.
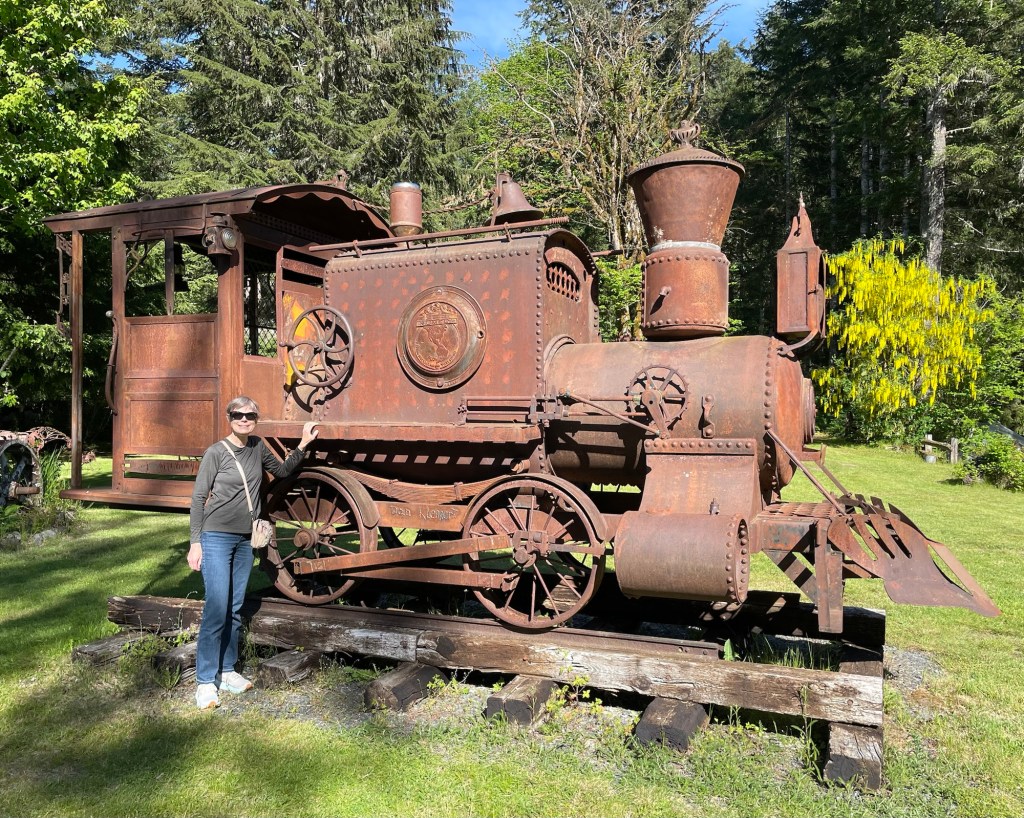
On the way back we made two stops at places we had noticed on the way to the park. First was Recycled Spirits of Iron Sculpture Park. Dan Klennert makes amazing large sculptures out of scrap metal and other found objects. We were the only ones there, but possibly it would be crowded in the summer. It does not cost anything to walk around the yard and look at the art, however there is a box for voluntary donations.


Our last stop of the day was dinner at a train car made into a restaurant, Mt. Rainier Railroad Dining Co.

There were also train cars made into hotel rooms at the same property, referred to as The Hobo Inn.

For our last full day in the Seattle area we into the city for some sightseeing. First we went back to the yarn shop in Edmonds that had been closed over Memorial Weekend. It was nice of my friends to take time for this, since none of them are knitters or fiber crafters.

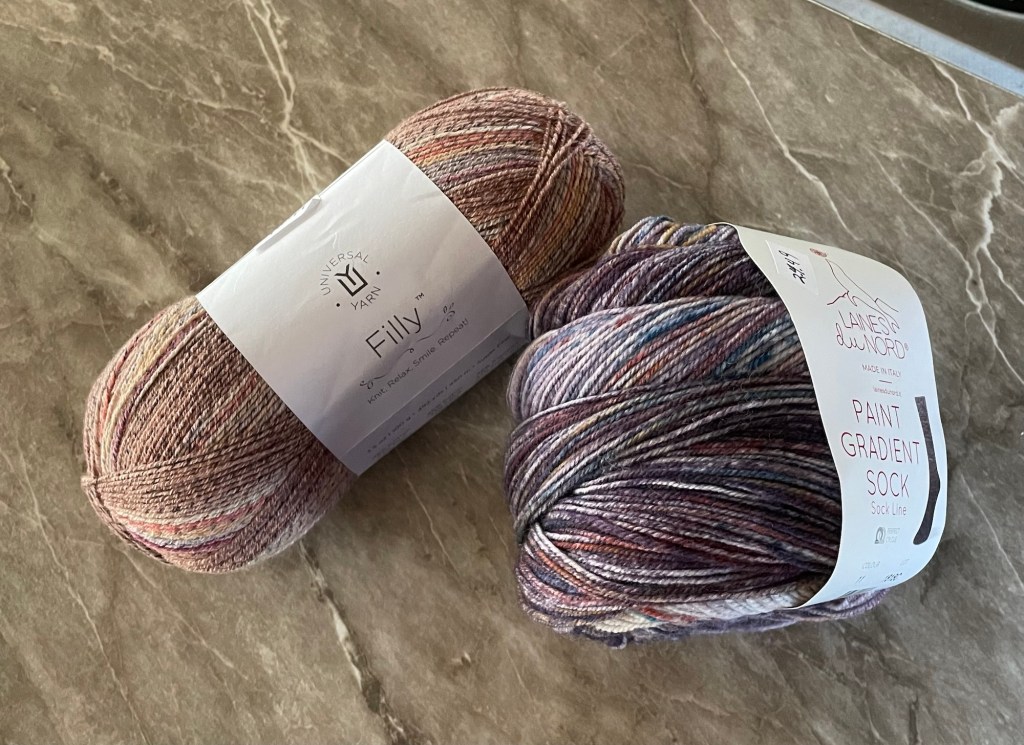
I was looking for sock yarn, not that I need any more right now, but makes a good souvenir. I had seen online that this shop carries Sweet Georgia yarn, but they did not have much of a selection of this brand or any brand of sock yarn. Otherwise this shop had a lot to offer with weaving and spinning and knitting yarn and supplies.

I bought two skeins of yarn, one Sweet Georgia, and one Urth Yarns. The Urth Yarns skein is the right thickness for socks, but it is 100% wool without any nylon. Most sock yarn is wool with 15 or 20% nylon for added durability. I loved the colors so I bought it anyway. There are ways to add a strand of nylon or mohair to the heels and toes to make the socks wear better, I will have to figure that out.

After leaving the yarn shop we drove into the city. The GPS sent us through some neighborhoods before routing us onto the highway. It seemed odd, but we enjoyed seeing residential areas and small commercial centers. Everything we passed was attractive and green. Our first destination was the Chihuly Glass Museum, featuring glass art by Dale Chihuly displayed inside the building, in a glasshouse, and in gardens outside. It was all amazing. You can read about Dale Chihuly’s journey with glass art here.


The Space Needle, located right next to the glass museum, is visible from inside the Glasshouse. I am sure you can get great photos from the Space Needle, but we decided not to spend money and limited time on that.

We had parked our rental car in a lot right across the street from the museum. After having lunch a few blocks away, we walked a couple of miles to Pike Place Market. Pike Place Market is a public Farmer’s Market that has been operating continuously since 1907, and is now on the National Register of Historic Places. There are multiple levels of vendor stalls with many different offerings.
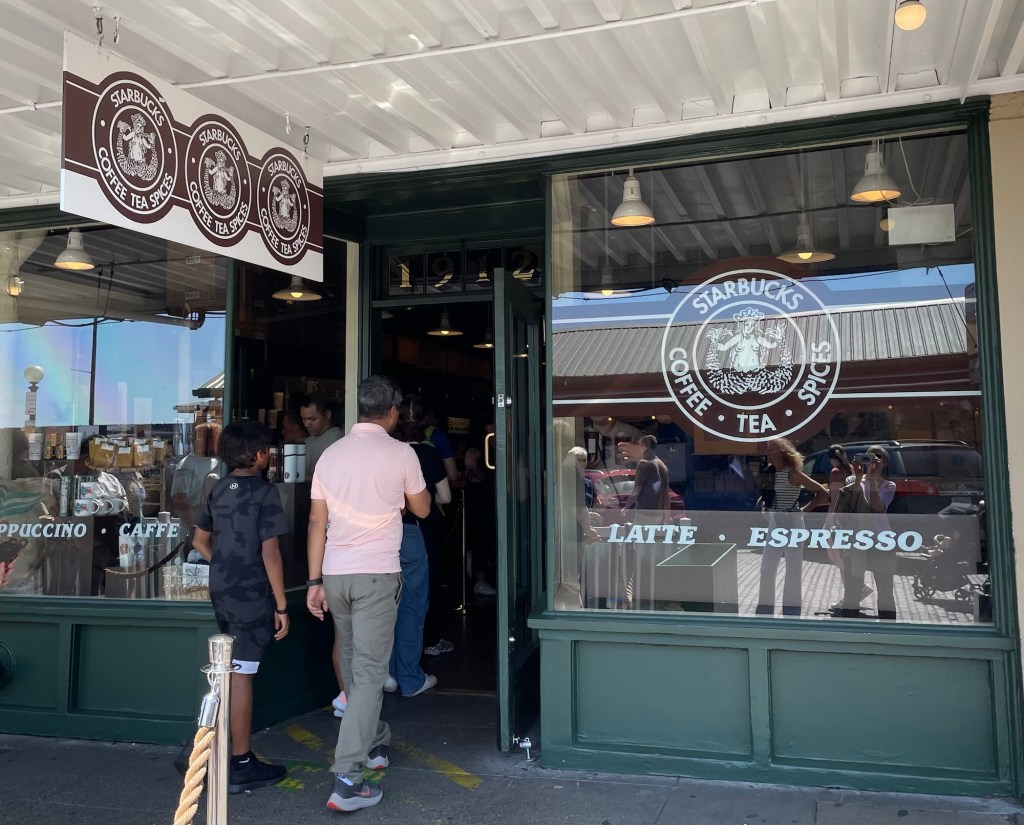
Following is a photo of the original Starbucks location on the street across from the Pike Place Market building. If there had not been a long line to enter, we might have gotten a coffee there. Personally I am not a Starbucks person, but it would have been fun to say I had been inside the first one.
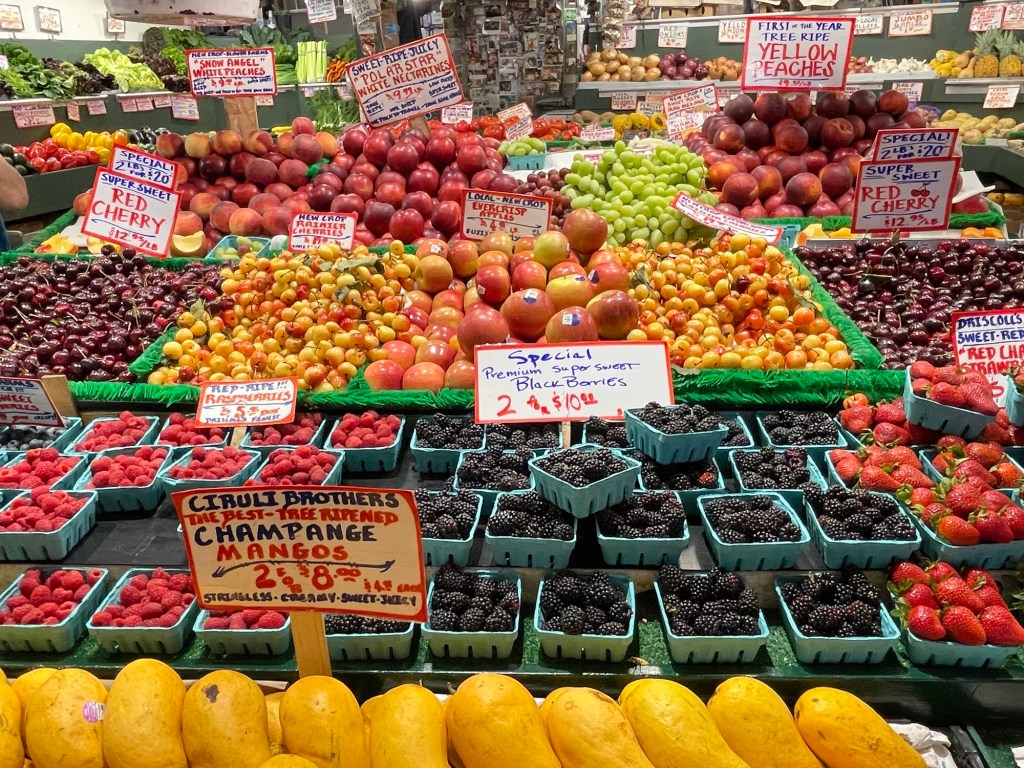
Inside the long narrow multi-level market building we saw stalls with fish, fresh flowers and produce, and many other type of vendors. I heard something about fish being thrown, but we did not see that.


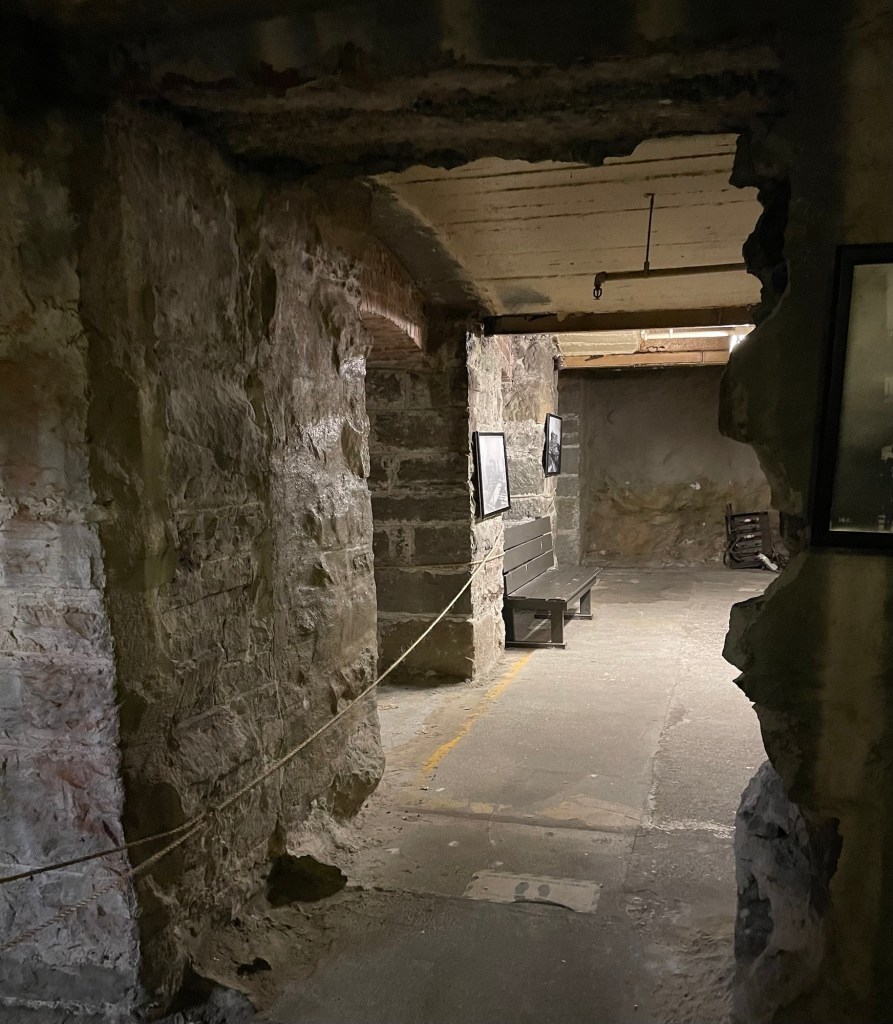
After browsing around Pike Place Market, we walked a couple of blocks to the location of the Beneath the Streets underground history tour. I had no idea what this was going to be, but it turned out to be quite interesting. In the 1850’s when Europeans first settled in what is now Seattle, they built homes and businesses on the waterfront. They were constantly getting flooded, and then everything burned down in a fire. Rebuilding happened again with the same flooding problem, but engineers came up with a plan. They built thick fortress like walls 12 feet high around all the streets and then put new streets on top. At first the original bottom layer continued to have businesses. Later all the seedy businesses were located there. Now only a few disconnected underground areas are open, and they are off limits except for the tours.
On the sidewalk above the underground are some “skylights” for letting light in below.

During the underground tour we learned that Seattle is named after Chief Seattle, a leader among the Duwamish and Suquamish peoples who had a positive relationship with the white settlers. One photograph of him exists, taken in 1864, and there is a statue in one of the squares. His name is pronounced a different way that I cannot say. Seattle is the only major city named after a native chief.


After the tour was over we walked around the Pioneer Square area of Seattle. Everything was lush and green.


It was already dinnertime after the underground tour was over and we had walked around a bit. We got a ride on a free tourist bus back to the location where our car was parked, drove back to Edmonds, and had dinner at a Japanese restaurant.
The next day we took our time in the morning, then had a bite to eat at a coffee shop until we needed to head to the airport for Sheri’s flight. There was enough time for the rest of us to take the train or an uber somewhere before our early evening flight to Minneapolis, but we didn’t find anything nearby that interested us enough to figure out the logistics. One google search I did of things to do near the airport included mainly things inside the airport. We did not mind hanging around there for a couple of hours. The flight home was not very full. We each got seats with no on else in our row. That hardly ever happens.
It was a great trip and I know Wayne would have loved it there. There is so much more to do in the Seattle area than was possible on this vacation, and I also would like to visit Vancouver. I hope that Wayne and I will go back to the Northwest sometime in the next few years.