
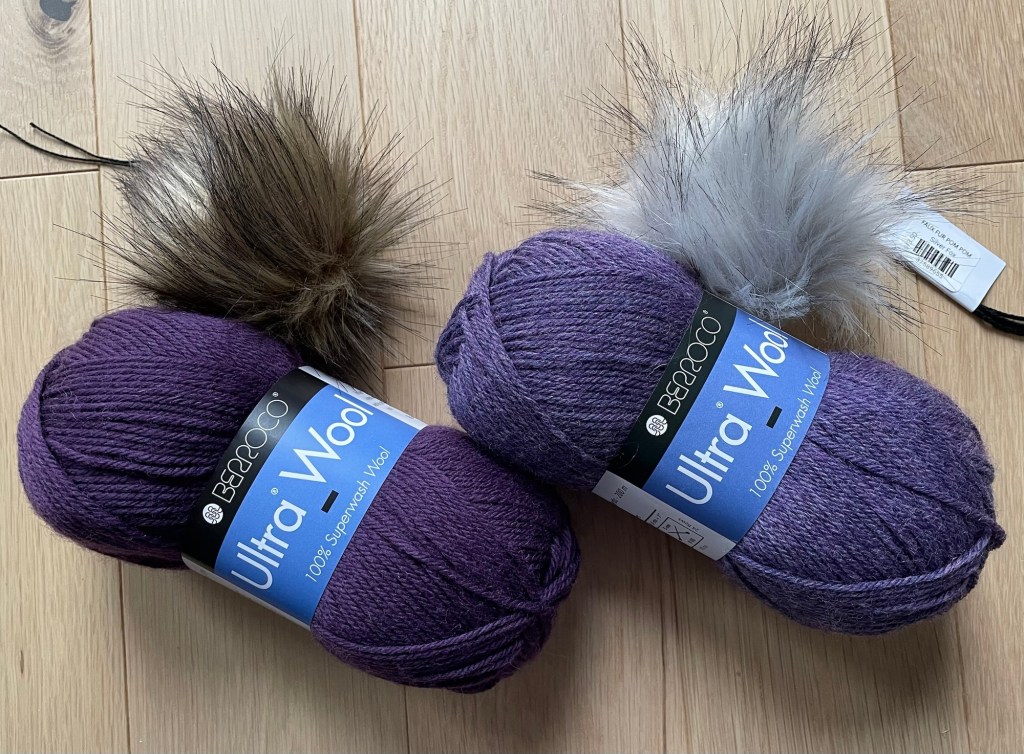
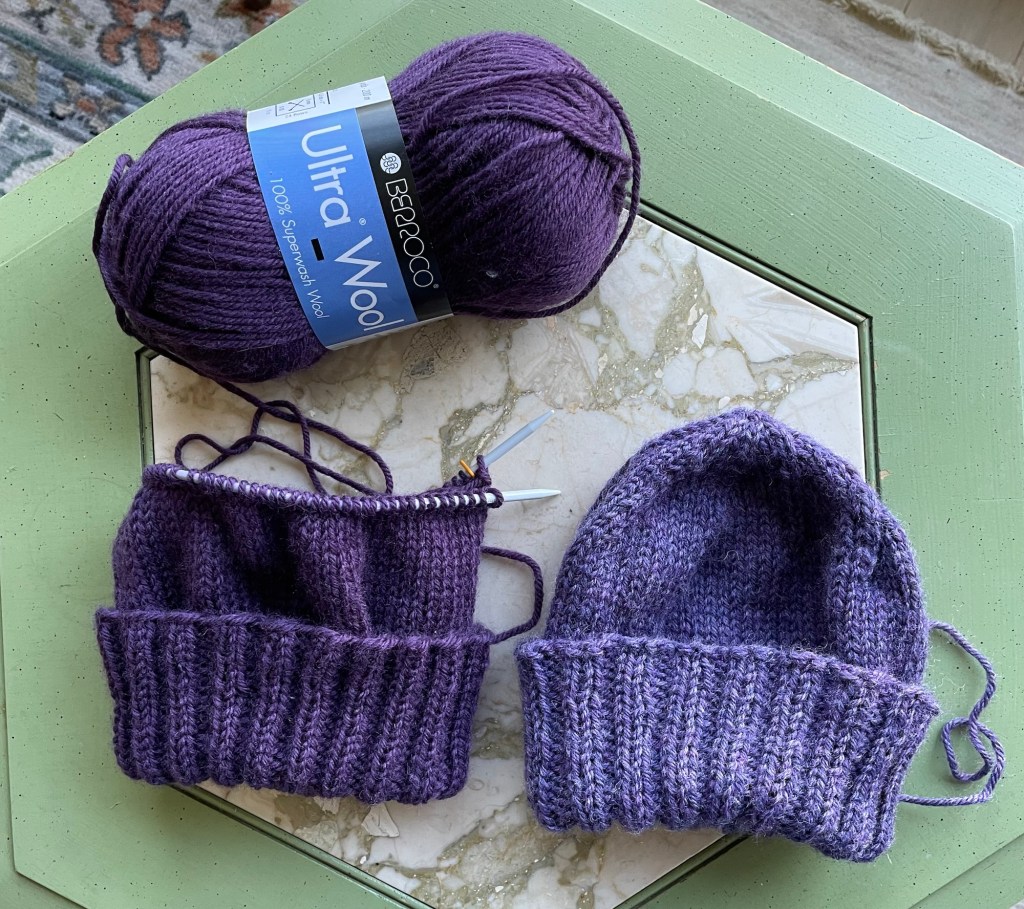
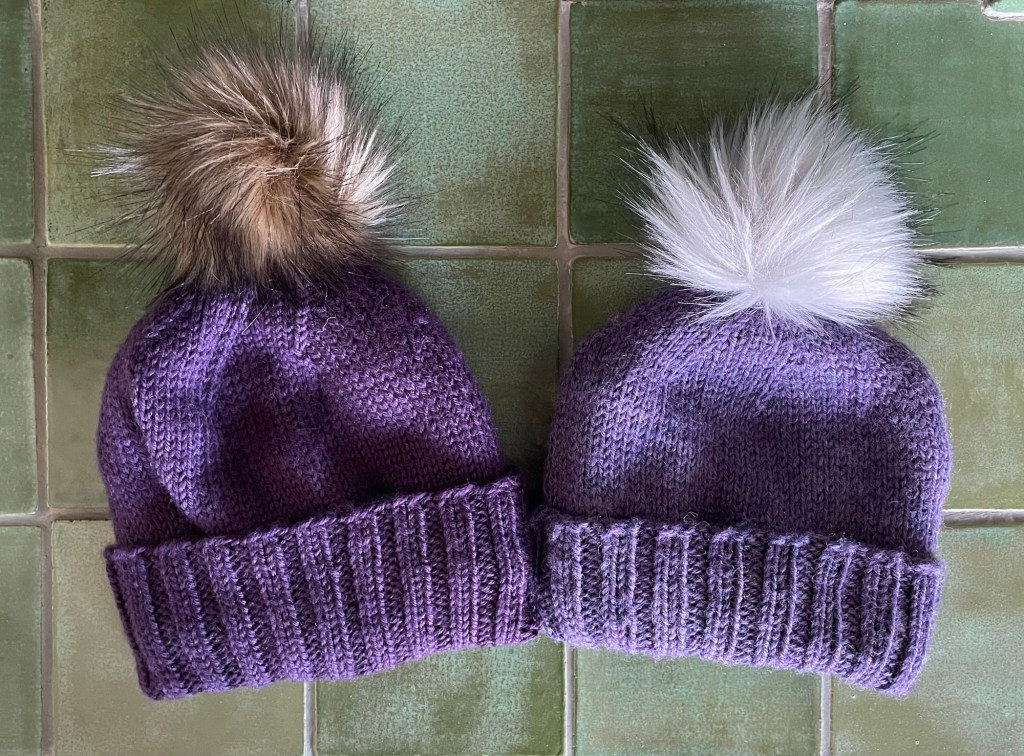
I was in between hand knitting projects for a while last fall. When we were at my son’s house in St. Paul, I offered to knit matching winter hats for the granddaughters. My daughter-in-law liked the idea. The timing was perfect at that moment, while the girls were napping, to hop in the car and run over to the Yarnery to pick out yarn. Kelsey selected two balls of super wash Berroco Ultra Wool in different shades of purple, so she would be able to tell the hats apart. Including the cost of pom poms which were as much as the yarn, these were not budget hats.
I was a little surprised that neither granddaughter protested or squirmed when I used a measuring tape to get their head circumference. Back at home I dug out an old hat pattern that I bought in paper format many years ago. It is now available here on Ravelry. I planned to knit a basic beanie with a cuff that can be folded over more or less as needed, for fit or for extra warmth.
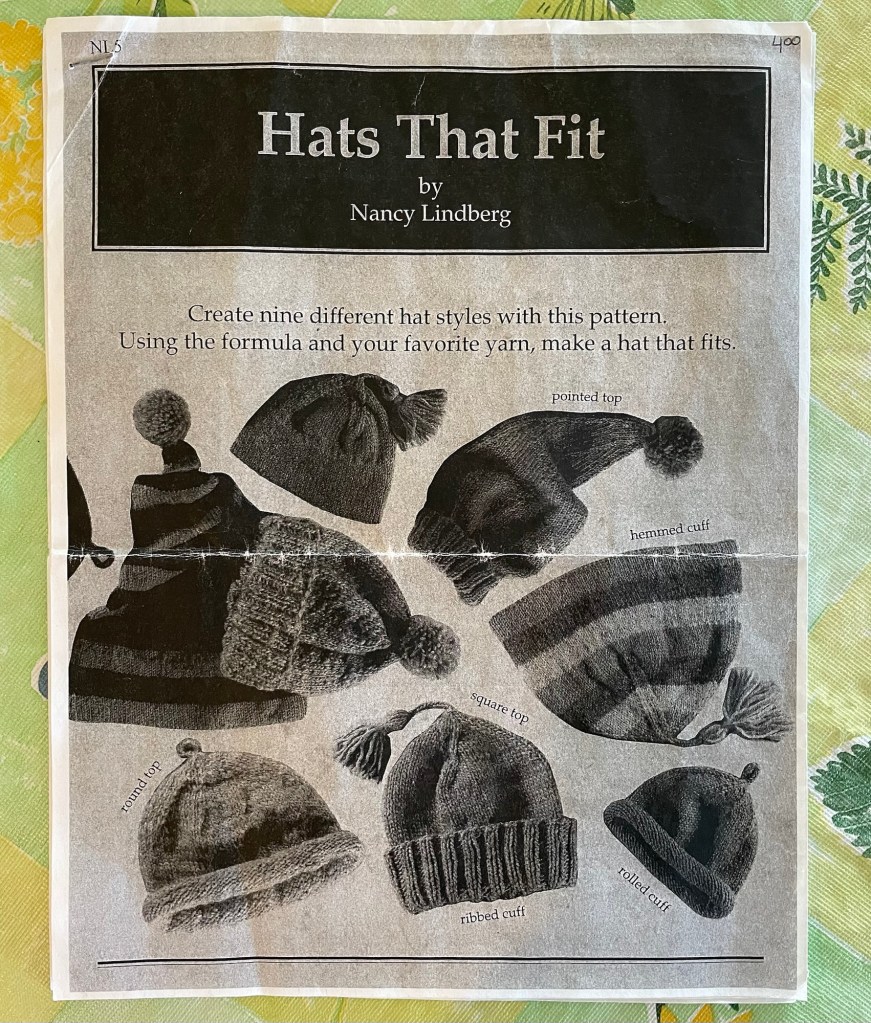
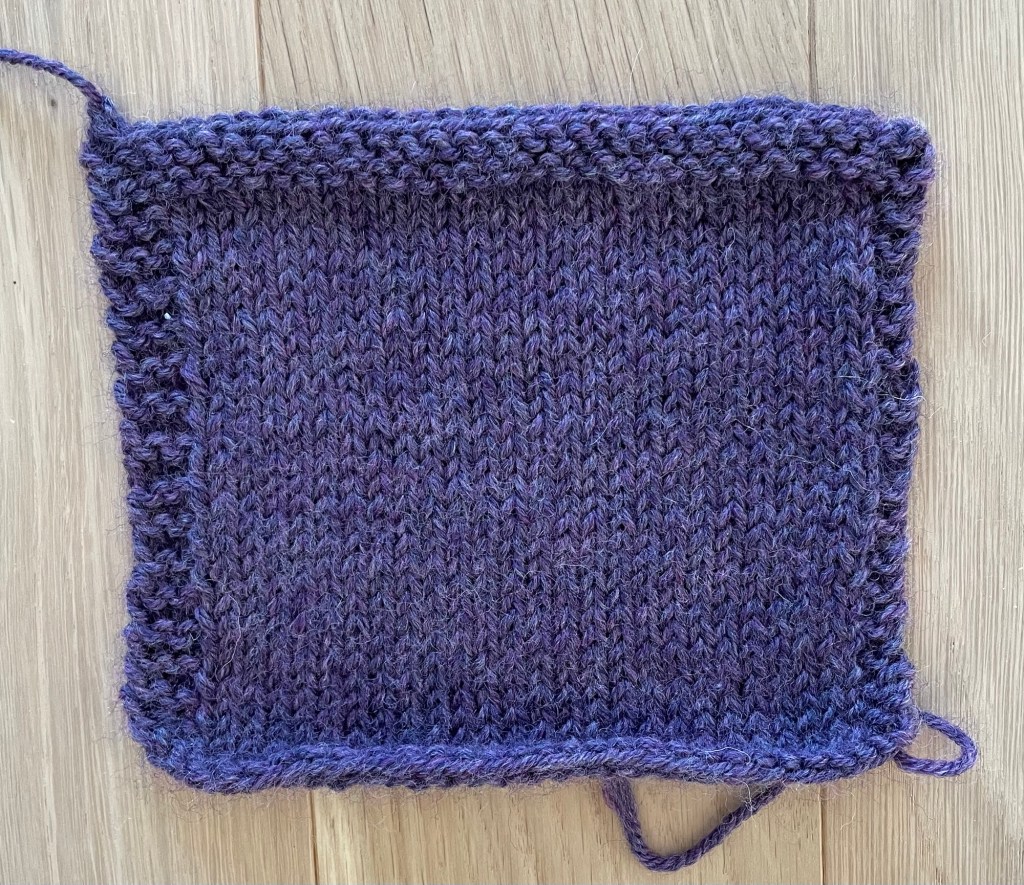
This pattern is great as you can make any size hat with any yarn, using head measurements of the recipient, and with different options for the cuff and the top. I knitted a gauge swatch to figure out how many stitches to cast on for the desired circumference.
I decided to start with the smaller hat, so if it did not come out right there would be less to rip out and start over. The pattern has fewer stitches on the cuff than the main part of the hat, using one size smaller needles. After the cuff is finished, stitches are added and a larger needle is used.
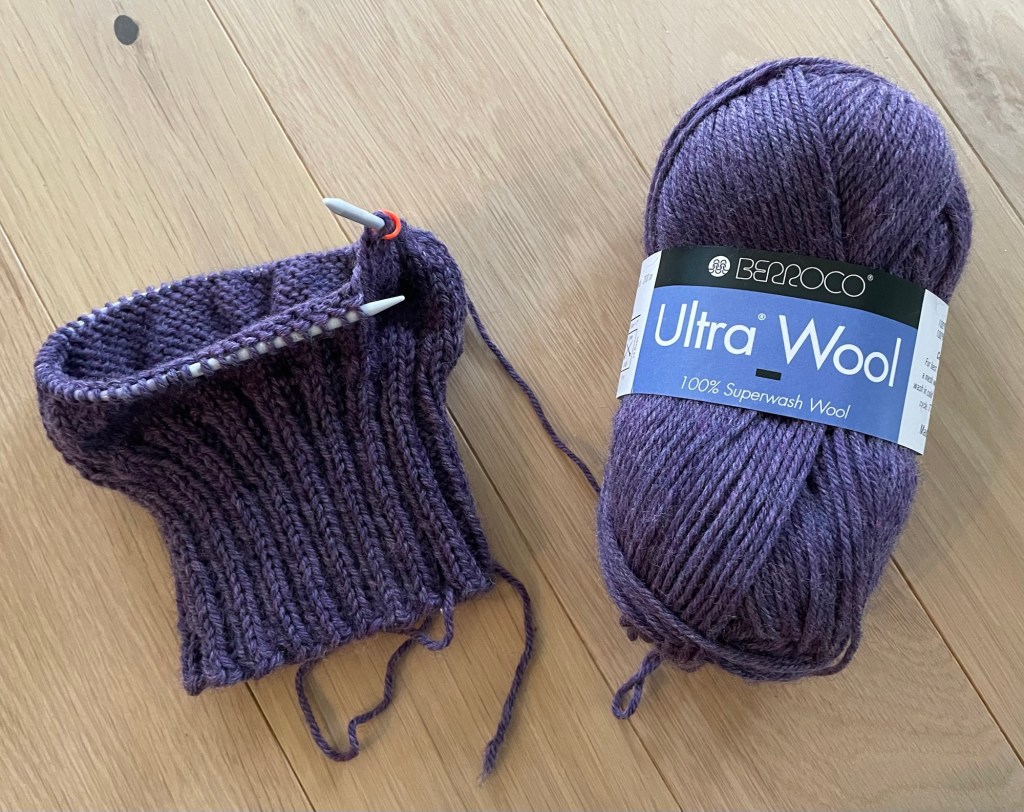
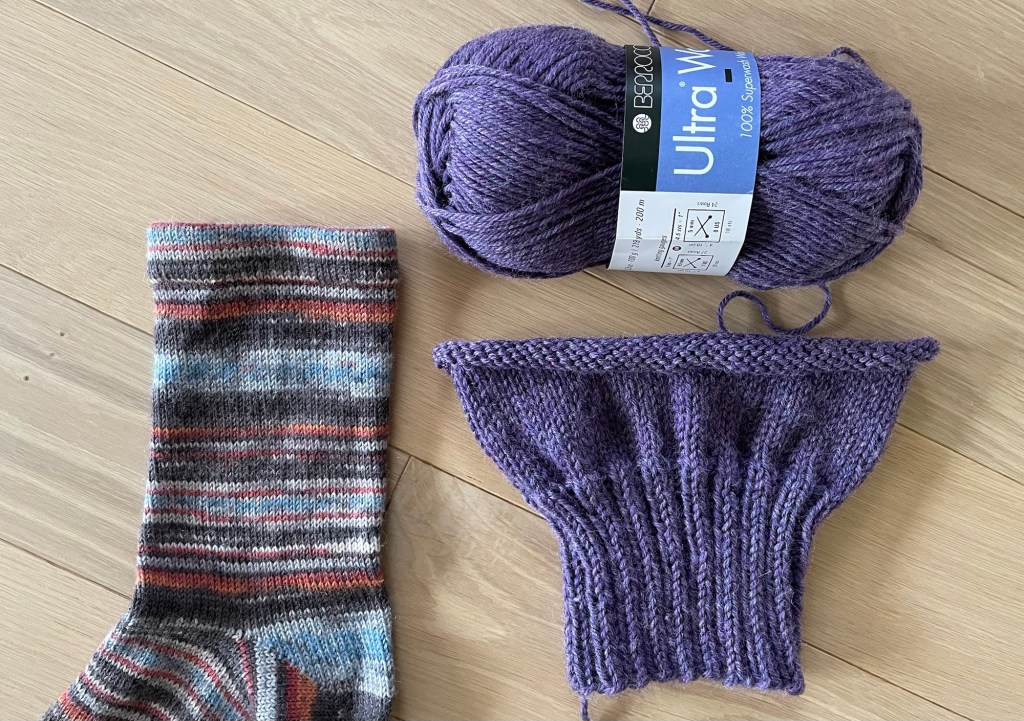
For Nora’s hat the math resulted in 72 stitches for the cuff for her 17″ circumference head. That is the same number of stitches that I use for a man’s sock! This shows how much of a difference the yarn and needle size makes. Sock yarn is much thinner than worsted weight.
After completing the cuff and knitting a few inches of the main part of the hat, I realized I needed another measurement that I did not have. I should have gotten the crown measurement for each girl, from bottom of the earlobe over the head to the other earlobe. That is needed to determine when to start decreases for the top of the hat. I stopped knitting when I thought it was at about the right place, and put the project on hold until the next time we were in St. Paul, when I could get the actual measurement. At that time I was also able to put the partially finished hat on Nora’s head. It seemed just right, so I started the decreases, and from there the rest of the knitting went quickly.
Knowing that Blair’s head circumference was two inches larger than Nora’s, I went ahead and started her hat accordingly.
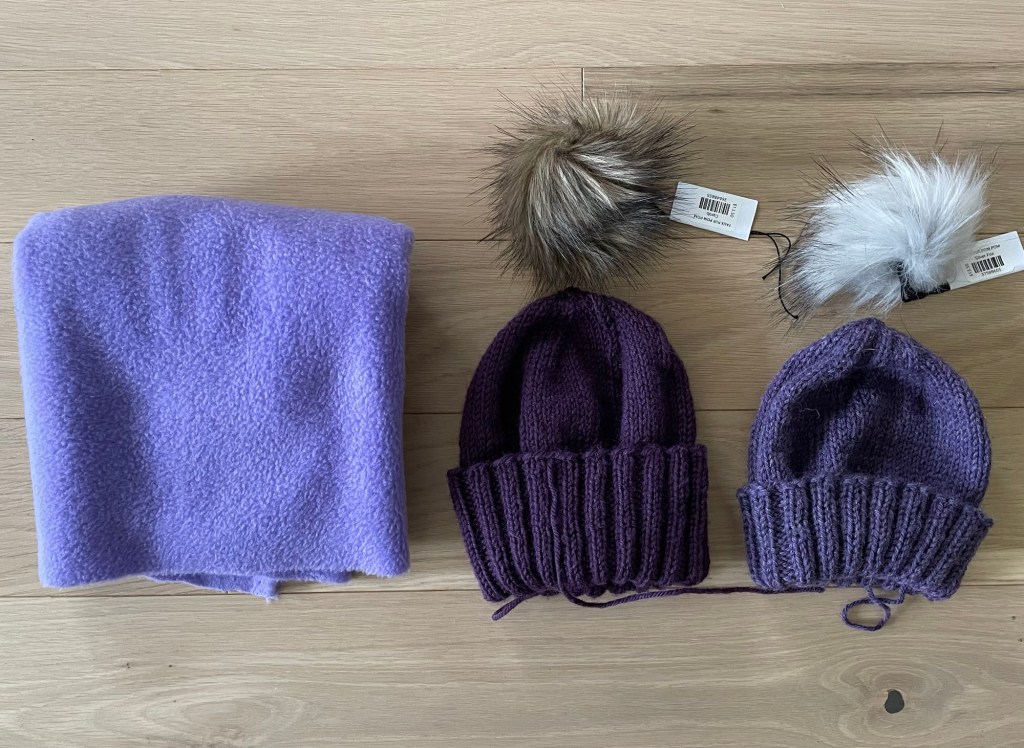
Kelsey had requested the hats be lined with polar fleece. That adds another layer of warmth for Minnesota winter, protection from the wind, and a soft surface against their head. It also adds complexity to the project. I did not have a pattern, and the lining would have to be custom fit. Shopping for fabric is problematic these days, but on one of my trips to the Twin Cities I found a lavender color of polar fleece at Hobby Lobby that worked for both hats.
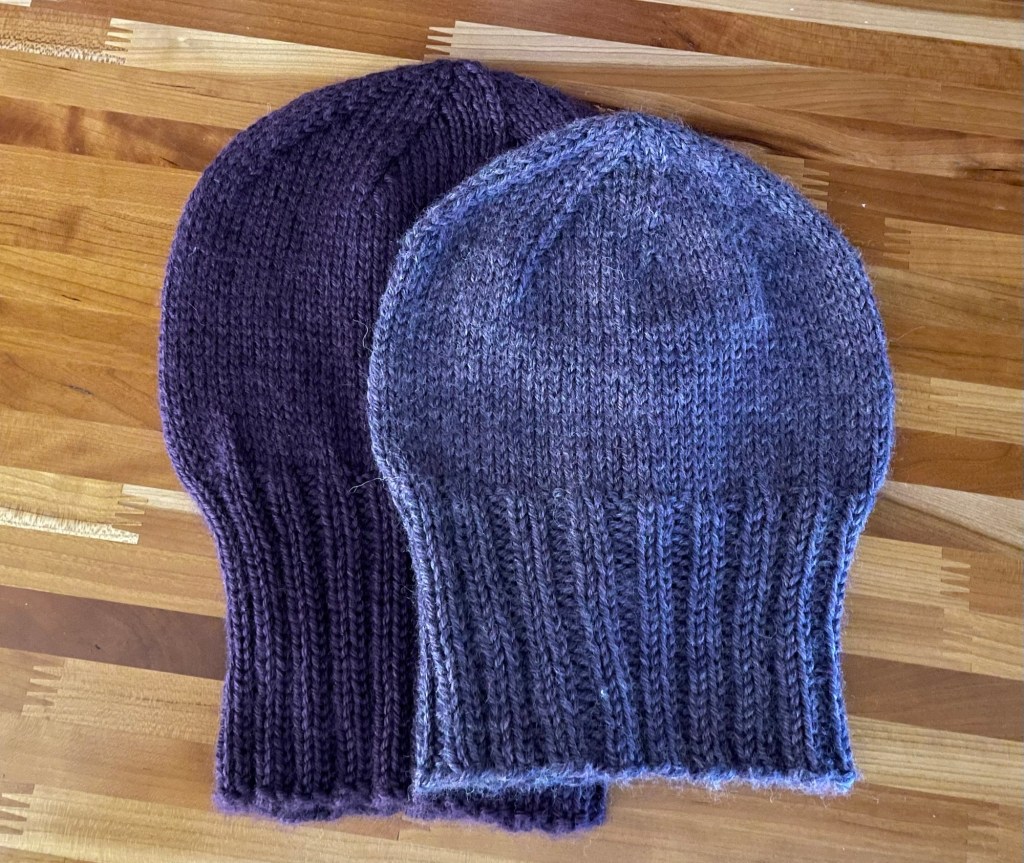
I do not have a good history of blocking my knitting projects. I know you should, so I soaked the two completed hats in warm water with a bit of soap, rinsed them out carefully and laid them out to dry. I also washed and dried the polar fleece in case it might shrink a bit. I did not think it would, and I doubt these hats will ever get washed. However I have been burned in the past when I did not prewash fabric, and then after a garment was finished it shrank when washed. After blocking the hats looked nice.
The final step was making the polar fleece linings. I looked online for ideas on how to do this. One source suggested laying the hat flat and drawing around it, then cutting out two layers of the lining in that shape and sewing them together. At first I was going to ask Wayne to hold a hat stretched out while I measured it, but then I realized that one of our melamine salad plates was exactly the right size. I put the plate inside the hat and drew around it.
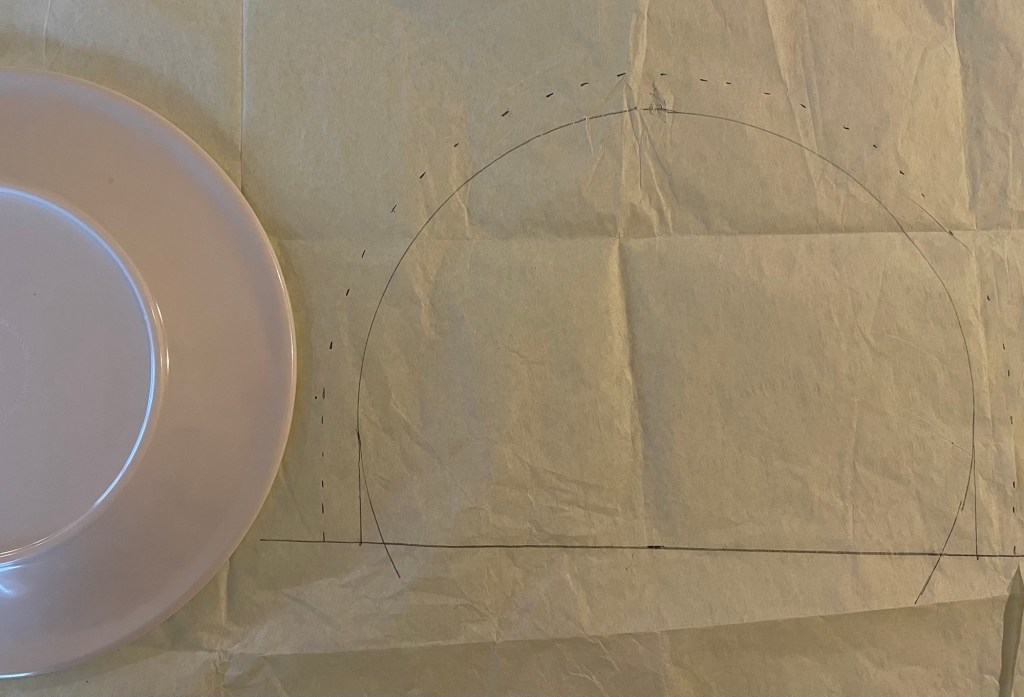
This method was easy, but a little simplistic. The polar fleece does stretch, but the shaping was only going one direction. For the second hat I cut a rectangle that was big enough to go all the way around, and then did some shaping on four sides. It was still not perfect, but a little better.
I was not sure how much shaping was actually needed and did not want to put any more effort in than necessary. If it was fine, great, if not, I could try again.
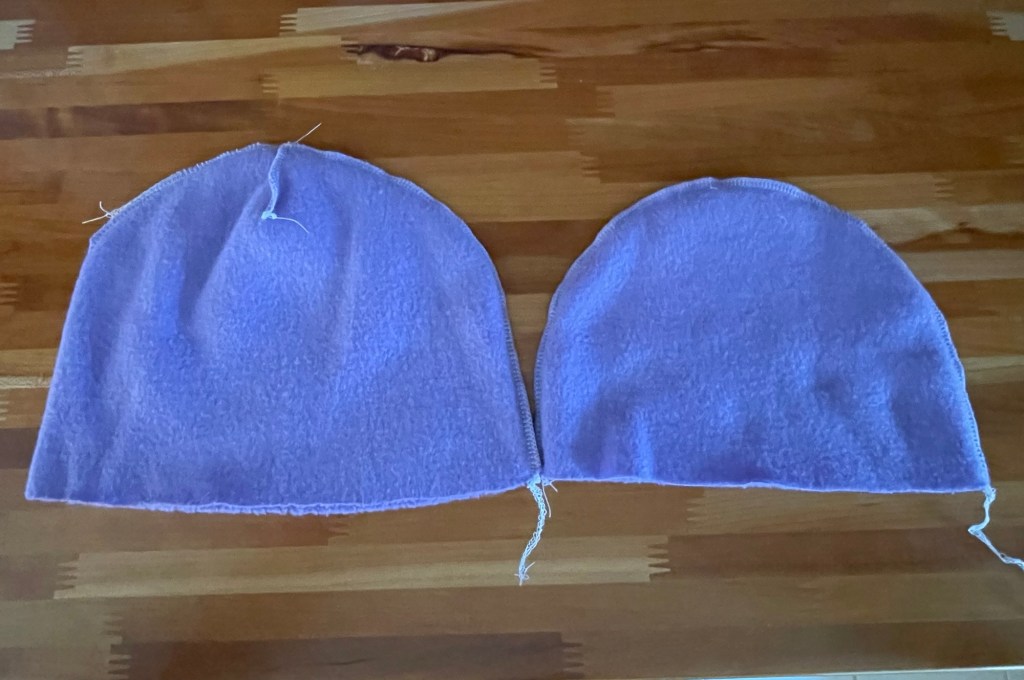
Getting the linings inside the hats and pinned in place was tricky as the knitting had to be stretched out. When the knitting was relaxed, the polar fleece bunched up. The polar fleece does not ravel, so it is possible to sew the raw edge to the hat. However I decided it looked nicer to fold the edge under a bit.
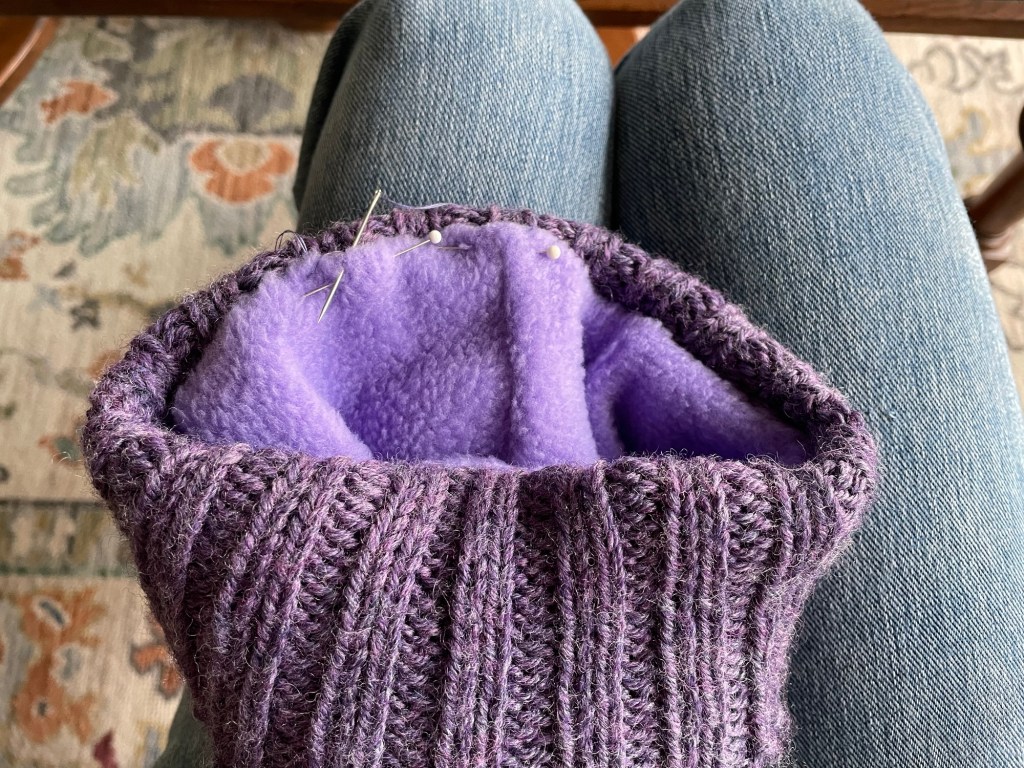
The pom poms were attached before sewing the linings on. The hats look bulky with the lining in place, but not as much when stretched out.
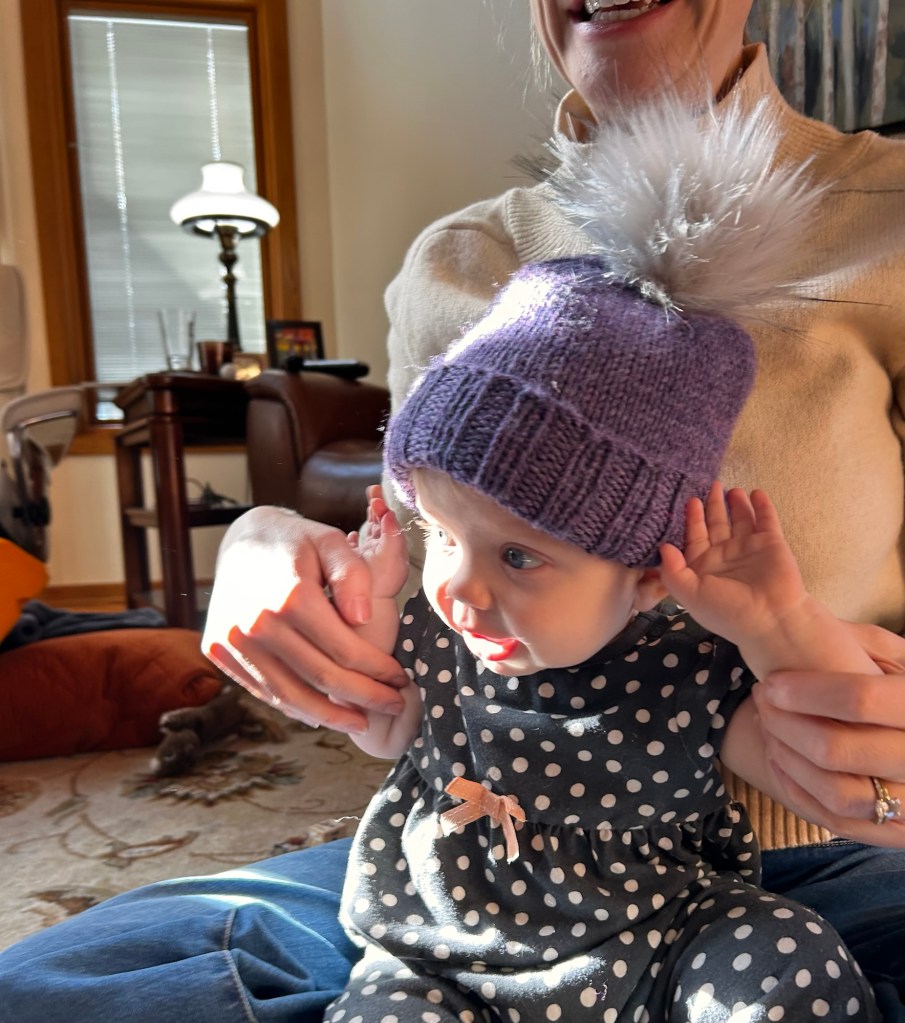
When we went to James and Kelsey’s house over Thanksgiving weekend, I brought the completed the hats. This time neither girl were in the mood to keep the hats on long enough to get a good photo. Following is the best photo I got of Nora wearing her hat.
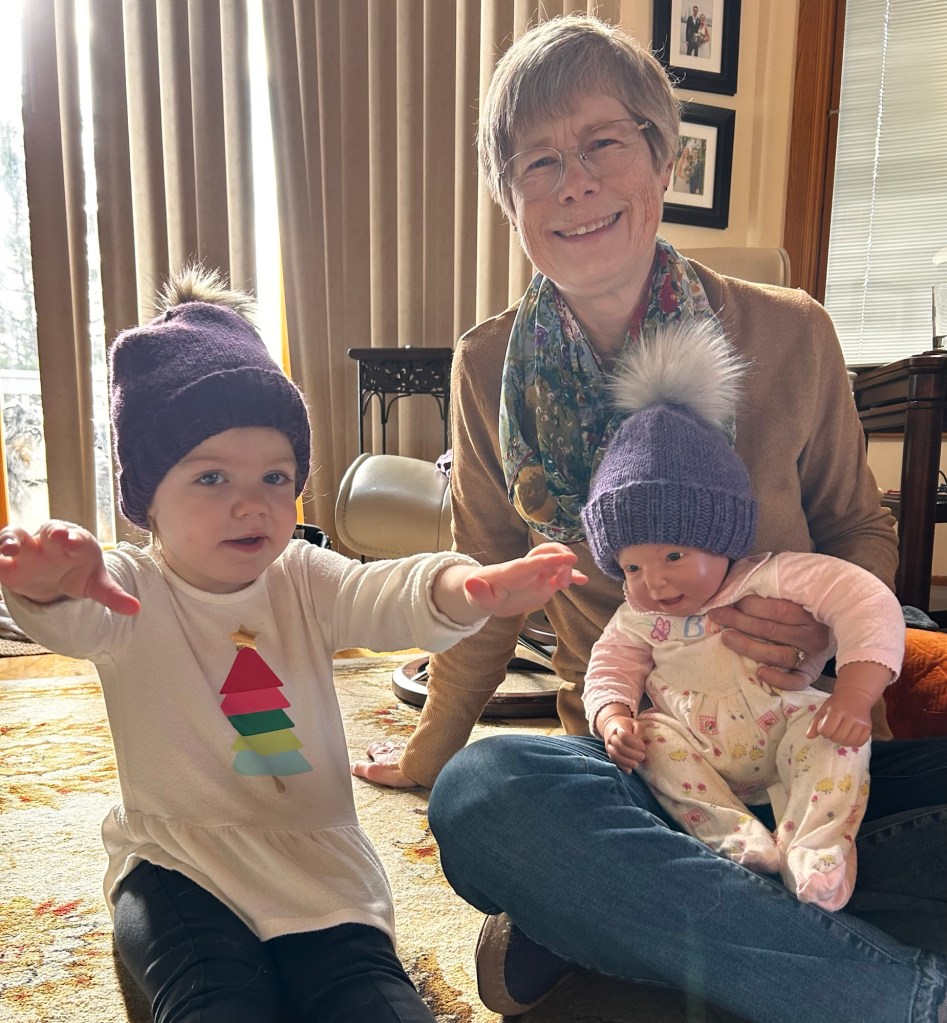
I gave up on getting a better photo of Nora wearing the hat. The next photo shows Blair with her hat not pushed all the way down, and one of her dolls wearing Nora’s hat.
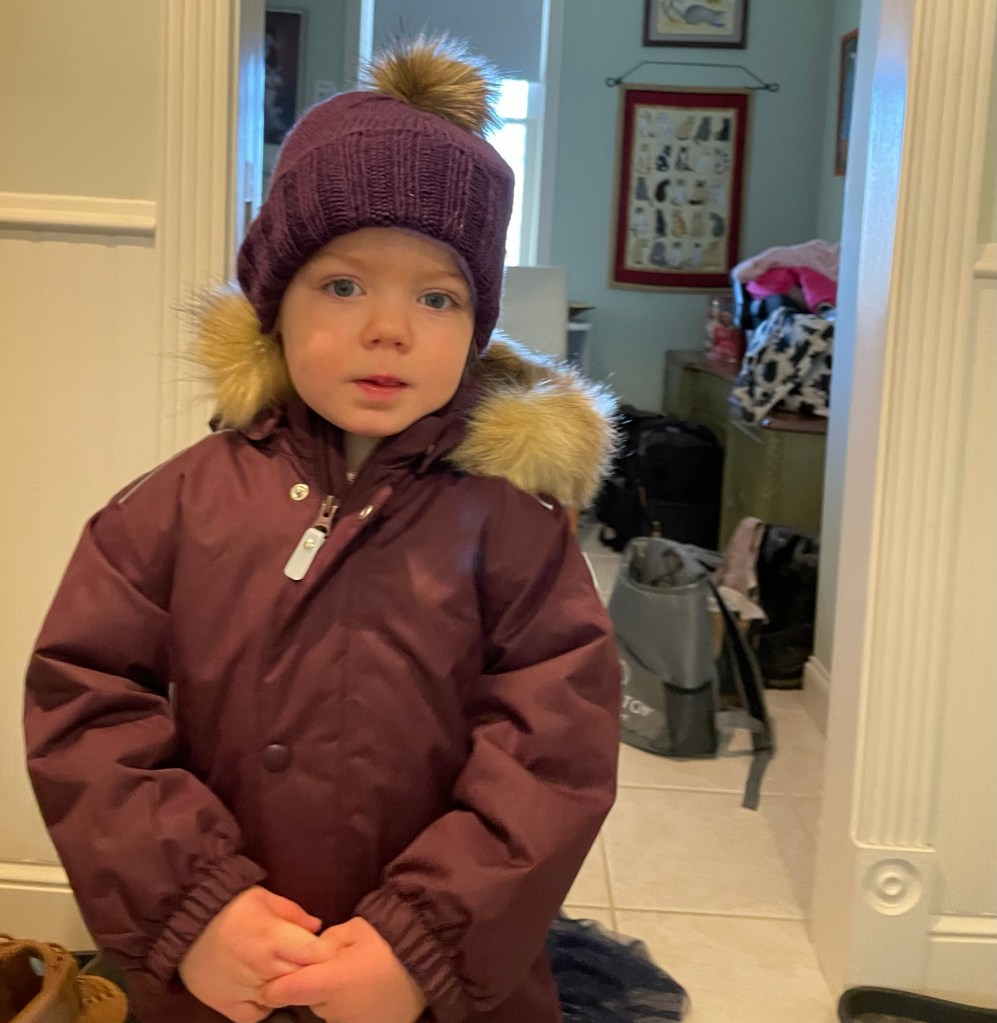
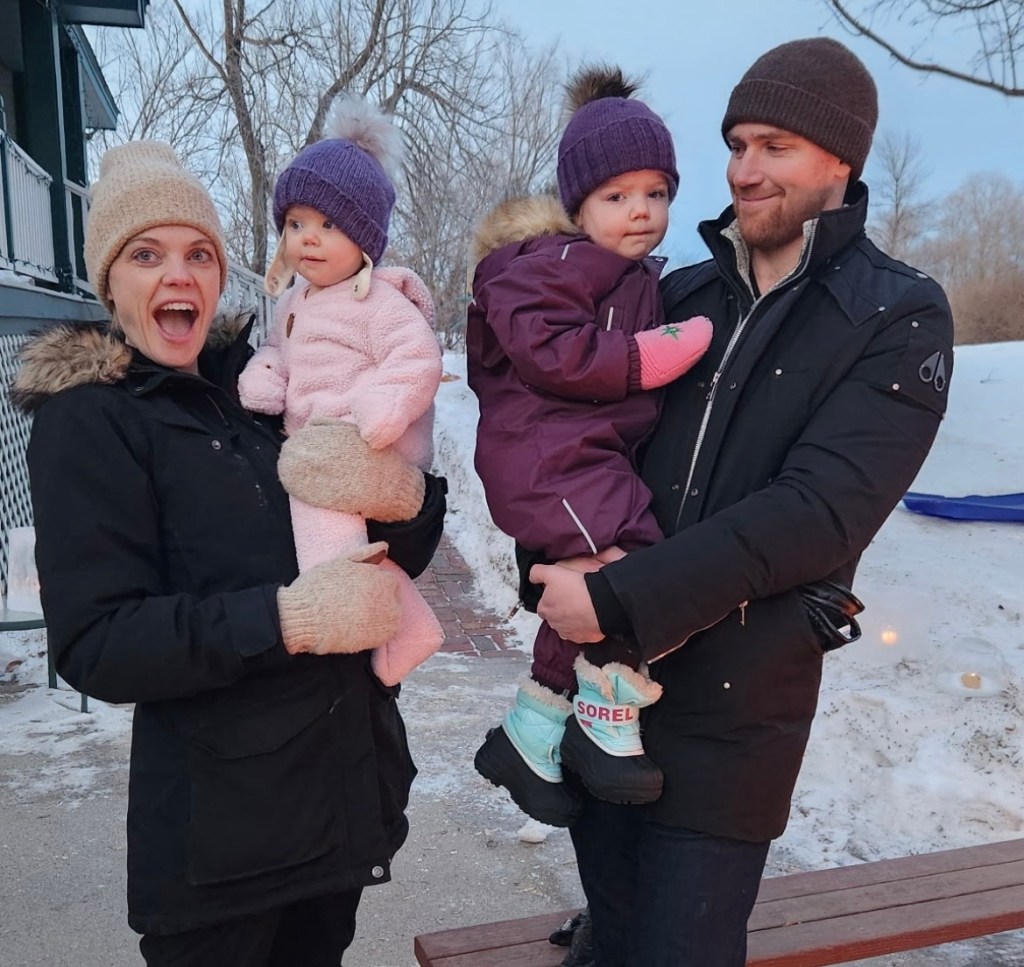
They came to our house the weekend before Christmas for a Solstice Celebration. This time the girls tolerated wearing their hats for some time outside. The linings seemed to be just fine.
I have knitted several things for the granddaughters that were fun to knit, but not very practical for their lifestyle. These hats turned out great, were needed, fit, and I hope will get some use.

The hats are great! The girls look so cute in them, and most importantly, the hats keep their little heads warm! These are keepsakes! Made with skill – and love!
LikeLiked by 1 person
Thank you! It was nice make something they actually need! It has been super cold in Minnesota this winter.
LikeLiked by 1 person
They are very cute hats and the models are adorable!
LikeLiked by 1 person
Thank you! I agree but I am a little biased.
LikeLiked by 1 person
🙂
LikeLike
What a beautiful choice of colour! Great work!
LikeLiked by 1 person
Thank you and thanks for reading!
LikeLike