
While snowbirding in Arizona I have been doing the usual activities that I do here. I have been hiking and bike riding, attending exercise classes (there is no excuse not to go, when it is a five minute walk to get there and it is free), walking (without worry of slipping on ice), going on outings, hanging out with people we know (who live here or are visiting from back home), and working on knitting projects.
One thing we do every year is the Apache Trail scenic drive. This 40 mile long road twists and turns all the way from Apache Junction to the Roosevelt Lake, through the Superstition Mountains. Some parts are normal pavement, most is very rugged and narrow. A section of the road was closed for several years due to a washout. It was finally open again this year, so we did the entire drive. I took the following photo of a map that was posted at a scenic overlook.

I have not taken many photos this year, and I have not been motivated to write about non fiber-related topics. I apologize to readers who are getting tired of reading about socks. I have been very focused on learning to use my sock machine while I am here, with fewer distractions than at home.
In December, after many failed attempts at cranking heels on the sock machine, I was getting discouraged. There are so many opportunities for something to go wrong and I experienced all of them, sometimes more than one at the same time. I saw many social media posts of perfectly cranked socks. I did not understand why I was having so much trouble, but I was also pretty sure that if they could do it, I could too.
There are many factors involved in cranking out a successful sock. The tension must be set appropriately for the yarn being used. There must be enough weight hanging off the project, and additional weights on the heel or toe. The needle latches must be open. There is understanding the pattern and steps for making a heel or toe. There are so many things to think about that I would forget where I was in the instructions, or forget to do something important, while I was fixing a problem or focusing on something else.

After we were settled in Arizona, I resolved to learn and practice until I could make a heel, and then a complete sock. The first thing to understand was the tension adjustment on the machine. I watched some videos, consulted with my sock machine mentor in Minnesota, and even talked to someone at the Erlbacher company. I learned some important things that I had not understood before. I got the tension at a setting that was looser than ideal, but better than being too tight in order to complete a heel without dropping stitches.
Watching a video of someone making a heel was necessary and helpful, but I also needed very detailed step by step written instructions. I typed out the steps in a document, and printed it out for reference as I was cranking.
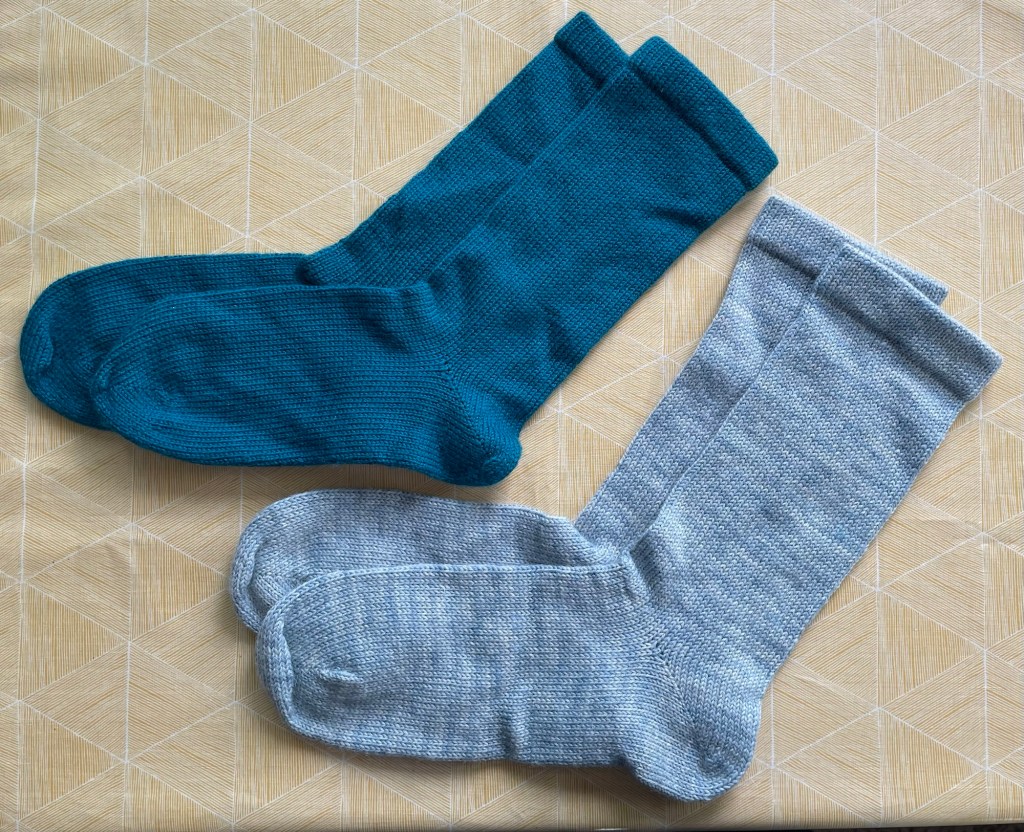
With the step by step instructions and loose but workable tension, I finally cranked out a perfect sock!! I did not take the time to completely understand the toe, which is made the same way as a heel except for the very end, but I got it close enough. After that I practiced cranking more heels with the same yarn, adjusting the tension one notch tighter each time until eventually it was just right. I was then able to make a complete shorty sock in the right tension that fit me. Woohoo!
The following photo shows the smaller shorty sock with the tighter tension on top of the sock with the looser tension.

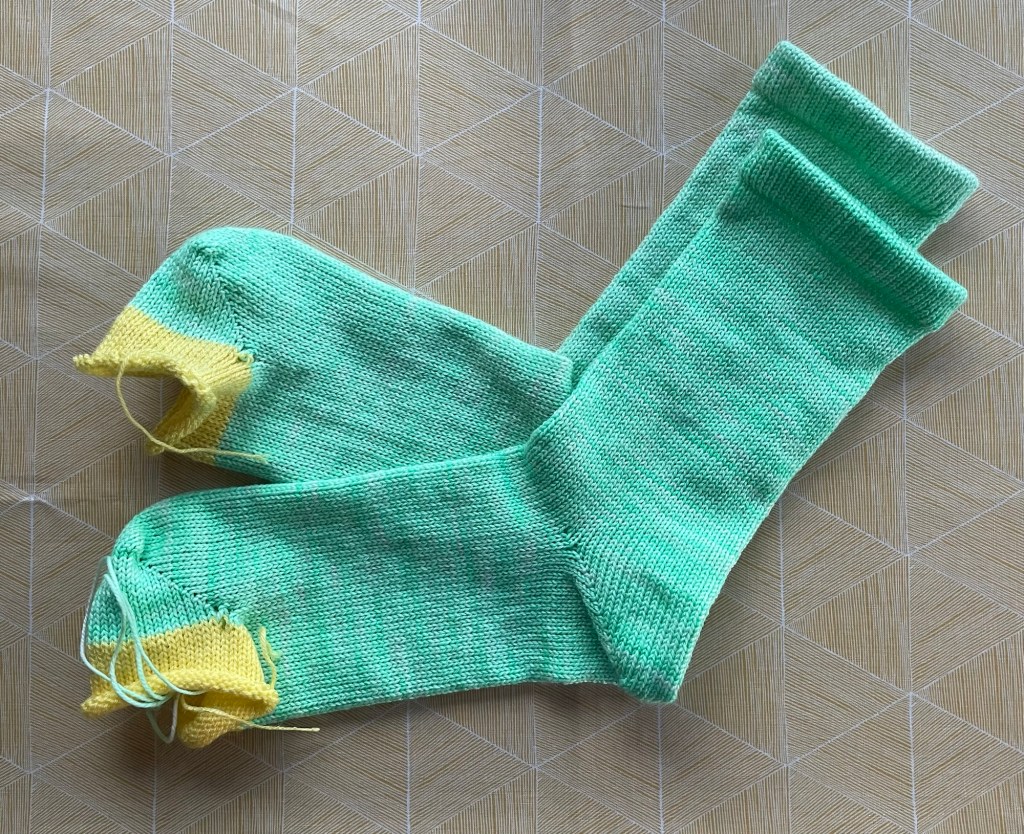
The next project I tried was a pair of off white shorty socks using Madelinetosh Twist Light Yarn. After cranking out the first sock, I realized that I forgot to do the hung hem, the most common way to finish the cuff on a CSM sock. I like a ribbed cuff, but I was a long way from figuring out the ribber attachment for the machine and it was too late for that anyway. I decided I would add a ribbed cuff by hand on this pair, so I went ahead and cranked the second sock the same way.
The next photo shows both of the off white socks connected and hanging down under the sock machine, separated by yellow waste yarn.
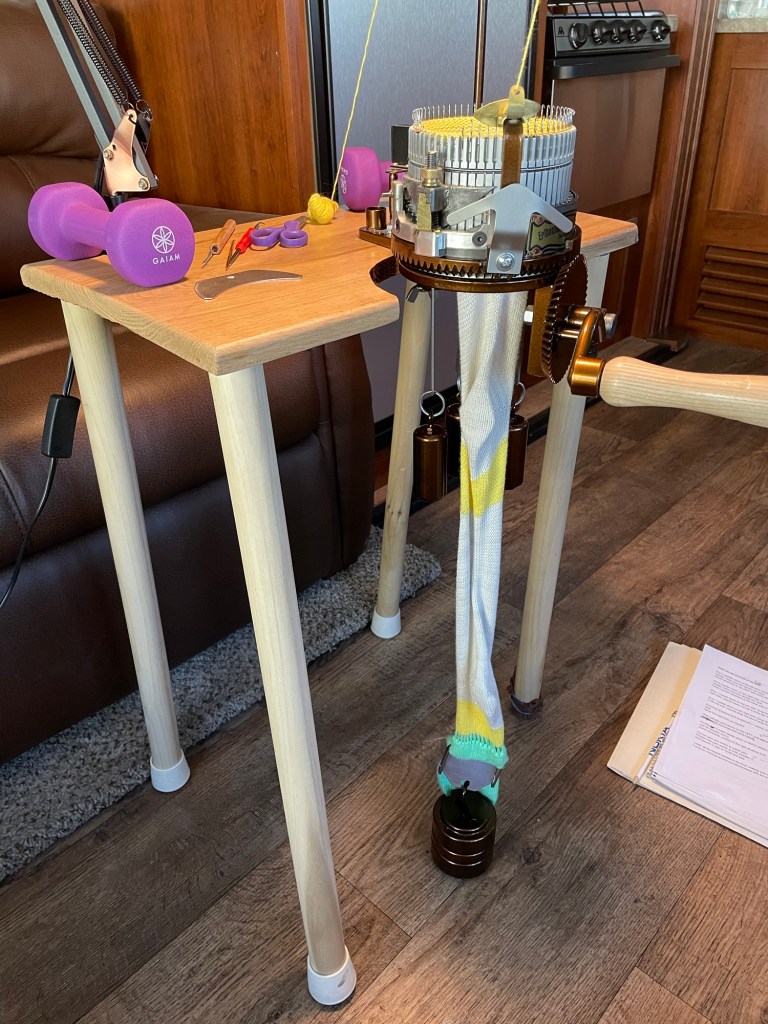
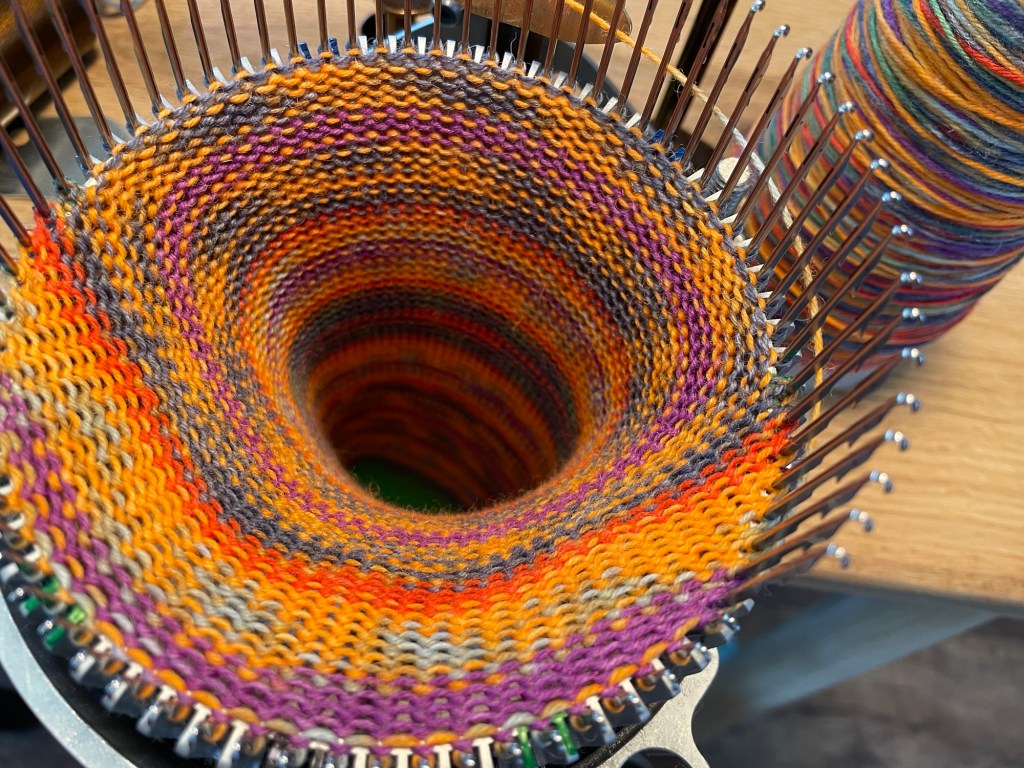
In the photo above the brown weights are hanging down at the bottom almost to the floor. That is a bad mistake which I made a couple of times. I did not notice and kept on cranking when the weights were sitting on the floor. That is the same as not having any weight, which causes the working yarn to be way too loose and the stitches to not knit.
The next photo shows the white socks after I removed them from the machine, before separating off the green setup bonnet (used for casting on) and yellow waste yarn.
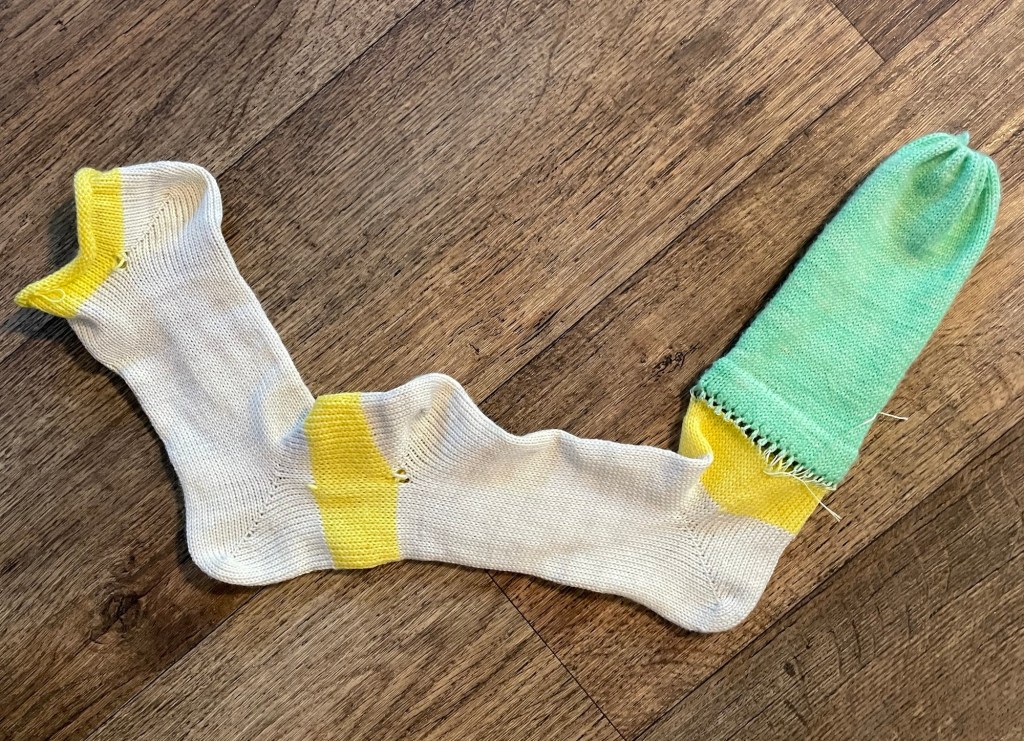
Following is a photo showing the toe of one sock with knitting needles inserted into the live stitches in preparation for being grafted together. Later I learned a different way to graft the toe that I like better using a yarn needle, while the waste yarn is still attached.

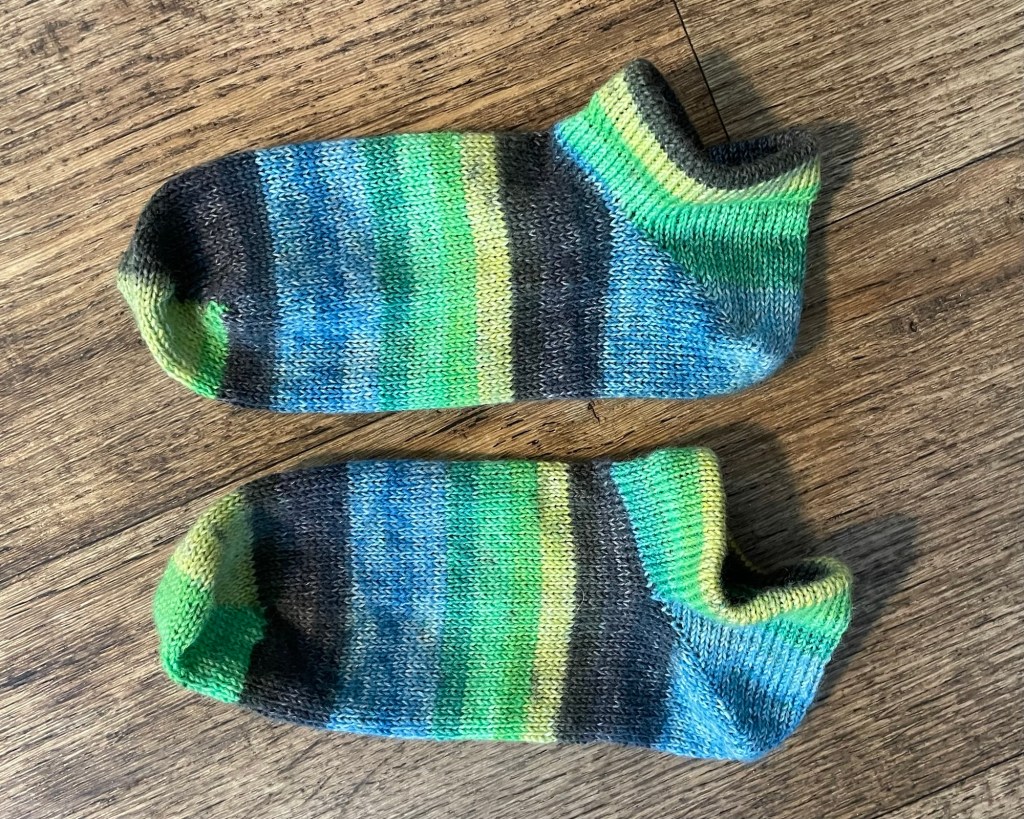
The next pair of socks I cranked had a mid calf leg, using green Madelinetosh Twist Light yarn. They are shown below with the waste yarn still attached at the toes, waiting to be grafted together. That is expensive yarn and normally not what someone would use for practice, but I owned quite a few skeins in this color from my 2018 yarn store inventory purchase.

When the news came out that Joann Fabrics would be closing all of their stores, I headed over to see if they had any sock yarn on clearance. I had never shopped there for sock yarn, but I came home with multiple skeins of some nice self striping store brand yarn, at a very good price. Later I went back and bought more of the Joann Sock Star K&C yarn.

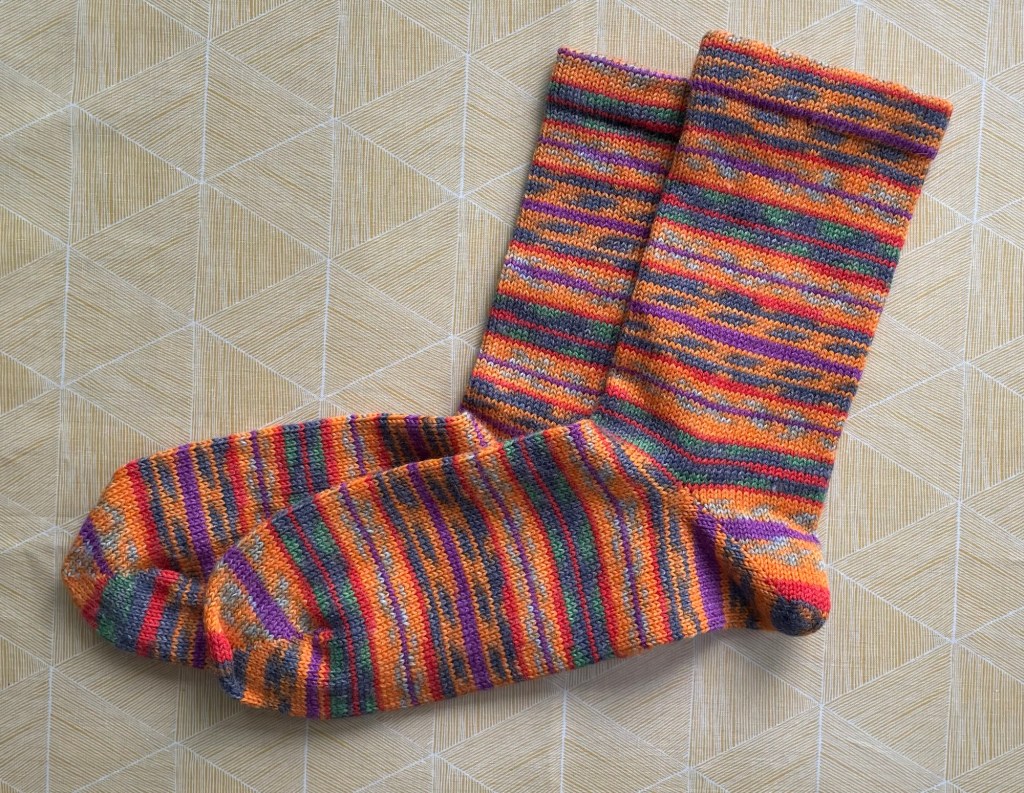
Since the Joann yarn was such a good deal, I decided to go ahead and use some of it right away for more practice socks. I was ready to try a new pattern called “Heel Tab Shorty Socks”. They turned out perfectly.


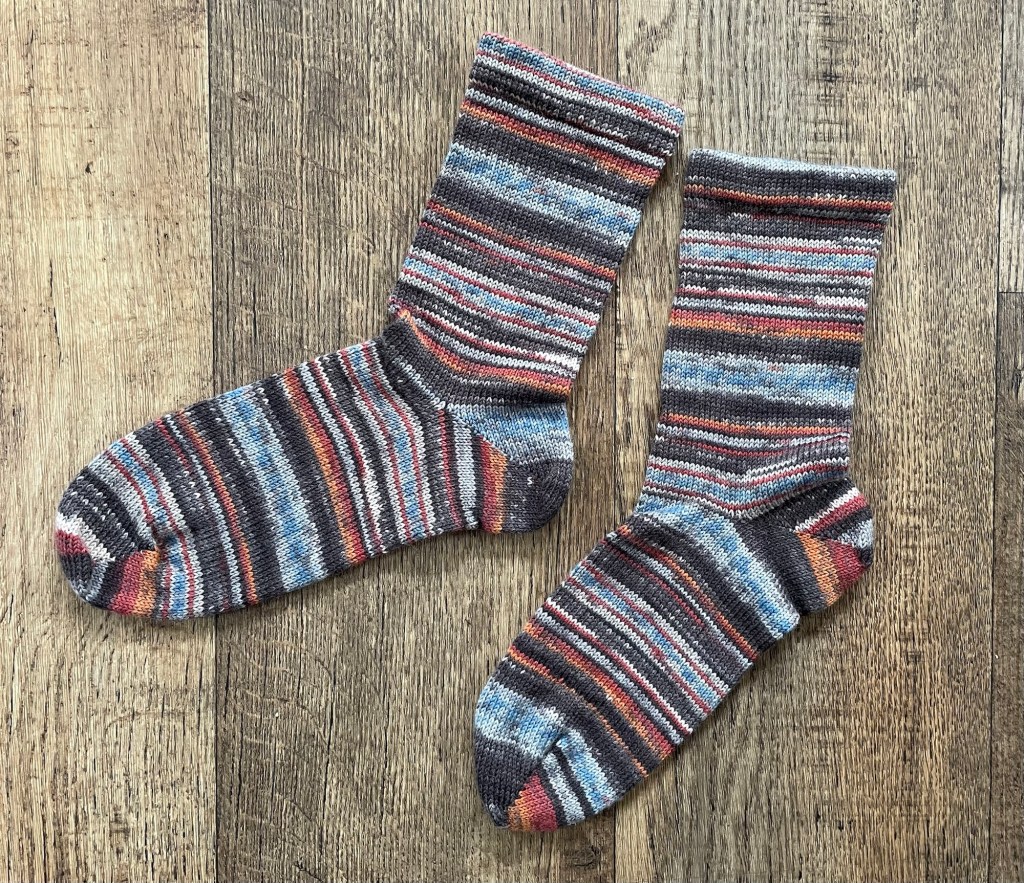
Following are photos of more pairs of successful socks. Over time and with repetition, the basic sock pattern has became familiar and I do not have to think so hard about each step. Some of the following socks have small mistakes where I fudged something while it was still on the machine, or did some cleanup by hand. A couple of times I tried to fix a mistake, but wasted time and then ended up starting over.

The next step in my learning journey was to change the 64 stitch cylinder out for the 72 stitch cylinder. 64 stitches make an average ladies size sock. 72 stitches makes an average men’s size sock. I attempted to make a pair of socks for my daughter’s boyfriend, Isaac. His feet are the same width as my husband’s, but a little longer. I was pretty sure he would like the following yarn in bold colors.

I messed up on the toe of one sock, but was able to salvage it so that I don’t think anyone would be able to tell. I made a mistake on the heel on the other one, but again, nothing that anyone would notice. After blocking the socks and measuring them, I found they were a bit too short for Isaac, but they will fit someone else.
I had never knit my husband a pair of socks before, but now was the time. I cranked a pair for Wayne using the Schachenmayr Regia 4-ply Arne & Carlos yarn he picked out himself. Both he and Isaac have wide feet. With the tension one notch looser they came out a tiny bit wider. The narrower man’s sock will probably fit our son James, but not sure if he wants those colors.
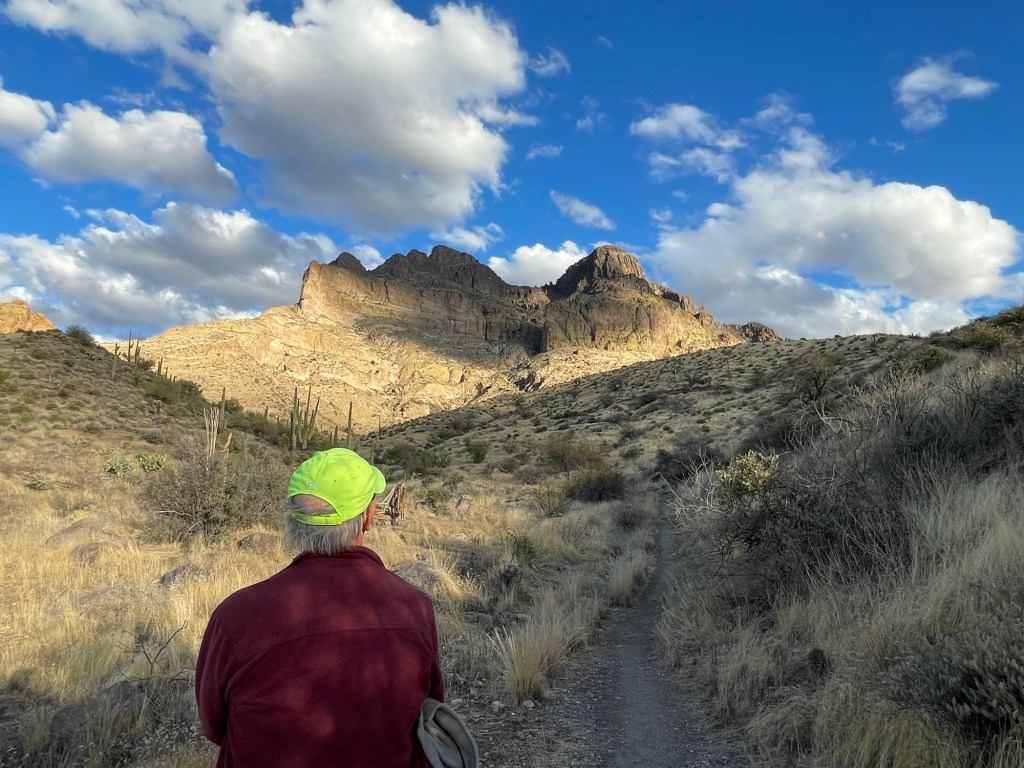
Following is a photo of me holding the socks for Wayne, with the toe grafting in progress, when we were out on a hike at Picket Post trail near Superior, AZ.
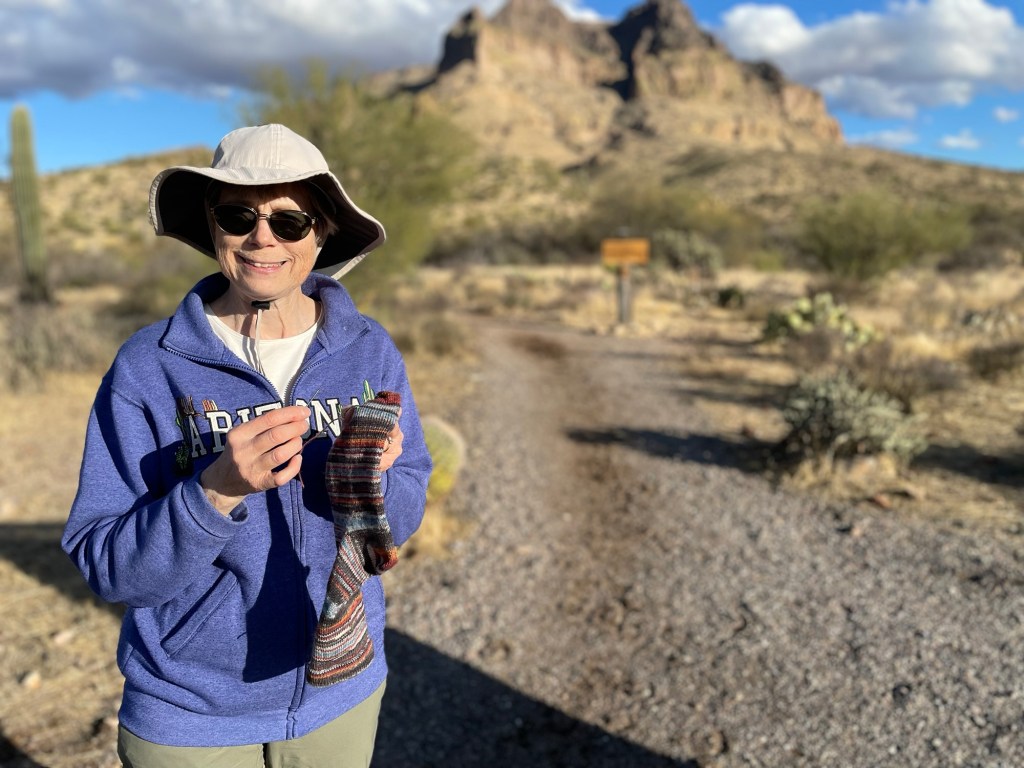
The socks for Wayne turned out well.

The next pair of socks I crank will be for Isaac, using the looser tension and extra length that he needs.
Our snowbird season is winding down. I am happy with my progress using the sock machine. I went from pretty frustrated, to successfully making complete socks with heels and toes, sometimes without a single mistake.

That is so cool! You really are “cranking out” socks! 😂😂
LikeLiked by 1 person
Thank you. I think it is very cool too!
LikeLike
I admire your persistence! And these socks are beautiful! The variety and the colors are impressive. These are so many pairs of socks in this post that are just so nice. You are getting good use out of your sock machine. You’ve gone from novice to expert!
LikeLiked by 1 person
Well, maybe not expert because there are things I have not learned yet. But pretty good at basic socks!
LikeLike
This is a great lesson in patience and perseverance! Learning a new skill takes time and you really applied yourself to this one 😊
LikeLiked by 1 person
Thank you! I feel pretty comfortable with basic socks now. On to more challenges…like the ribbing attachment!
LikeLiked by 1 person
The practice sock with the heels was really wild looking.
LikeLiked by 1 person
Thanks! There is some very fun sock yarn out there.
LikeLike
Bring on the socks! It looks like you have made great progress, the socks look perfect to me.
LikeLiked by 2 people
Thanks! I have having a lot of fun and feeling confident. Well, at least on basic socks with a hung hem.
LikeLiked by 1 person