
In December, when I was trying to find things to make without heels on my circular sock machine, I started a Taco Fold Headband. I eventually finished the headband and posted about it last week.
Due to user error of not reading all the instructions, my first cranked tube for the headband was only half the length it needed to be. I could have unraveled it and started over. Instead I cranked another tube about the same length, with the idea of making the two tubes into afterthought heel socks by knitting on the heel, toe and cuff by hand. It was another good project for knitting in the car.
The next photo is the same one I used in the last post, of the Aktiv Supergarne self striping yarn that I used for both the headband and the afterthought socks. That started out as a very big cone of yarn that got a lot of use over the last months.

Following is a photo of the two too short tubes on top of the Taco Fold headband pattern.
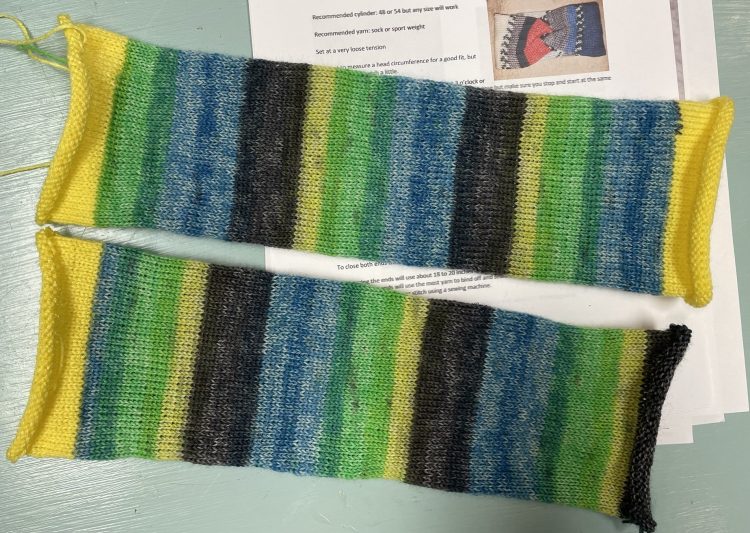
I like to have hand knitting projects in process at all times for when I am watching TV and for road trips. Making these tubes into actual socks seemed like a good idea for bringing in the car on the way to our snowbirding stay in Arizona.
I have knitted afterthought heel socks before, where the heel is inserted at the end, rather than in place as you go. It is not hard, but it is not my favorite method. There is the challenge of figuring out where exactly to insert the heel, the extra yarn tails to be woven in, and the tendency for the heels to end up with holes in the corners. In this case the heel could be placed at a random location.
There are two versions of afterthought heel. One has waste yarn knitted in at the point where the heel is going to be, sometimes called a “forethought heel”. A true afterthought heel is where two rows of stitches are picked up directly from the knitted tube after the fact, without using any waste yarn. The row in between the picked up rows is cut and unraveled. It sounds scary but it works great. Click here for a video with good instructions for both versions of afterthought heel.

Once the stitches are picked up and the waste yarn or row in between is removed, knitting the heel is very similar to knitting a toe with decreases on every other row.

The hardest part of this heel method is adding a couple of stitches in the corner on each side, which gives the heel a little more depth and is supposed to help with the gaps in the corners that invariably happen. Additional cleanup up of holes or gaps is taken care of when weaving in the tails at the end.
After I had started this project, I saw a link on Pinterest for a YouTube video with instructions for making socks out of a long tube cranked on a circular sock machine, exactly what I was doing. The woman who made the video sells kits with a pre-knit long cranked tube, along with mini skeins of contrasting color yarn for the heels, toes and cuffs. Click here for that video from Polka Dot Creek.
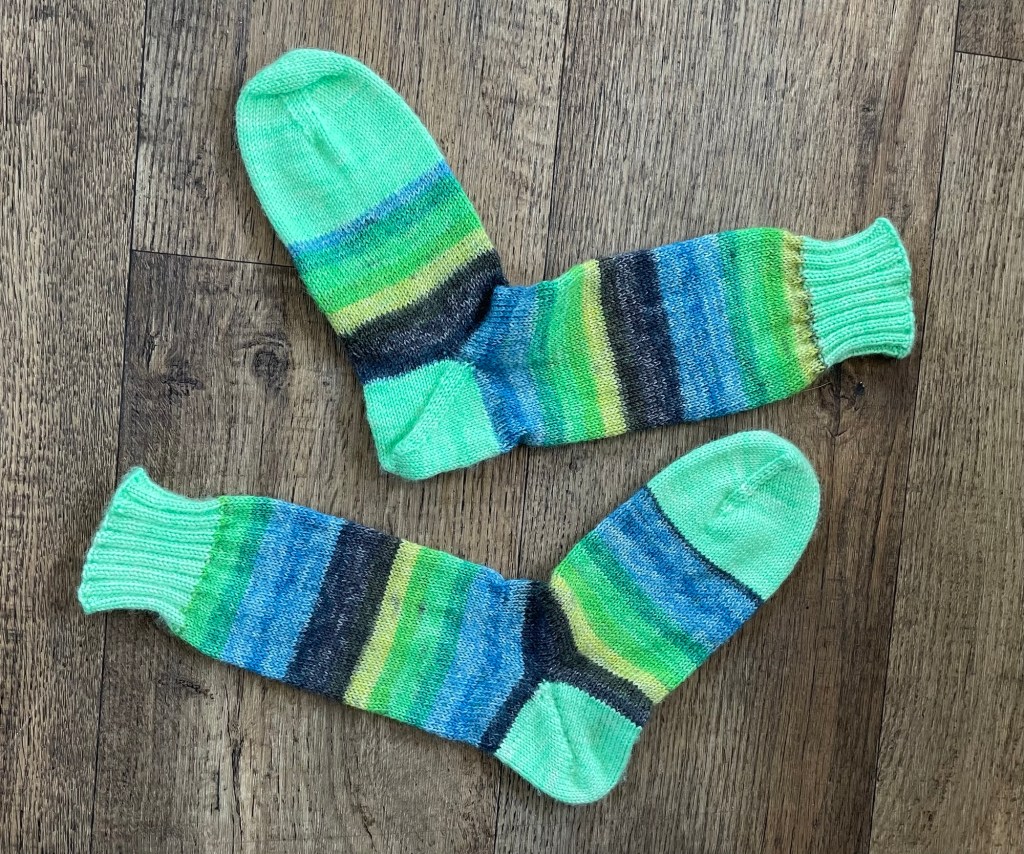
I knitted the heel on the first sock using the traditional method of decreasing every other row like a toe, and then grafted the stitches together at the point of the heel.

I knitted the heel on the second sock using the Fish Lips Kiss Heel short row method, instead of the usual decreasing every other row method. In this technique the first half of the heel is knitted, and then second half is knitted. If you were knitting the whole thing by hand, you would just continue on knitting around the foot or leg. I forgot that in this case, after the heel was complete, I would have to graft the heel stitches all the way across to connect it to the leg of the sock. The two sock heels are pictured below with the different heel methods.

I continued working on this project after we got to Arizona. Generally there are not many pool days there in January, but there must have been one. At home I am not tempted to swim unless it is really hot out. In Arizona, if the sun is out and there is no wind, even 73 degrees can be warm enough to get in the heated pool. That is usually followed by a session in the hot tub.

I knitted about two inches of ribbed cuff on each sock.

I had to knit even for a number of rows in the contrast yarn to get the foot long enough before it was time for the toe. I neglected to take photos of the toes in progress.
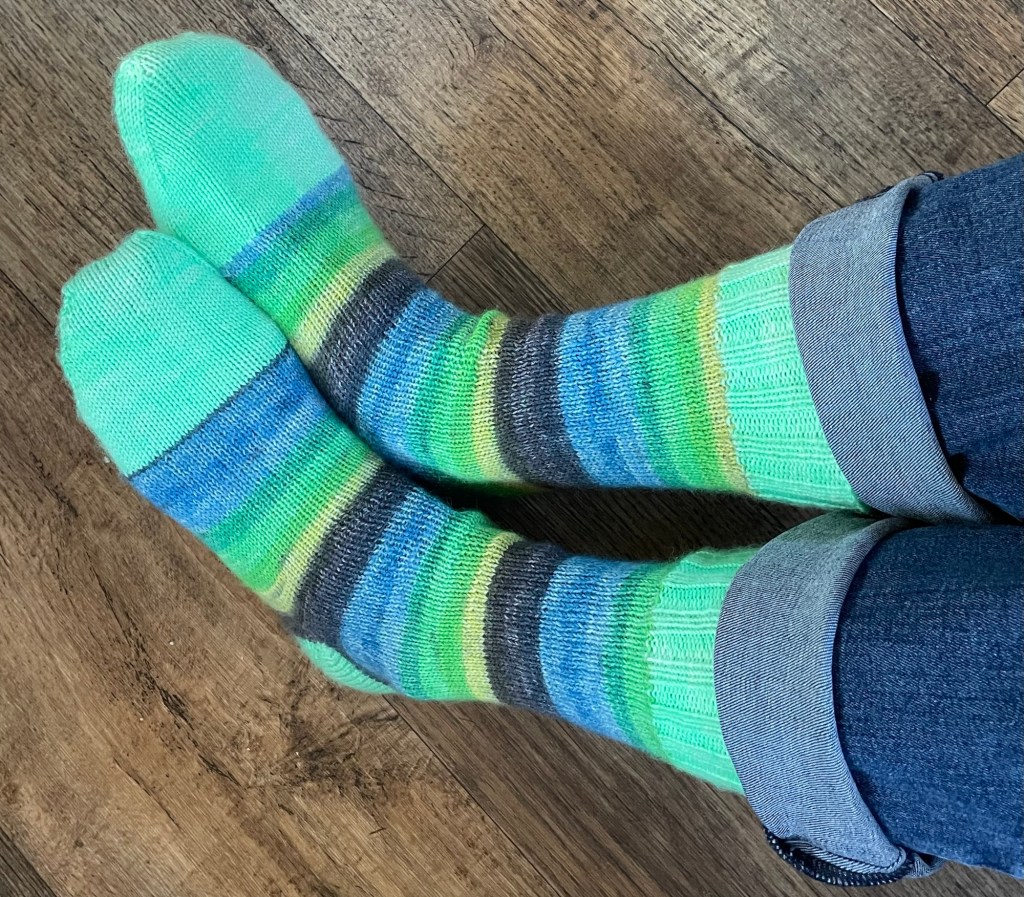
There are some beautiful self striping yarns that have amazing results looking like complicated colorwork, without any changing of yarn. In a sock knit continuously with all the same yarn, starting at one end and finishing at the other end, there are only two ends to weave in. This pair of socks with the heel, cuff and toe added in with contrasting yarn had TEN tails to weave in. UGGG.

After finishing the cuffs and toes, the last step was to weave in all the ends. This reminded me of why knitting afterthought heels, or contrasting heels and toes is not my favorite. There are ways of changing to a different yarn resulting in smooth transition without a tail, that I did not do on this project. My husband is encouraging me to make socks in sports teams colors which would involve changing the yarn multiple times. It is a good idea, but I will have to learn better methods of changing yarns, or maybe dye my own self striping team color yarn.
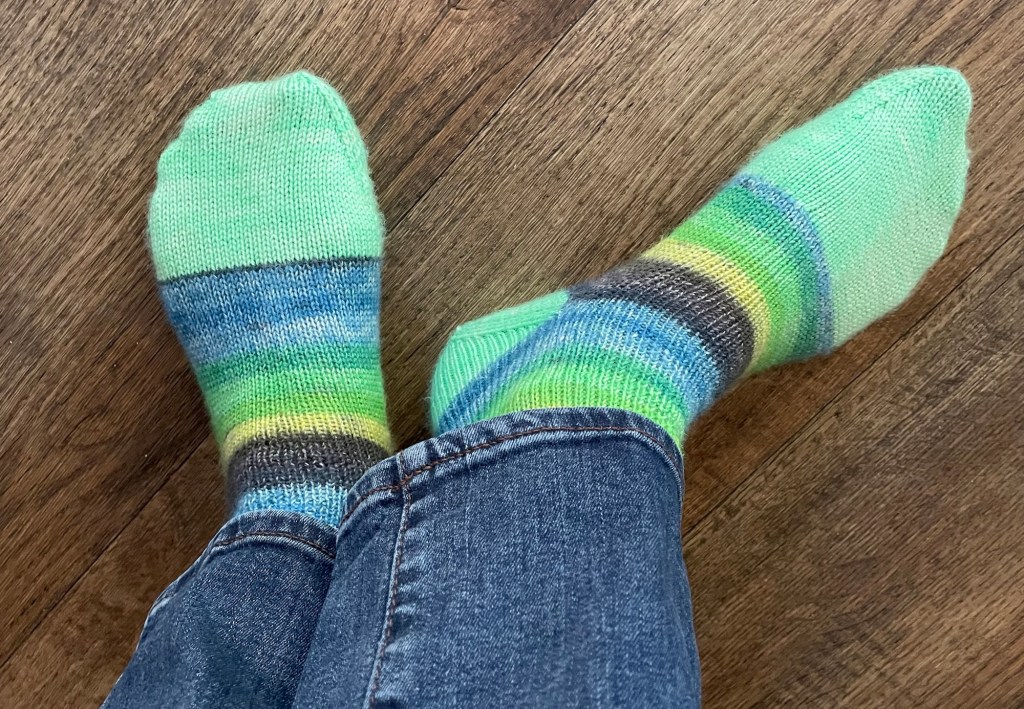
The afterthought heel ends up with a gap in the corners where the heel joins the leg and foot, so there is some fussing with the tail to close that up. You can see the hole in the corner of the heel in the middle of the next photo.

I did not like the way the second toe looked, so I re-knit it the same way as I knit the first toe. The following photo shows both socks complete and blocked, with matching toes but different heels. There is more contrasting yarn before the toe on one sock than the other, due to where I inserted the heel in the original knitted tube.
After completing this pair of socks, I saw more tips for adding the afterthought heel with minimal holes in the corner, and other ways of grafting. I might try another pair of afterthought socks some time to experiment with better methods, and use up smaller amounts of yarn.
Since completing the afterthought socks and more gnomes, I have mastered making heels on my circular sock machine. My progress on the CSM has been faster than my ability to publish blog posts. Following is a photo of more sock machine gnomes, assembled with the help of my sister-in-law, Marlene.
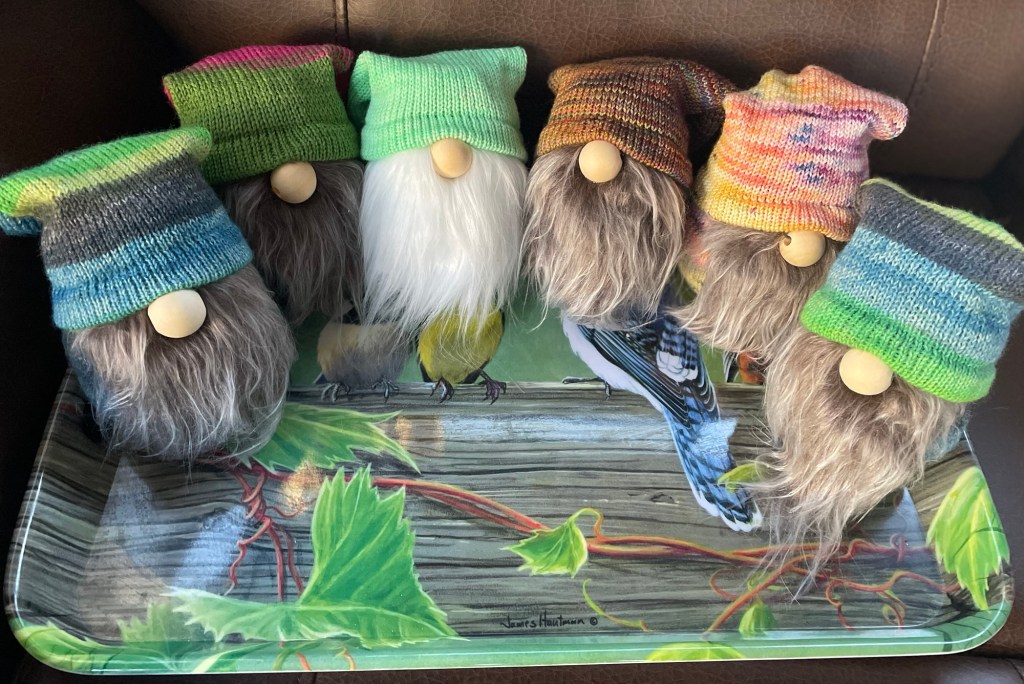
Three of the gnomes went to my daughter and nieces who were visiting us in Arizona. The three cousins had a good time hanging out together at the 55+ resort where we are staying. While spending time in the hot tub one evening, another more “mature” adult noticed that they were not in the same age category haha. There was a conversation about what bars the younger people like to frequent and what else they like to do. The girls replied that the bar they frequent is “Marlene’s refrigerator”, and what they like to do is sit in the hot tub. They also like hiking and playing pickleball and other outings, but while on this short break from their regular life and work, they were all enjoying taking it easy.


I love all the details on those socks and your gnomes are great!
LikeLiked by 1 person
Thank you! It seems like there are unlimited options for fun socks with so many beautiful yarn options.
LikeLiked by 1 person
Thank you and thanks for reading! Enjoy the rest of your weekend.
LikeLiked by 1 person
The socks came out great! That self-striping yarn is amazing. I am sure you thought of this, but is there a place where the colors on self-striping yarn can be requested? I am thinking of the sports teams – or school colors – or whatever. It is great that your progress with your machine has been good – faster than you can blog about. I look forward to reading about your future projects!
LikeLiked by 1 person
It is possible to find the repeat in the self striping yarn, and knit the socks (or whatever) so the stripes match. I tried to do that for some socks I hand knit for my son a few years ago. In that skein of yarn there was a knot that messed with the pattern. It was not too bad, but I was so disappointed. I kind of like the random look, but maybe for team color socks it would be good to match.
LikeLiked by 1 person
I love how your socks came out! Team colors for socks seems like a brilliant idea.
LikeLiked by 1 person
I tried to find plain colors of sock yarn for Minnesota Vikings colors (purple and gold) but I did not find what seemed like the right shades. Some time I will try again. Dyeing my own would be fun, but that can be a crap shoot of not knowing how they are going to come out.
LikeLiked by 1 person
That was a lot of work, but the finished product is very pretty! I envy your ability to knit your own socks.
LikeLiked by 1 person
Thank you! I am excited that now I can knit them much faster with the sock machine.
LikeLike
I really love the blues and greens of those socks, Meg. I have only done one afterthought heel so far and I was not in love with it, the arch is tighter than I would like. Like you mentioned, I need some extra stitches like I do with heel and gusset so if I do afterthought again I will have to figure out how to add even more.
LikeLike
I need a deeper heel too. If you ever figure out how a good way to make an afterthought heel deeper, you will have to write about it.
LikeLike
The gnomes are so cute. Well done for persevering with learning how to do the heels on the machine. I think everyone else I know with the machine have given up and do afterthought ones. I always do a heel flap and gusset on my socks, I’m now too lazy to try another heel despite having bought the fish lips kiss heel pattern years ago.
LikeLiked by 2 people
Last weekend I had someone show me how to use the ribbing attachment on the sock machine. A new way to get frustrated and make mistakes! I made one successful sock with a ribbed cuff on my own, now I am having a lot of trouble with the second one. I read that you can make a flap and gusset heel on the sock machine, but I am not going there. I think if you like the way you make socks, then you should keep doing it that way!
LikeLiked by 1 person