
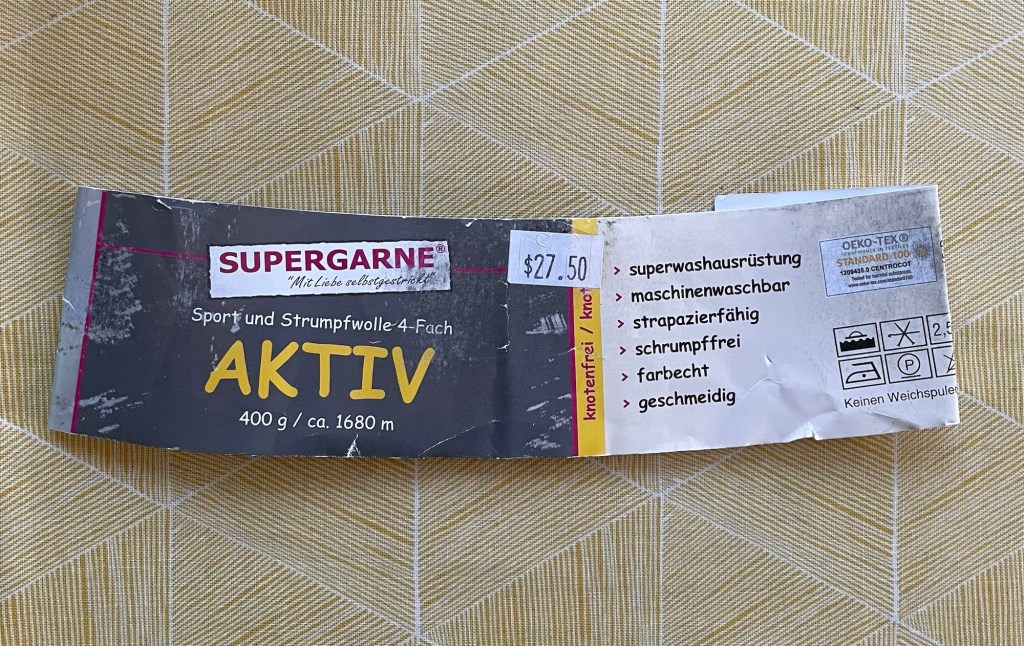
At the end of December, I attempted another project without heels on my new sock machine. I used self striping Aktiv Supergarne sock yarn that came on a large 400 gram cone. This company, located in the Czech Republic, sells yarn on large cones that are popular with sock machine knitters. My CSM friend in Minnesota who goes through a lot of yarn reports that this sock yarn ordered directly from the company is the best deal she can find, in spite of the shipping cost.

The Taco-Fold Headband is made with a long tube, so it is perfect for a sock machine project. I used a pattern specifically for circular sock machines, but there are other patterns for hand knitting the same style of headband. I followed the instructions that said to crank out 125 rows, and then check the length without weights. I neglected to pay attention to what the instructions said after that (oops).
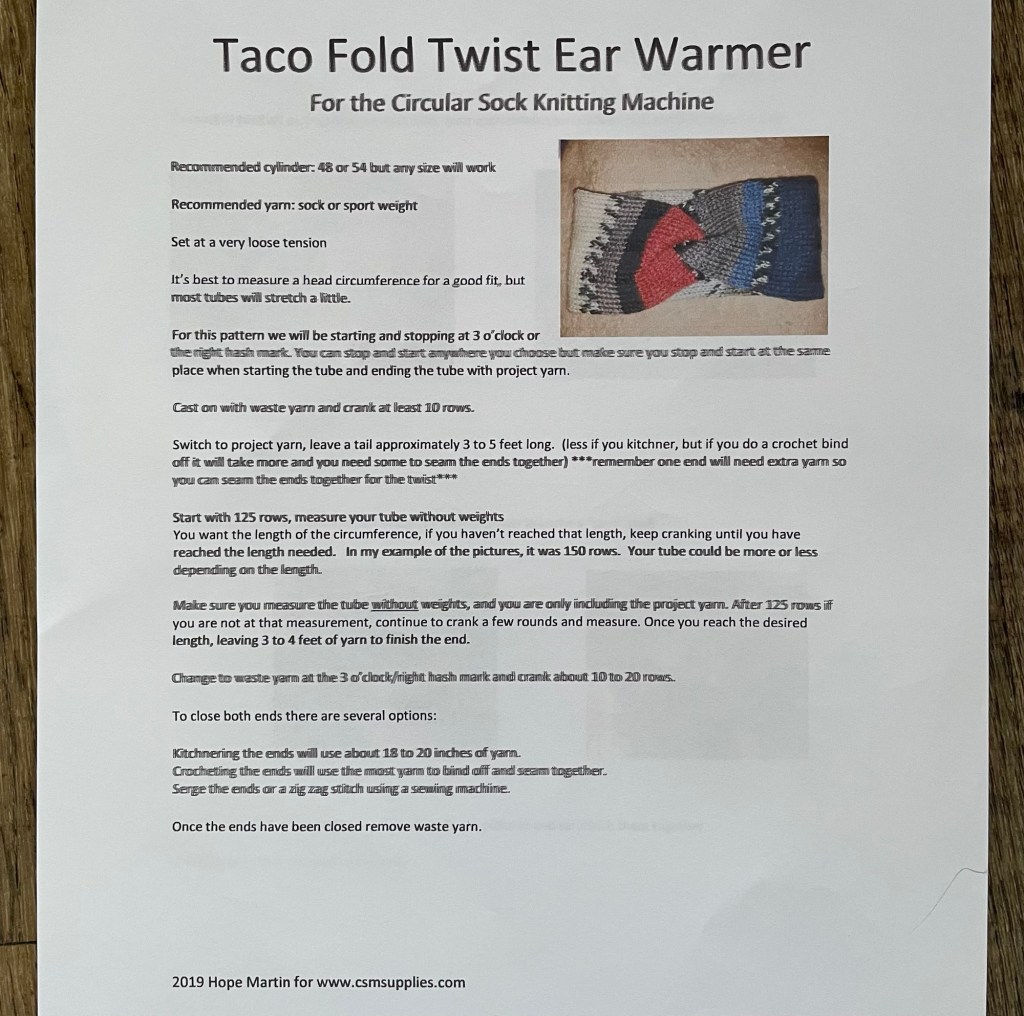
I ended the tube after 125 rows, added the waste yarn. and removed it from the machine. It looked way too small and no way would it wrap all the way around my small head. It was only 11 inches long. After looking at the instructions again, it said that for the example project the author cranked 150 rows. That would still be too small. I would need 250 rows to get a 22 circumference headband. Later I started over again and cranked a tube with 250 rows for a headband. I did not have time to finish it while we were still at home, but it was a good car project for the three day road trip to Arizona.
The headband was very easy to make. Step one after cranking out the tube was to finish off each end and remove the yellow waste yarn. There are multiple ways this can be accomplished. The pattern suggests kitchener stitch, crochet bind off, or zig zagging the ends together using a sewing machine. I chose to use kitchener stitch, as I thought that would be nice and smooth and flat. I picked up the stitches just below the waste yarn with my long magic loop size one needle. Since then I have learned some other ways to do kitchener stitch without putting the stitches on needles.
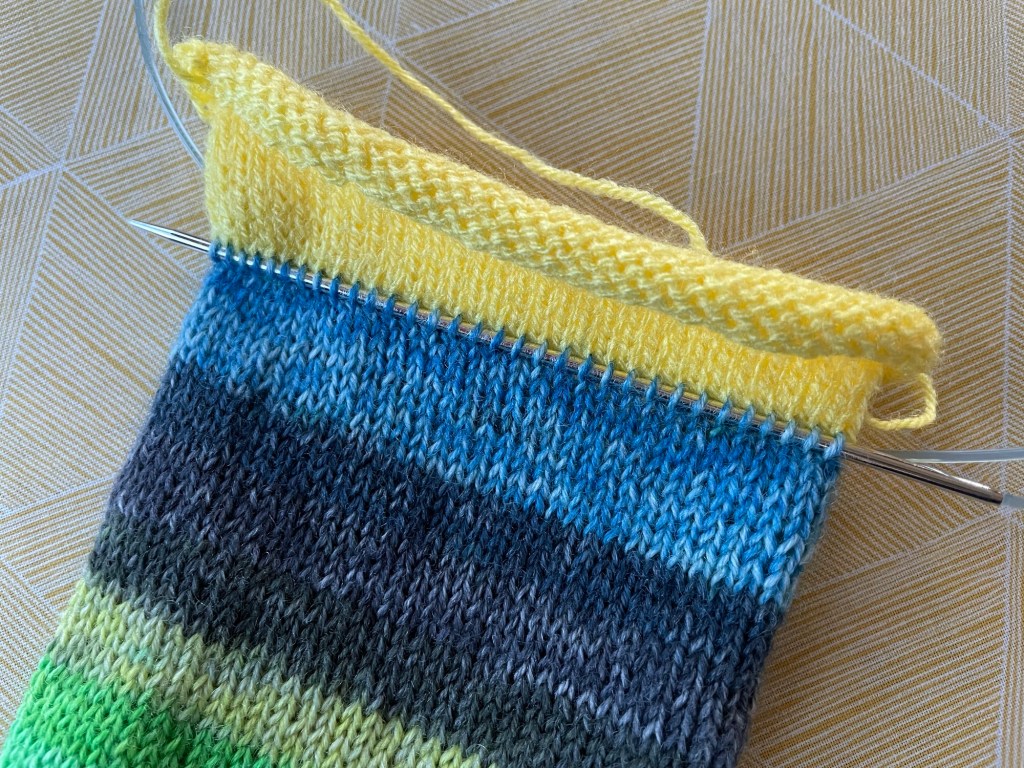
Once all the stitches were on the needles, I unraveled the waste yarn.

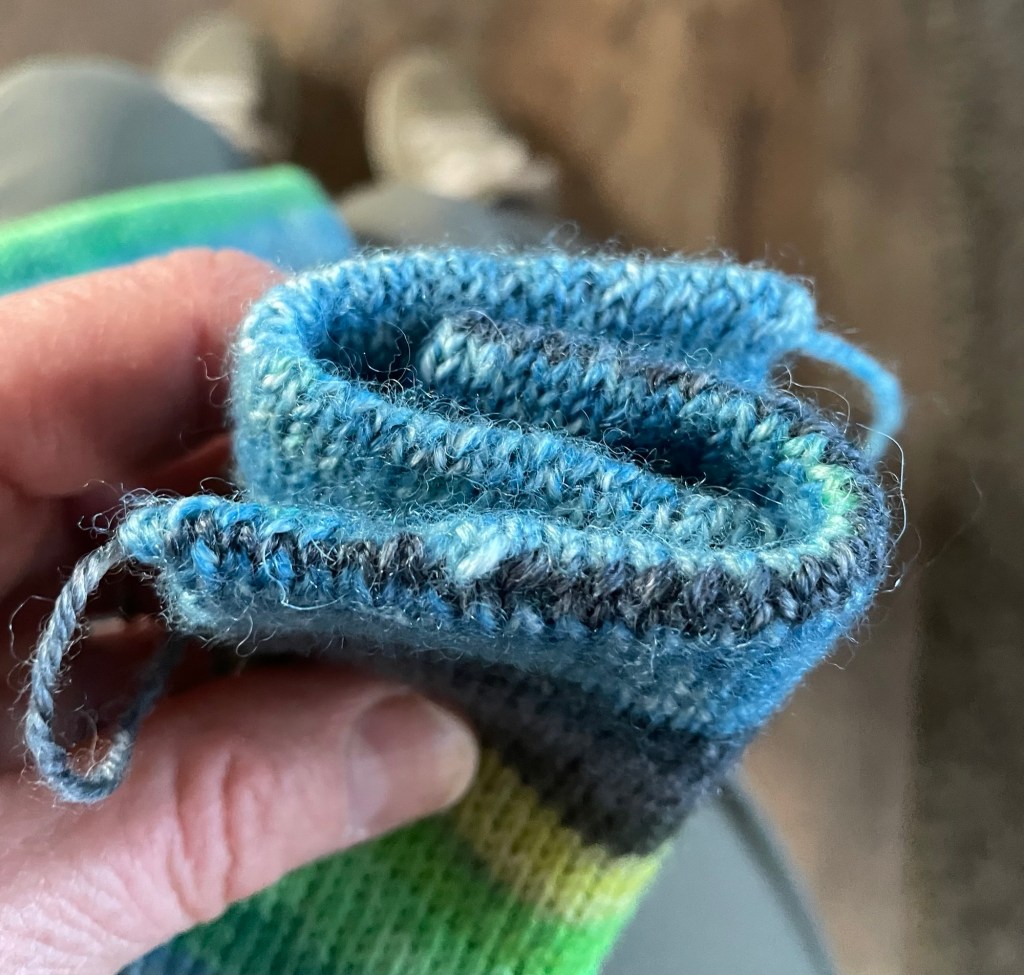
The following photo shows one end of the scarf with the stitches on the needles and ready for the kitchener stitch.
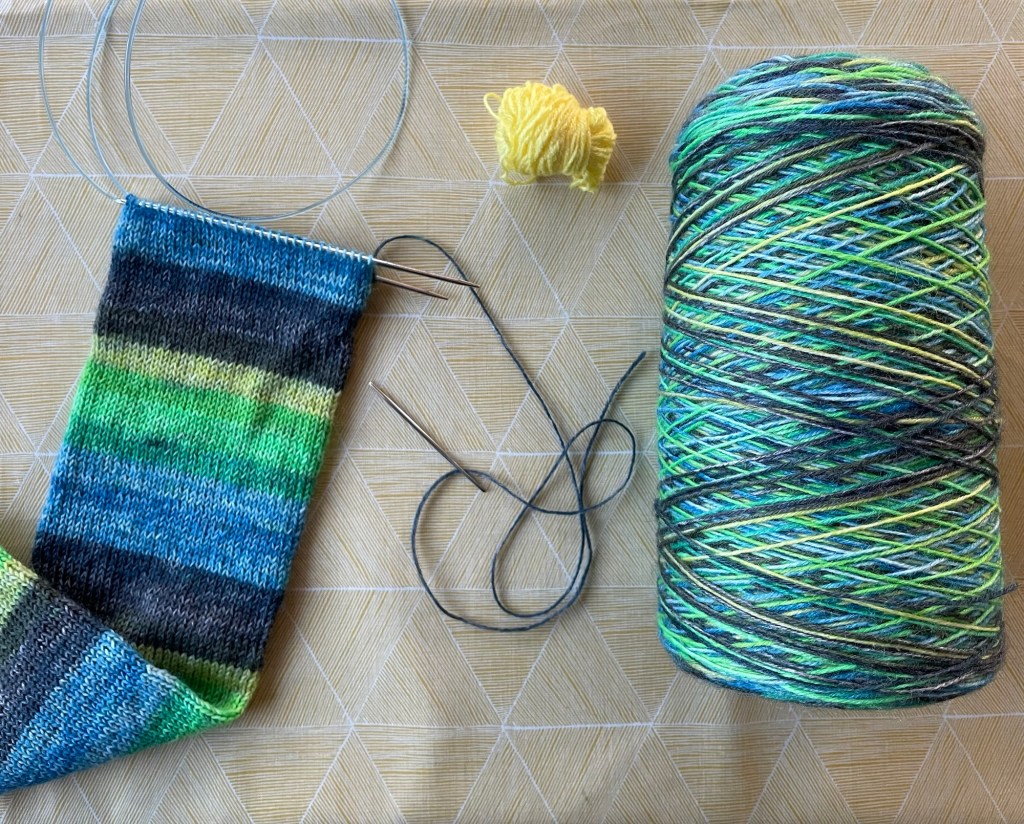
The next photo shows one end grafted together, and the kitchener stitch in progress on the other end.
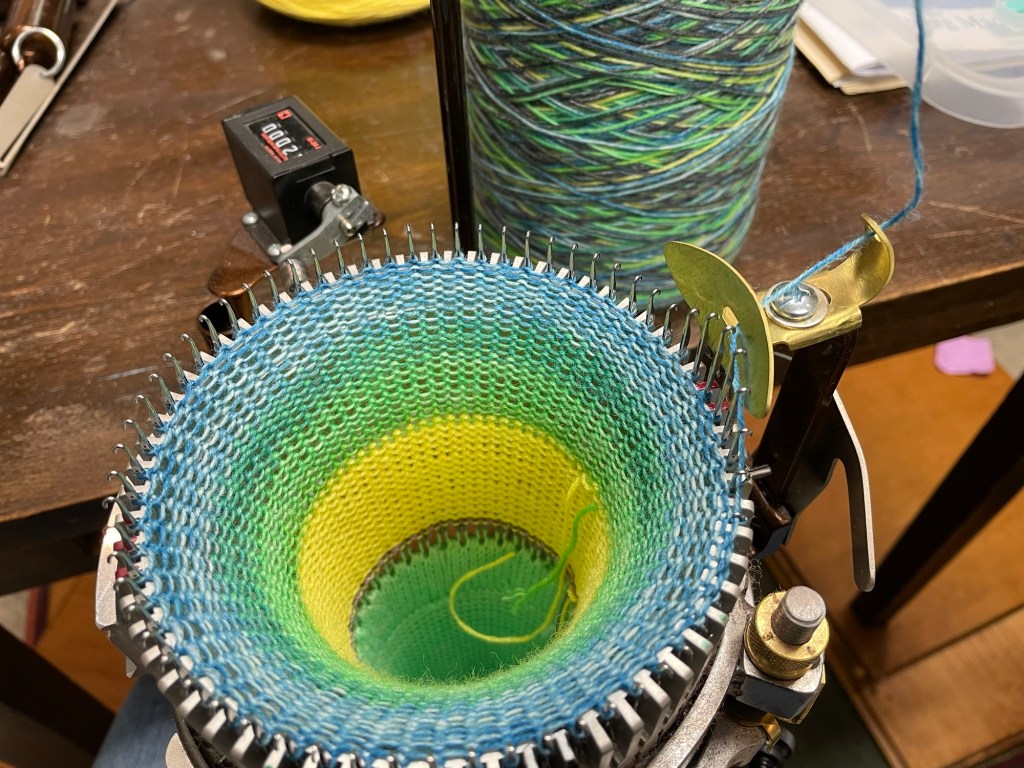
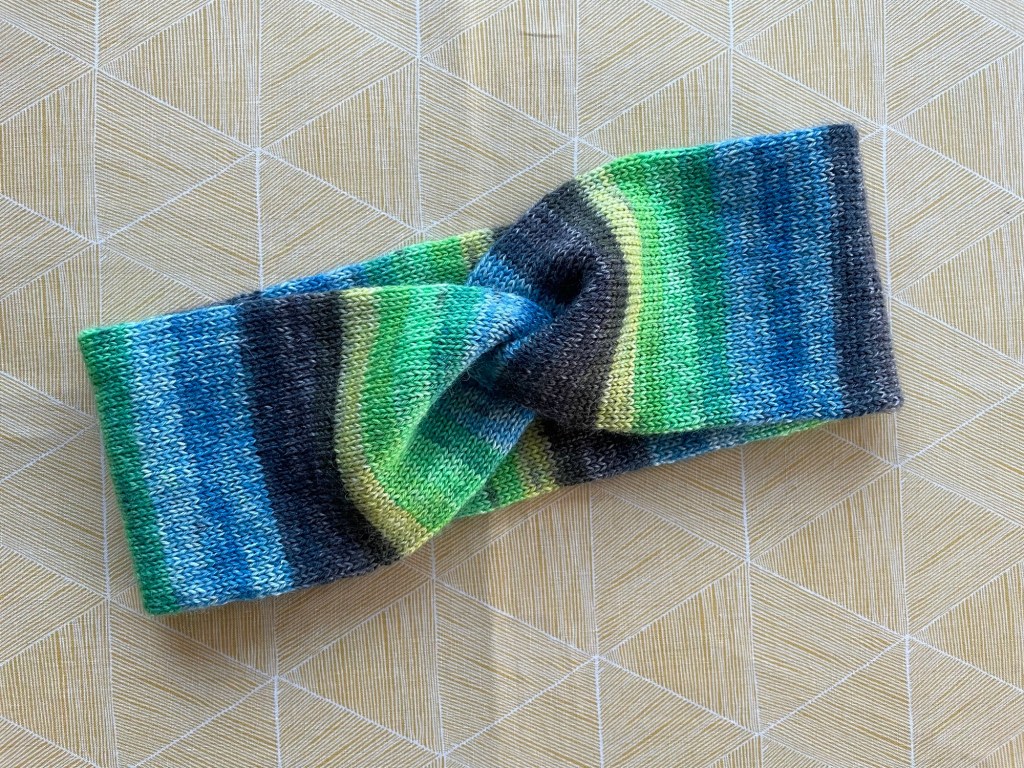
Non knitters are always amazed at self striping yarn, or maybe knitters too. The yarn is dyed to result in stripes or other complicated patterns when knit up.
I found the assembly instructions a little confusing, so I found another similar pattern for hand knitting with more detailed step by step instructions including photos. This pattern can be found here on Ravelry.
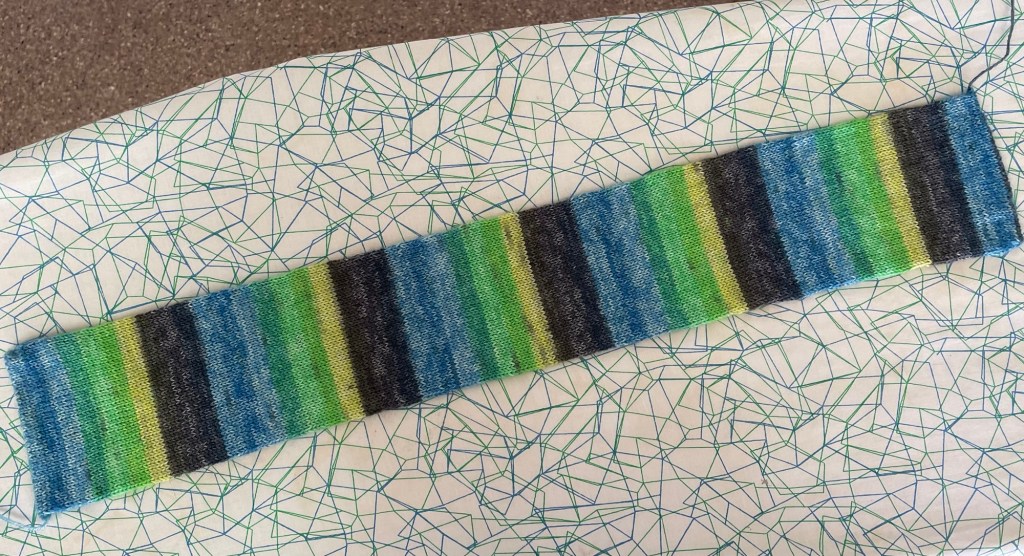
The last step of finishing the headband involved folding the ends together like two tacos, and then hand stitching it together.
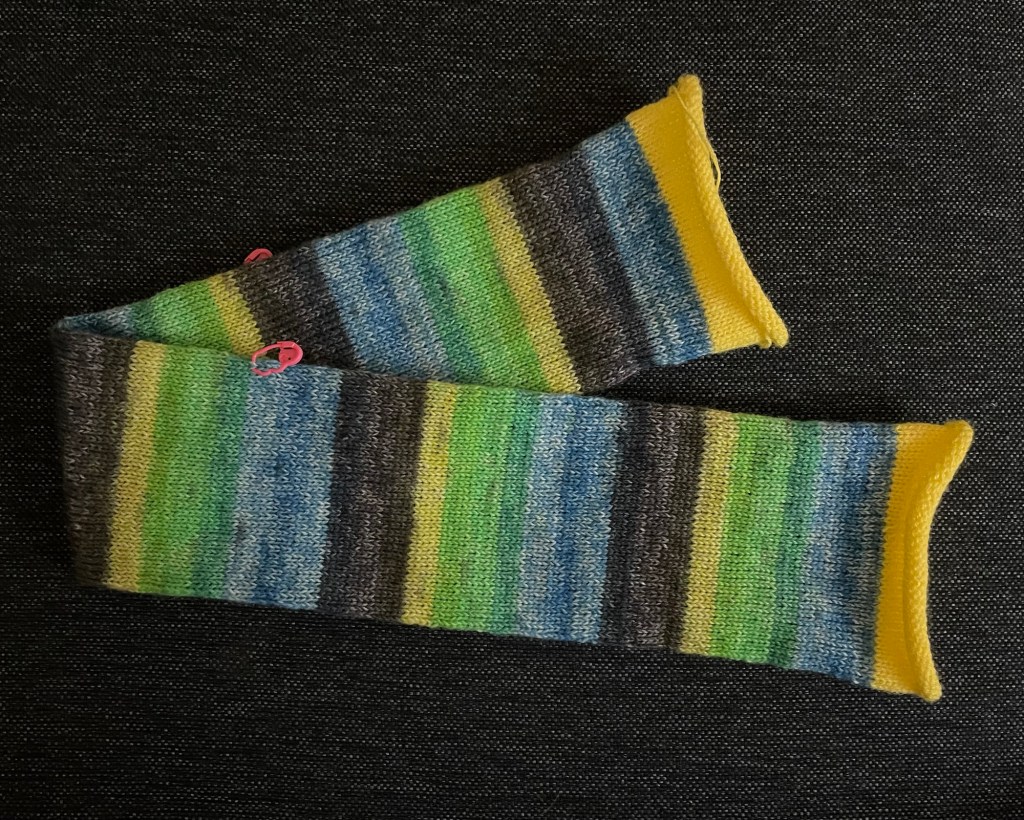
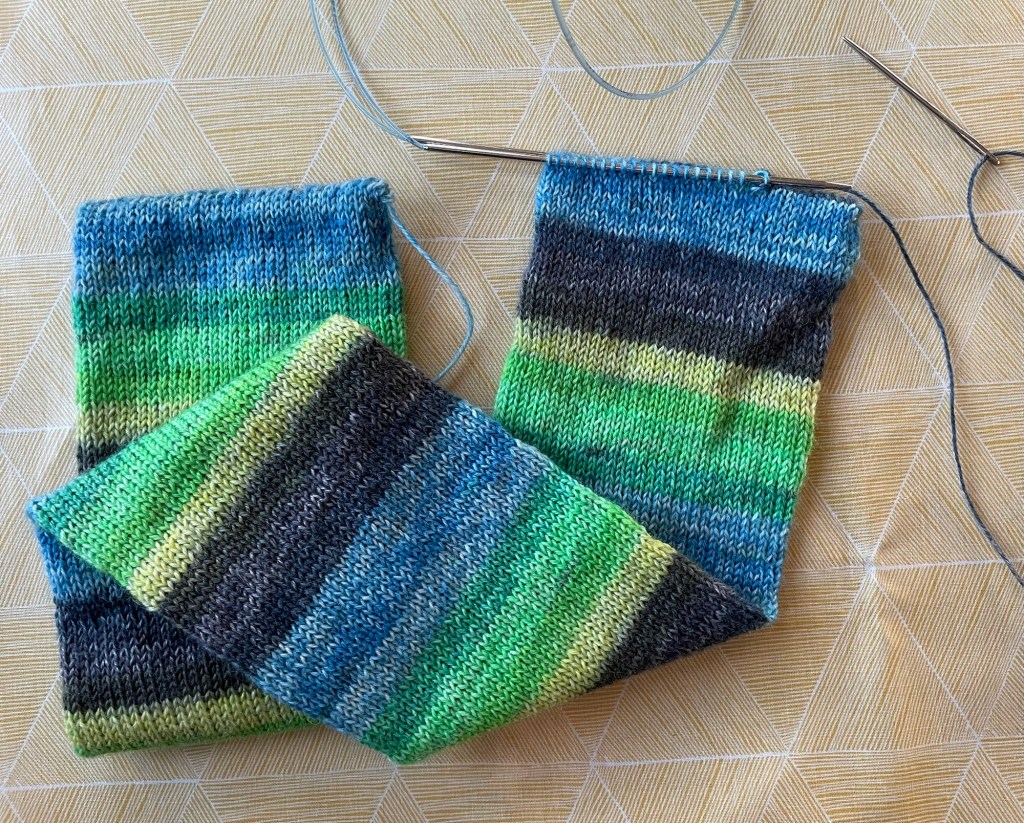
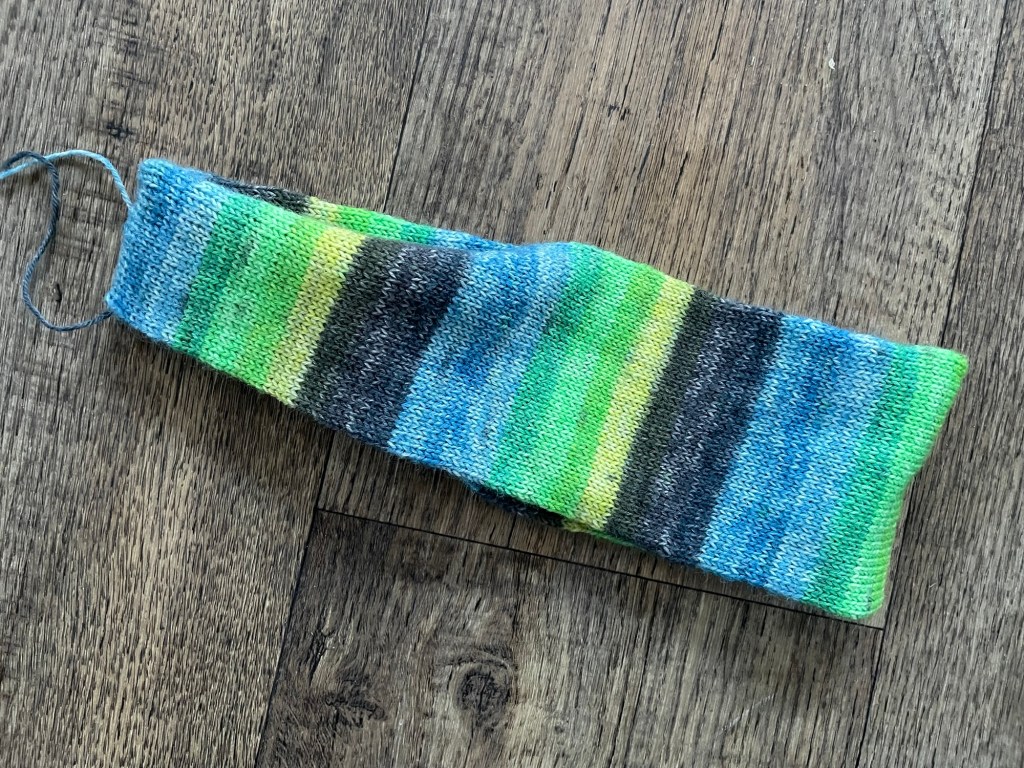
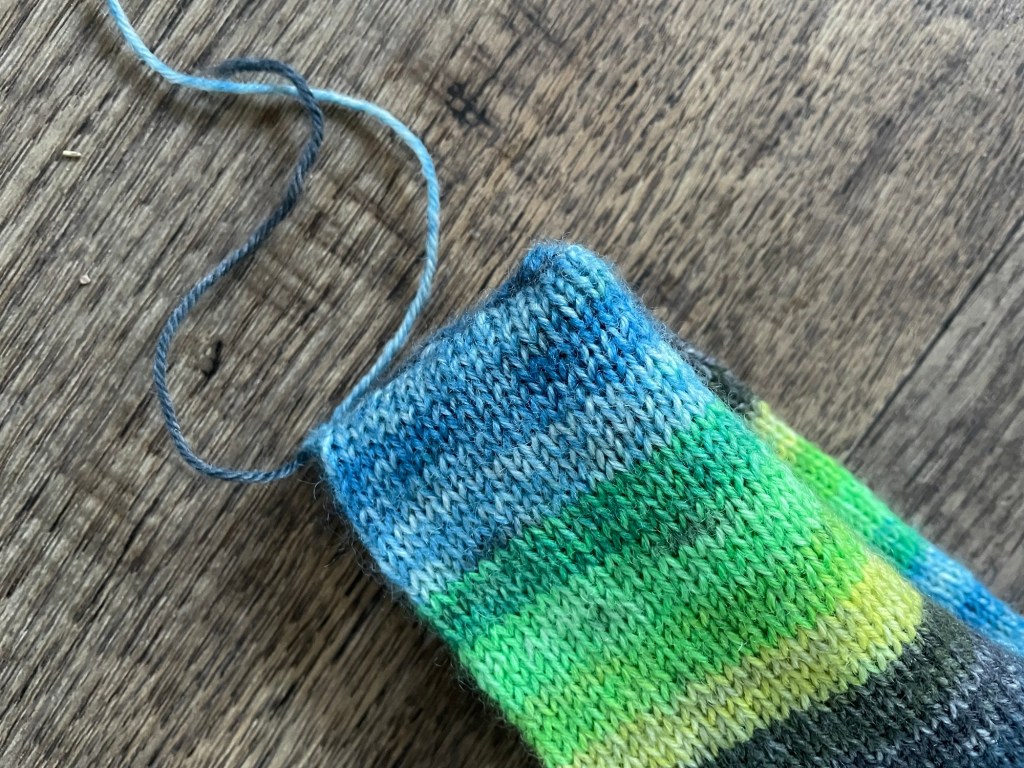
This headband was made with 64 stitches around, because the 64 stitch cylinder was on my sock machine. The pattern will work with any number of stitches. A larger number of stitches around for a wider headband will work too. The next photos show the two ends of the tube stitched together.
After the end is sewed shut, it is turned right side out and Voila, you have a headband.
Following is a photo of me modeling the headband while on a bike ride in Arizona in January. It gets cool here at night, even down to freezing in January. In all the years we have been coming here during the winter, there have never been more than a few “hot” days, even in March. This year it has been very dry, with only a few sprinkles of rain since last August. We are now coming up on a long stretch of very warm weather with temperatures getting to the upper 70’s and into the 80’s (and no rain in sight), which coincides with our daughter and other extended family visiting. Any hiking will happen in the morning, and afternoons will be spent at the pool. I won’t be needing the headband!


Everything you do is amazing! I love seeing the pictures and reading about the process! Just so you know, you’ve missed a lot of really cold weather here!
Joanne Anderson
LikeLiked by 2 people
We have been watching the forecast at home. It has been even colder at the lake! Even too cold for the headband!
LikeLike
When do you return to MN! Don’t hurry back!
Joanne
LikeLike
We will head back at the end of March. James and Kelsey’s baby is due April 4!
LikeLike
I love the colors of the yarn and the design of the headband. Just another wonderful creation by Meg!🩷
LikeLike
Thank you!!!
LikeLike
The headband is beautiful! I love the colors. I’m sure you’ll get a lot of good use out of it even if not for a while. Great job! It sounds like you are having fun with your new sock machine.
LikeLike
Thank you. I am having a lot of fun with the sock machine, and have even mastered heels! I will write about that at some point.
LikeLike
I loved the picture looking down the sock machine! The stripes are beautiful. The headband is very attractive.
LikeLiked by 2 people
Thank you! I like looking down inside the sock machine too while it is cranking.
LikeLiked by 1 person
Its funny with these types of head warmers I always thought the twist went at the back of the neck so it took up less space but now you’ve shown its construction I realise it must go at the front.
LikeLiked by 2 people
I think you can wear the headband any way you want!! Maybe even with the twist on the side.
LikeLiked by 1 person
I love both the color of those stripes and the pattern, I just added it to my cue. Now to find some yarn for it!
LikeLiked by 3 people
I look forward to seeing your headband when you get to that project! There are so many fun self striping sock yarns. And I guess you do not need to use sock yarn, it would just be thicker and wider with some other yarn, so a person could adjust the number of stitches.
Like
Reply
LikeLiked by 2 people