
My daughter, Britta, asked me if it was possible to weave fabric that could be made into a skirt. I liked this idea, so when she was visiting this summer we talked about how that could work, and what yarn fibers and density would be best. We looked at colors and patterns, and took measurements for how wide and how long the woven fabric would need to be.
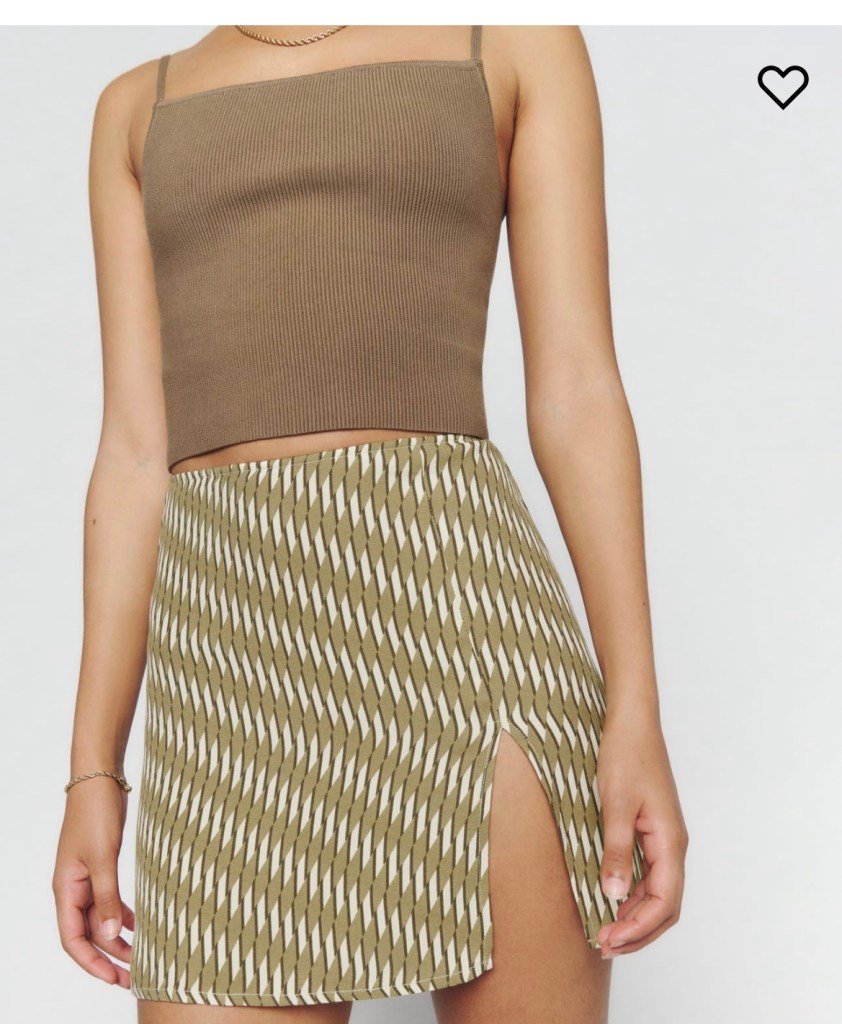
Following is a photo of the skirt Britta saw online that inspired this project. Click here for a link to the listing. This skirt is very tight and short. It has a zipper in the back and is made with viscose fabric. We agreed a similar look could be achieved by taking a rectangle of woven fabric, wrapping it around, adding some darts for shape around the waist, and using buttons or a zipper on the side.
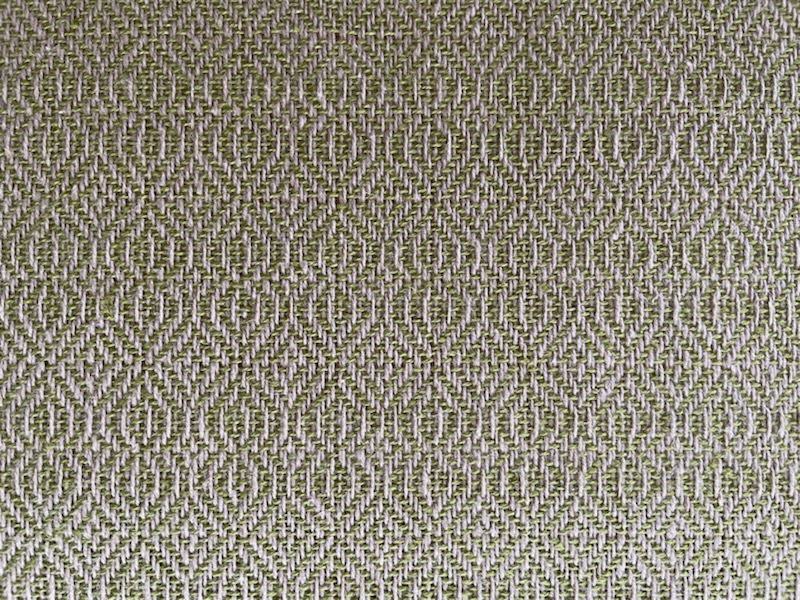
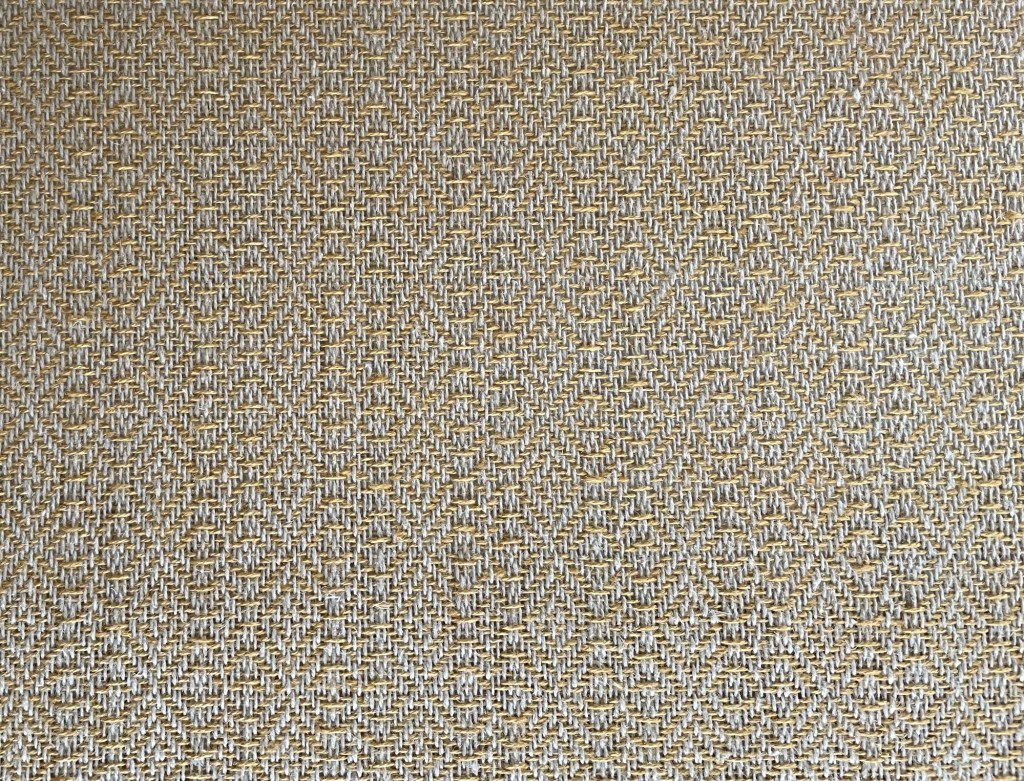
I showed Britta some of the scarves and towels I had woven to get ideas for yarn and weave pattern. Some cotton/linen blend towels had the best fiber and density, at least in the universe of things I had hand woven. Britta liked the following pattern best from that set, but with yellow for the contrasting color instead of green.

Since the fabric was going to be turned sideways for the skirt, I figured out how to write out the pattern with the warp and weft reversed for my four harness floor loom.
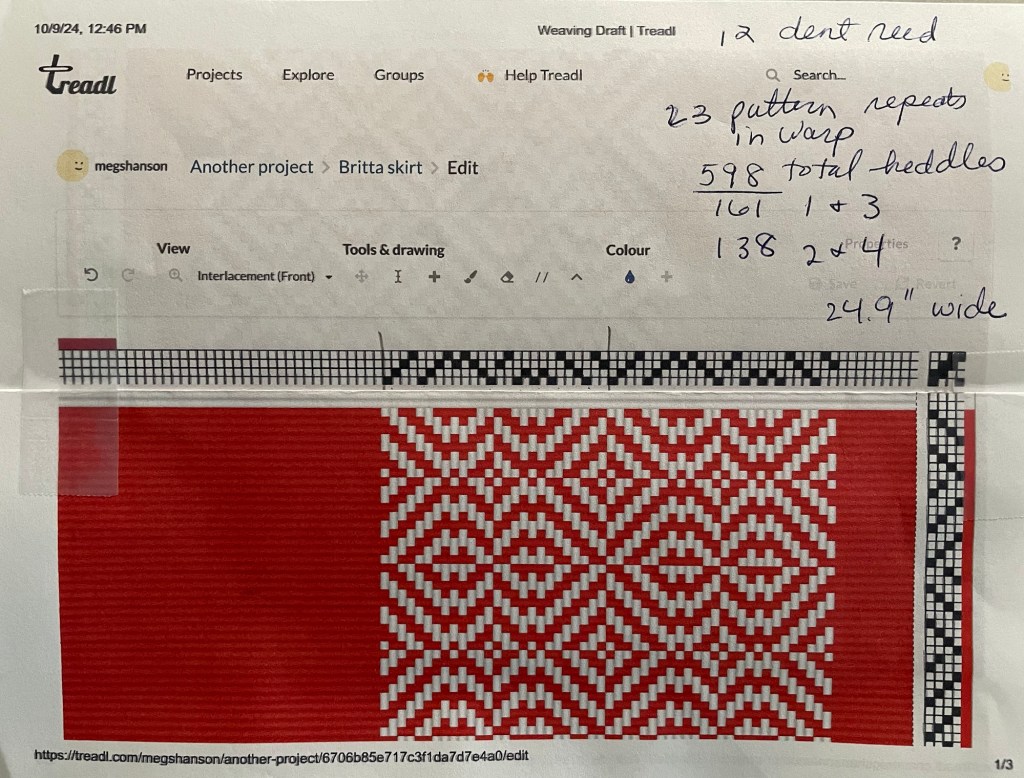
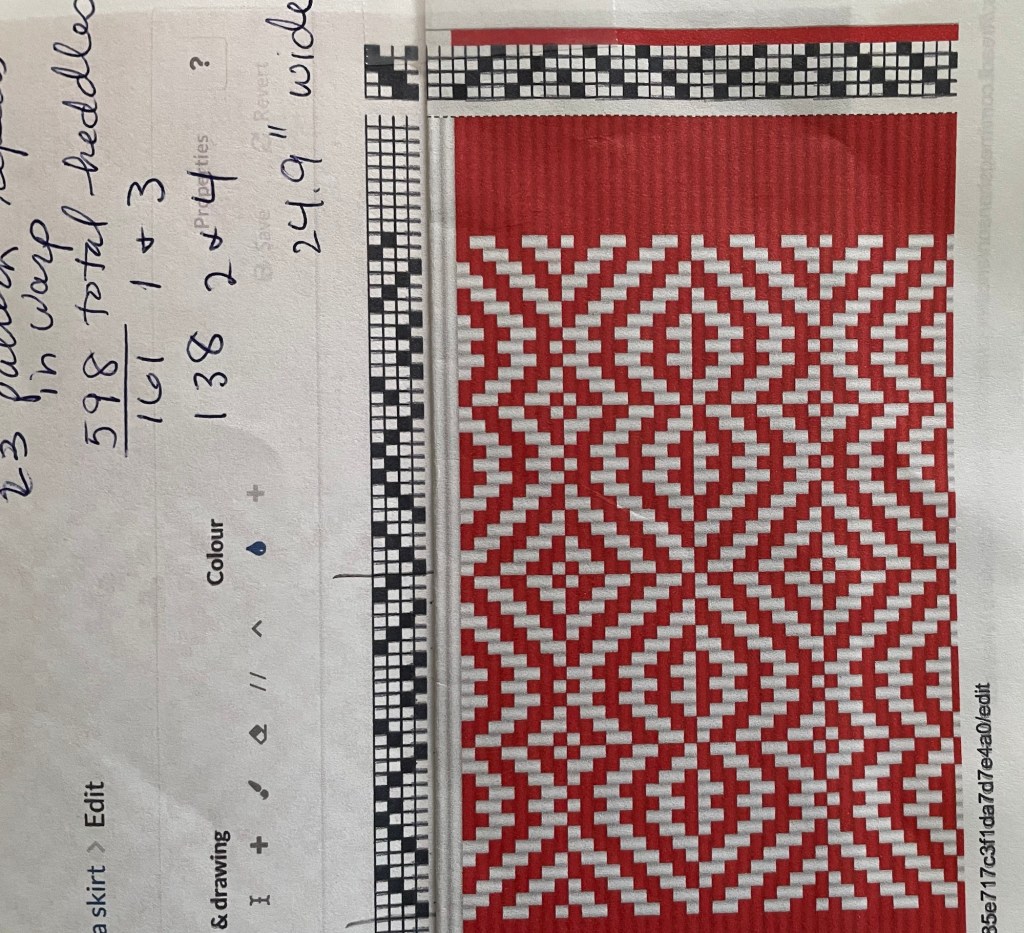
I was worried about whether I could make the fabric wide enough. The width of the weaving would be translated to the length of the skirt. One pattern repeat used 26 yarn ends. I had enough heddles for 23 repeats, which adds up to 598 heddles, out of the total of 600 that I have on my loom. 600 ends at 24 ends per inch makes a fabric on the loom of 25 inches wide. The final width would be less than that after take up and shrinkage from washing.
Two of the harnesses would use more heddles than the other two. Based on the pattern, I had to move some heddles from two harnesses to two other harnesses in order to have the right amount in each place for the pattern.

I found yet another placement for my warping board that worked really well. I strapped it on to the side of a big box to keep it upright, and set it on the kitchen island. It was the perfect height so my arms did not get tired reaching too high, I did not have to bend down, and the yarn could feed up freely from the floor.

With one extra yarn end on each side for a selvage, I needed 600 ends. I wound three warp chains of 200 ends each. The next photo shows a few ends threaded through the reed from the front.

Following is the loom after all the 600 ends were threaded through the reed.

After all the ends were through the reed, it was time to work from the back of the loom and thread the ends through the heddles. The next photo shows the some of the ends threaded through heddles and tied on to the back.

Warping the loom takes concentration and time. It is easy to make a mistake, which will mess up the pattern. A mistake caught at this point in the project can be fixed. A mistake in threading the heddles found after weaving weft rows will be hard or impossible to fix.
When I got about three fourths of the yarn ends threaded I knew something was wrong. Harnesses two and four had only 12 heddles left, while harnesses one and three had way more. Oh no! The numbers of heddles left should have been pretty even.
Let me say here that weaving is like life. We need challenges in order to progress. When everything is going along perfectly we are not learning anything. Or that is what I told myself.
In this case it did not take too long to figure out my mistake. It turned out that when I figured out how many heddles I needed in each harness I was looking at the pattern from one direction. While actually threading the heddles I was in the back and looking at the pattern from the opposite direction. Harnesses one and three were now two and four. Arghhh. I moved some heddles around, which is much easier to do before you start threading, but I got it done.
After threading all 598 heddles for 23 pattern repeats and then including the extra selvedge yarn on each end, there were still some yarn ends left unthreaded. Oh No!!!! When winding yarn on the warping board at the beginning of the project I must have wound 20 extra ends. After removing the extra ends, it was finally time to begin weaving. The following photo shows a few weft rows to spread out the warp yarns, and then the hem stitch at the beginning of the fabric to keep it from unravelling when I removed it from the loom later.

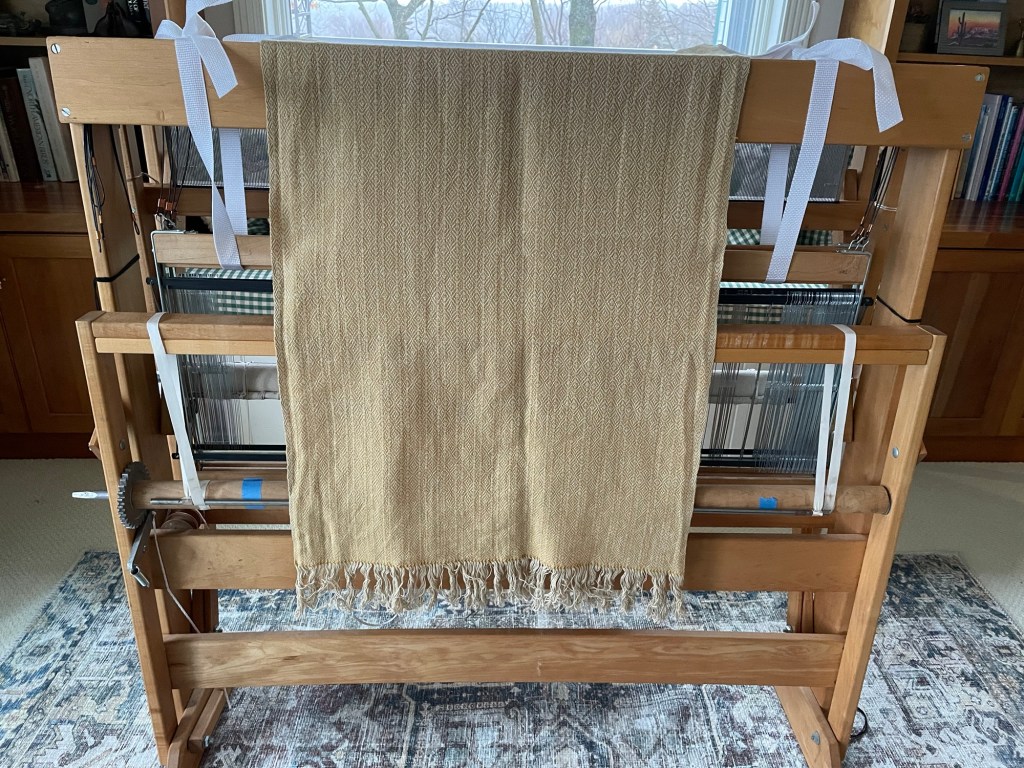
The next photos show a big section of weaving on the loom, and then the entire weaving off the loom, before washing.
There was a mistake in one row. It really stands out, especially if you squint at the following photo. I am not saying that was the only mistake, but I noticed it, and I had a way to fix it.
In order the fix the bad row, I first identified the correct version of that row in the previous repeat, and wove a strand of blue yarn through that row by hand so I could see what was going on. Then I took the yellow yarn and wove a new row in the place where the mistake was, by copying the blue row. Lastly I removed the bad row.

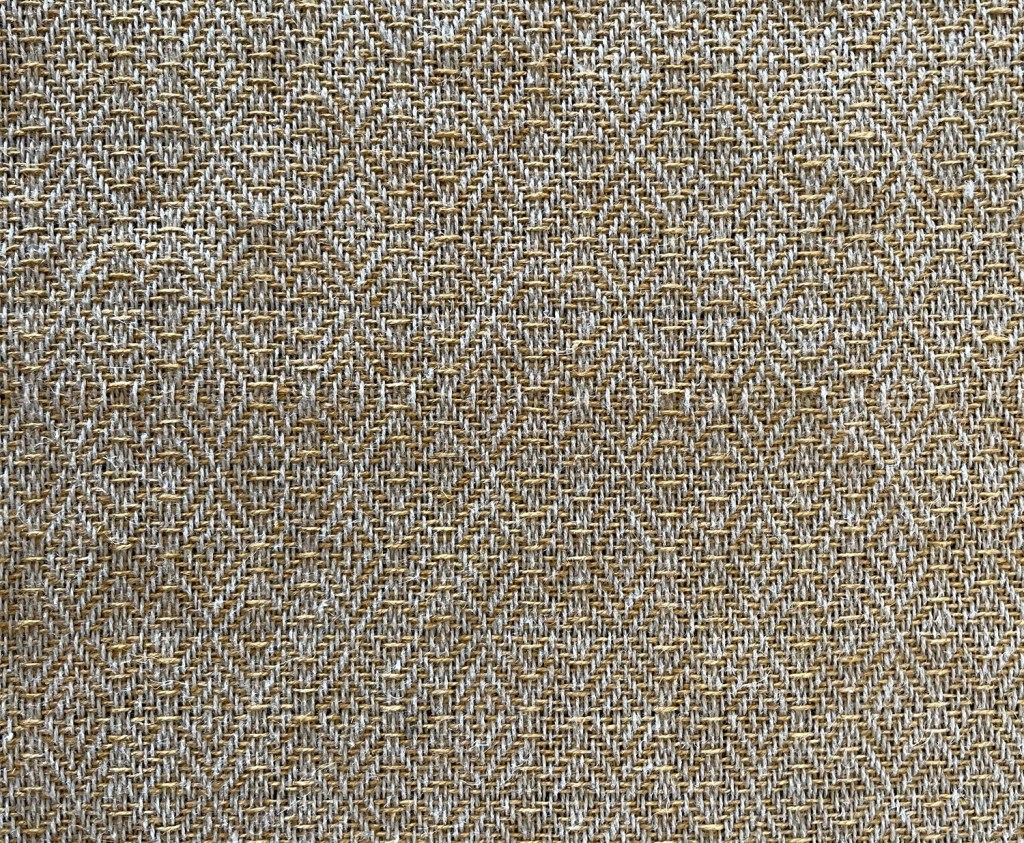
Following are photos of the woven fabric after I fixed the row with the mistake, and it had been washed and dried.

We went to California for Thanksgiving, staying with Wayne’s sister and brother-in-law, and spending time with Britta who lives about 10 minutes from them. I brought the woven fabric with me on the trip, plus some practice fabric and supplies to work on the skirt project in person with Britta.
Our nephew’s puppy thought the woven fabric was very cozy. His girlfriend crocheted the dog sweater.

I started out by pinning some darts into the practice fabric, and later hand stitching them.

My sister-in-law had given Britta an old heavy duty sewing machine that we used for zig zagging the hand woven fabric before cutting, to stop it from unraveling. The zig zag was not working correctly, but it was the best we could do given our limited time window to work on the project together.

Step one with the hand woven fabric was to zig zag near the hem stitching and fringe, and then cut off the end. Scary!!!!

After figuring out how much of the length of the fabric we needed for the skirt, I zig zagged and then cut off the extra from the other end.
Using the plain fabric sample I basted in the darts so Britta could try the skirt on. I made notes on necessary adjustments, and that was as much as I had time to do while we were together in California.

Back home in Minnesota I got out my serger to finish off some of the raw edges. I don’t use my serger very often and usually have problems with threading it. This time I got a good stitch after only a little fiddling with the tension.

Once I was comfortable that the darts were placed correctly and the waist measurement of the skirt was right, I sewed them on my regular machine.

In order to reduce the thickness of the hand woven fabric darts, I cut the darts open and trimmed each side with the serger, so they could be ironed flat.
There are not many places to get sewing supplies anymore. When I used to make clothes as a young adult, there were several large fabric stores I frequented regularly. They are all gone now. I was lucky to find some bias tape in the very small craft section at Walmart in Fergus Falls. I used the bias tape to reinforce the waistband on the skirt. Hand sewing is not my favorite thing, but in this case I hand sewed the facing on to the waistband so there would not be any stitches showing on the outside.


I found some snaps and a hook and eye in with the supply of sewing accessories I have on hand.

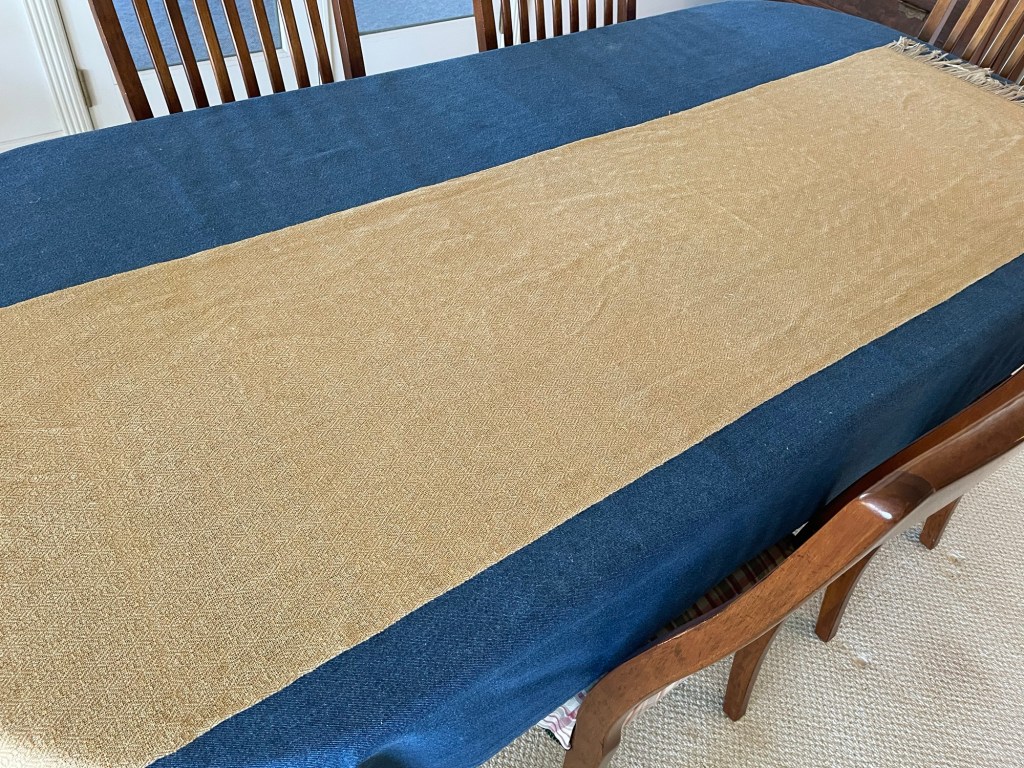
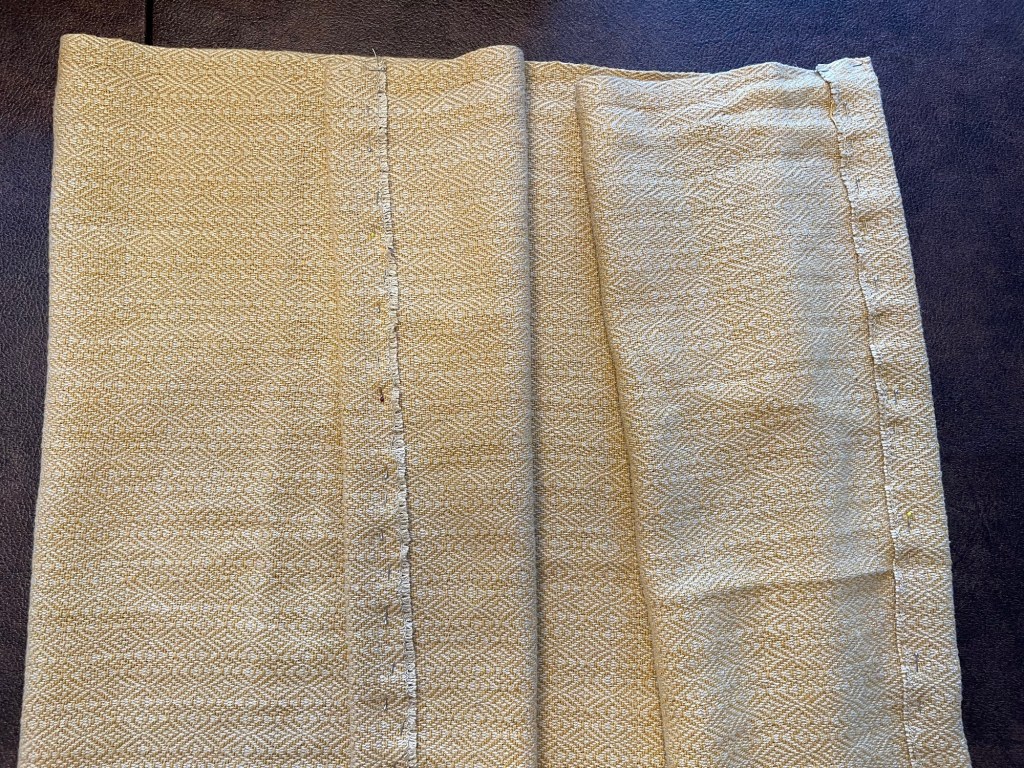
I had been concerned about whether the maximum width of the weaving would make a fabric long enough for the skirt. That was not a problem at all. The skirt seemed a reasonable length to me as it was, but Britta preferred a shorter style. I cut off 3 inches from the bottom using my serger. Following is a photo of all the fabric cut off from the original weaving. There is one 21” by 23” piece that I cut off one end, and a long strip 3” by 46” that I cut off of the bottom of the skirt.

The skirt looked pretty good if I do say so myself, as shown in the next photo.

The last step was to pick out decorative buttons. I did not want to attempt button holes on this fabric, which is why I used snaps for the closure instead. I went to Tangles to Treasures in Fergus Falls, where the vintage buttons live that were part of my 2018 yarn store purchase. Torri reports that customers often comment on the buttons, but not many are sold.

Torri and I found quite a few button possibilities that we arranged on the skirt to see what looked best.

Fish buttons would have been fun, but were not the final selection.


I left Britta a message while I was looking at the buttons to see if she could facetime with me, but she was not available. I made an executive decision, and later she confirmed that I made the right choice. It would have been easy to swap out the buttons later if she did not like what I picked.

I got the skirt in the mail with a couple of other Christmas gifts, including two “Smores-on-a-Stick” that I bought at a craft fair.
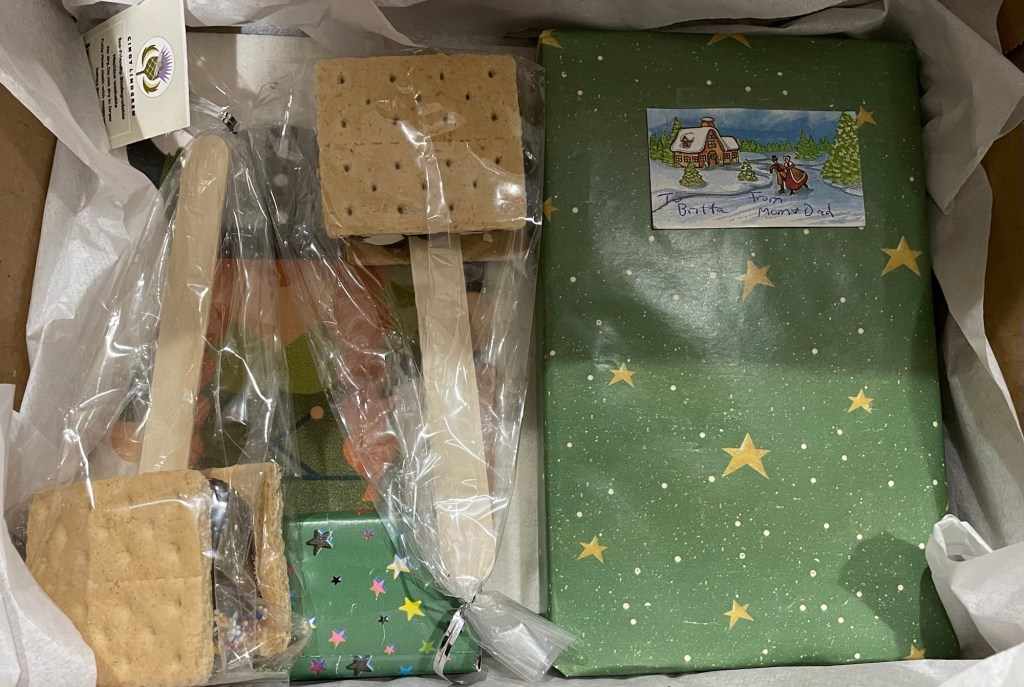
Britta received and opened the package, and ate a Smore-on-a-Stick before I got a chance to tell her she was supposed to heat it in the microwave or oven. Following are photos of Britta modeling the skirt.

The skirt is a bit wrinkly, but that is the nature of the cotton / linen blend fabric. I am not sure if Britta has an iron! I do have an iron but my linen pants are always wrinkly.
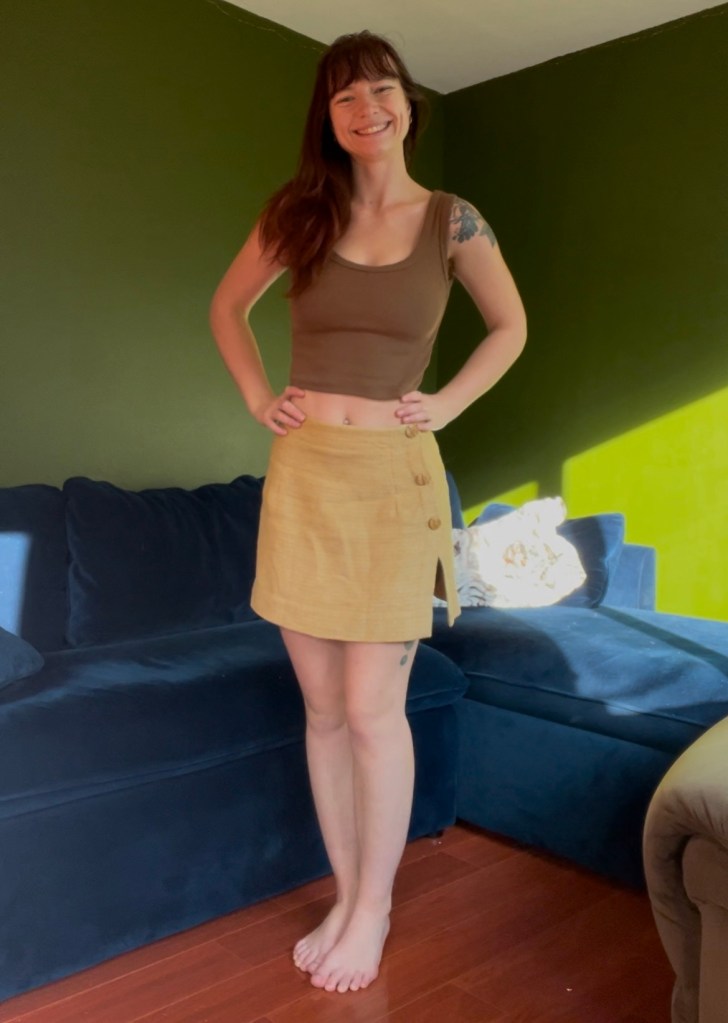
Britta is pleased with the skirt and wants me to make her a matching camisole top out of the leftover fabric. I am up for that, but not until next summer.

You are amazing! The skirt turned out fabulous, and she looks so cute in it! I am sure she will treasure it for a long, long time!
LikeLiked by 1 person
P.S. I love the vintage buttons! The perfect finishing touch!
LikeLiked by 1 person
Thank you! It was a fun project and I look forward to making the matching top next summer.
LikeLiked by 1 person
Hats off to you Meg. The skirt is fab!
LikeLiked by 1 person
Thank you! Hope you have a great holiday.
LikeLike
Wow almost 600 ends threaded, what a huge amount of work you put into this skirt. It looks fabulous on her so I’m pleased it fits and she’s happy with it. A matching top sounds like a cute outfit. Have a lovely Christmas
LikeLike
Thank you! Britta (and almost everyone) probably does not realize how much time was involved in the skirt project. But I am not complaining, it was all good. Hope you have a good Christmas / Holiday too.
LikeLike
I love this so much, the progression of weaving to fabric to skirt construction. Makes me miss the days when I would sew my own skirts. Yours turned out fabulous, Meg!
LikeLiked by 1 person
Thank you! I did a lot of sewing back in the day also. Hope you have a happy holiday!
LikeLike
What a fun project! She has a one of a kind stunning skirt and the young legs to show off. I am glad you have a fun use for the leftover fabric since you put so much work into the weaving.
The sewing part of the post reminded me of sewing with my mother. She was so patient with me.
LikeLike
I wonder if we can use every single scrap of the fabric when making the top! We’ll see. Hope you had a Merry Christmas!
LikeLike