I have more knitting, spinning and weaving project ideas in my head than I can keep up with. The possibilities are infinite, there is always something new to learn or try.
I had heard of something called tablet weaving or card weaving. It had not sparked my interest…until I saw a photo and pattern for shoelaces made with tablet weaving. After that I was intrigued and wanted to try it. They looked practical and unique, and something you could give as a gift. Who doesn’t want a hand woven pair of shoelaces to match their shoes? I decided it would be a fun thing to try and a good project to work on in Arizona.
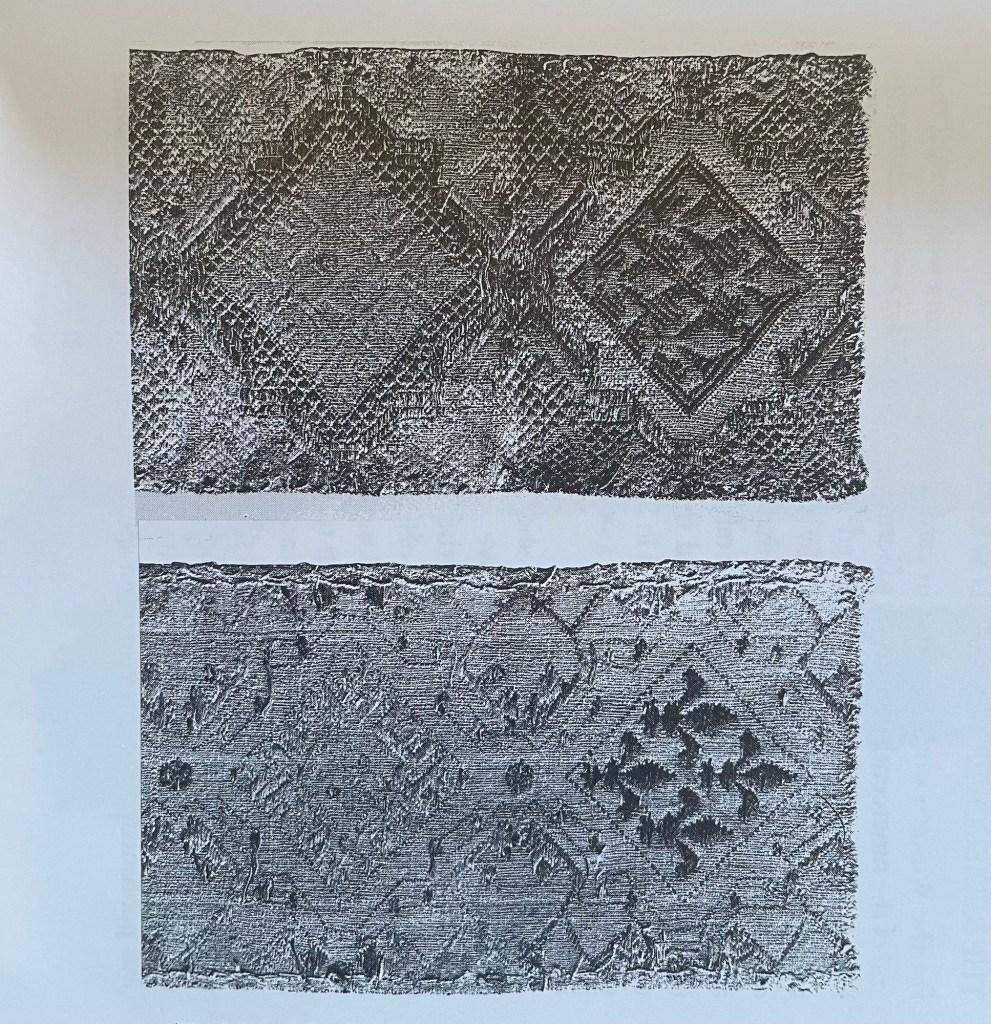
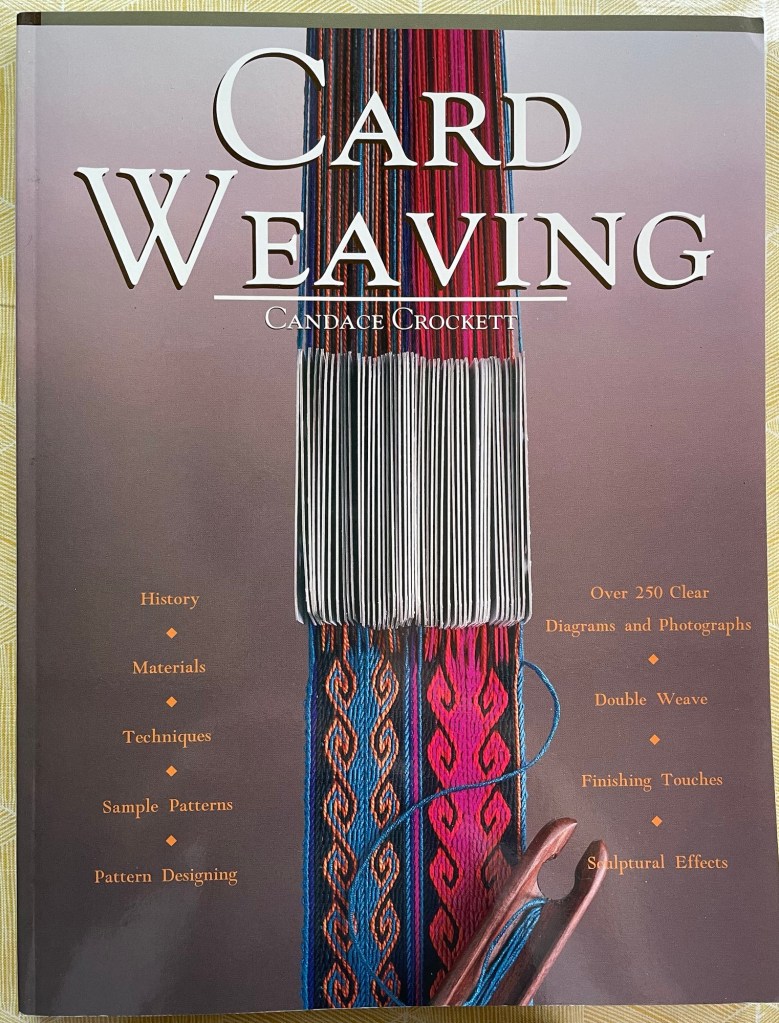
Tablet weaving is a very old craft where a set of cards with holes in them are used to weave bands and straps. It goes back thousands of years and has been practiced in many parts of the world including China, Turkey, Africa, Burma, Bulgaria, Yogoslavia, Greece, Iceland, Persia, France, and Scandinavia. Although not hard to learn, it can produce complex patterns. Following are some photos of old tablet weaving finds, from the book “Card Weaving” by Candace Crockett. The first one is of a “complete loom with fifty-two wooden tablets, found in the tomb of Queen Asa….part of the Oseberg ship find from A.D. 850 (Norway)”.

The next photos shows sections of a tablet woven band from sixth century Snartemo, Norway.

Last historical photo from the same book is of a “French ecclesiastical card weaving from the twelfth century”.
I liked the fact that tablet weaving can be done with minimal investment. The only mandatory tools needed are the cards and some yarn. You can make a set of cards yourself using supplies you probably have on hand, so it is possible to experiment without spending any money. Ideally you also have a small shuttle for weaving the weft yarn back and forth, but you can make one with cardboard, or just make a figure 8 with warp yarn and not use a shuttle at all. The shuttle is also used to beat the weft yarn, but if you do not have a shuttle you can use a ruler or the rounded edge of a table knife.
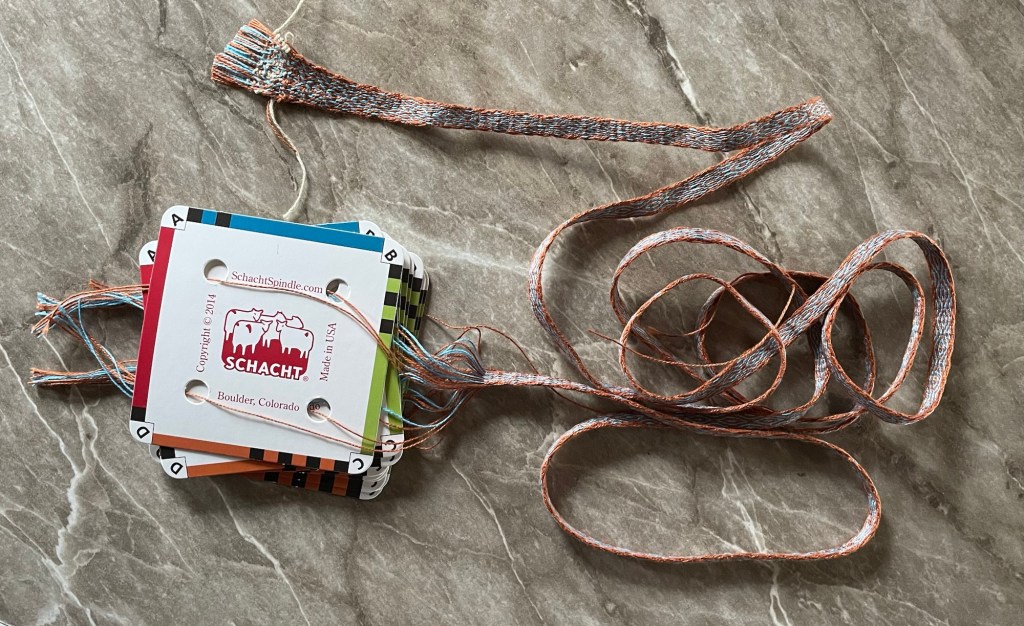
I like to have the right equipment, but I also did not want to spend very much money just to try tablet weaving. I bought a set of cards, a small used shuttle, and a book, which would be enough to get me started without a big investment.

As with all types of weaving, the warp yarn must be under tension while you are working. There are small looms designed for tablet weaving, or other ways to anchor both ends of the weaving. Blackstrap weaving works well for this, where one end is tied to a doorknob or something stationary, and the end you are working on is tied to your waist. I also thought I could use my rigid heddle loom with the reed removed. It would not be too hard to make card weaving loom yourself using information online.
I watched quite a few videos on You Tube and read the detailed instructions in the book until I understood the basic idea. The instructions said to number the cards with a pencil to keep them in the right order. OK then why don’t the cards come with numbers already printed on them? I guess you might want to use card number one in a different position on the different project.
Following is a copy of the free shoelace pattern I came across online, probably on Pinterest. I have since learned that John Mullarkey is an expert in tablet weaving. He teaches and has published books on the subject.

I started this adventure with a practice project using 30″ long waste warp yarn ends from my cottolin towels project (click here for that post), so I could figure out how it works before beginning the shoelaces. After threading the yarn ends through the cards I tied one end on to a ring and made a knot in the other end, to prepare for weaving using the backstrap method.

I put the ring over the warping peg from my rigid heddle loom, connected the other end to a belt on my waist, and I was ready to go.

Not surprisingly I made some mistakes when trying to follow the pattern, so I was glad I did not jump right in with the shoelace yarn. It is not a hard pattern, but I was trying to think about many new things and also getting distracted. You can see in the photo below where some of the rows near the beginning are different than the rest after that. None of it matches the photo on the pattern and it is too wide for a shoelace. The rubber band is used to keep the cards in the right order and orientation when taking a break from the project.

After awhile I figured out that the second half of the cards were threaded from the wrong direction. That resulted in the pattern that I was getting, rather than the one I was trying to make. Due to the short warp threads it was easy to re-thread the cards the right direction, and then I got the pattern that looked like the photo on the directions. My finished work got narrower towards the end as I pulled the weft threads tighter, and then I ran out of yarn. Not too bad for a first try by myself.

The weaving is warp faced, which means that the pattern you see is all warp yarn, other than at the sides. You actually cannot see the weft yarn at all except at the edges. The pattern is formed by the warp yarns getting twisted around each other as the cards are turned forwards or backwards. The weaving is very dense so when you have to start a new length of weft yarn you can overlap it in the same shed, and then just cut off the ends even with the edge. This is great as I do not enjoy weaving in ends.
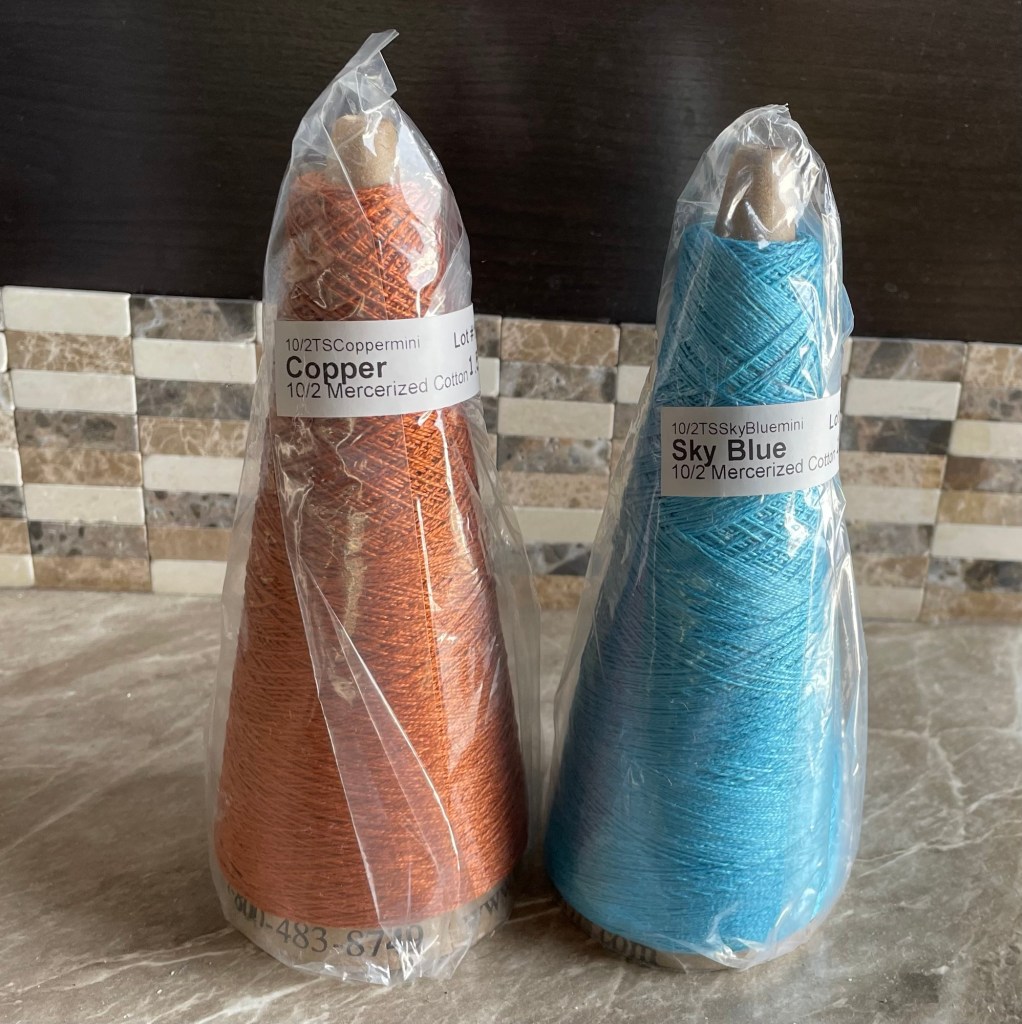
After weaving the sample, I felt comfortable what I was doing. For the real shoelaces project I had two colors of 10/2 mercerized cotton in 1.5 ounce cones from Lunatic Fringe Yarns. Most of the places where I saw this yarn sold it only came in larger quantities, so I was happy to find these smaller cones. I had measured out the yarn for one pair of shoelaces at home, and packed it in with my supplies for Arizona.

After threading the warp yarn through the cards (correctly this time) I tied the ends of the warp yarn on to the back of my rigid heddle loom, to see how that would work as opposed to the backstrap method. There are ways to keep the long lengths of warp yarn orderly but I did not do any of them, so my yarn was a mess. The double pointed knitting needle through the cards was another way to keep them in order while I worked getting everything set up.
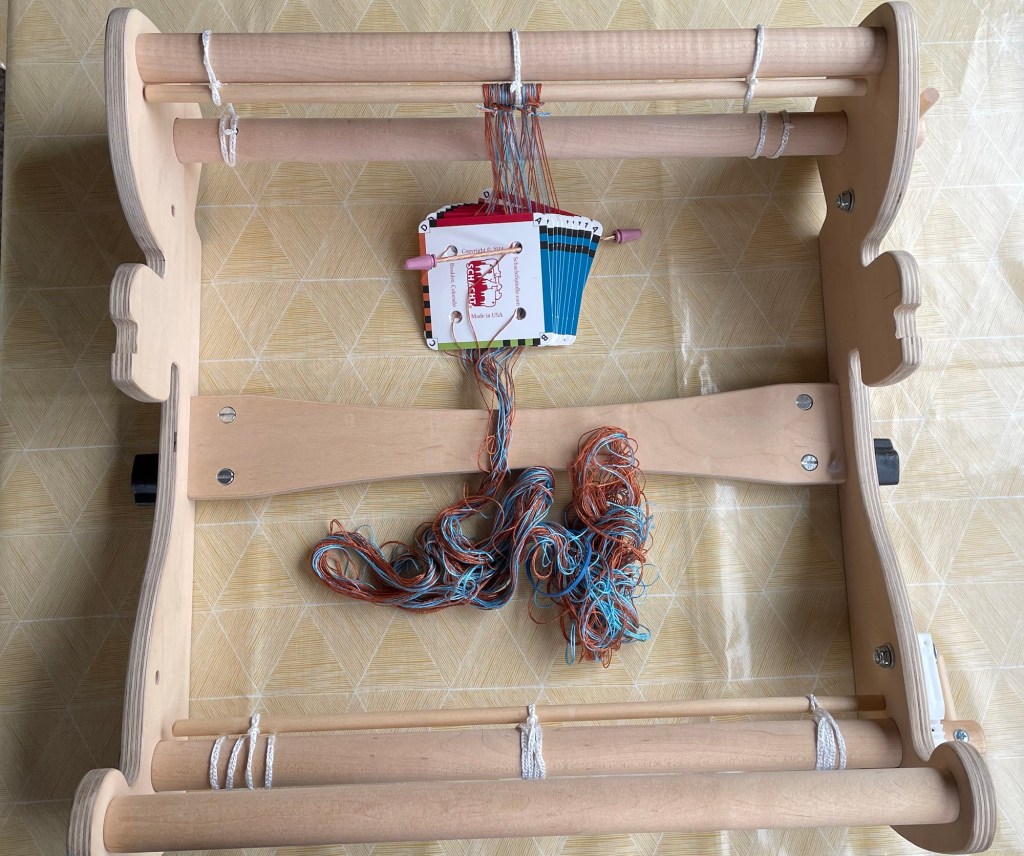
It took awhile to untangle the warp yarn, allowing the cards to slide freely.

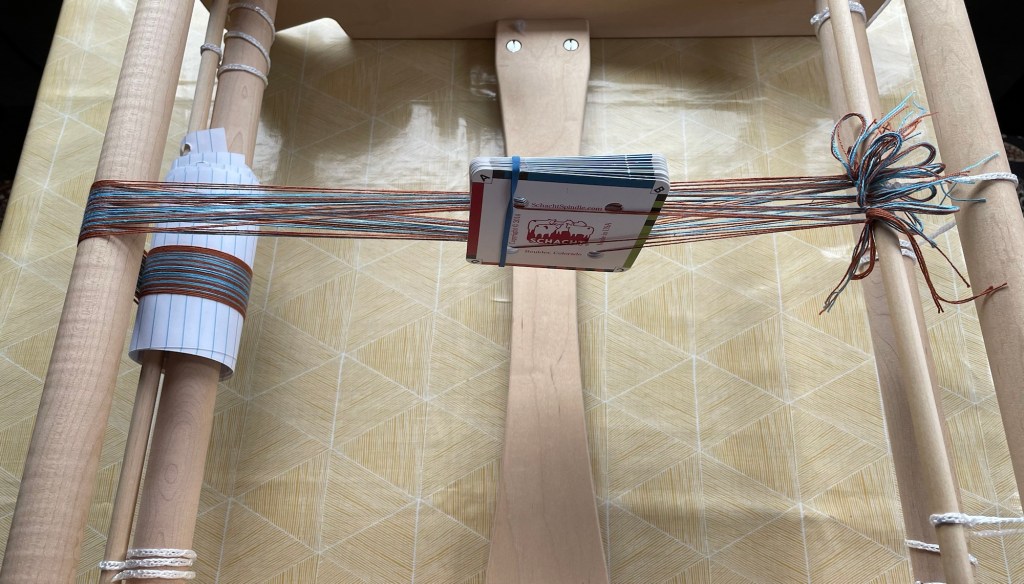
After the yarn was in order I would it around the back beam with paper, and then tied the other ends to the front apron bar. The cards were in the middle where the reed would normally be for a rigid heddle weaving project.
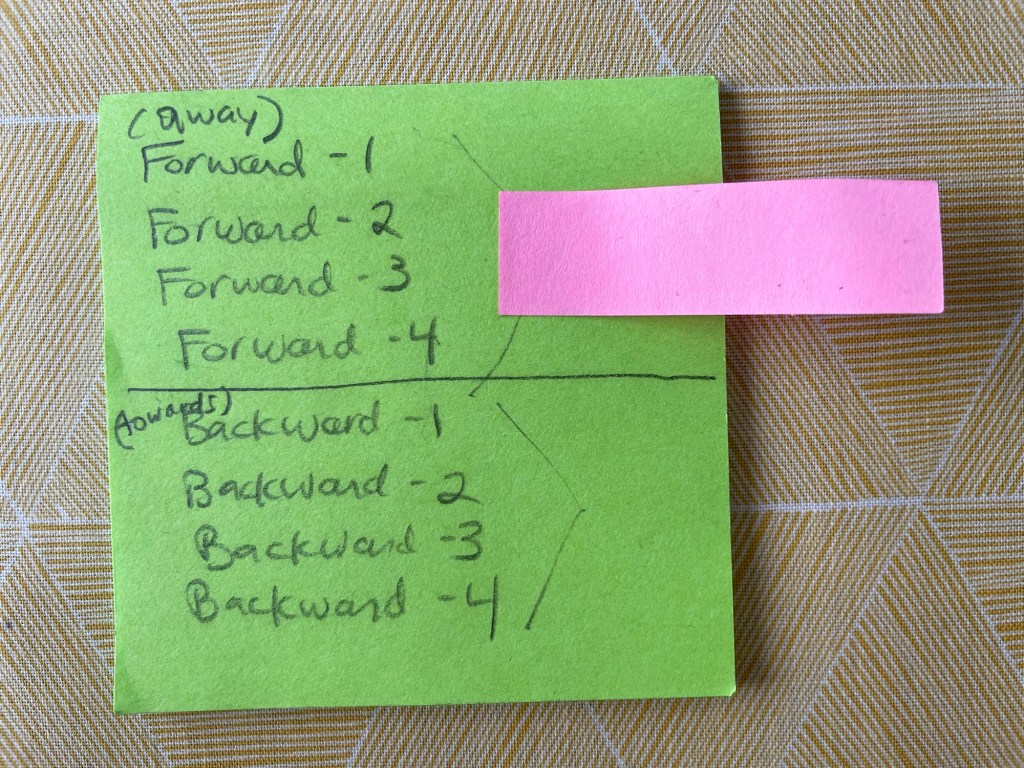
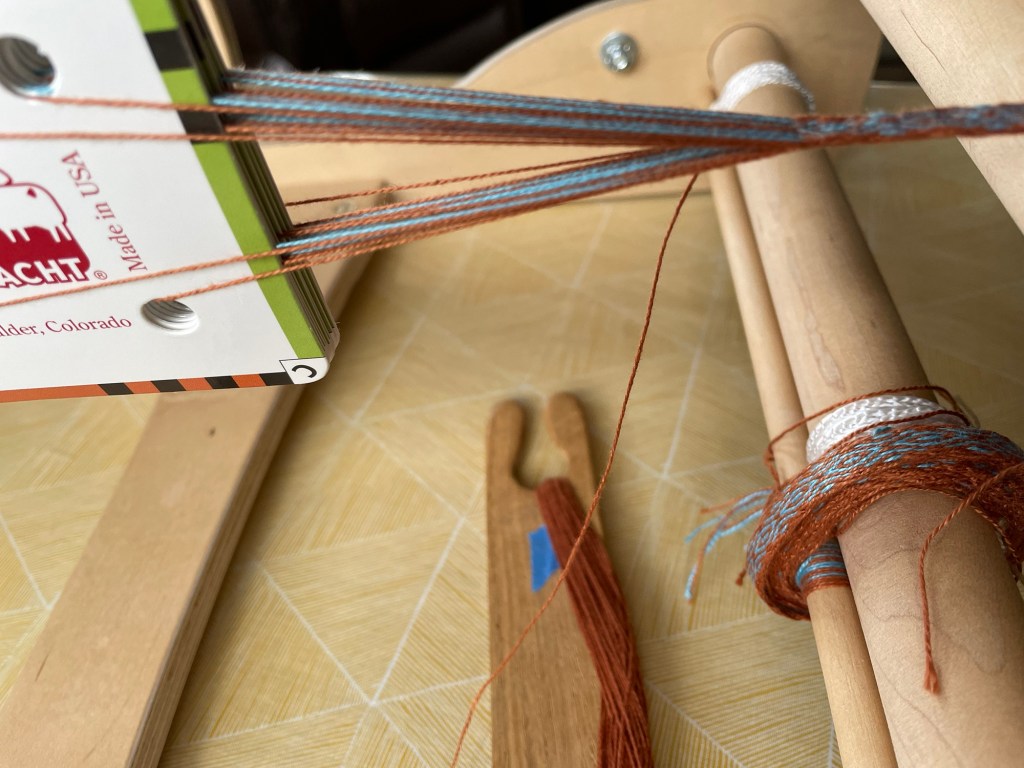
The pattern is formed as the cards are rotated forward or backwards as a group, twisting the warp yarns around each other. Each time you rotate the cards, the warp yarns are twisted at the back too. The pattern I was making had four rotations forward causing the yarn at the back to be all twisted up, followed by four rotations backward, untwisting the yarns at the back. Following is a photo of the back beam after the four forward turns. If you kept on rotating forward without any backward turns, it would keep getting more and more twisted. If necessary it would be possible to unwind the threads at the back and untwist them.

I used a post-it note to keep track of where I was in the pattern.
After a few inches of weaving while pulling the weft yarn tight on each pass across, the width was the way it was supposed to be.


Following are photos at the end of the weaving, with the completed part at the beginning rolled up on the front apron bar and the other end completely unwound.

After weaving as much as I could, I cut it off the loom.
I had to start a new weft yarn once, but no weaving in of ends! It is packed so tight the ends can be cut off flush with the side. There are two spots where a warp yarn is crossed over, I must have put the weft yarn through from the wrong direction.

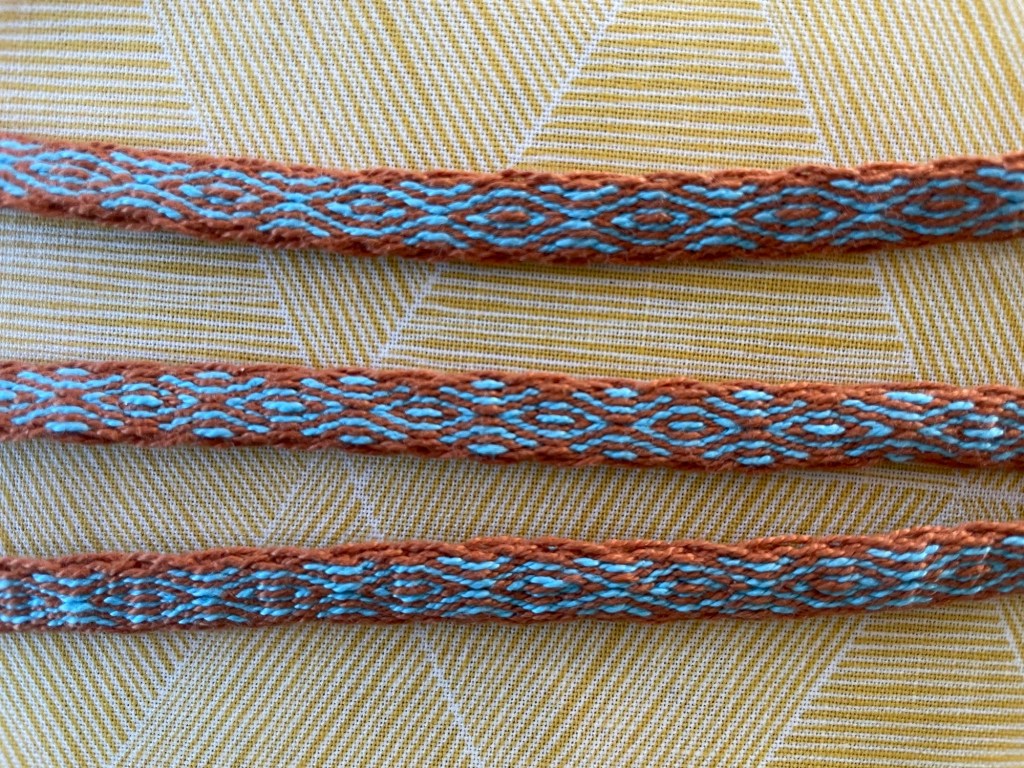
The finished usable length of the first shoelace was 64”. My sneakers shoelaces are 45″ long including the tips. If had measured my shoelaces before I started the project, I could have woven a shorter length but oh well.
Weaving shoelaces is like knitting socks one at a time. After finishing the first shoelace, I had to start over and make the other one. I wonder if you could make two at a time. The second one went faster and came out a bit longer at 67″.

This pattern could also be used for making a lanyard or eyeglasses strap, a bracelet, or a necklace to hold a chunky pendant.
The shoelaces need “aglets” on the ends, the tips that allow the lace to fit through the holes. Real ones are available for sale online, or the end can be wrapped with tape. Being that I was trying to minimize expenses on this project, I decided to make my own aglets with packing tape. I found the following article online with instructions https://www.wikihow.com/Make-Aglets.


I had 16″ and 13″ long pieces left after cutting off what I did not need for the shoelaces. It could be used for a keychain, a bracelet, or something else. I liked using my rigid heddle loom better than the backstrap method, the weaving stayed in place more effectively.
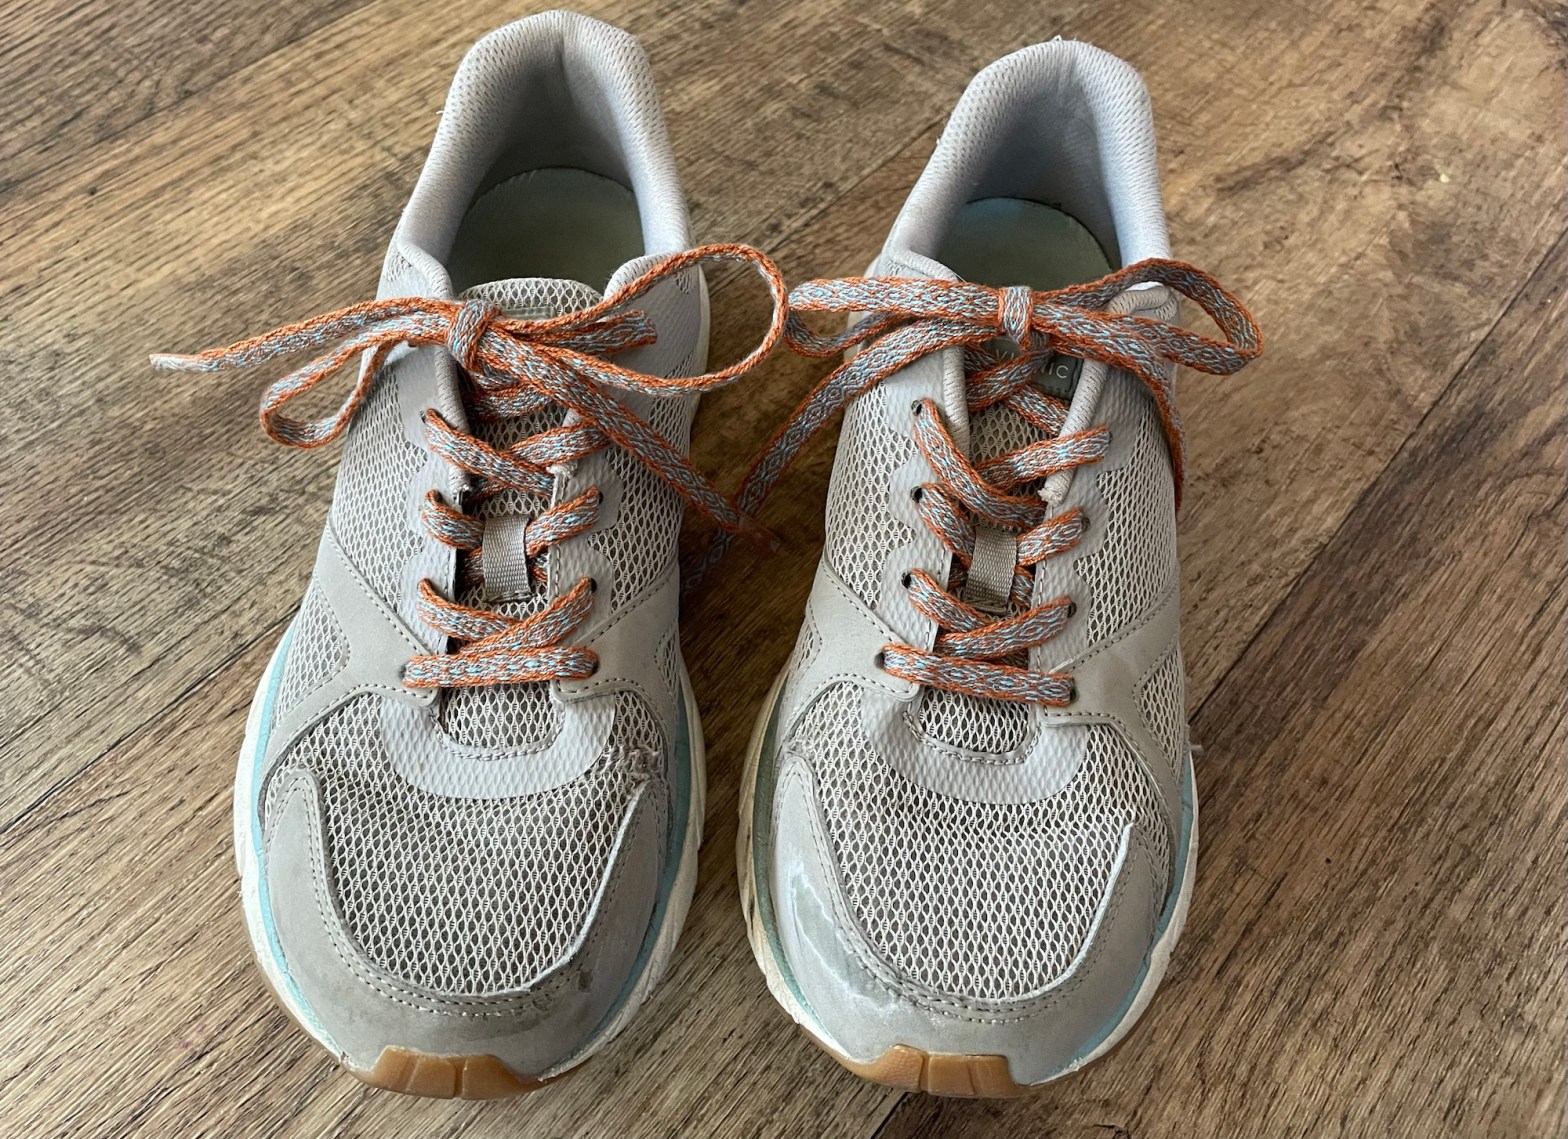
I was very pleased with the result after threading the new shoelaces on my sneakers. Everyone says “wow, the colors look good with your shoes”. Yes, I specifically picked out the colors because they match my shoes!

Not sure when I will do another tablet weaving project. I am already on to my next rigid heddle weaving project of dish towels using cotton, cotton/linen blend yarn, and 100% linen yarn that I dyed myself.

Wow-I never heard of that before, but I like it.
Very cool!
LikeLiked by 1 person
Thank you! I did not know much about it either, but learned a lot through this project.
LikeLike
These laces are beautiful! I love your passion for weaving – where you say you have more projects in your head than you can keep up with – and that there is always something new to learn and try. I also like your approach to trying something with minimal investment. That makes the most sense to me. 🙂 I look forward to reading about your next project!
LikeLiked by 1 person
Thank you! This is for sure a low budget craft. Even if I decided to buy a dedicated type small loom for tablet weaving it wouldn’t cost that much. When I bought my used floor loom I went in without realizing I would need to spend even more money on a bunch of tools and accessories. But in that case I am glad I went for it. Hope you have a great week!
LikeLike
How COOL, Meg! Love the colors you chose for your shoelaces. such an interesting and practical project, and a fresh approach. Sending hugs to you and yours~. M E
LikeLiked by 1 person
Thank you! It was fun to learn something new. Hugs back to you!
LikeLike
Honestly, I am in awe of your talent!! You keep learning new ways to weave, and you master them all!
LikeLiked by 1 person
Thank you! Sometimes it seems like a curse to want to try so many things. I have to remember there is no deadline, and that the whole point is to enjoy the process. Thanks for reading and have a great week.
LikeLiked by 1 person
Tablet weaving has intrigued me for a while especially after seeing the shoelaces in an article last year (Little Looms or Spin-off ?) Your laces turned out great and thank you so much for sharing and I will be using your post as a great reference source .
LikeLiked by 1 person
I am glad that I got you inspired to try tablet weaving! There is a lot of helpful info on the internet. Thanks for reading!
LikeLiked by 1 person
There really are and you are so very welcome!
LikeLiked by 1 person
You are very talented! I had never heard of that type of weaving before. You do beautiful work. 🌟
LikeLiked by 1 person
Thank you! Thanks for reading!
LikeLike
Oh, I love these shoelaces! The longer lengths would be perfect for hiking boots.
LikeLiked by 1 person
Thank you. Yes, the shoelaces would be fun on hiking boots. When I get around to making another pair, I will measure the laces on the shoes I will be using them with, so I know how long to make them.
LikeLike
You shoes look great with the laces! I had never heard of tablet weaving before. Thanks for the lesson and the detailed pictures.
LikeLiked by 1 person
Thank you! I did not know much about it either. It is fun to learn a new historical craft.
LikeLike
In a word, brilliant. Yep, I found this because I have a pair of shoes that I want to make custom matching shoe laces for and I have the tiny (4-inch) Beka loom for sampling and tablet weaving, so thank you very much for sharing your adventure!
LikeLiked by 1 person