
Last summer there was a Fiber Arts Festival in Fargo. I did not need any more knitting, spinning or weaving yarn, supplies, or accessories, and it was an hour drive one way to get there. Of course I wanted to go. A knitter friend visiting that weekend was more than happy to join me. There were the usual assortment of vendors with hand spun yarn, commercial yarn, fleeces, roving, baskets, knitting patterns, knitting accessories, and many other related products. I had seen some of the vendors before at other fiber fairs, many were new to me.
After circling around the large room twice to check out all the offerings and watch some demonstrations, I decided on two things to buy. I fell in love with some silk/wool/linen blend Malabrigo yarn in a muted dark purple shade. I didn’t know what I would do with it at the time, but being only one skein it would likely be part of a project with multiple yarns.

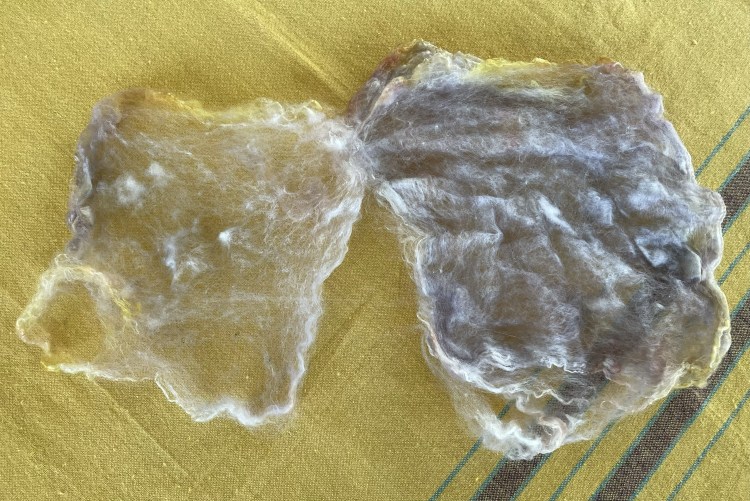
I also bought some hand dyed silk hankies. One silk hankie is actual silk from a silk cocoon flattened out into a very thin square. They are usually sold in layers of multiple hankies hand dyed together. I bought two “stacks” of hankies in different colorways. One was darker with purple and some blues and greens and a bit of yellow. The other one was lighter with some purple and more yellow and lighter blues. I thought the two colorways looked good together. I was planning on spinning them into yarn, but they can also be used in felting projects. To use the silk hankies a single layer, or a couple of layers, are separated from the rest. Following is a photo of the two stacks of silk hankies I bought, along with one layer from the lighter colorway stretched out ready to spin.

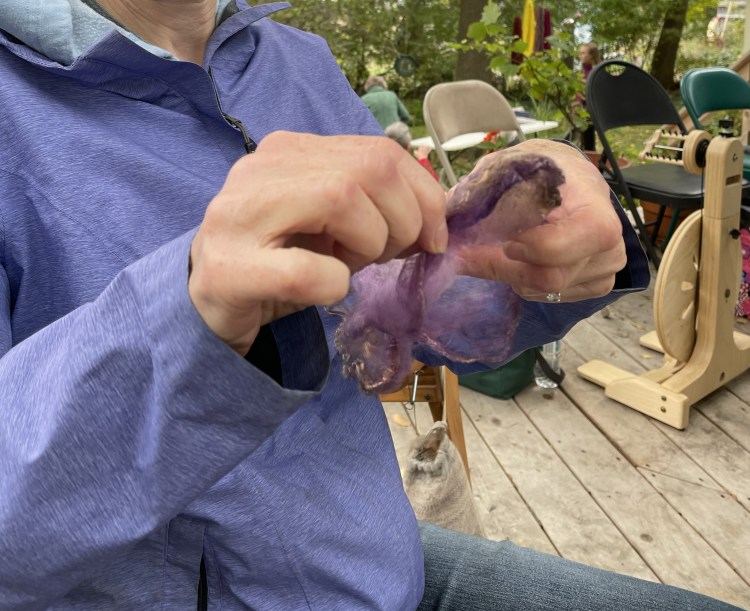
You can see in the next photo that the outside edge of each layer has a sort of ridge to hold on to in order to peel it apart from the rest.

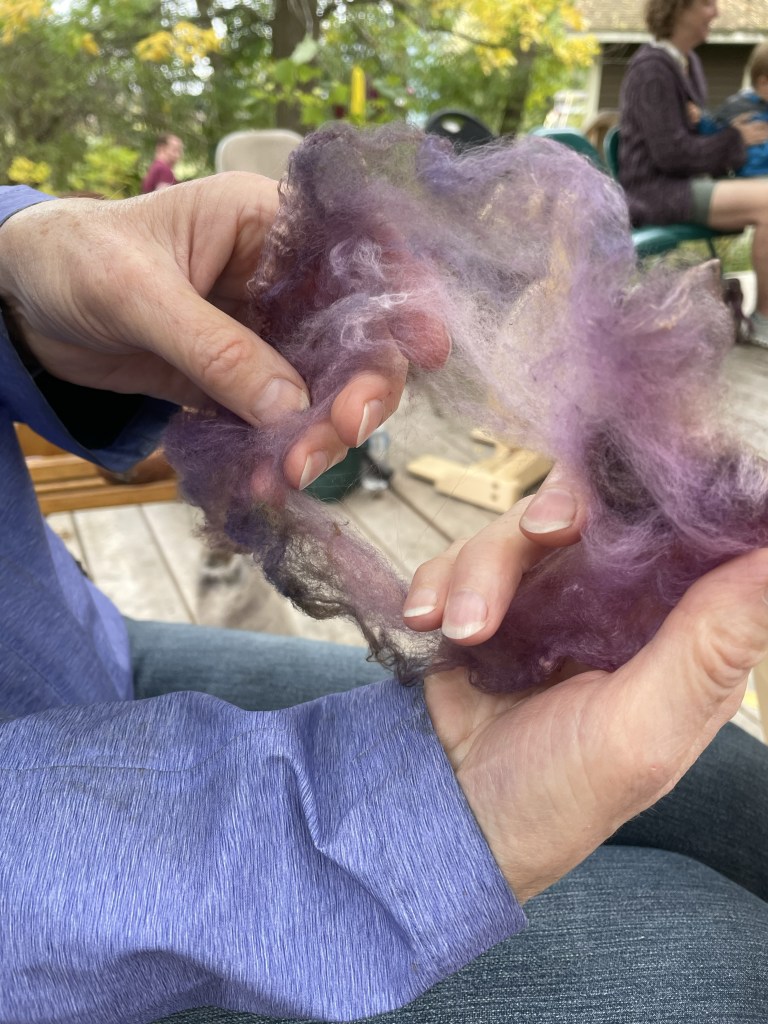
In the following photo one layer of the lighter colorway is separated from the rest. Or it might be two layers. An individual layer is very very thin.
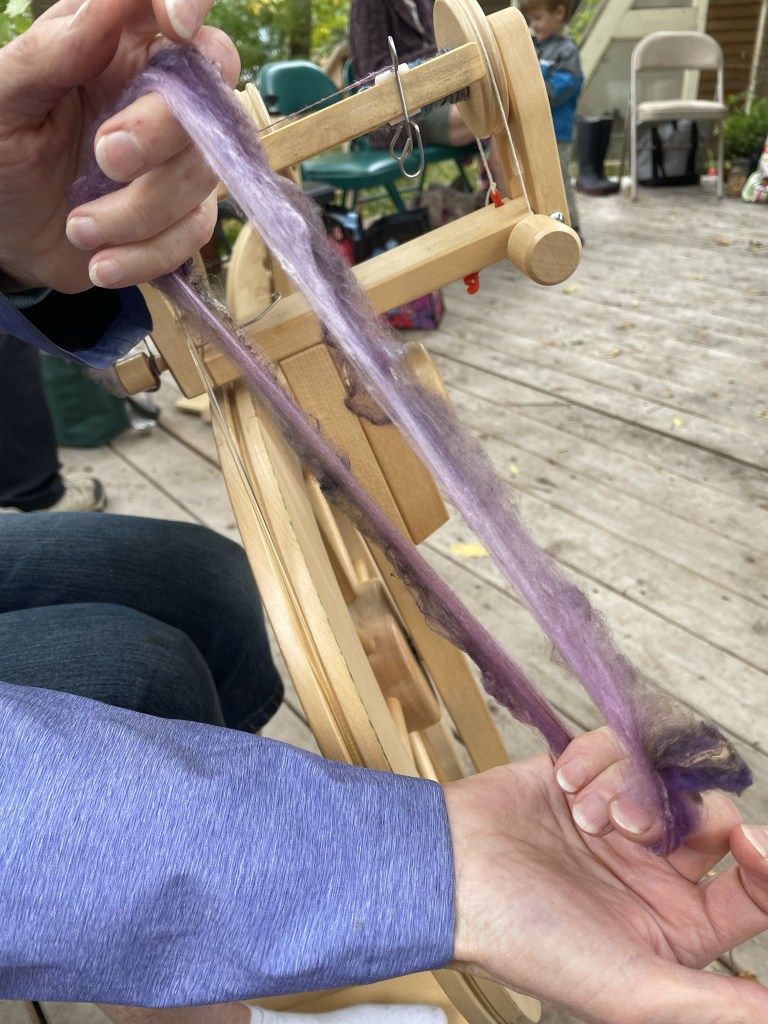
I worked on spinning the silk hankies at Fall Fiber Day at Northcroft Farm in Pelican Rapids, Minnesota. To spin a hankie, a layer (or more then one) is separated from the rest, a hole is poked in the middle, and then it is stretched out until it is the width desired for your yarn. The silk can be knit like that, but I wanted to spin it.
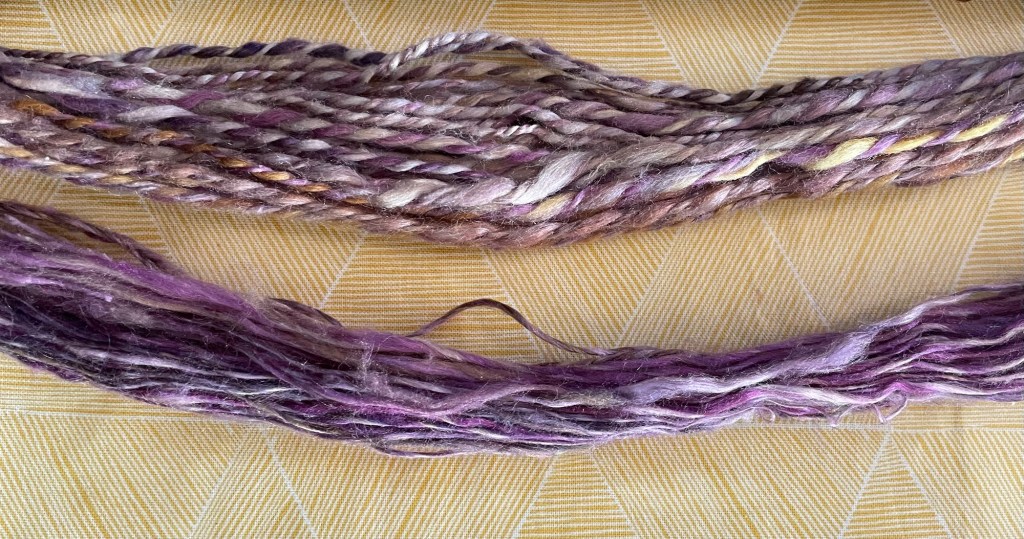
I did not get any photos of the actual spinning, but following are the two bobbins of singles yarn I got, one from each colorway of the silk hankies.

I plied the two singles together. The bobbin with the darker color had more length than the other one so part of it did not get plied. I went ahead and wound it all into a skein including the two ply yarn and the singles yarn.

While here in Arizona I did an excellent virtual School of Sweet Georgia class on spinning (click here to check it out). Even though I do not have my spinning wheel here, I learned a lot, including a couple of ways of plying that can be done with one length of singles yarn (as opposed to my usual method of having two bobbins). If I had had that information when I was still at home with my spinning wheel, I might have plied that extra length of dark purple singles into two play yarn. When I get back home I plan to watch the School of Sweet Georgia spinning class again when I can practice on my spinning wheel what is being presented.
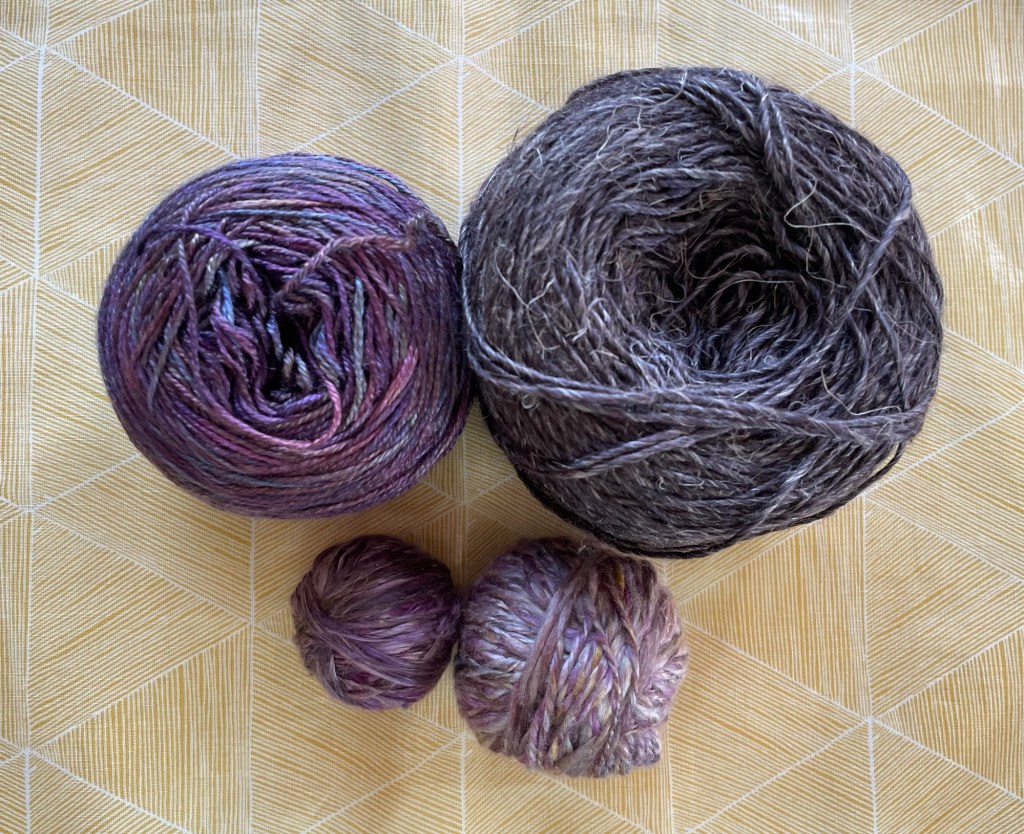
As it turns out, I decided to use the silk hankie singles yarn in a project here in Arizona, so I separated the plied silk yarn from the singles part and then rolled them into balls.

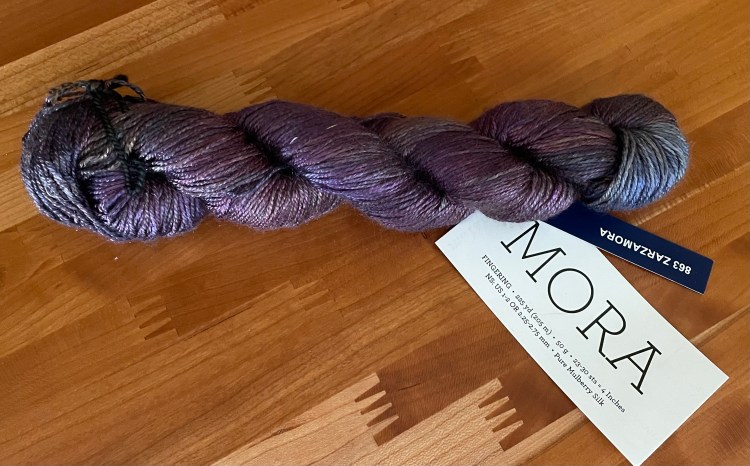
When we were in the Bay Area of California over Thanksgiving I bought a skein of 100% Mulberry Silk Malabrigo brand yarn. I knew it would go nicely with the darker Malabrigo yarn I had bought at the Fiber Fair over the summer.
In December when we were preparing for our three months in Arizona, one of my tasks was figuring out what projects I wanted to work on there, and accordingly what yarn and patterns to bring. I had an idea for a scarf using a hybrid of two patterns with the purplish yarns including the two Malabrigo yarns and the silk hankie yarn.
The first pattern, Scarf in Sunset, is a shallow triangle with increases at each end every row. It is available for free on Ravelry, click here for the pattern.
The second pattern that I got from my mother’s cousin Mary Turak is called a “Slide Scarf”, using two different yarns. It is a good pattern if you have a limited amount of some handspun yarn that is not enough by itself to make something. The copy I have is in her handwriting, so I don’t know if she made it up or where she got it from. It starts like a basic scarf knitting every row flat on circular needles, but two yarns are alternated every row. When you get to the end of every other row the working yarn is at the other end, so you “slide” the yarn across to the other end of the circular needle and knit from there. The result is it looks like you are alternating stockinette stitch with garter stitch. It looks best if a larger needle size is used than you might normally use for the yarn, but it can be whatever you want as far as how wide and how loose.

I assembled the purplish merino, linen and silk yarns that I wanted to use in the project, including the two Malabrigo yarns and the small amount of the silk hankie singles that I had spun. I did not use the plied silk hankie yarn. I followed the shallow triangle pattern with the increases at the end of every row, but also alternated between two yarns every row, sliding the yarn when needed. I held the silk hankie singles yarn together with the darker merino/linen/silk yarn for the first yarn, and used the 100% silk Malabrigo yarn for the second yarn.
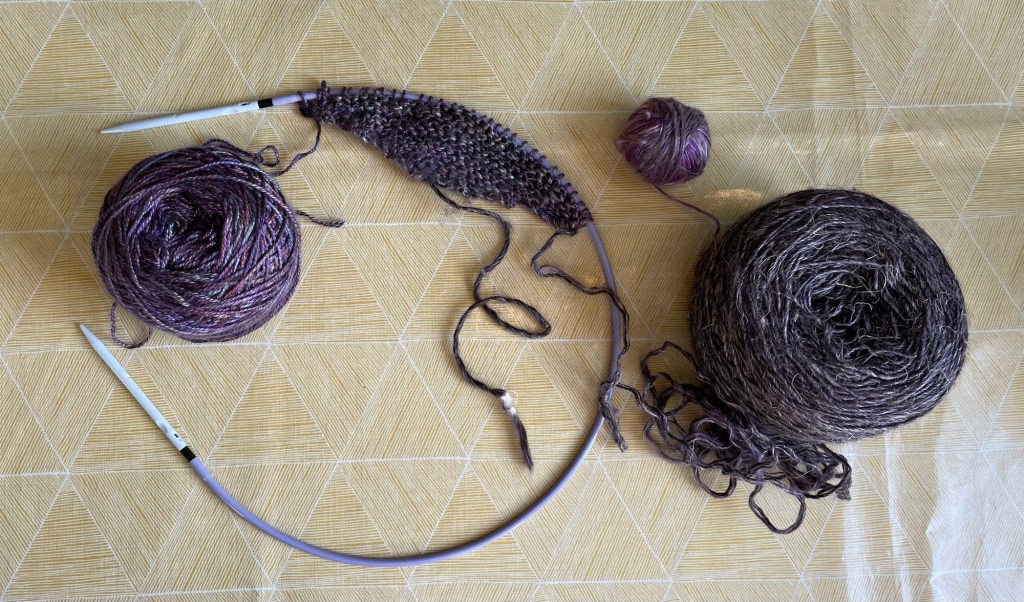
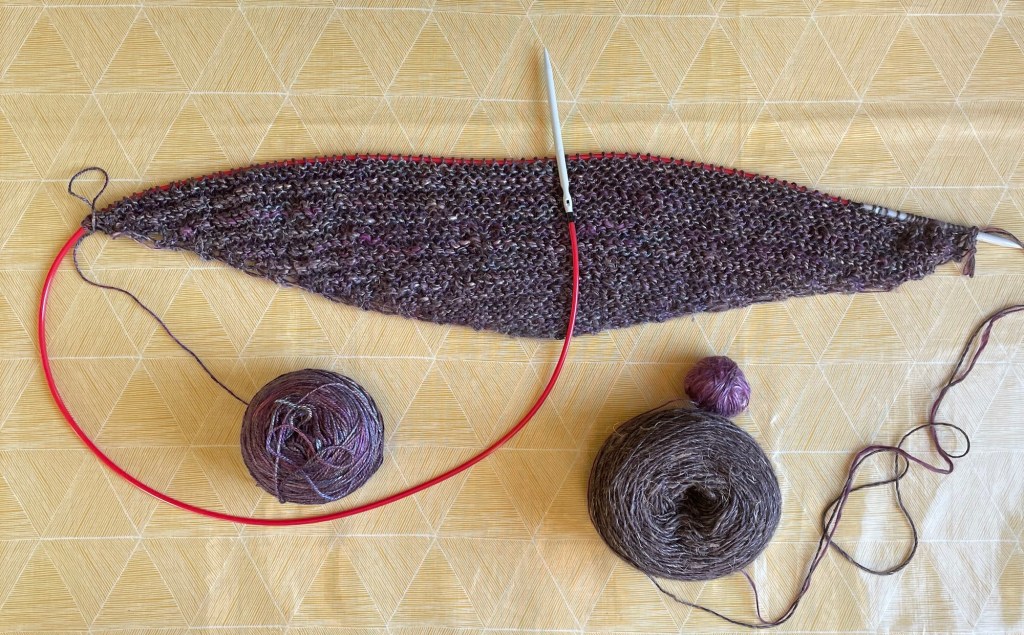
I cast on for the scarf using size five needles, which was bigger than recommended for both of the commercial yarns. After a few rows it seemed too dense, so I started over with size six. After getting about as far as in the photo below, I decided that was still too dense. I did not feel like starting over again, but I changed to size eight and continued on.
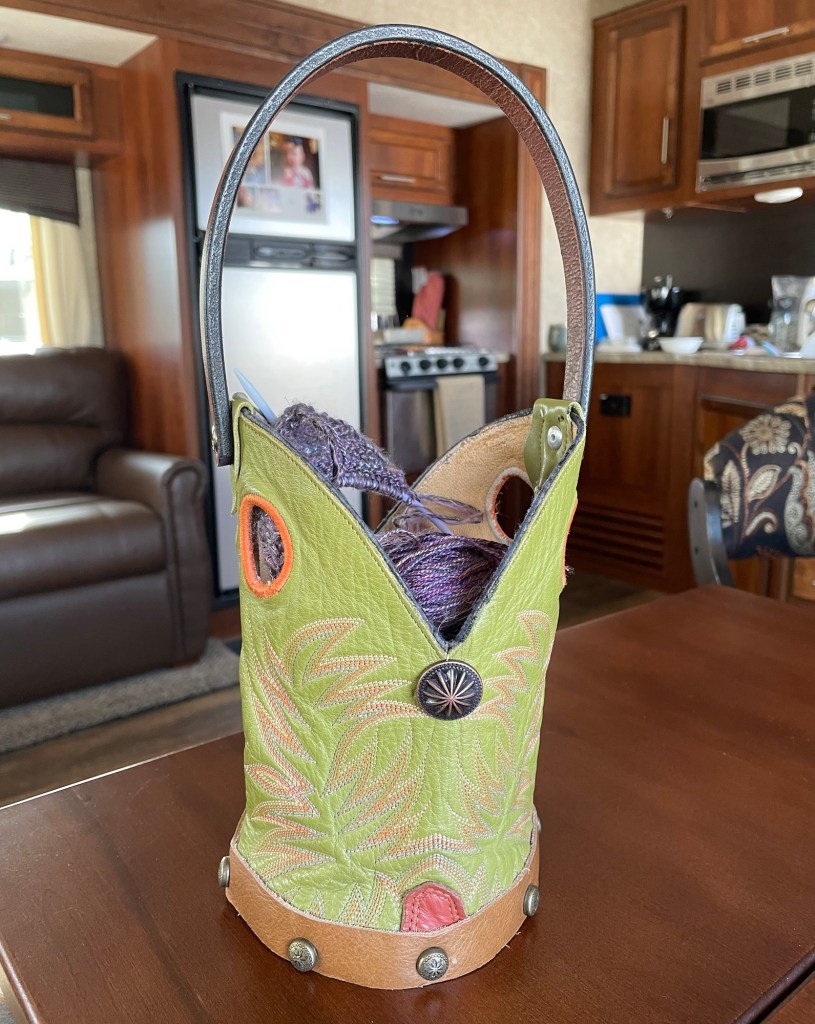
In the middle of this project we went to an art fair in Gold Canyon, Arizona, where I bought an up-cycled cowboy boot bag. Most of the cowboy boot bags were narrower and taller, the right size for a wine bottle carrier. I liked the wider shape of the one I bought for use as a knitting project bag. It is a functional wild west conversation piece!

The scarf knitting went pretty fast, and I had to change to a longer cord after a short time as the scarf got wider. You can tell where I used the smaller needles at the beginning. Ideally I would have started over rather than changing needle size mid project, but I don’t think it will be noticeable when the scarf is on my neck and all bunched up.
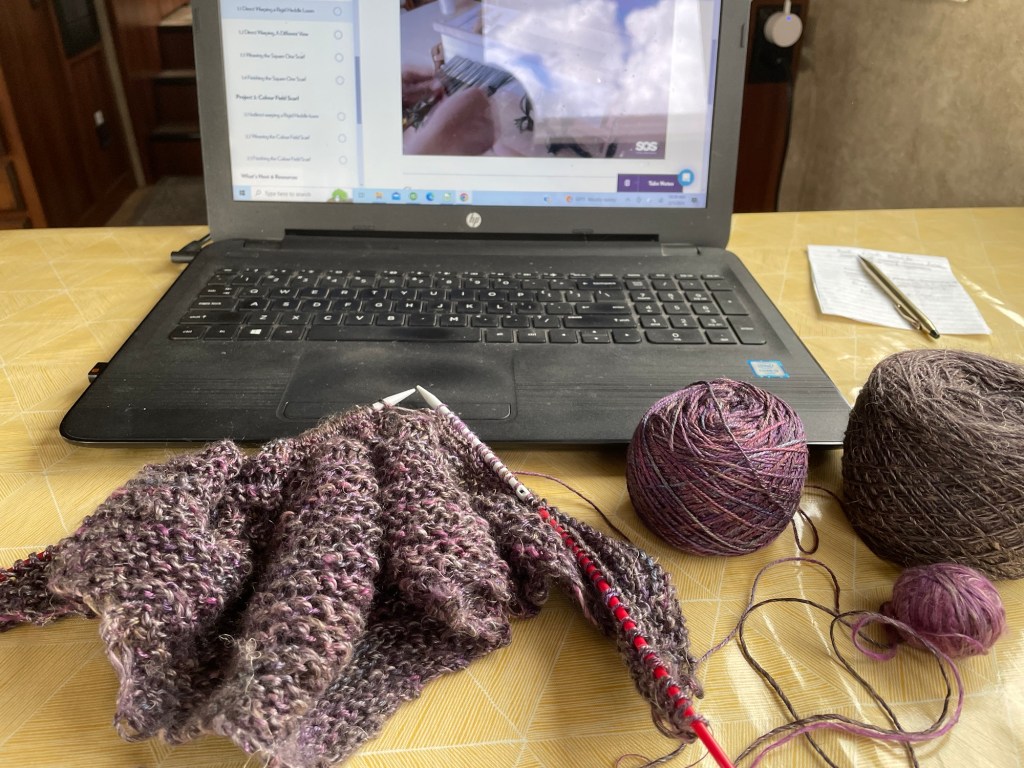
I liked this project because it was easy enough to work on while watching TV, or while listening to a School of Sweet Georgia class, which I have been doing a lot of. I also loved the blending of different colors in the yarns that varied with each stitch.
After a few inches I realized I was going to run out of the silk hankie yarn way before the end of the scarf, although that was obvious even before I started knitting. It would look funny if it just stopped in the middle of the scarf, so I started using it every other time I knitted with the darker yarn for a few inches, then even less often. I am not sure anyone will even be able to tell it is there at all due to the variegated colors in the yarns. Even the darker yarn that seems like all one color actually has some variation that I noticed as I was knitting with it.

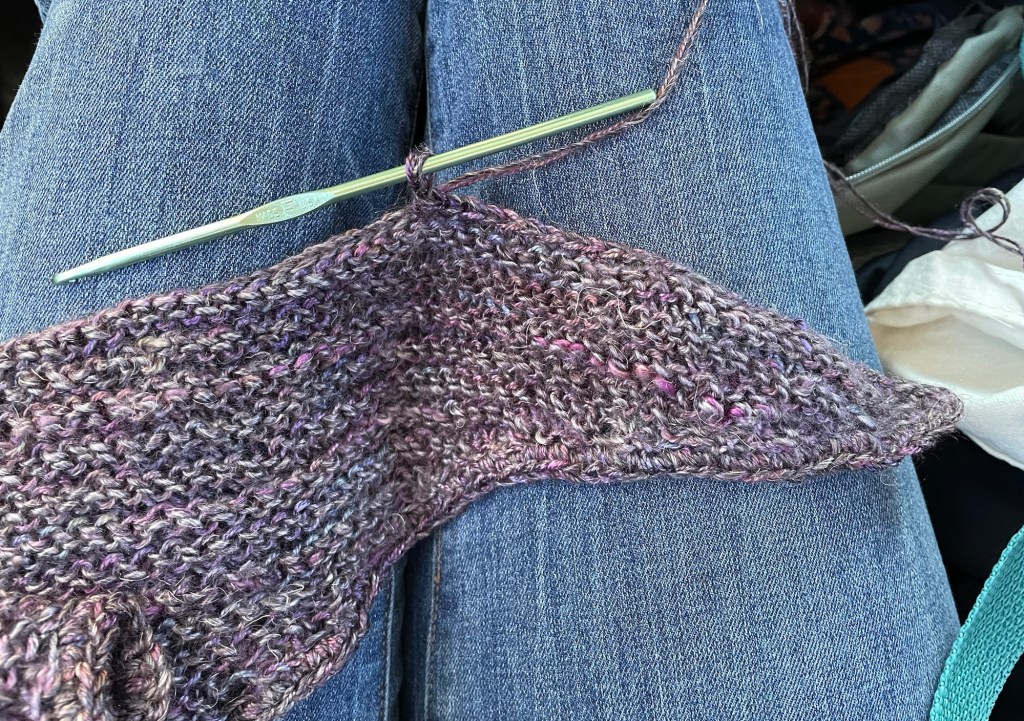
The next photo shows the project up close after completing a row using the silk hankie singles yarn held together with the Malabrigo merino/silk/linen yarn.

After it seemed big enough for what I had in mind I cast off the long edge, although there was enough yarn to make it larger. The two sides of the triangle looked different and raggedy, so I did a single crochet border all the way around that gave it some shape and consistency.
I blocked the scarf by steaming it gently, using an iron with a linen dish towel for a pressing cloth, in the laundry room of the RV Resort.

Following is a photo of the completed scarf rolled up like a Crescent, with the leftover yarn.
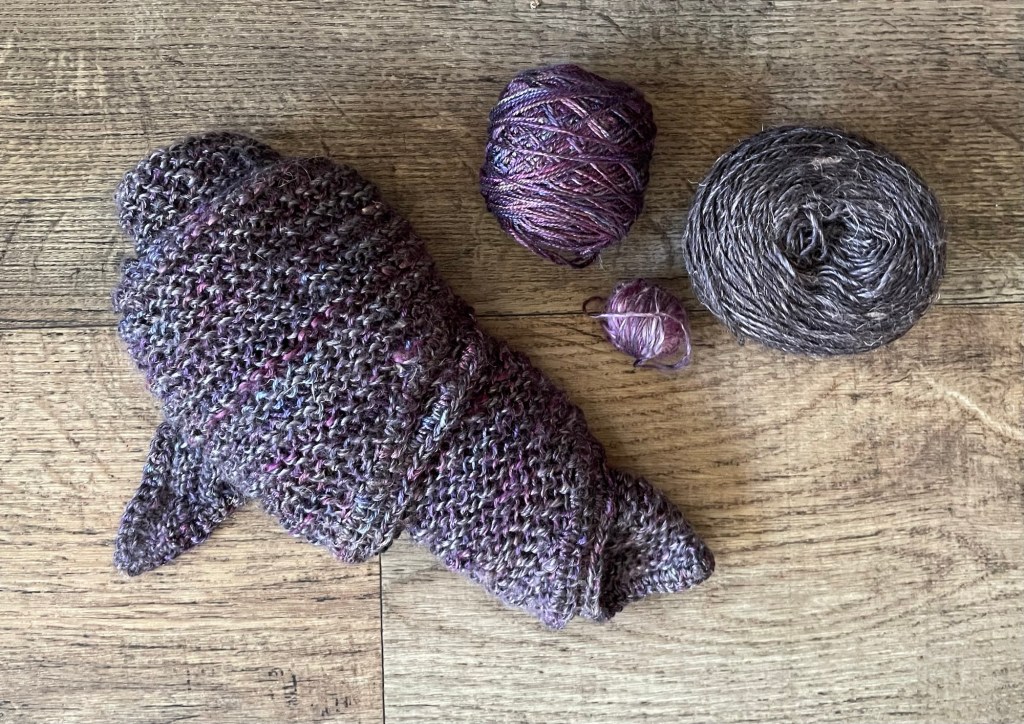
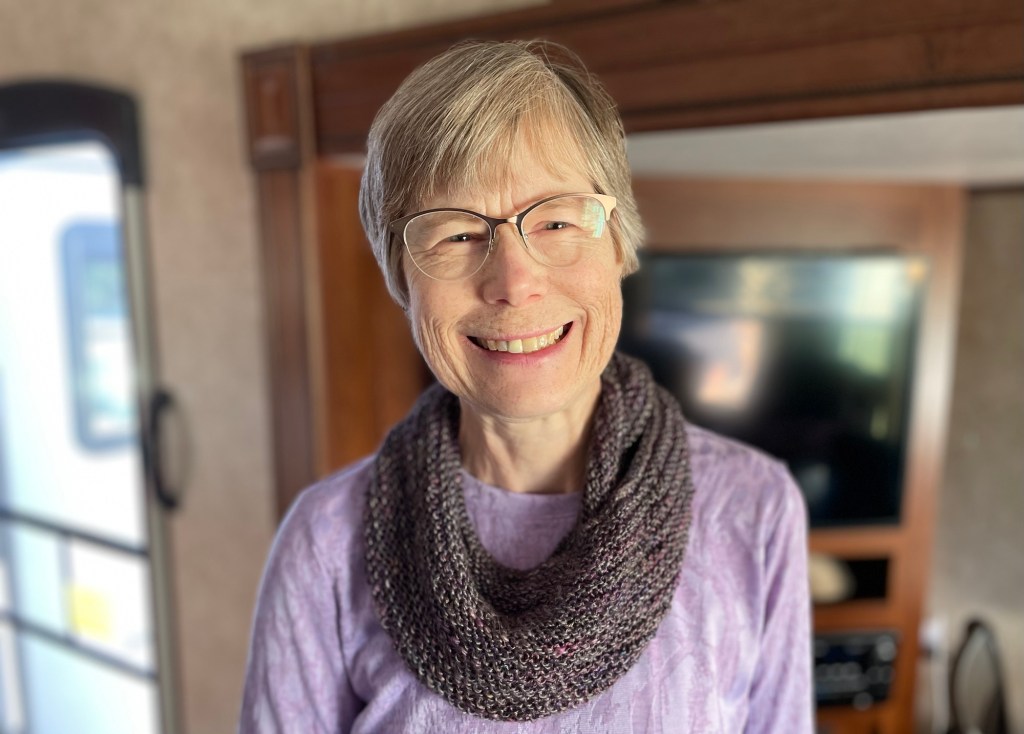
The scarf can be worn multiple ways. It can be wrapped with the tails tucked in like a cowl, or with the tails hanging down. It could also have the tails hanging one in the front and one in the back, or however one wants.

It would be interesting to compare a woven scarf using the same yarns to the knitted scarf, but alas there is not enough yarn. The leftover yarn may end up combined with something else in a woven scarf in the future.

The scarf is beautiful!EdithSent via the Samsung Galaxy S21+ 5G, an AT&T 5G smartphone
LikeLiked by 1 person
Thank you! All the shades of purple and blue and green look pretty together.
LikeLike
Some very cool stuff you got there, Meg. I loved that boot bag. So clever!!
LikeLiked by 1 person
Thank you! I love the boot bag too. It will be a great conversation piece.
LikeLiked by 1 person
That looks so good, Meg!
LikeLiked by 1 person
Thank you!
LikeLiked by 1 person
Love the scarf!
LikeLike
Thank you!
LikeLike
It was very interesting and informative to read about the silk hankies. The boot bag is a fun piece and so clever.
The scarf is beautiful! I love the purples.
LikeLiked by 1 person
Thank you! I love the colors too and the combination of fibers and textures.
LikeLiked by 1 person
I hadn’t seen the hankies before, so interesting. I love how all your colors played together in your scarf!
LikeLiked by 1 person
Thank you! Thanks for reading and hope you have a great day.
LikeLike
That’s some lovely spinning of the silk hankies. I find that the prep and drafting can be a bit hard on the hands, but the results are great.
LikeLiked by 1 person
I agree and also the silk catches on everything. But the result is pretty and a nice add in to another project.
LikeLike
I learned a lot from reading this post. The colors are gorgeous. I am a quilter and sometimes when I see a beautiful piece of fabric I buy it. I have no idea what I will use it for. 😃 Some of my quilter friends only buy fabric for specific patterns. You do great work.
LikeLiked by 1 person
Thank you! I will also buy a skein of yarn just because I love it, especially if we are on vacation.
LikeLike
Do you find that different areas of the country make or stock different colors or textures? I find with fabric, a lot of fabric stores will have a section of fabric that is unique to that area. For example, some southwest shops will have Native American designs on fabric. I have found this to be very interesting and fun to search out.
LikeLike
That makes sense. One thing I have noticed is that the fashion police decide what colors are to be used, and then you can only find those colors in fabric. For example I might have an older piece of clothing that I still like, and I am looking to buy or make an accessory or something to go with it, but now the colors are different and don’t work. Maybe not so much with yarn, especially local custom yarn.
LikeLike