
Before Christmas I completed a weaving project of jar cover cloths for my daughter’s fermenting projects. I was in a hurry so I could get them in the mail. There was a bit of extra warp yarn left that I might have woven into something, or it could have been considered as waste yarn. It seemed like a lot to throw away, but I was too busy getting ready for the holidays to weave anything with it. I left the extra warp yarn on the loom and secured the loose ends so they would not accidentally get pulled out of the heddles and reed before I could decide what to do with it. It sat there like that until we got back from Arizona in April.

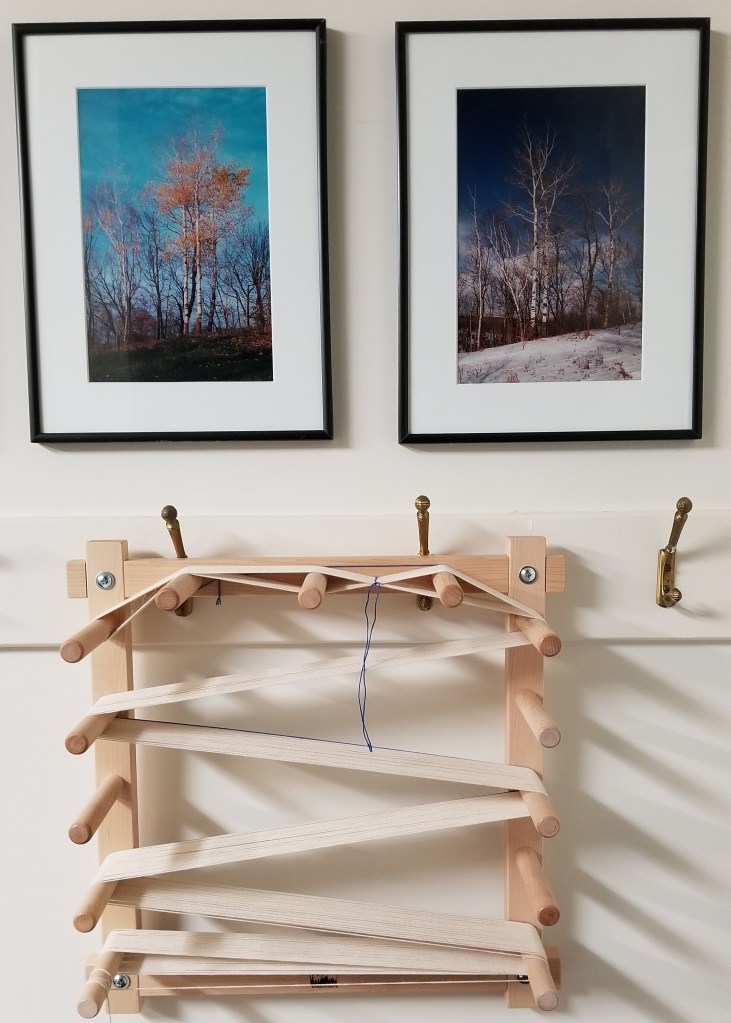
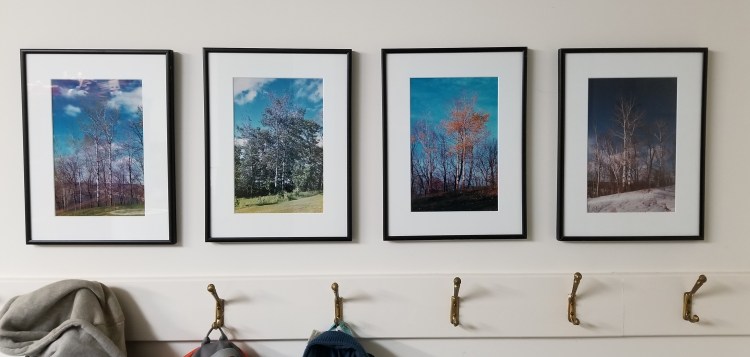
After we were back home for a few weeks in the spring, I decided to try adding more off white 8/4 cotton warp yarn to the leftover ends from the last project that were still on the loom. The jar covers were narrower than I wanted for a set of kitchen towels, so first I added some warp ends on each side the same length as the leftover warp yarns. I cut 12 lengths of yarn for each side, tied them on the back and threaded them through the reed and heddles. The next thing was to measure out warp yarn for a set of three towels, 206 ends for each yarn end already on the loom, including the 24 ends I had just added. I tried a new place to hang the warping board, in the basement where we have a row of hooks on the wall. Above the hooks are some photos my sister, Betsy, took years ago of a particular spot in the yard during each season.
It was hard to get the warp yarn off the warping board. I must have wound it on too tight, although it did not feel like it at the time. Wrapping too tight probably caused the rounds on the outside edge to be shorter than the rounds on the inside end. There was another mistake I made that was not a disaster, but next time I will remember and do it correctly.
After my warp yarn was measured and ready to go, I started tying on each end to one of the waste ends already on the loom using a weaver’s knot. It was the first time I had tried this process, and my first time making weaver’s knots. It was a slow process.
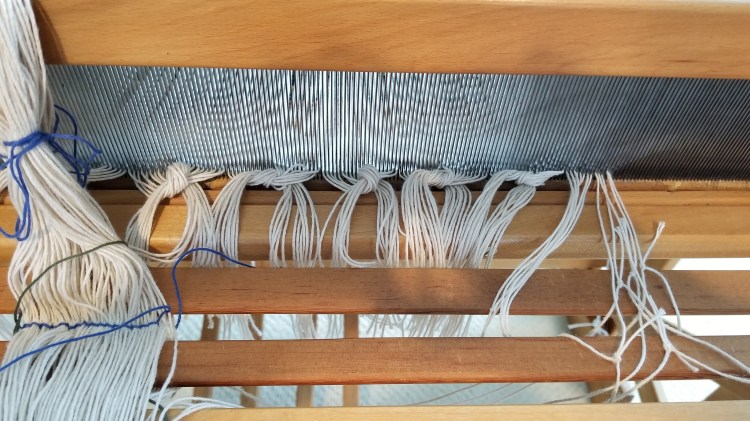
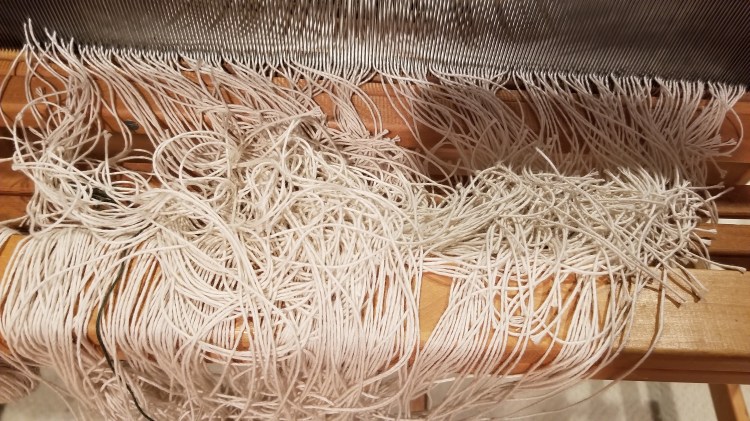
After all the ends were tied on it looked like a very big mess.
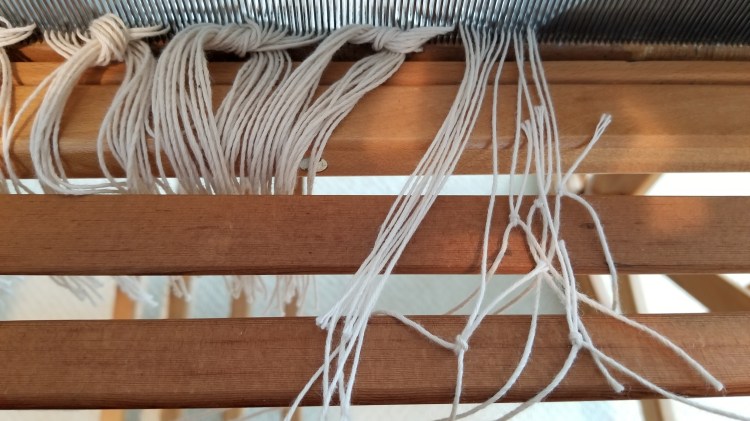
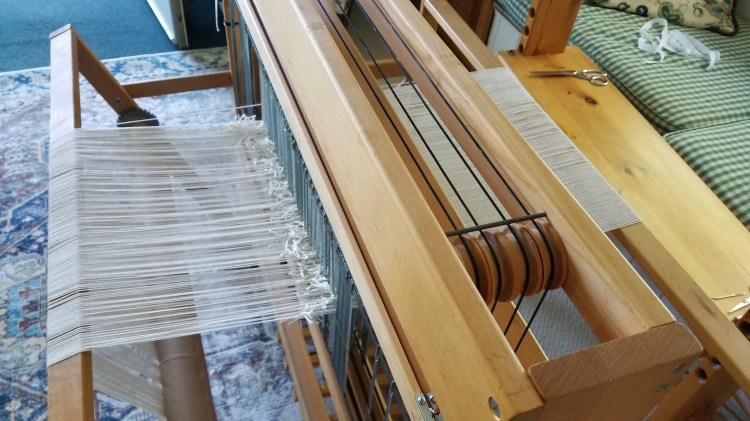
I carefully pulled each knot through the reed and heddles to the back, and then straightened it out. The following photo taken from the back looks much less scary.

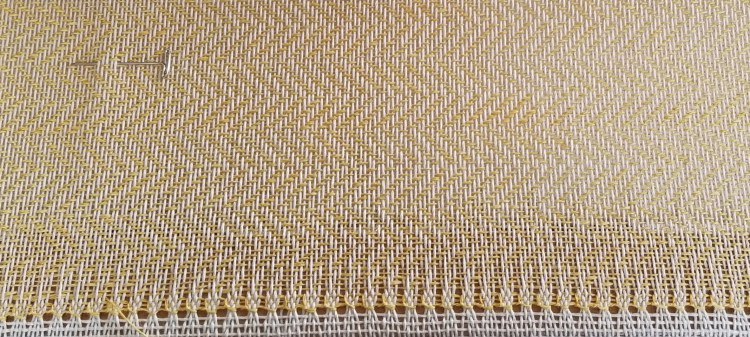
I wove the first towel with the same zig zag pattern as the red jar cover I made in December, using the same cotton/linen blend yarn in yellow (Duet cotton/linen blend from Gist). I used a T pin to keep track of the beginning of a pattern repeat.
The warp on the left side was quite a bit tighter than on the right side. There are reasons why this can happen, but I was not sure what caused the problem in this case. After completing the hem stitch at the end of the yellow towel I cut off the ends and re-tied the warp yarns on the front for the second towel, so I could attempt to fix the tension.
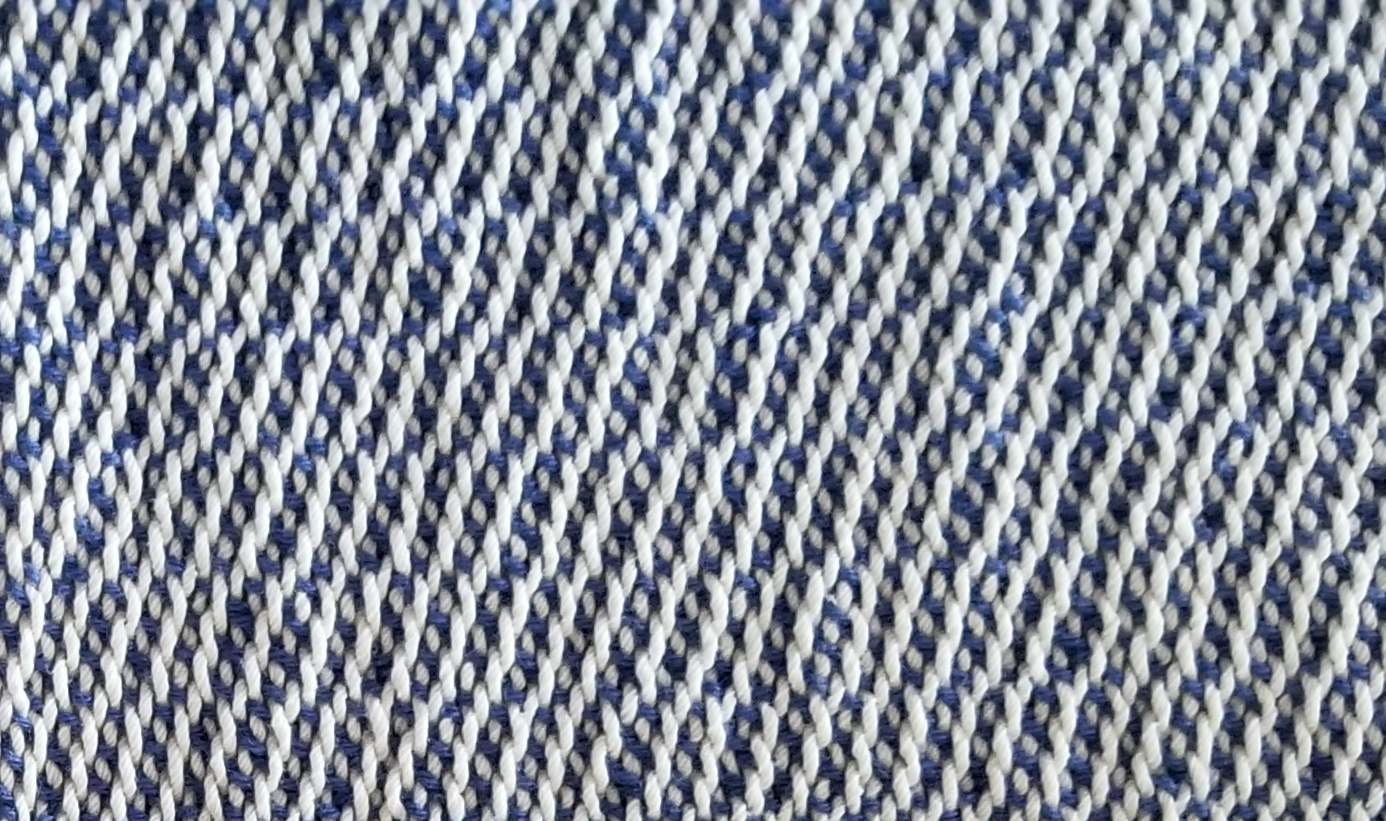
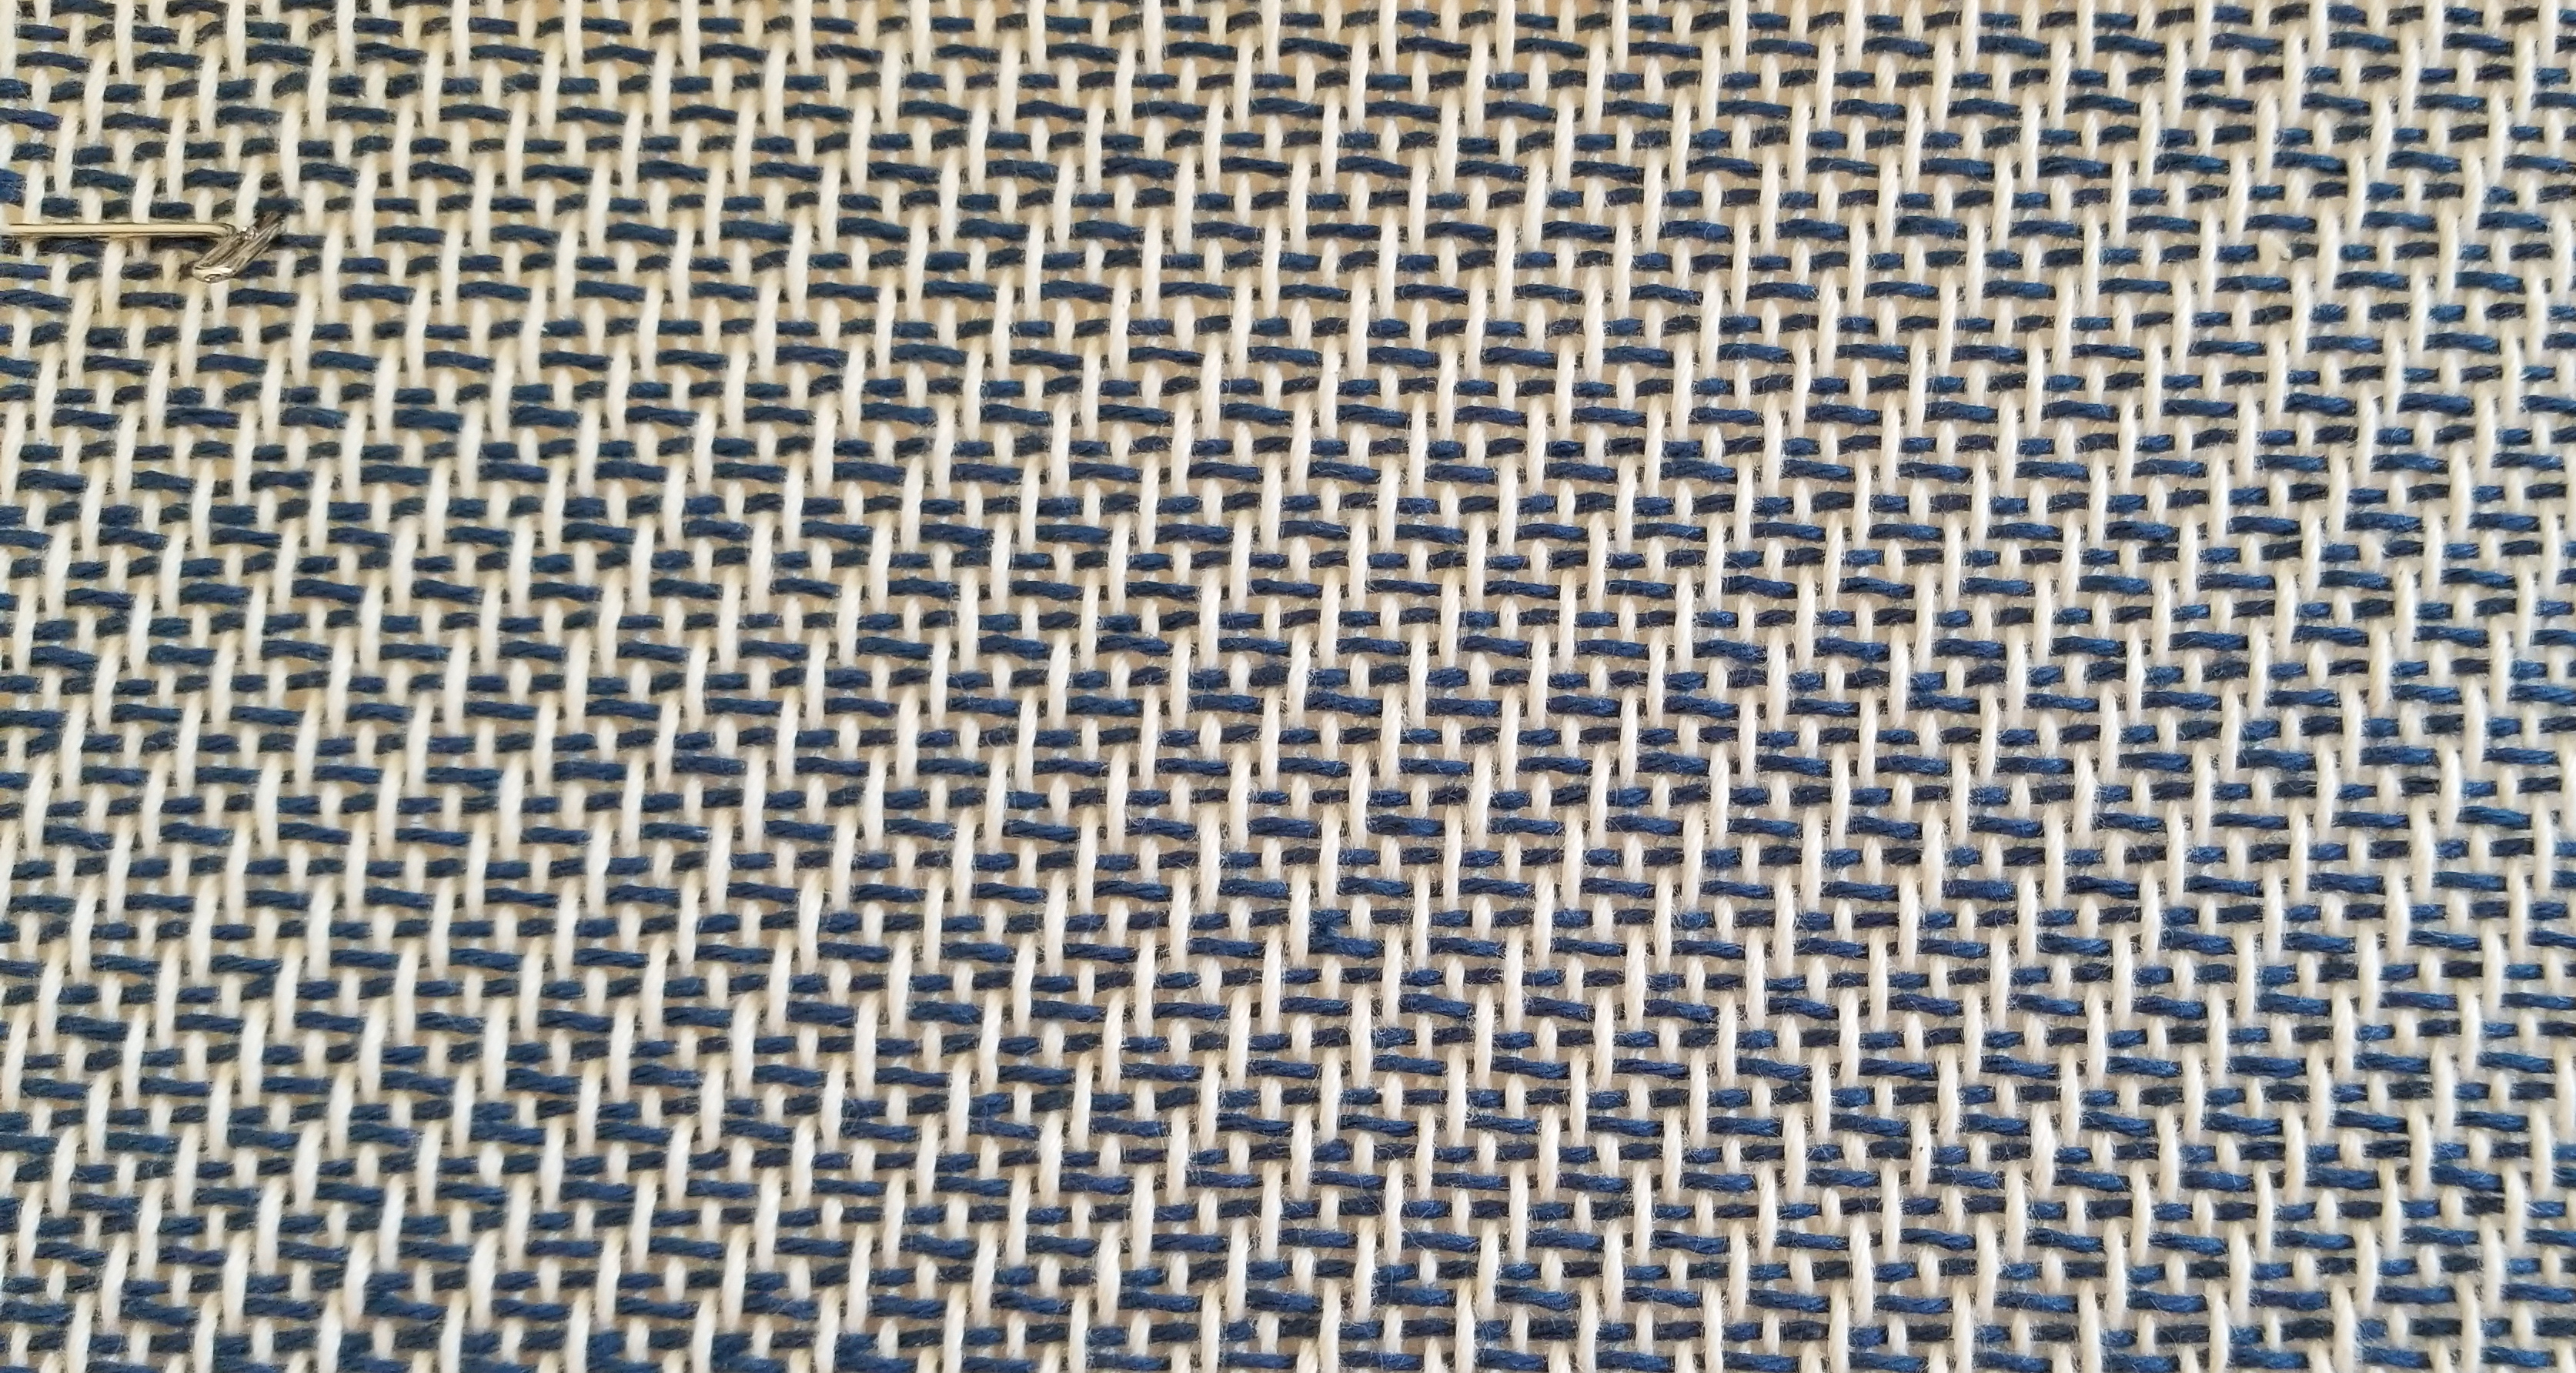
For the second towel I used blue 8/4 cotton for the weft yarn, with a pattern from the book “The Handweaver’s Pattern Directory” by Anne Dixon. It turned out to be the same pattern I tried for one of the jar covers I made earlier, in the same color. The other time I missed one row of the pattern so it did not turn out right.

The following photos show the incorrect version of the pattern on the left, and the correct version on the right.
The same thing happened with the tension on the blue towel. The left side got tighter than the right side. One thing that can cause this is if the loom itself is crooked or unlevel. I checked and did not find any evidence of these problems. I decided to finish off the second towel earlier than I had planned so I could try and fix the tension problem again, before the third towel.
After completing the hem stitch, I rolled the weaving forward as far as I could until the knots in the warp yarns got to the heddles in the back. Then I re-wound it back on to the back beam, hoping the tension would be more even between the left and right side. It wasn’t.
The tension was still tighter on the left, but I did not know what else to do, so I went ahead with the third and last towel for this unfortunate warp. I reminded myself again that these are just towels. They still work if they are crooked or wonky.
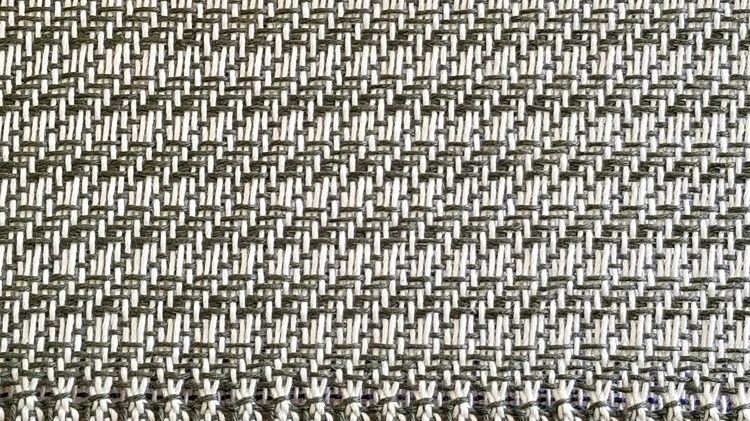
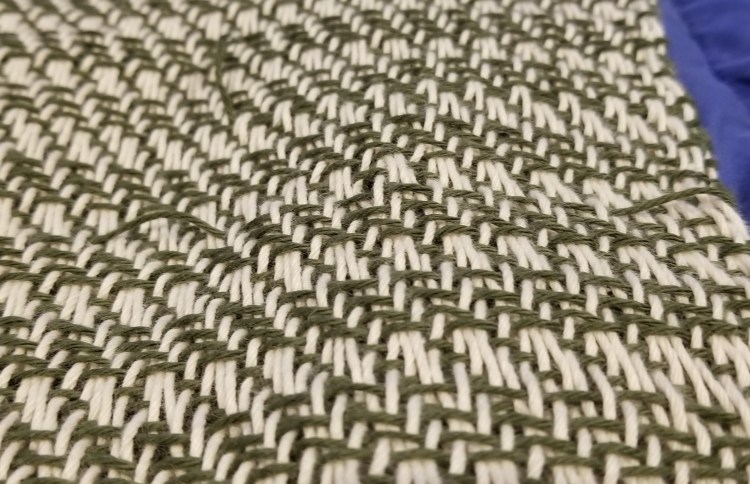
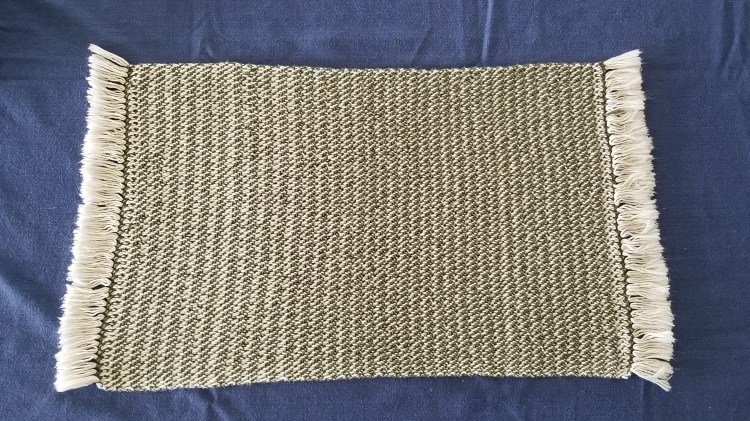
For the third towel I found another pattern in the pattern directory book and started weaving in green 8/4 cotton. It has the appearance of stripes, but only uses one color in the warp.
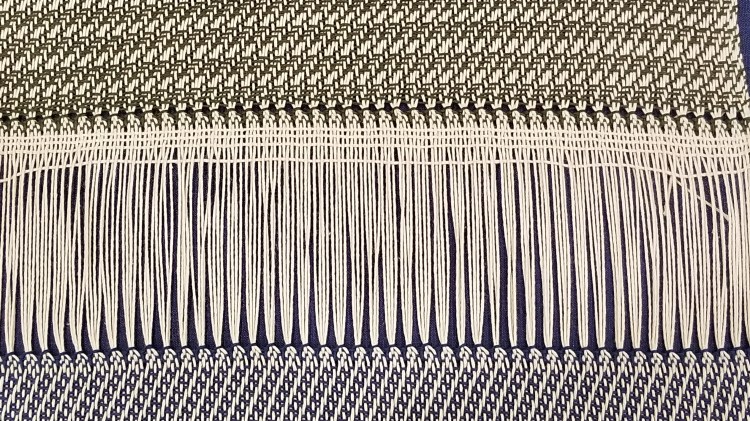
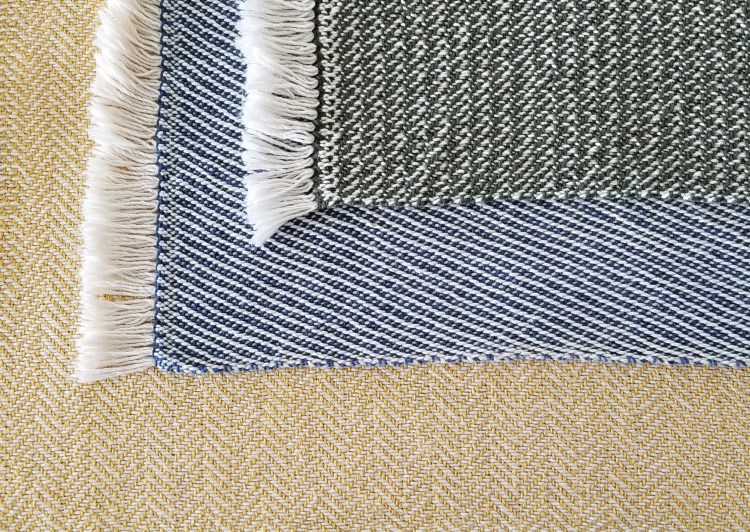
Following is a photo of the end of the second blue towel and the beginning of the third green towel, with some spacing rows in white. There is a dumb mistake on the hem stitching at the beginning of the green towel.
At the beginning of the green towel I did the hem stitch backwards! AAHHHHH! I have had trouble with hem stitch in the past but now I KNOW how to do it. I just spaced out and did it backwards. I did not notice until I removed the towels from the loom. I picked out the stitches of the hem stitch and redid it. The next photo shows the corrected version.
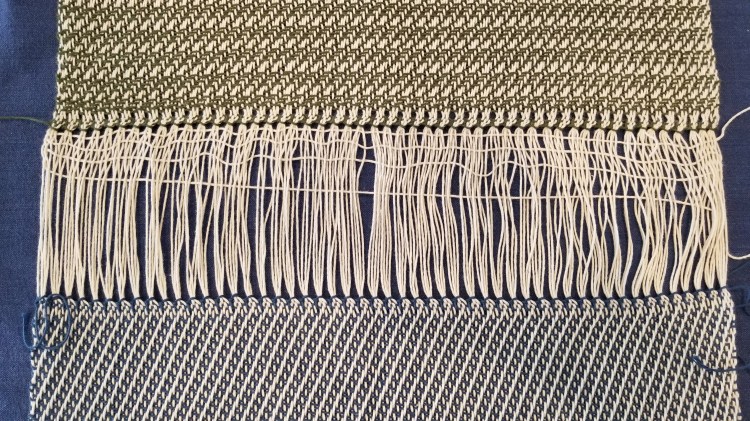
End of blue towel, beginning of green towel, with hem stitch redone
After I removed the towels from the loom I also noticed a couple of spots near the end of the green towel, in the same row, where a weft row skipped some warp yarns that it was supposed to go under. At the time I was weaving those rows the knots in the warp yarn were in between the heddles and the reed (see the next photo). While weaving this last couple of inches I had to fiddle with the warp yarns to make sure the knots were not catching on to each other so that all the right warp yarns were in the UP or DOWN position. I am surprised this only happened on that one row. After the fact I used a piece of scrap green yarn and wove it through by hand the correct way, but also going over the big loop sticking up to make sure it stayed down. It looks bad but I wanted to make sure those big loops did not catch on anything later, when using the towel. The next photo shows the knots in between the heddles and the reed, where they kept catching on each other. Ideally my warp yarn would have been longer so that the knots would have stayed on the back of the heddles. It would have been longer except that I cut the warp yarns and retied them on after the first towel.

Following is a photo showing the bad row with the two big loops that should have been under some white warp yarns.
The problem with the warp yarn tension with one side tighter than the other caused each towel to be longer on one side, ranging from 1/2 inch to one inch. I will be the only one using them, and so probably no one else will notice.
This project had multiple problems. Adding more warp yarns on each side, and then adding on to the leftover warp yarns from before contributed to or directly caused my tension problems, and made it hard to weave the last few inches where the knots were catching on each other. The fact that I had a bit less waste yarn at the end of this set of towels was not worth the extra hassle and problems that resulted. Not sure if I would do that again, certainly not when using this relatively inexpensive yarn. I am not complaining. Everything is a learning experience and I got some functional towels out of it that did not look too bad.
Despite the wonky shape, I love this yellow zig zag pattern towel. The cotton/linen yarn gives a really nice feel and weight.

The blue towel is fine but not my favorite.

Something happened with the green towel where the last third of the rows look different. You can see in the photo below how there is more white showing on the left side of the photo, which is the bottom or end of the towel. I swear I followed the pattern exactly the same. Possibly I was not packing the rows as tight to compensate for the warps yarns on one side being too tight.
I can use these crooked towels and they provided me with some learning experiences, but it was a relief to be done with them. I hope my next project does not have as many learning experiences!

Oh Meg, your patience…….!😵💫😄
LikeLiked by 1 person
Wonky! Chris May’s sister once told me it’s the imperfections that make art valuable. A trip to Mia today tells me it’s true. Julie
LikeLiked by 1 person
That is encouraging! I have probably never made anything without a single mistake!
LikeLike
All three of the towels look just fine to me. I admire your attention to detail and your persistence.
LikeLiked by 1 person
Thank you. You have patience too when working on your doll house!
LikeLiked by 1 person
I would have never known they were wonky until you pointed it out. I think they turned out great! Weaving just looks so hard.
LikeLiked by 1 person
Thank you! It is not hard…just lots of steps to learn. Some parts are repetitive which can be relaxing, or some people find it boring. I am still learning many tips and tricks to improve my results. Thanks for reading.
LikeLiked by 1 person
We were recently at a national park unit where a Navajo lady was weaving a rug, and I was mesmerized.
LikeLiked by 1 person
They looked just fine to me! Sometimes a little bit of “wonkiness” just makes things more interesting.
LikeLiked by 1 person
Yes that is true! And then you also know it is a unique one of a kind thing.
LikeLike