
A few years ago my daughter gave me a set of three beeswax food wraps. If you have not heard of these, they are a piece of cotton fabric applied with a thin coating of food grade beeswax that makes them water resistant, breathable, and tacky. They are used as a more environmentally friendly alternative to plastic wrap for covering bowls of leftovers or wrapping food. I liked mine and tried to use them as much as possible. Over time I lost two, and the wax on the third one gradually came off over time.
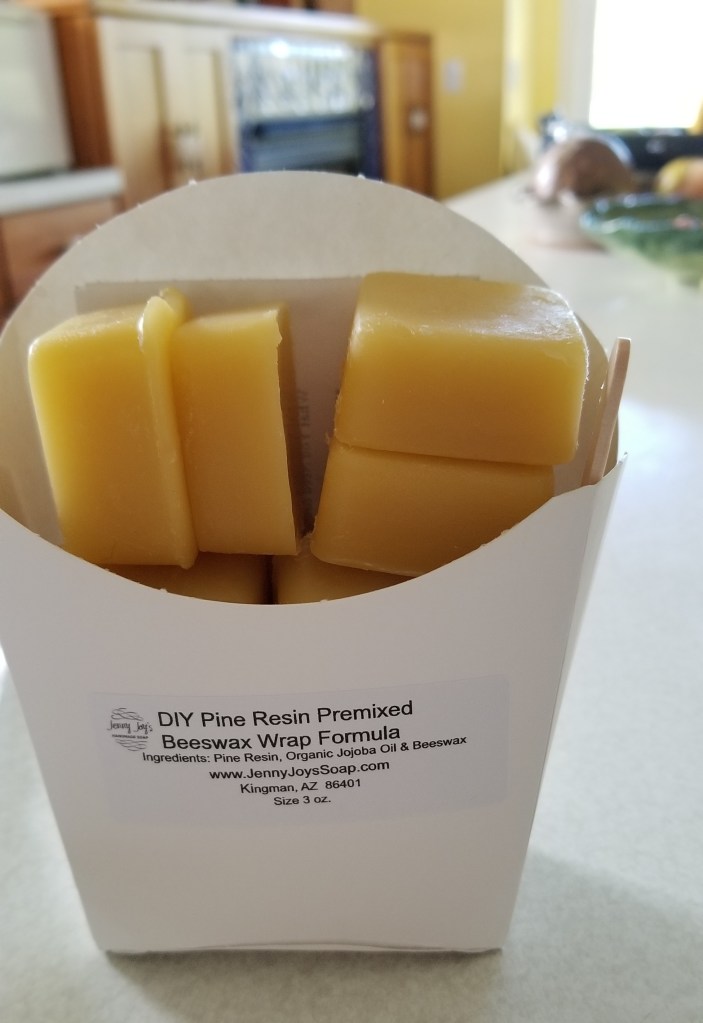
I saw references online to making your own beeswax food wraps, so I decided that would be fun to try (like I needed another project). As usual I googled this and found several blogs with instructions, and links for buying the supplies(here and here). Other folks have perfected the “recipe”, discovering that it works best if you add pine resin and jojoba oil to the beeswax. It is probably a better deal to buy the individual ingredients and mix it yourself, but I decided to buy a product that was already mixed and ready to use. Following is a photo of what I bought from Jenny Joys Soap online. Jenny also sells related products including soaps, salves, fabric for beeswax wraps, and complete kits for making them.
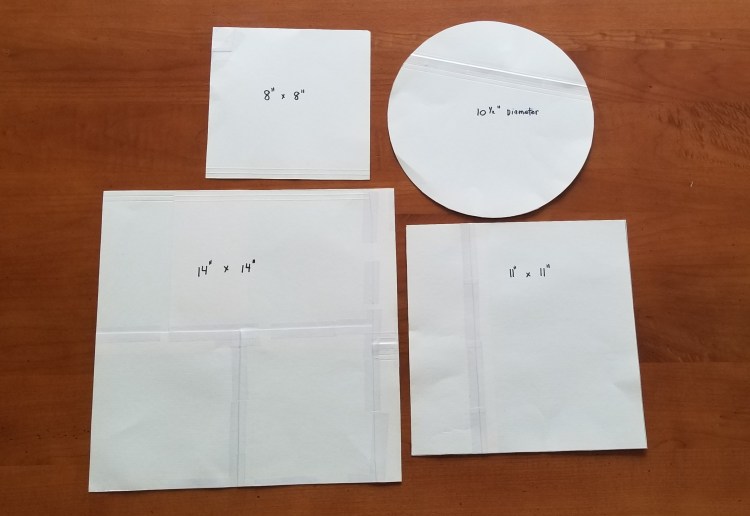
I started the project by taping together old file folders to make a bigger size of heavy paper, and then I made templates for three sizes of square wraps and one size of round. The largest square size can be used to wrap around a sandwich.
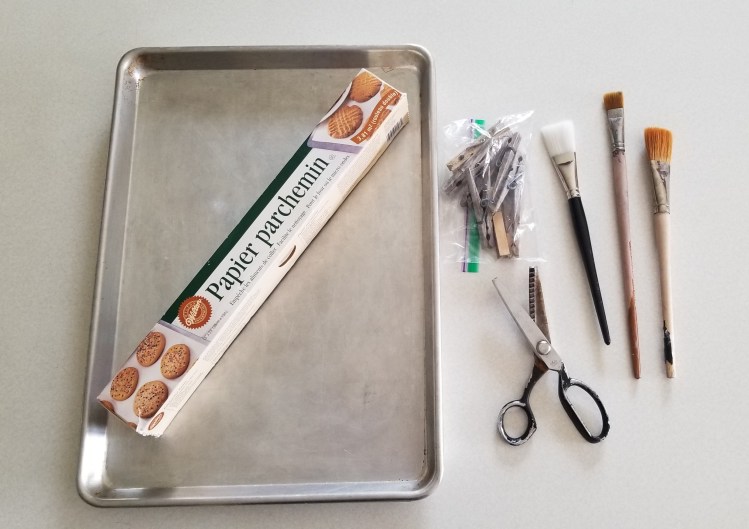
Next I assembled the supplies needed, including big baking sheets, parchment paper, pinking shears, paintbrushes, and clothespins (which I did not use after all). I have three pairs of pinking shears in the house. One pair is my own, one came from my mom’s sewing supplies, and the other one came from my mother-in-law. None of them are sharp. My sister was coming to visit, so she brought a pair she owns that turned out to be shorter but quite sharp.
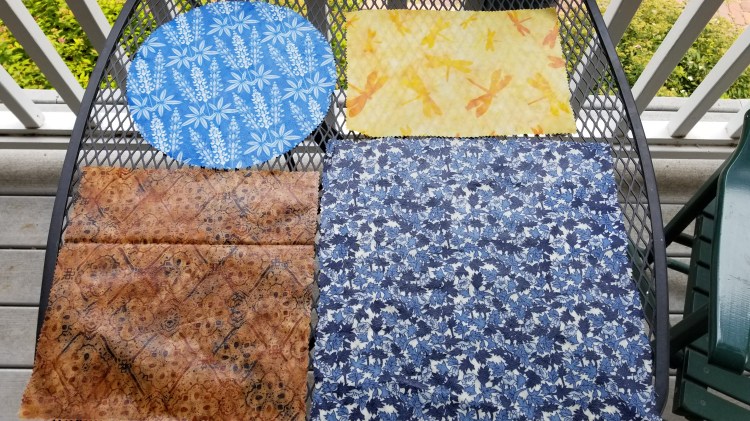
My sister is a quilter, so she has a large stash of 100% cotton fabric. She brought a tub of scraps that we could use. I also had a couple of small samples of fabric I had bought from Cindy Lindgren.

The next photo is our friend cutting out a square of fabric using the pinking shears, after drawing around one of the templates on the back.

Next is my sister “painting” the beeswax product that has been melted in the double boiler on to her fabric square. The fabric is laid out on some parchment paper on a jelly roll size baking tray. It took some practice to figure out how much to apply without getting it too thick or too sparse. You only have to paint on one side as it soaks through.
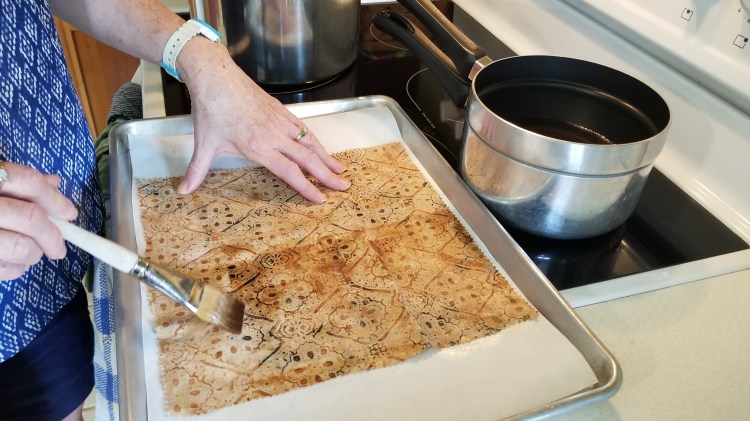
After putting the beeswax on, we put the tray in the oven on a low temperature (between 225 F and 325 F) for a few minutes to let the wax spread out and soak into the fabric. After “baking” the fabric with wax, we took it out and used the brush again as needed to apply a bit more wax, or even it out. Sometimes it needed to go back in the oven again. When the wax seemed even on both sides of the fabric it was time to peel it off the parchment paper and lay out to dry. Any surplus of wax on the just completed wrap, or on the parchment paper, was soaked up with another piece of fabric before applying more wax from the double boiler.

The wraps turned out very well. They feel a bit stickier than the original beeswax wraps that I got from my daughter years ago, but maybe I just don’t remember. They need to be a bit tacky so they stick to the bowl you are covering, or stick on itself if wrapping around food. The instructions said you could hang them on a clothesline to dry, but we ended up laying them out on drying racks and an outdoor table.

I put a round wrap over a bowl, and wrapped the large square one around some bread, to show how they work. You could make little snack bags by adding ties or buttons.

PS A couple of notes about using and caring for beeswax wraps. They can be cleaned by rinsing with cool water mild soap. Hot water makes the beeswax melt off gradually. I washed the ones I had before with hot water and soap, so I am sure that contributed to their losing the tackiness. However if you do not wash them in hot water, you should not wrap any meat in them directly. When they are past their useful like, the beeswax wraps are compostable.

Cool! Love that you made your own, Meg! I have seen these advertised but had not purchased any. Good for you!! Enjoy summer at the lake! xox. Mary Ellen
LikeLiked by 1 person
I just bought a set of beeswax food wraps. Thanks for posting how to care for them.
LikeLiked by 1 person
I have not heard of these. Good for you for making them! Soon we will be in Michigan. I will look for these in the Farmer’s Market. Maybe I will get lucky and find some to buy. Yours look fantastic. What a great way to use up leftover fabric. And I am glad to know how to take care of them.
LikeLiked by 1 person
What an incredible creativity! Good for you, Meg!
LikeLiked by 1 person
What a great idea!!! The benefits of plastic, without the harm.
LikeLiked by 1 person
I’ve wanted to try making a few of these but I keep getting gifted new ones!
LikeLiked by 1 person