
A fiber art friend commented that my new sock machine journey is a “rabbit hole”. That is an excellent description. According to Wikipedia, “down the rabbit hole” refers to “getting deep into something”. I think that starting a new activity that involves buying a bunch of supplies and equipment, and that takes up inordinate amounts of time when you should probably be doing something else, qualifies as down a Rabbit Hole.
After posting about getting my circular sock machine (CSM) and trying to make heels, one reader wondered if I used up all the yarn I had assembled. No. Hahaha. The photos in that post included only a small part of my sock yarn stash. Before I bought the sock machine I already had a supply of sock yarn for hand knitting. After I got the machine, I started looking for sales and deals on sock yarn, knowing I could go through it quickly. Since then I have purchased yarn here and there online, from the Erlbacher circular sock machine company, in person at yarn stores, at thrift stores, at a re-sale shop when we were on vacation, and I received yarn for Christmas. Following are photos of all the skeins of sock yarn I have. Some will be used for practice, some is waiting for me to become proficient at using the machine.
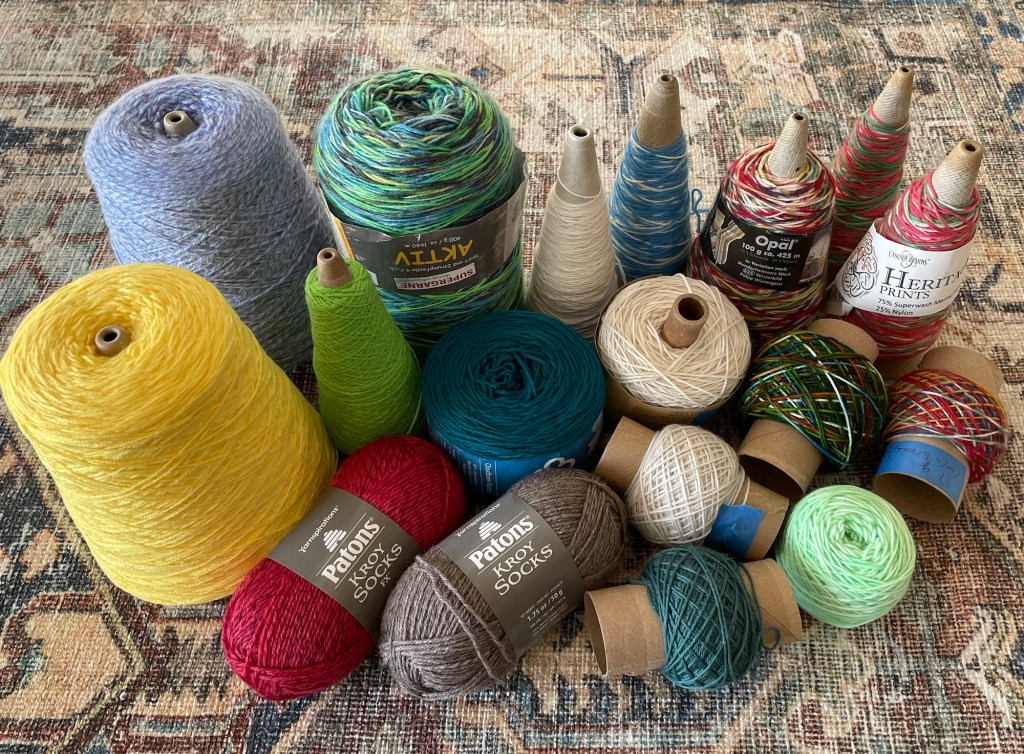
The first photo includes small amounts of yarn leftover from previous sock knitting projects, two large cones of waste yarn, a large cone of variegated sock yarn, and some other random yarn.
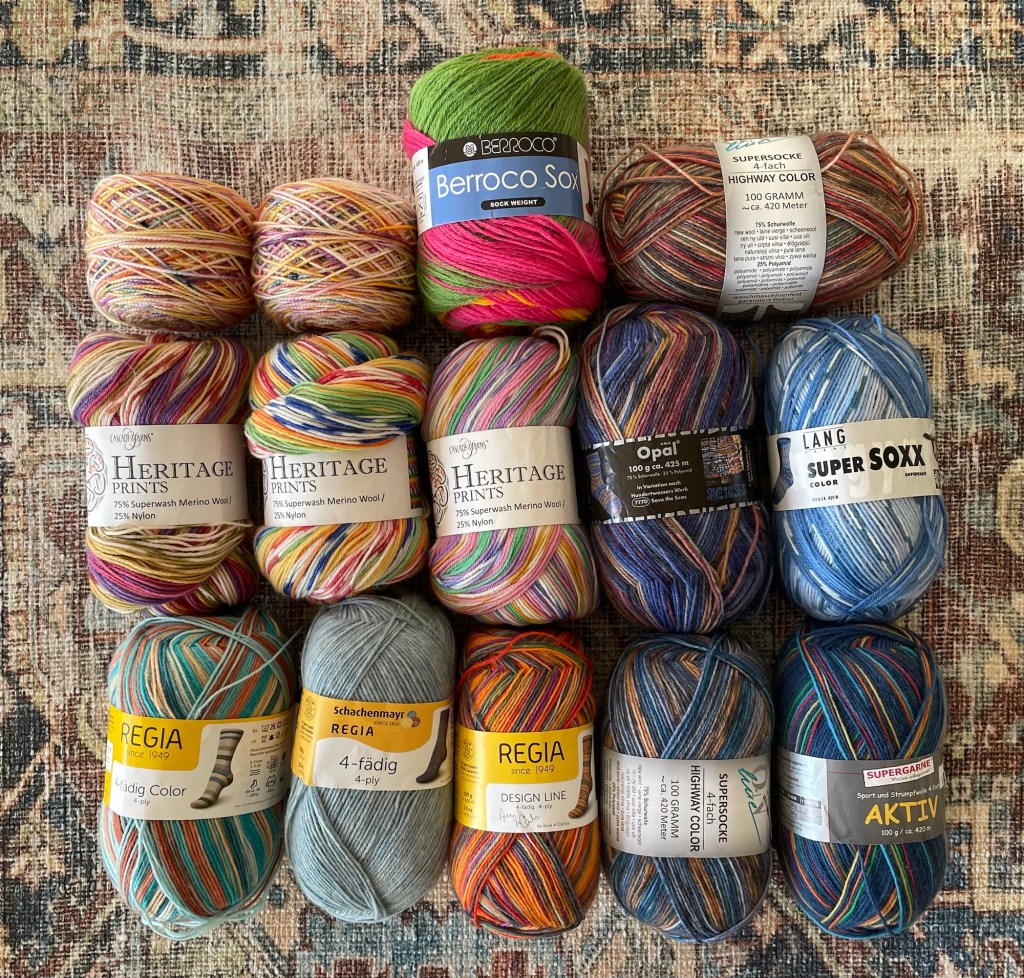
In the next photo are two cakes of yarn that I wound for knitting socks a long time ago, but never used. The rest are more recent purchases.
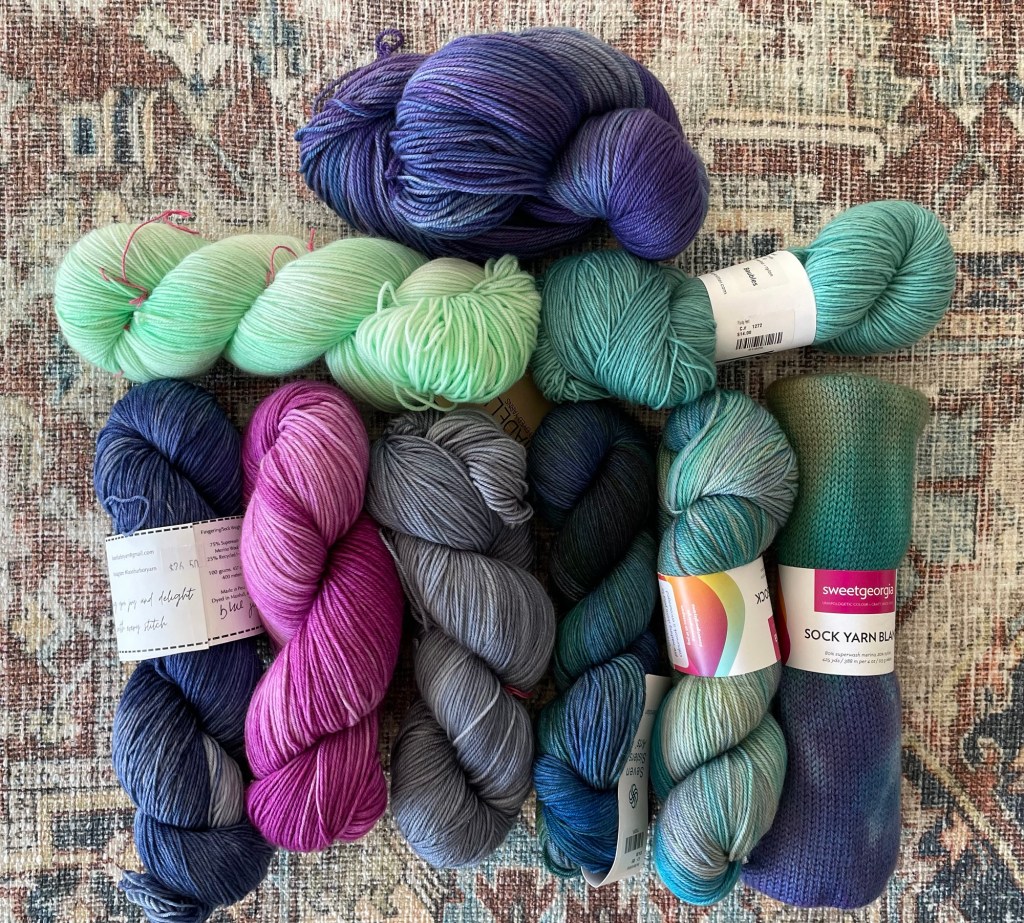
The yarn in the following photo is more expensive. I will wait until I am able to make a sock with a heel successfully and consistently before using any of these skeins.
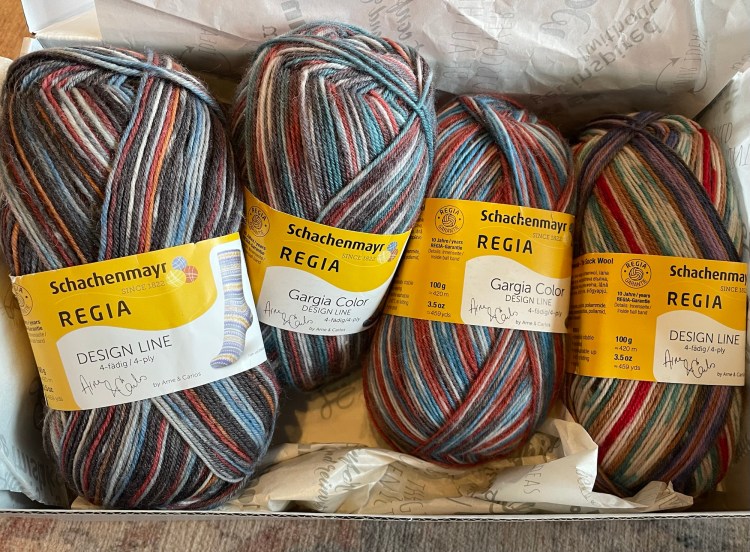
Wayne gave me four skeins of self striping sock yarn for Christmas, for me to make him socks in colorways he likes.
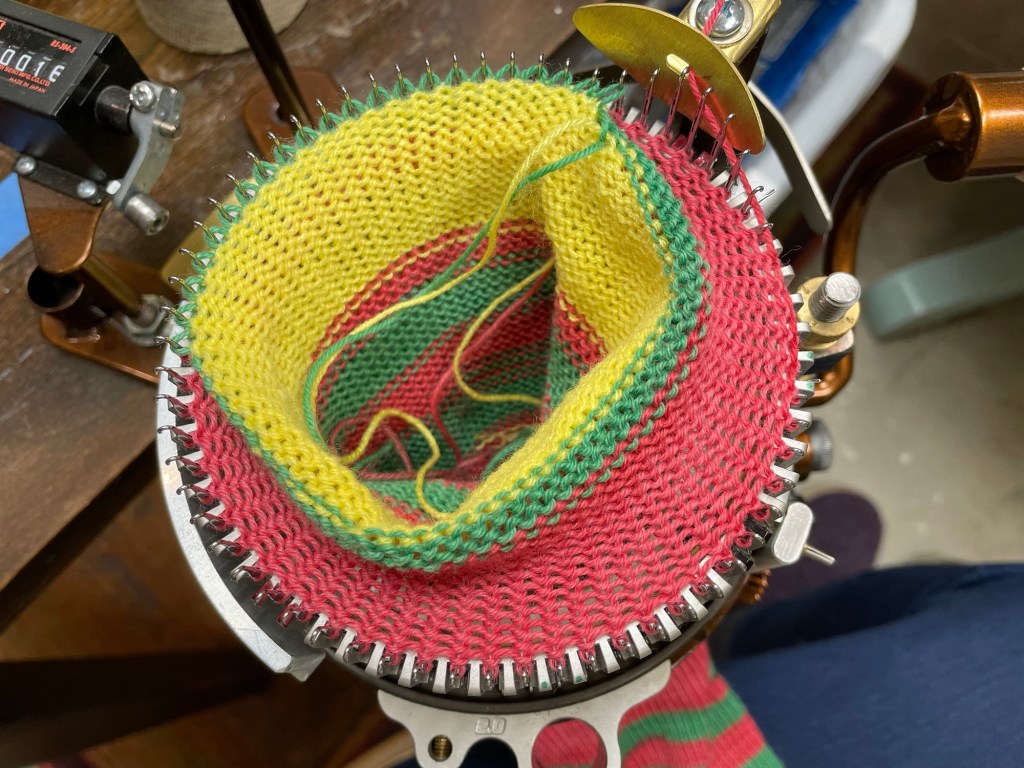
So maybe I got a little carried away, but I do hope to crank out many pairs of socks for everyone and their brother once I am able. After my less than successful attempts at making heels on the sock machine, and the limited time I had in the last weeks before Christmas and leaving for Arizona, I did not want to spend any more time trying to make heels. It made more sense to practice with the CSM by making a Gnome, which involves cranking out a long tube with three parts separated by waste yarn.
For my first gnome all by myself I picked out some green and red self striping yarn. The long tube I cranked came out twisted looking. There are a couple of reasons that might have happened. It could probably have been fixed by blocking, but it did not matter for a gnome.
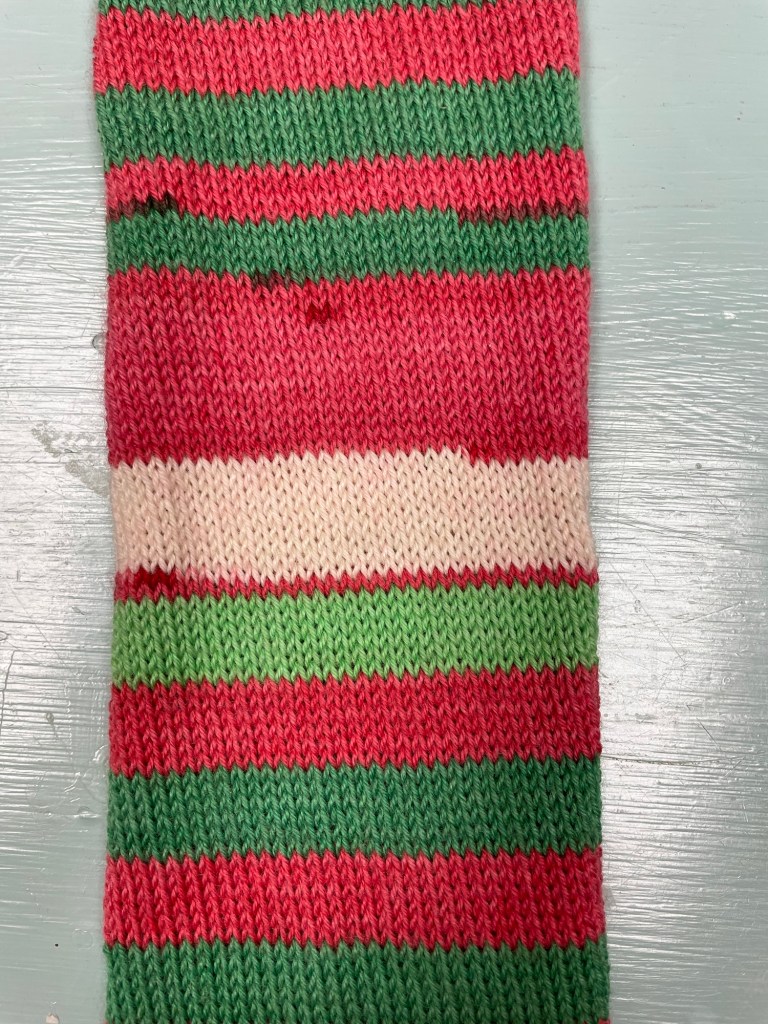
Two of the three gnome sections have a “hung hem”, which is a method of finishing the edge while it is still on the machine, that is also used for sock cuffs.
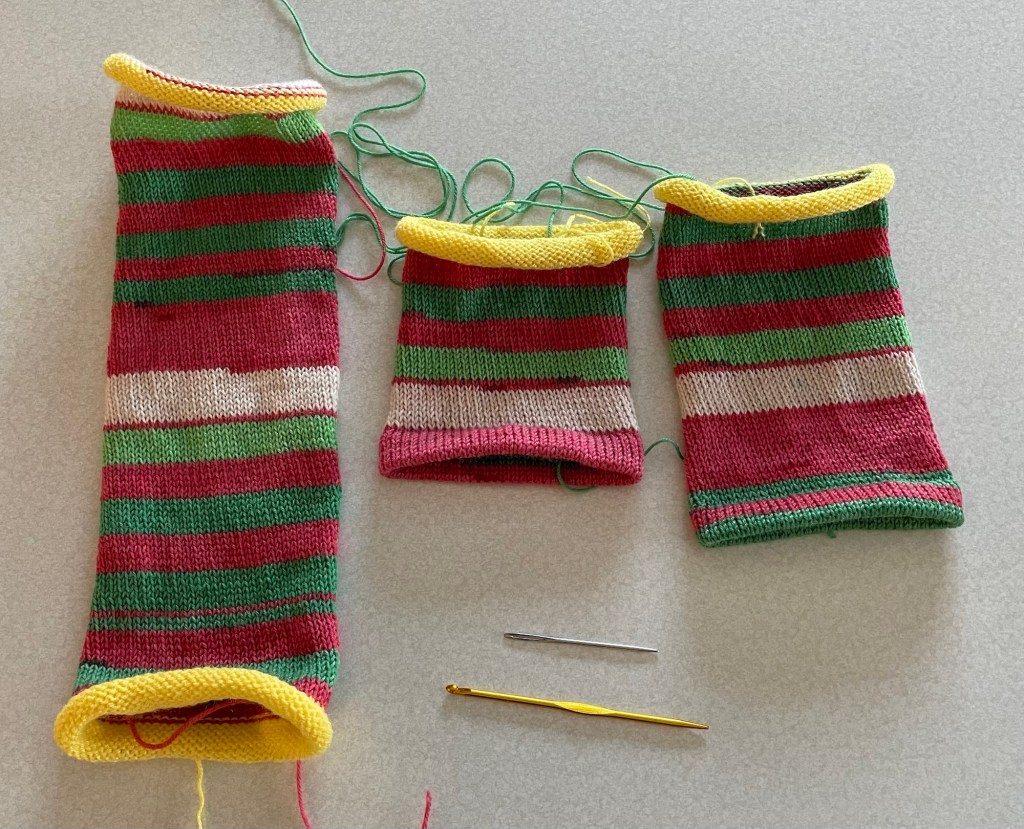
After cranking out the tube, there is quite a bit of hand work separating the three sections, finishing off ends, assembling pieces, sewing on the nose, gluing on the beard, and sewing the hat on. Following is a photo of the three gnome parts separated, with yellow waste yarn still attached.
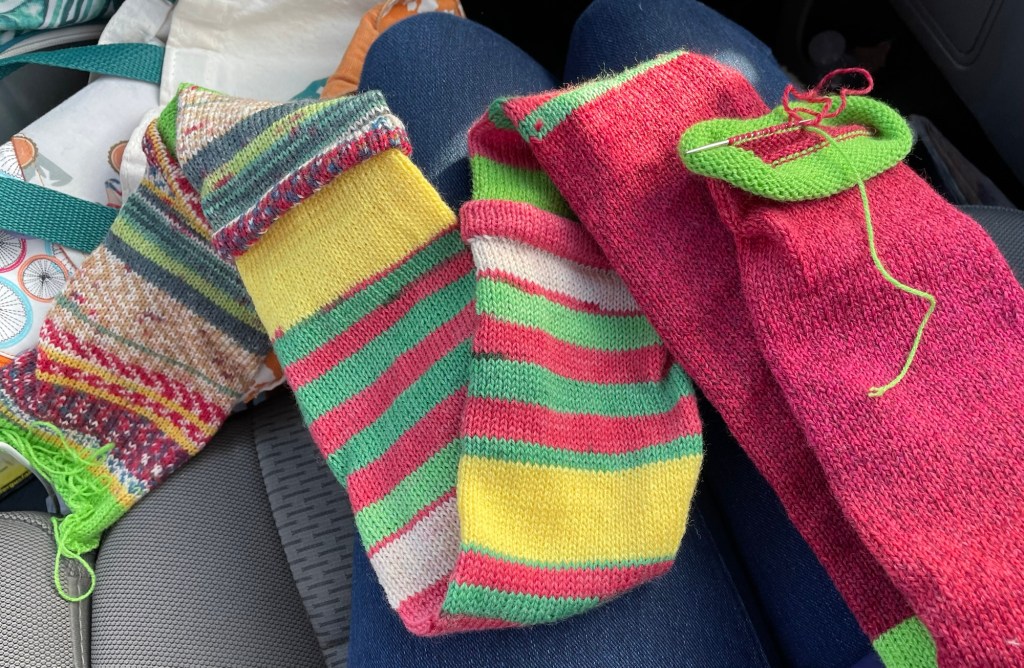
The sock machine gnomes make great Christmas gifts, but at first I was not sure if I would have time to make more than one for this holiday. After realizing that I could do some of the gnome hand work in the car during another trip to Twin Cities and back, it made sense to crank out a couple more gnome tubes in the evening, when I might otherwise be watching TV.
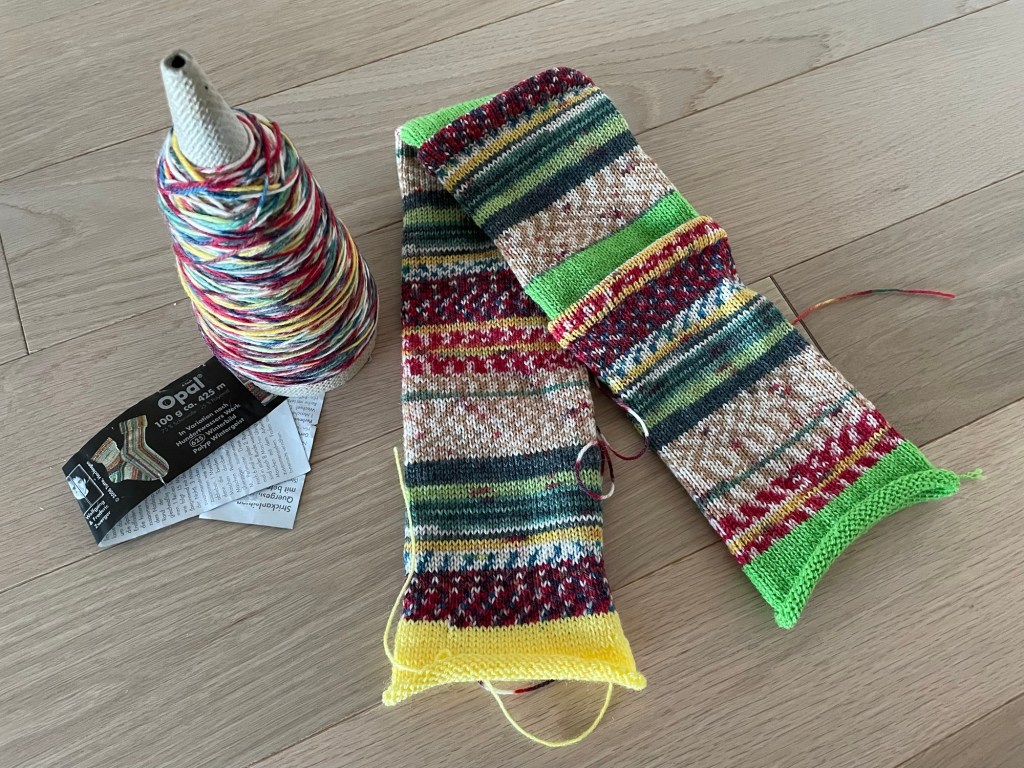
After cranking out another gnome tube (see the next photo), I thought the cool self striping pattern on that yarn was wasted. The longest section for the “body” of the gnome is folded in half so that part is not visible at all, and most of the other half is covered up by the “shirt”, which is covered up by the beard and hat. This yarn would make excellent holiday socks. I am not ready for that yet, but I will have to order more for a pair of socks for next Christmas.
After that I cranked out an even longer tube with all the sections for two more gnomes connected by waste yarn, using the same two yarns, plus some plain red for the body sections.
The red yarn turned to be much thicker. I had to loosen the tension. There were 50 grams of red yarn which is enough for one sock, but apparently not enough for two gnome bases. About three fourths of the way through the second base I had to switch to the red and green striped yarn to finish that section.
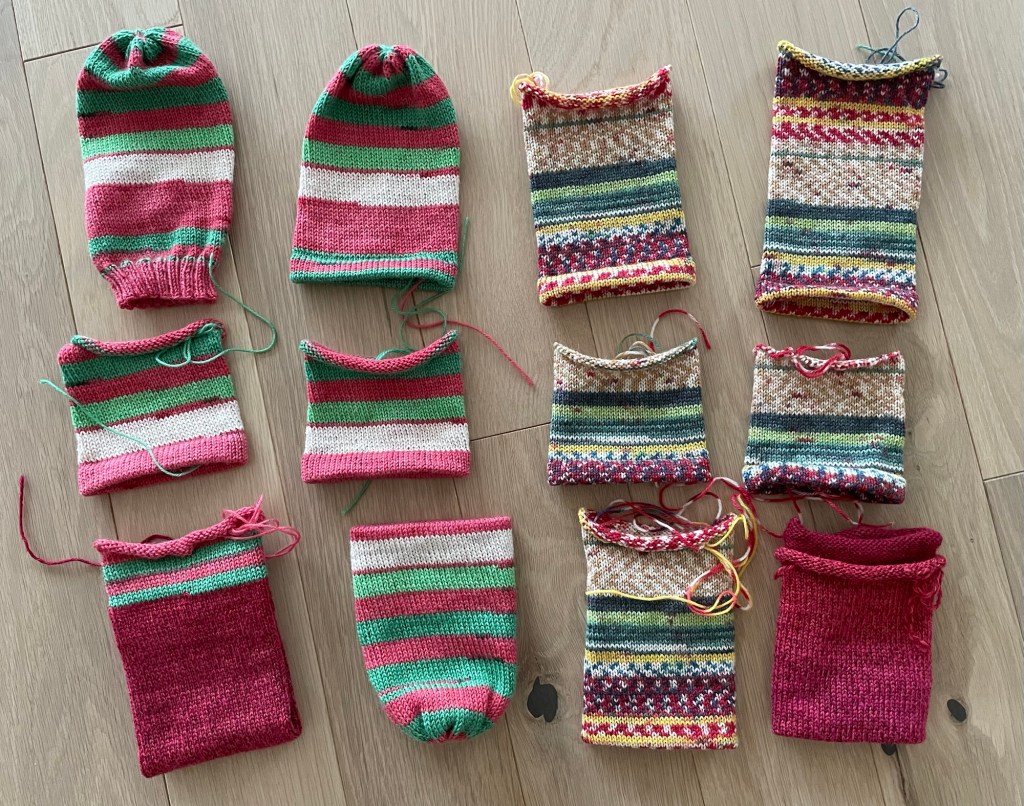
Following is a photo with all the parts for four gnomes, after removing all the waste yarn and doing some of the hand work. One of the hats has a ribbed cuff instead of a hung hem. It is fun to have one that looks different, but it was because I forgot to hang the hem while I was cranking that section, so I had to come up with a different bind off for the hem.
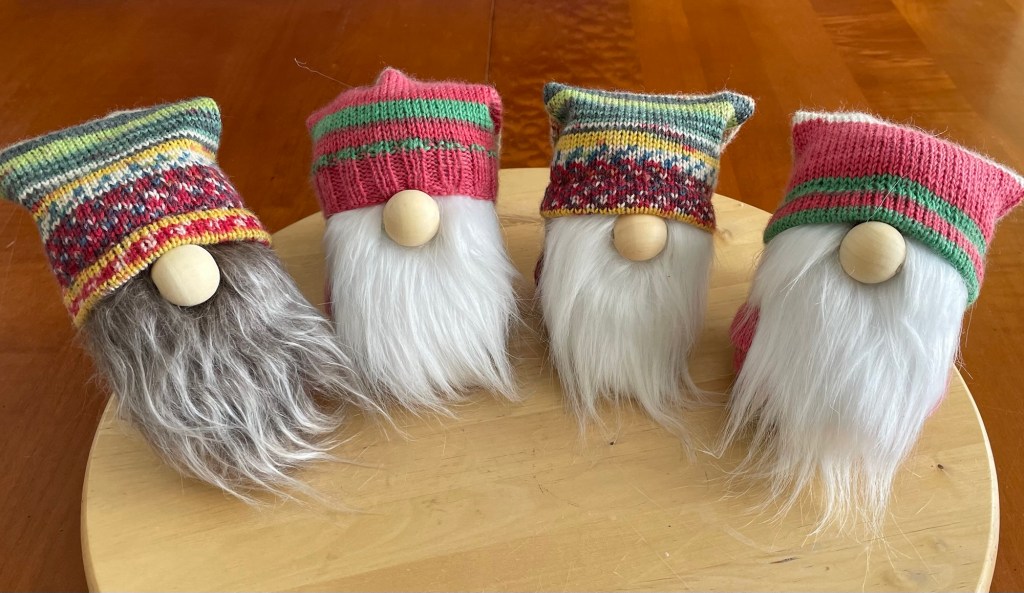
The next photo shows the four gnomes after completing the bottom “body” part, putting the “shirt” piece on over that, and sewing on the nose. The beards and hats are ready to go on next.

The hardest part of making a gnome is cutting the pieces of fake fur without accidentally clipping off the actual beard fur. I completed the four gnomes in time to give them as Christmas gifts.
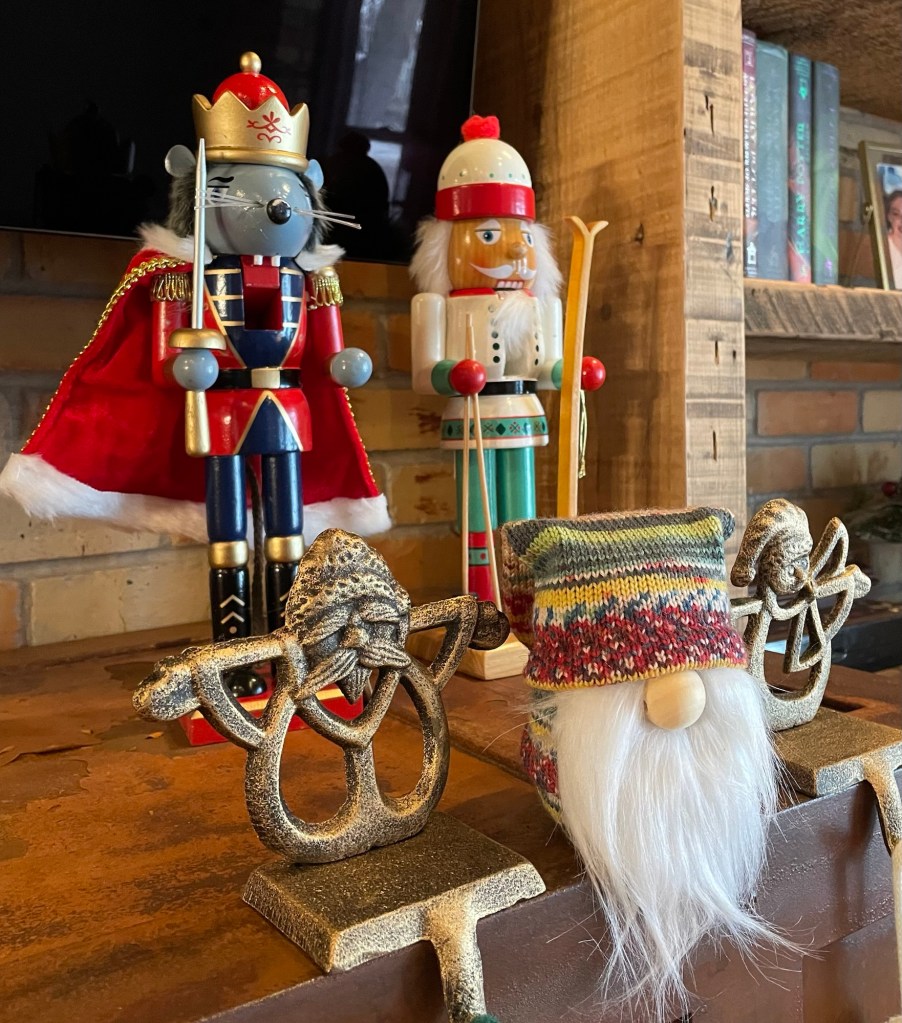
I gave one of the gnomes to my son and daughter-in-law. It is shown in the next photo on their mantel, with two nutcrackers. They live in a house built in the 1880’s that has been remodeled multiple times. It is a cool house, but not without problems related to being a very old building. In the weeks before Christmas they had water leaking from the ceiling in the kitchen, and they had a rat inside the house. There were multiple people trying to figure out the water problem, and I am not sure it has been solved yet. An exterminator caught the rat. No, it was not a large mouse, I saw a photo. My daughter-in-law bought a rat nutcracker as a joke for our son.
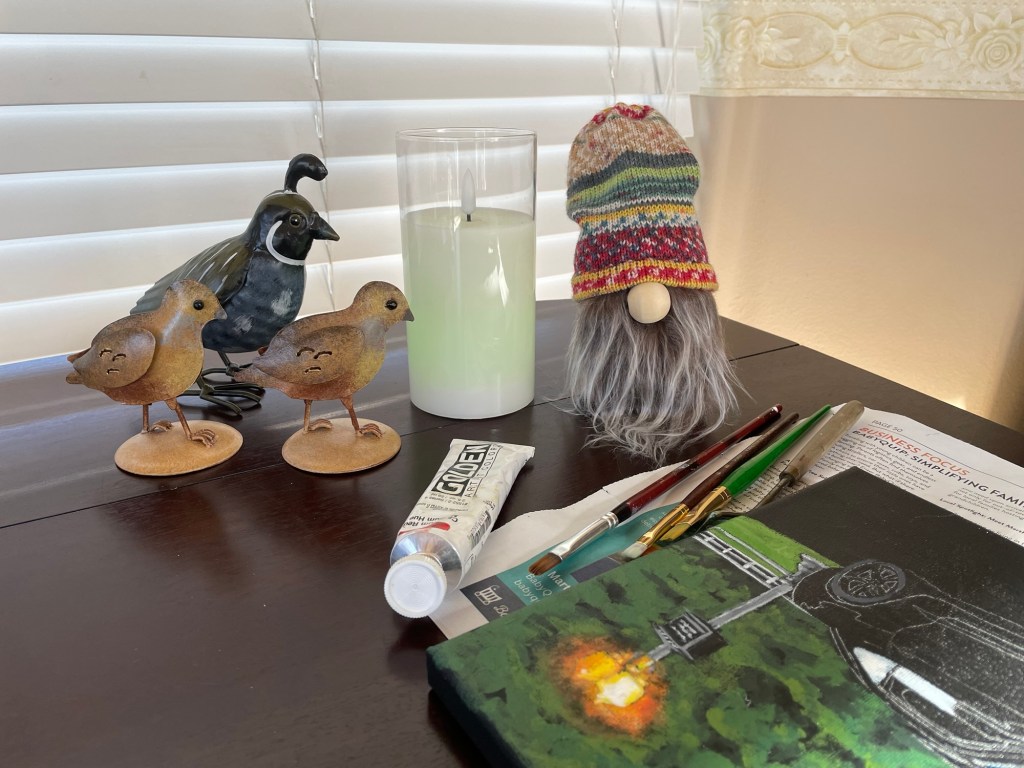
The other gnome made out of the same yarn went to my sister-in-law, who has a gnome collection. She and her husband also stay for a few months at the 55+ resort in Gold Canyon where we are now. She brought her gnome along, where it is pictured below next to some metal quails. She was working on a painting project when I stopped by to visit and take the photo.
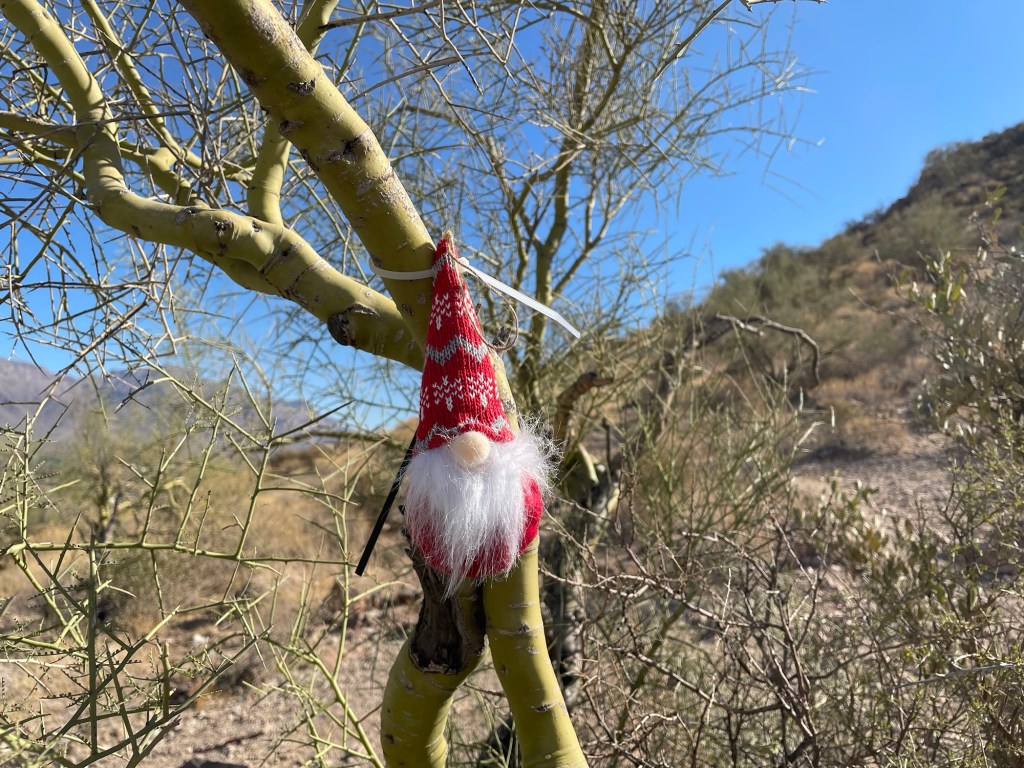
Later we went on a hike in the Superstition Mountains nearby. We happened upon gnomes hanging from trees along the trail!
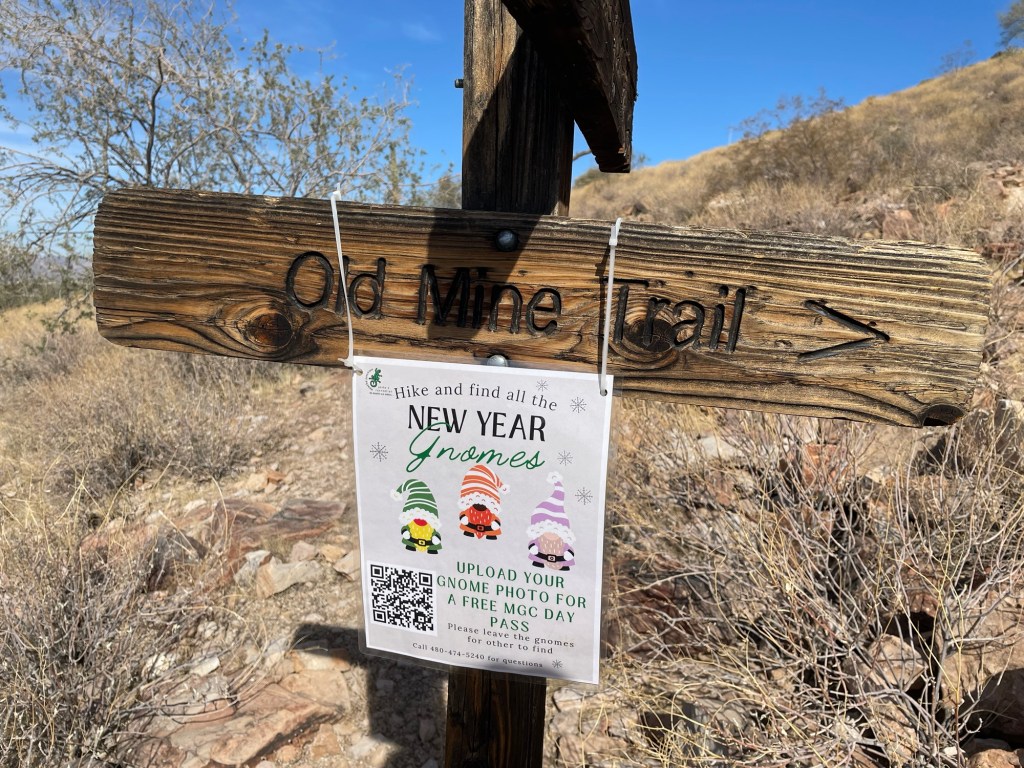
There was a sign about the gnomes on the trail. We missed some as they were pretty small in the vast landscape.
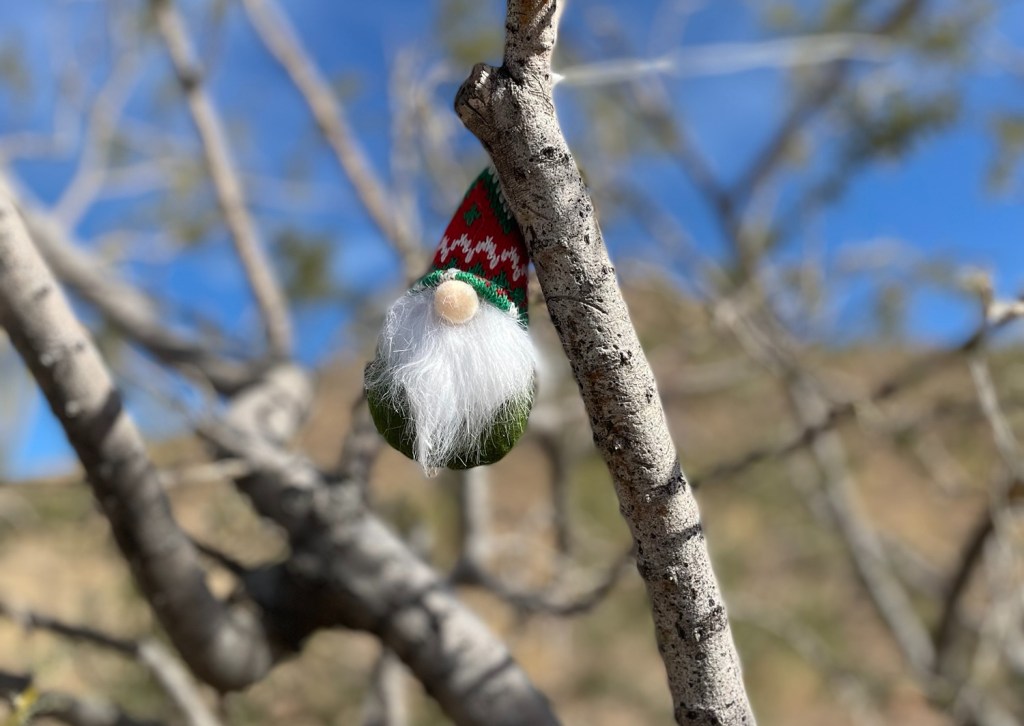
The gnomes on the trail were made a different way than the CSM gnomes. It looked like the base was composed of two pieces of felt stuffed and sewn together, with a hand knitted pointy hat. I have seen many different versions of gnomes over the last few months, including crocheted, metal, wood, and various knitted patterns.
After completing the four gnomes, I had to take a break from “cranking”. The CSM was packed away over the holidays, while we were getting settled in Arizona, and while I waited for Wayne to make me a table to use in the RV. I will be making more gnomes in the future, as it is a fun easy project for the sock machine (without a heel!), and who does not want a gnome as a gift?

The gnomes are adorable and what a fun treat to find on the trail! When you do the hanging hem on the sock machine, is it a feature on the machine or do you have to hang each stitch with a hook?
LikeLike
I answered your question but I forgot to make it a “reply”, so it is just another comment on this post.
LikeLiked by 1 person
You have to manually hang the hem. You crank however many rows, say about 20, and then lift up the knitting from the inside of the cylinder, and using a hook tool you get with the machine (it looks like a dentist tool!), you lift one stitch at a time and hook it over the corresponding needle. Then when you crank the next row, it knits it together. Quite easy. This is the common way to finish the top edge of a sock without using the ribber. And believe me, the ribber in very intimidating. If you are curious you can find a youtube video showing how to hang a hem on a CSM, and many other things with a CSM.
LikeLiked by 1 person
I’ll look for that. It is similar to when I was doing loom knitting, same idea but without the mechanization I suppose!
LikeLike
I did it again…replied but just made a general comment without it being a reply to your comment. Ugg.
LikeLiked by 1 person
I have seen different kinds of those round (and even rectangle shaped) looms for knitting. Some are very simple and are not actually doing a real knit stitch. Others are more complicated and doing something similar to the CSM but for thicker yarn and made out of plastic. Good there is variety for different purposes and price ranges and skill levels.
LikeLiked by 1 person
The plastic looms are also great for middle school home ec classes, safer than knitting needles in a room full of hormones!
LikeLiked by 1 person
The gnomes are very cute. I find it amusing gnomes popped up in your life on a hiking trail! Someone had a clever idea!
LikeLiked by 1 person
We were pretty surprised to see the gnomes on the trail! Hope you have a great weekend.
LikeLike