
My sister Betsy used to have a lightweight scarf that she used like a bandana, wrapped around her face and tied in the back for outdoor winter activities. It was a gift from our great aunt when she was in high school many years ago. The scarf was accidentally left behind at a skating rink, where it got buried in snow. Later when Betsy went back to look for it, she could not find it.
After offering to weave Betsy a new scarf, I saw a free Bandana Cowl pattern from Purl Soho that looked like it would be fun to try and maybe even be better. The pattern can be found here and also on Ravelry. I used this same pattern to knit a cowl while on the cruise trip in June. Knitted in very soft fingering weight yarn I thought it would work like the scarf she lost.
I started working on this project for Betsy last March when we were in Arizona, and actually finished it before I knit the other bandana on the cruise vacation. For various reasons I am finally posting about it now.
I had been wanting to go to Tempe Yarn & Fiber while we were in the Phoenix area last winter, but it is 30 miles from where we stay in Gold Canyon. Finally we went on an outing in that direction, when we also had time to stop there. It was a lovely shop where I found some custom locally hand dyed red merino and silk yarn that was just right for my sister’s bandana project.


An employee made a ball for me out of the very large and slippery skein. It took quite a while because the yarn kept slipping out of place. While waiting in the car I am sure Wayne was wondering what was taking so long.

The yarn suggested for the pattern is worsted to bulky weight, but my sister preferred a very thin bandana with fingering weight yarn. I made a faux circular swatch using the School of Sweet Georgia method that involves knitting all the rows from the same direction on a circular needle, resulting in a bunch of loops on the back. I cut the loops so the sample would lie flat after I gently washed it.

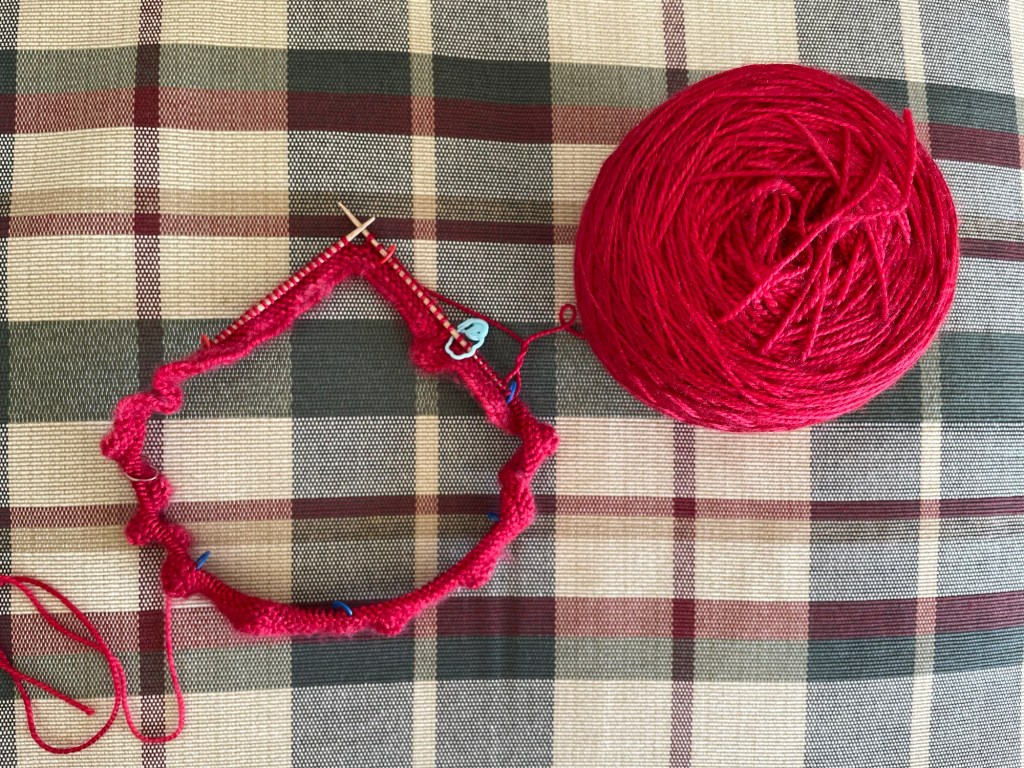
Using the gauge I came up with, it worked out to about double the number of stitches that the pattern had. I cast 177 stitches on to my long size 1 circular needle, using long tail cast-on. Every knitter doing the long tail cast on has had the experience of running out of tail, then starting over with a longer tail, and ending up with too much tail left. As per usual I had to start over a couple of times.
After the stitches were on the needle I realized that I could not join in the round because the cord was too long, and that I had not paid attention to the length of the needle needed for the project. I am sure magic loop is possible where a very long needle is used for a small circle (like for socks), but after playing around with it I gave up.
The pattern as written requires a 16″ circular needle. In the sock weight yarn I needed it in size 1 / 2.25mm. I own an entire set of interchangeable circular needles, every size of double pointed needles, a drawer of random fixed length circular needles, and a bunch of straight needles that I never use. I had with me in Arizona the set of interchangeable circular needles and all the double pointed needles, because, you know, you might need one. My circular needle set only goes down to size 5. I did not want to drive all the way back to Tempe to buy size 1. It is available online, but it was too late to mail it to Arizona for arrival while we were still there.
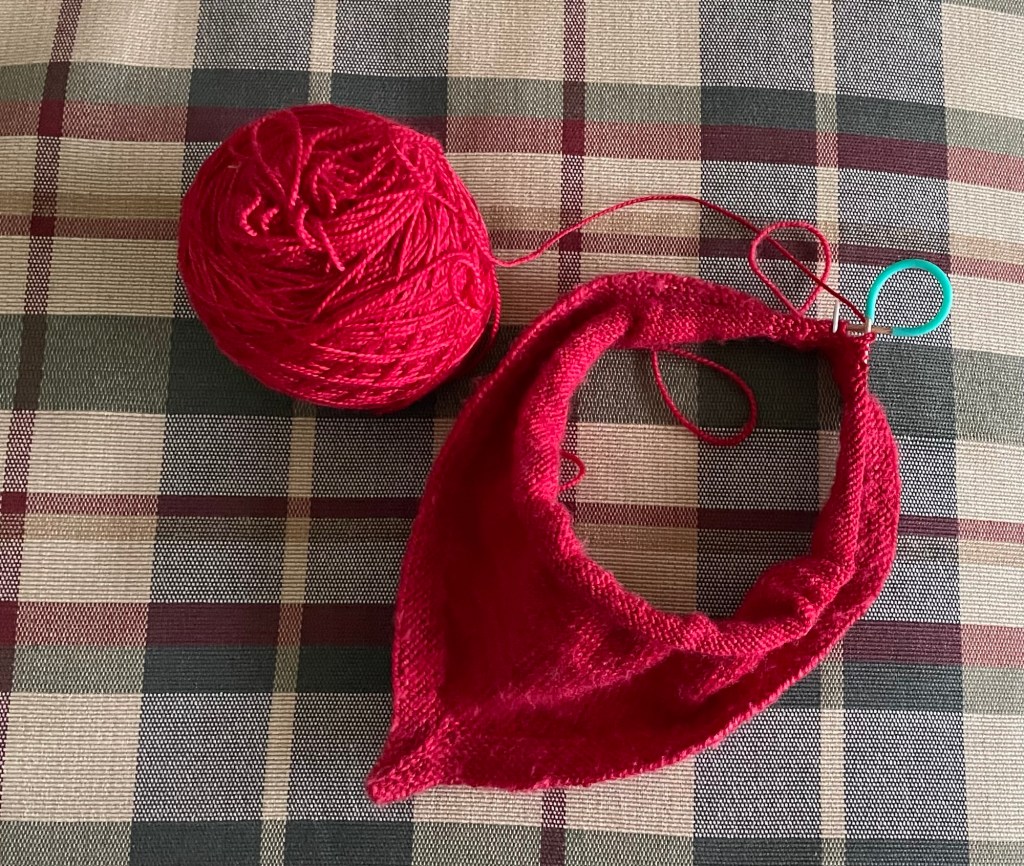
This project went on the back burner, and instead I worked on some self striping socks I had started for my son (that I finally just finished). After we got home I ordered the 16″ size 1 circular needle and started over on the bandana/cowl. The next photo shows the project cast on to the correct size circular needle.
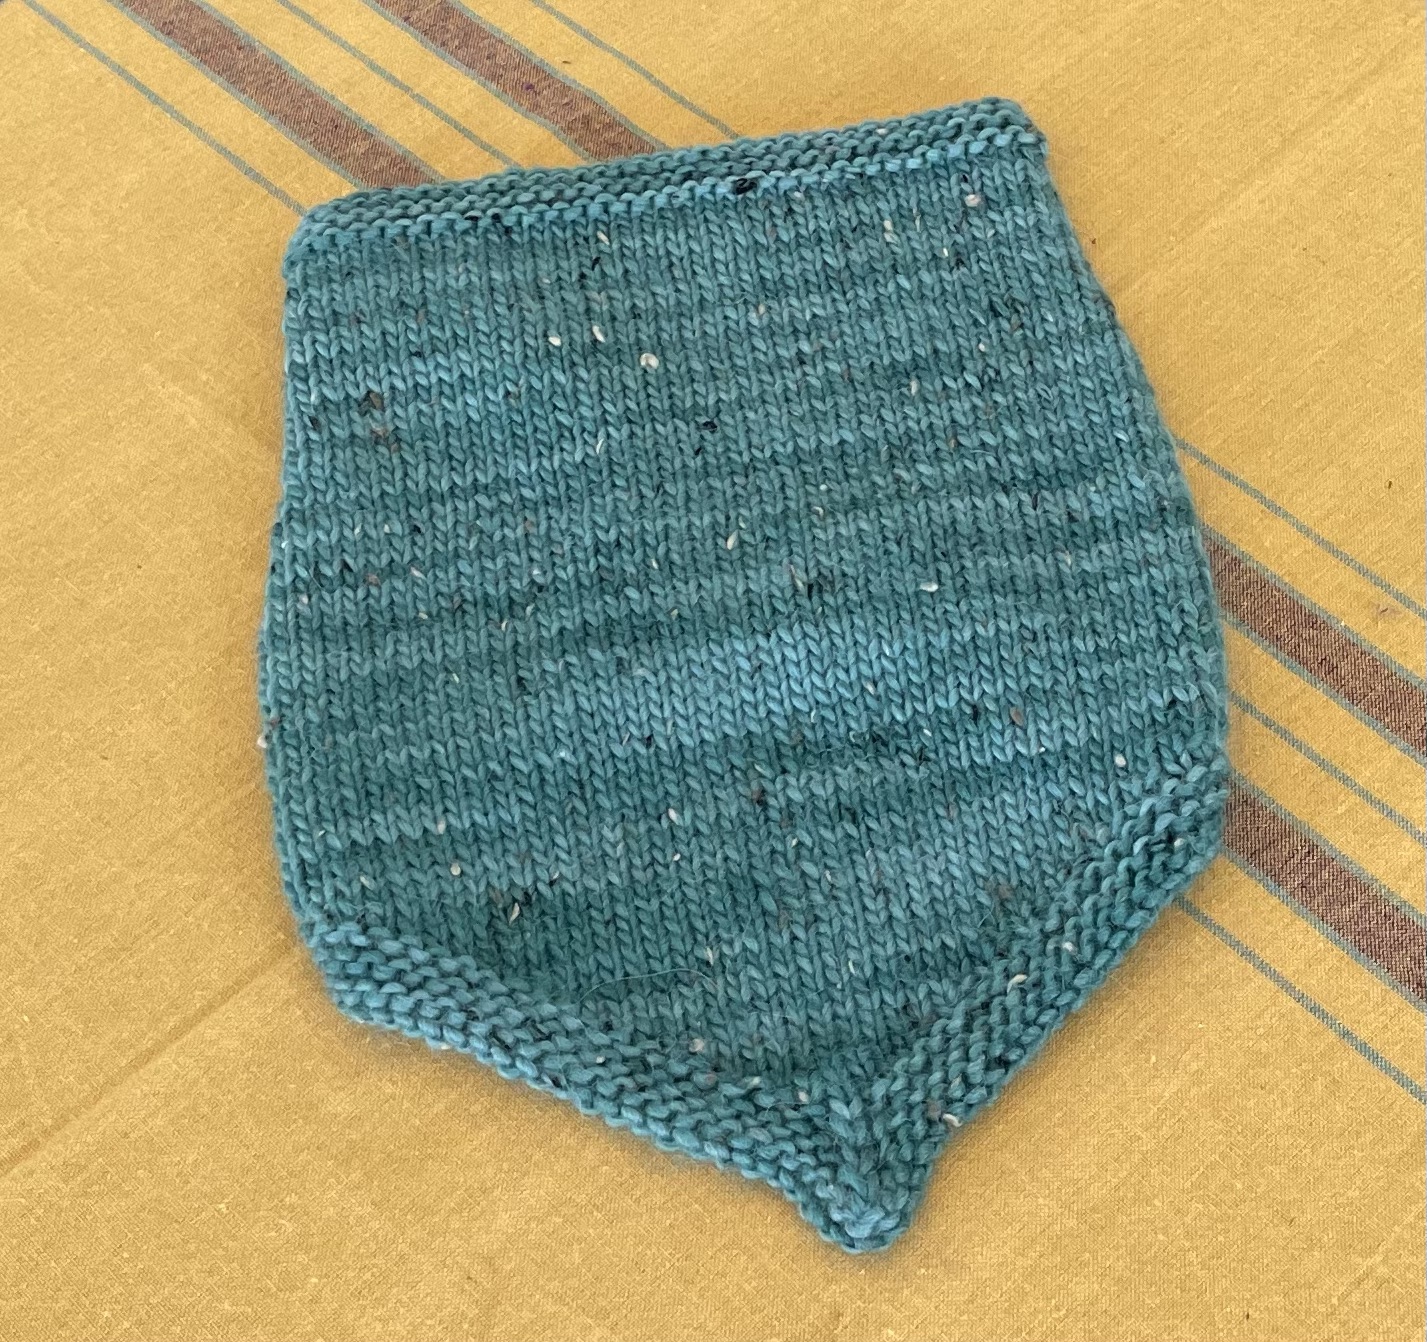
After several inches of knitting and completion of the border and next section, it was not looking right at all. I realized that the section after the border was supposed to be garter stitch, but I had been knitting in stockinette stitch. I ripped it back and did that section over. The purpose of the garter stitch border is to keep it from rolling up in addition to looking nice. It was still rolling up, but I hoped that it would lay flat after blocking, or it would be tucked in my sister’s jacket where it would not show. Following is a photo of the project after I fixed the incorrectly knitted section. It still looks different than the photo on the pattern, with the tip being more pointy.
I got the bandana almost done while we were visiting at Betsy’s house in the Twin Cities. Her cat was interested in the yarn. While we were there I put the live stitches on waste yarn so Betsy could try the bandana on to make sure it was going to fit snugly around her face. It would not be hard to make it a little narrower or wider if necessary. Luckily it was just right.

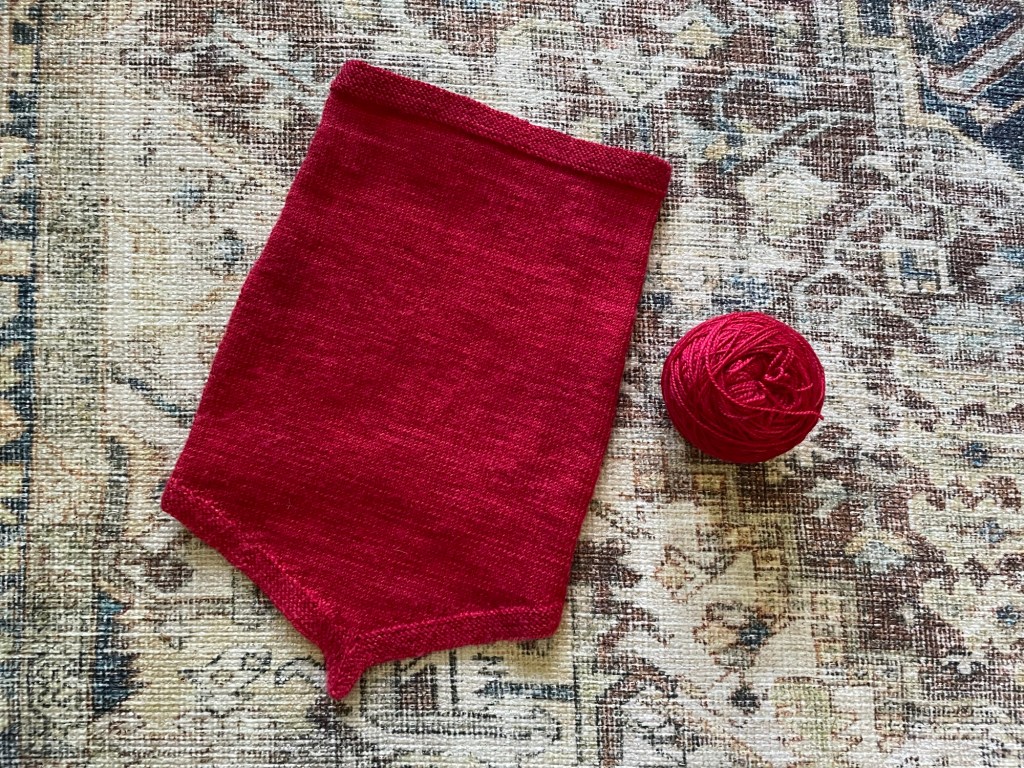
Back at my house I knitted more rows and took photos of the back, before and after steaming it with a pressing cloth to make the border lay flat.


The shape of my bandana does not match the photos in the pattern. There are short rows causing the pointed shape in the front. I could have figured out how to make the shape match the pattern with the thinner yarn, but by the time I noticed it was coming out differently, I decided it did not have to look exactly the same as long as it fit and worked for the purpose. Following is a photo from the pattern next to a photo of the cowl I knit on the cruise vacation, to see how the cowl looks as the pattern was written.

Photos follow of the front and back of the completed cowl adapted for the thinner yarn.

The pattern is called a “Bandana Cowl” and it has features of both of those things. What I ended up with using the thinner yarn and pattern modifications is more like this neck gaiter for sale at REI. Following are some photos of Betsy modeling the completed cowl / bandana / gaiter.

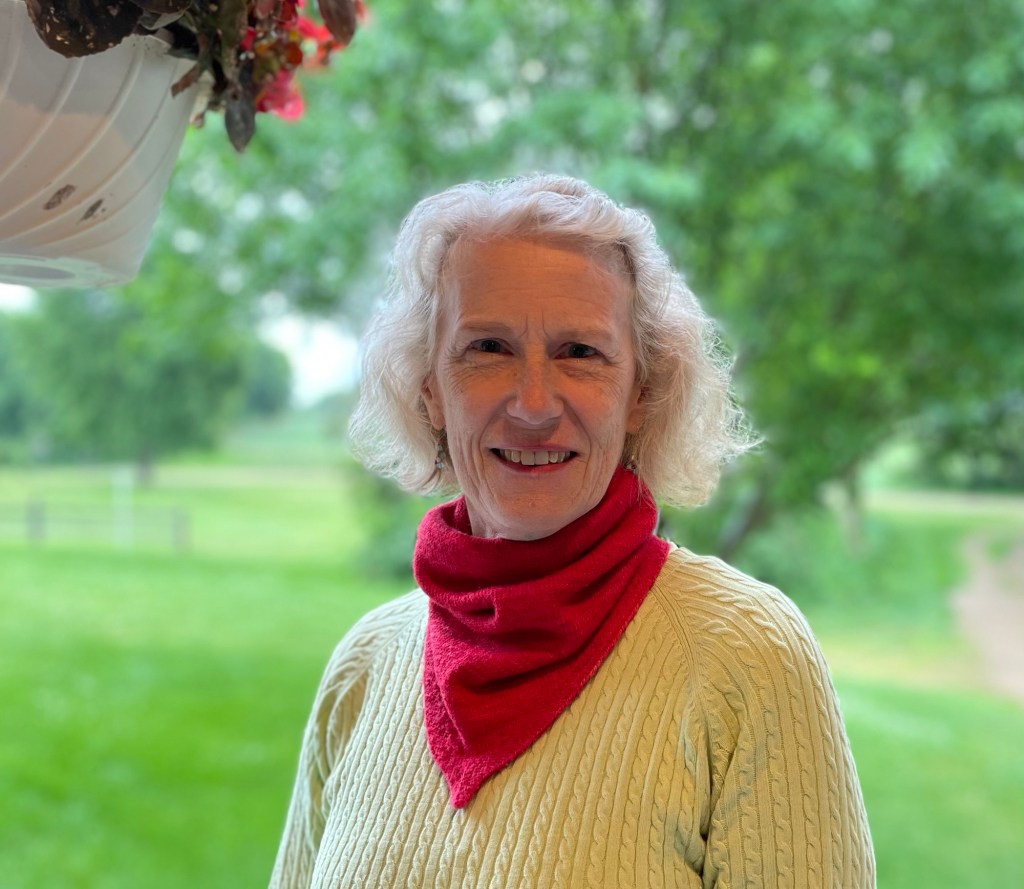
This cowl can also be used as a kerchief or head scarf.

I was trying to make an exact version of the Bandana Cowl pattern in the thinner yarn, but it turned out longer with a shallower angle at the bottom, and a pointier tip. What I ended up with for Betsy works perfectly for what she really wanted.
My daughter had also asked about a woven bandana for hiking, so that is added to my project idea list. Meanwhile I am weaving a different thing for my daughter that I am excited about. Stay tuned!

Great photos showing the whole process!
I love that the yarn is from AZ. Now I am starting to think about skating season!
This pattern seems like one of the most useful items you could knit for practically anyone looking for a cute way to keep their face warm.
It stays in place better, has less bulk than a big long scarf, and is easier to pull up and down as needed.
LikeLiked by 1 person
Thank you! I hope the bandana works out and I look forward to seeing a photo of you skating while wearing it.
LikeLike
Very nice work and a labor of love. The color is really beautiful. I am sure she will enjoy it for a long time.
LikeLiked by 1 person
Thank you! I have been getting many comments on the red color. It is a very nice shade of red. I do not wear bright red, due to my (not anymore) red hair, but it looks good on my sister. I said something to my young adult daughter about my having red hair, and she said “you do not have red hair”. And I thought, OK I guess you are right but I USED to have red hair.
LikeLiked by 1 person
I made that bandana with the bulky yarn! For some reason my point wasn’t directly in the middle.
I love the idea of knitting it in the lighter yarn! I have a few options I’ll look into.
LikeLike
haha I wonder how your point got off center! So you have a one of a kind unique bandana. I once tried to knit some slippers and somehow they were all twisted funny and I had to start over. Thanks for reading and enjoy the rest of your weekend.
LikeLike
What a lovely color of red! I know the feeling of my hair used to be… Mine is now white and my sisters thought I had it colored!
LikeLiked by 1 person